Mylek MYOD606WH User manual

Please read the instructions carefully. You
must inspect the appliance including its
cable and plug for any signs of damage.
If the product is damaged, DO NOT USE
and contact your supplier immediately for
refund or replacement.
BEFORE USE:
MYOD606WH / MYOD606SV / MYOD606BK
WALL MOUNTED PTC FAN HEATER
INSTRUCTION
MANUAL FOR MODELS
V 2021-06

2 | | 3
INSTRUCTION
MANUAL FOR MODELS
| GENERAL INFORMATION
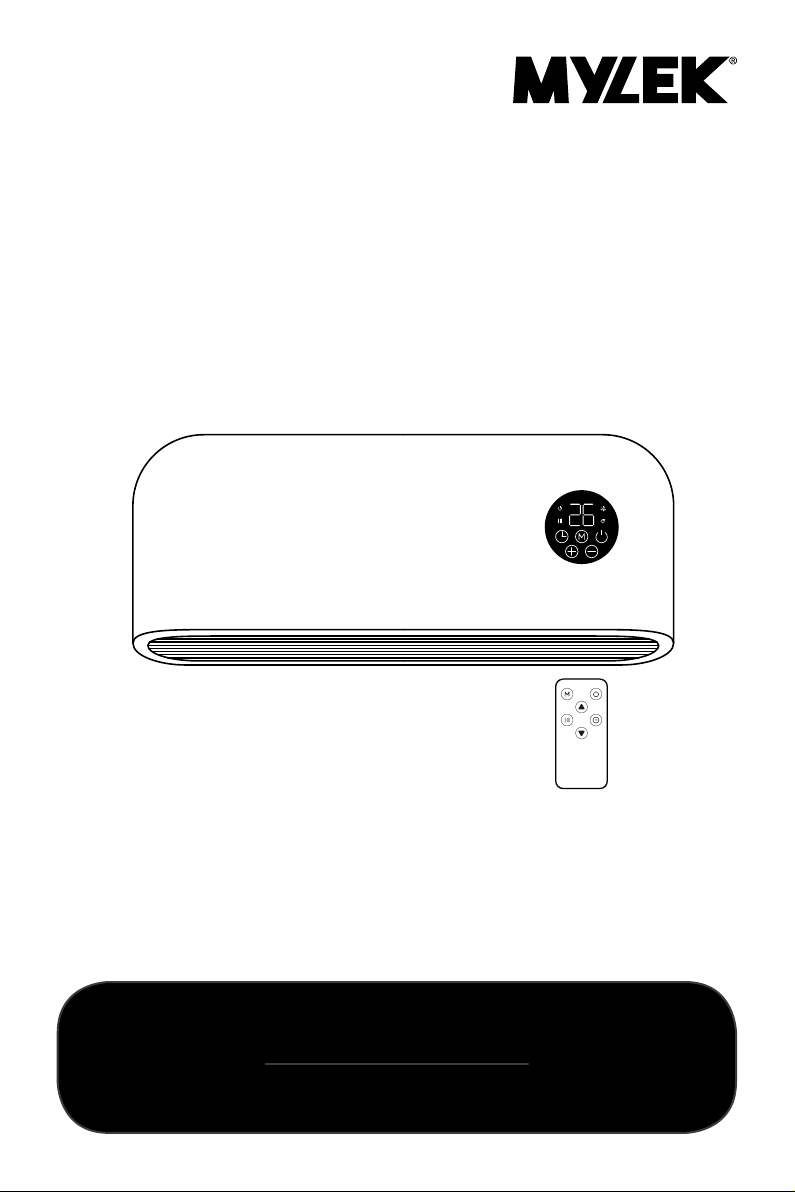
Thank you for choosing the Mylek LED weekly programmable
Panel heater with Open window function. Please take time to
carefully read and understand the entire instruction manual
before using the product and then save it for future reference.
We reserve the right for any errors in text or images and
any necessary changes made to technical data. If you have
any questions concerning operational or technical problems
please contact our Customer Services on 0800 091 3171.
| BEFORE USING THIS HEATER
When using electrical appliances, basic precautions should
always be followed to reduce the risk of fire, electric shock,
and injury to persons. This includes but is not limited to the
following.
CAUTION
This appliance is not intended for use by persons (including
children) with reduced physical, sensory or mental
capabilities, or lack of experience and knowledge of the
product. The appliance is to be operated by responsible adults
only after reading and understanding these instructions.
Children should be supervised at all times to ensure that
they do not play with the appliance. Children under 16 years
should not operate the unit or carry out maintenance and/
or clean the unit. Any infirmed persons in the vicinity of the
unit should be accompanied by a responsible and competent
able bodied adult. Remove the packing and make sure that
the appliance is intact. If there is any doubt concerning the
integrity of the unit do not use the appliance and contact our
recommended after-sales service.
Do not leave any packaging materials within easy reach of
children. Before switching on appliance check if the electrical
voltage and frequency of the circuit correspond to those
indicated on the appliance. Use the appliance only for the
stated purpose, namely as a heater for domestic use. Do not
use it for any other application as it could be dangerous.
| IMPORTANT SAFETY REQUIREMENTS
• This appliance can be used by children aged from 8
years and above and persons with reduced physical,
sensory or mental capabilities or lack of experience
and knowledge if they have been given supervision or
instruction concerning use of the appliance in a safe way
and understand the hazards involved. Children shall not
play with the appliance. Cleaning and user maintenance
shall not be made by children without supervision.
• Children of less than 3 years should be kept away unless
continuously supervised.
• Children aged from 3 years and less than 8 years shall
only switch on/off the appliance provided that it has
been placed or installed in its intended normal operating
position and they have been given supervision or
instruction concerning use of the appliance in a safe way
and understand the hazards involved. Children aged from
3 years and less than 8 years shall not plug in, regulate

4 | | 5
INSTRUCTION
MANUAL FOR MODELS
and clean the appliance or perform user maintenance.
• CAUTION - Some parts of this product can become very
hot and cause burns. Particular attention has to be given
where children and vulnerable people are present.
• If the supply cord is damaged, it must be replaced by
the manufacturer, its service agent or similarly qualified
persons in order to avoid a hazard.
• CAUTION: In order to avoid a hazard due to inadvertent
resetting of the thermal cutout, this appliance must not
be supplied through an external switching device, such
as a timer, or connected to a circuit that is regularly
switched on and off by the utility.
• The heater must not be located immediately above a
socket-outlet.
• Means for disconnection having a contact separation
in all poles must be incorporated in the fixed wiring in
accordance with the wiring rules.
• For correct installation on the wall, thanks to refer to
‘Installation on wall’ part.
• Fixed heaters are to be installed so that switches and
other controls cannot be touched by a person in the bath
or shower.
• The heater must be installed at least 1.8 m above the
floor.
• WARNING: The heater must not be used if the glass
panels are damaged.
WARNING: this product shall be installed in Zone 3 only
according the national wiring rules.
Note: The drawing below is for reference only.
If installed in a bathroom this unit must be installed by a
qualified electrician.
In the case as of buildings room, a room receiving a bath or a
shower and socket-outlets lower or equal to 32 A the circuit
corresponding must be protected by a device with differential
residual current (RCD) lower or equal to 30 mA.
225 cm
60 cm 240 cm
Zone 1
Area under bathtub
Zone 0
Zone 2 Zone 3 Out of zones
Floor
THIS PRODUCT IS FOR ROOM HEATING
FOR HOUSEHOLD USE ONLY

6 | | 7
INSTRUCTION
MANUAL FOR MODELS
| SPECIFICATIONS
Model No. RATED VOLTAGE RATED POWER
MYOD606WH AC230V, 50-60Hz 2000W
MYOD606SV AC230V, 50-60Hz 2000W
MYOD606BK AC230V, 50-60Hz 2000W
| STRUCTURE AND PARTS
1
24
3
1 - Out-let
2 - LED Screen
3 - Control panel
4 - Body
| INSTALLATION ON THE WALL
ø 8mm 360mm
2000mm
5-7mm
1
2
1. Drill holes on the wall according to the above instruction.
Warning: Be sure to keep the safety distances as shown on the above drawing.
2. Fit the plastic wall plugs into the drilled holes and fit the screws.
3. Hang the unit on the screws gently.
Warning: Before using the heater, make sure it’s mounted tightly on the wall.

8 | | 9
INSTRUCTION
MANUAL FOR MODELS
| CONTROL PANEL AND SCREEN
1
2
3
4
5 Button:
Standby
Increase function
Decrease function
Mode selection
Timer off function
1Standby: on/off
2Heating status
3Comfort mode
4ECO mode
1
3
4
5
2
6
1Standby: on/off
2Mode selection
3Increase function
4Decrease function
Timer
Power setting
The remote control operates the same functions as the unit display and also with the
addition you can choose the unit Fan mode by pressing III on the remote to select HO for
Fan Mode, H1 for 1000W Heat Mode and H2 for 2000W Heat Mode.
| HOW TO USE
• Plug the appliance into a AC 230V 50-60Hz socket and press the on/off switch located
on the back cover, you will hear a beep sound. The power indicator light shows
on.
• Press to turn on the heater, which is in factory default setting when used for the
first time.
• Factory default:
• Heating mode: Comfort mode
• Target temperature setting: 22ºC
• Window open function: Off
• Timer: Off
(If default settings are different, it will simply be because the unit has been quality tested
after production).
• To stop the heater working, press to turn off the heater, the indicator will
display, the heater will blow cool air for around 60 seconds to discharge heat and
protect the element.
• Unplug the product when it’s not in use.
| TEMPERATURE SETTING
• The screen will display the target set temperature, press and to set directly
to your preferred setting.
• Comfort mode or Comfort mode in P1/P2/P3: Press and to set the
temperature from 10-35ºC.
• ECO mode or ECO mode in P1/P2/P3: Press and to set the temperature
from 6-31ºC.
• Note: ECO mode=Comfort mode - 4ºC
| CLOCK AND DAY OF WEEK SETTING
• Press button for 3 seconds to enter clock and day of week setting.
• The screen will display “ ”, press and to select the current day from 1-7.

10 | | 11
INSTRUCTION
MANUAL FOR MODELS
1Monday 2Tuesday
3Wednesday 4Thursday
5Friday 6Saturday
7Sunday
• Press to confirm day setting and enter the clock hour setting, with the screen
display: .
• Press and to set the current hour from 00-23
• Press to confirm hour setting and enter the minute setting, with the screen
display: .
• Press and to set the current minute
• Press to confirm all settings
Note: The clock and calendar will be reset to factory default if without power supply.
| HEATING MODE
• Press to enter mode selection. By pressing , heating mode runs in a
continuous cycle as below:
• Comfort mode: Press and to set the temperature from 10-35ºC.
• ECO mode: Press and to set the temperature from 6-31ºC.
Note: ECO mode=Comfort mode - 4ºC
• Anti-frost mode: the screen will display . The target temperature is 7ºC. This
temperature cannot be adjusted.
• P1/P2/P3: Pre-set heating program.
Note: If the clock and day setting are not set correctly P1/P2/P3 will not operate to
the current time. it is advised to set day and clock setting in advance.
: (Monday-Sunday) Pre-set program, cannot be adjusted.
:(Monday-Friday) Pre-set program, cannot be adjusted.
:(Saturday-Sunday) Pre-set program, cannot be adjusted.
:(Monday-Friday) Adjustable program
:(Saturday-Sunday) Adjustable program
adjustable program setting
1. Press until the mode displays. Press again for 3 secounds until
displays for the day setting.
2. Press or to choose the day between - (Monday-Sunday). Press
to confirm the day you wish to set.
3. The screen then displays for the hour setting, press or to set from
(00-23). For each hour press to choose the heating mode you require for every
hour, if you choose Comfort mode symbol will display or ECO mode symbol
will display or anti-frost mode where no symbols will display which means the heater
will only operate if the temperature drops to 7 degrees.
4. When all hours have been set to your requirements up to 23 hours press the
button and the unit will display the next day to set. Press to confirm the next day

12 | | 13
INSTRUCTION
MANUAL FOR MODELS
to set and repeat the the process for point 3 above for this day and every day from
- .
5. After setting and heating mode up to hour 23, press to revert back to
program, your unit is now set to your requirements and will operate to your set
requirements whilst showing the on the display.
| POWER SETTING
The power can only be set in remote control, press to set:
: Fan mode; : 1000W Heat Mode; : 2000W Heat Mode
| COUNTDOWN TIMER FUNCTION
Press one time, the screen display “ ” and keeps flashing, keep pressing
, the screen will display 2h – 4h – 8h -0h in a cycle. Or press and to set timer
from 0-9 hours.
| OPEN WINDOW FUNCTION
• To turn on open window function, press together and , the screen will
display , after 3 seconds, the screen will display the set temperature.
• To turn off open window function, press together and , the screen will
display , after 3 seconds, the screen will display the set temperature.
| MAINTENANCE
1. Always disconnect the appliance and let it completely cool before any maintenance.
2. Use a vacuum cleaner to remove dust on grilles.
3. Clean the outside of the unit with a damp cloth and then dry it with a dry cloth. Never
immerse the unit in water, nor let water drip into the unit.
| STORING
1. Always disconnect the appliance, let it completely cool and clean it before storing.
2. If you do not use the device for a long period, put back the unit and the instruction
manual to the original carton and store in a dry and ventilated place
3. Do not place any heavy items on top of carton during storing as this may damage the
appliance.

14 | | 15
INSTRUCTION
MANUAL FOR MODELS
This marking indicates that this product should not be disposed with other household
wastes throughout the EU. To prevent possible harm to the environment or human
health from uncontrolled waste disposal, recycle it responsibly to promote the
sustainable reuse of material resources. To return your used device, please use the
return and collection systems or contact the retailer where the product was purchased.
They can take this product for environmental safe recycling.
The importer retains his right to make changes in appearance and completeness of the
item without preliminary notification to the customer.
The item is for indoor use only.
The manufacturer does not assume any liability for any damage caused directly or
indirectly by not following this instruction manual, general safety rules, or interference
in the construction of the product.
| SERVICE WARRANTY
Hygiene Supplies Direct guarantees the product free from defects in materials and
workmanship for a period of 1 year from date of purchase. Should this unit be operated
under conditions other than those recommended, at voltages other than the voltage
indicated on the unit, or any attempts made to service or modify the unit, then the
warranty will be rendered void. The product you buy may sometimes differ slightly from
illustrations. This warranty is in addition to, and does not affect, your statutory rights. If
you have any problems with this product, please call our Help Desk on 0800 091 3171 or
email: sales@hygienesuppliesdirect.com
Model identifier(s): MYOD606WH / MYOD606SV / MYOD606BK
PManual heat charge control, with integrated
thermostat
Manual heat charge control with room
and/or outdoor temperature feedback
Electronic heat charge control with room
and/or outdoor temperature feedback
Fan assisted heat output
Two or more manual stages, no room
temperature control
With mechanic thermostat room temperature
control
With electronic room temperature control
Electronic room temperature control plus
day timer
Electronic room temperature control plus
week timer
Room temperature control, with presence
detection
Room temperature control, with open
window detection
With distance control option
Minimum heat output
(indicative)
Maximum continuous
heat output
At nominal heat
output
At minimum heat
output
In standby mode
Item Item UnitSymbol Value
Heat output Type of heat input, for electric storage local space
heaters only (select one)
Auxiliary electricity
consumption
Other control options (multiple selections
possible)
2.0
With adaptive start control
With working time limitation
Information requirements for electric local space heaters
nom kW
Pmin
Pmax,c
elmax
elmin
elsb
2.0
N/A
0
0
0,000
[no]
[no]
[no]
[no]
Unit
Nominal heat output
kW
kW
kW
kW
kW
With black bulb sensor
[no]
[no]
[no]
[no]
[no]
[no]
[no]
[yes]
[yes]
[no]
[yes]
[no]
Contact details
Type of heat output/room temperature control
(select one)
Single stage heat output and no room
temperature control
Hygiene Supplies Direct Limited, Ground floor,
Tayson House, Methley Road, Castleford WF10 1PA

YESSS Electrical, YESSS House, Normanton, WF6 1TN
declares that the Mylek Heaters are exclusively manufactured
and imported for Hygiene Supplies Direct Ltd.
This manual suits for next models
2
Table of contents
Other Mylek Heater manuals

Mylek
Mylek MYSH0406E User manual

Mylek
Mylek MYTH01D User manual

Mylek
Mylek MYC01-10A User manual

Mylek
Mylek MYH03-05E User manual

Mylek
Mylek MYBH1000 User manual

Mylek
Mylek MHPH05-10E User manual

Mylek
Mylek MY0210R User manual

Mylek
Mylek SPH05-05R User manual

Mylek
Mylek MYHH0406C User manual

Mylek
Mylek MYRA600W User manual
Popular Heater manuals by other brands

Campo Equipment
Campo Equipment BLAZE 150E product manual

DeLonghi
DeLonghi EW7507EB Instructions for use

Ballu-Biemmedue
Ballu-Biemmedue FARM 85 Assembly manual

Sierra
Sierra Shenandoah R65-E Installation & operation manual

Reece
Reece Kado Aspect installation instructions

WSE
WSE OPTI D 350W SP Assembly instructions