3
INSTALLATION
Designing the System
A keypad should be located near each exit/entry door. However, give careful consideration to the location of the key-
pad, since it has a receiver built inside it. Regardless of where the control panel is mounted, the keypad should be
centrally located within the premises, that is, equally distant from all transmitters. Metal objects close to the installation
may adversely affect reception. Draw a layout of the system, identifying all proposed transmitter locations and antici-
pated keypad location. Also include notations indicating construction materials in use. Although wood and wallboard
construction will have little effect upon signal strength at the receiver, concrete or brick can reduce signal strength by
up to 35%, while steel-reinforced concrete or metal lath and plaster can reduce transmitter strength as much as 90%.
Note: In difficult installations wherein distant transmitters pose reception problems, the use of multiple keypads and/or
LIBRA-REC16433's throughout the premises is recommended. (The LIB-P432EX control panel will accommodate up
to two receivers). Receivers are connected to the panel's 4-wire bus. They should be uniquely addressed (see AD-
DRESSING MULTIPLE RECEIVERS). Note: If receivers are intermixed, the panel will only recognize the capacity of
the lowest one.
After determining the general location for the keypad, additional time should be spent determining the exact location of
keypad using the template provided. In addition to the hole in the wall used to connect the bus wires to the keypad, an
additional hole should be made into the wall to allow the antenna wire to be recessed into the wall. The design of the
keypad keeps the antenna as far away from the bus wires as possible so that RF noise emitted from the bus wires
does not affect the sensitivity of the receiver. If the placement of both these holes are not carefully considered, addi-
tional effort may be required to drill through or chisel existing wall beams. In addition the tamper is located close to the
antenna hole. If care is not taken to leave sufficient space between the antenna hole and the tamper, the tamper may
not function correctly.
To open the case, insert a screwdriver into either slot at the bottom and push up with a slight twisting motion to release
the retainer tab. Repeat for the other slot. Pull out at the bottom and lift off the two hooks at the top.
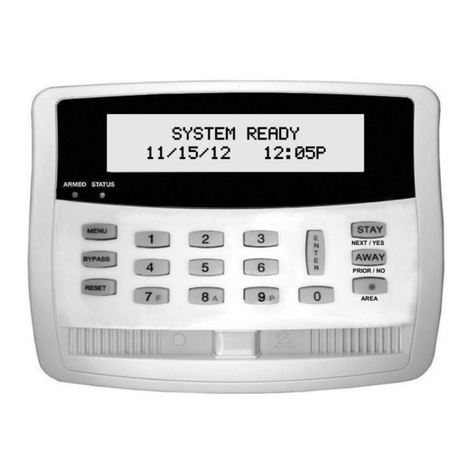
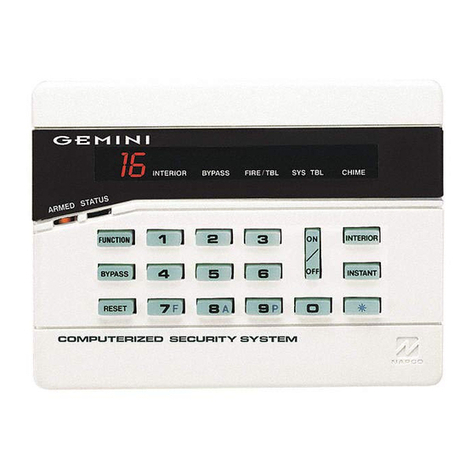
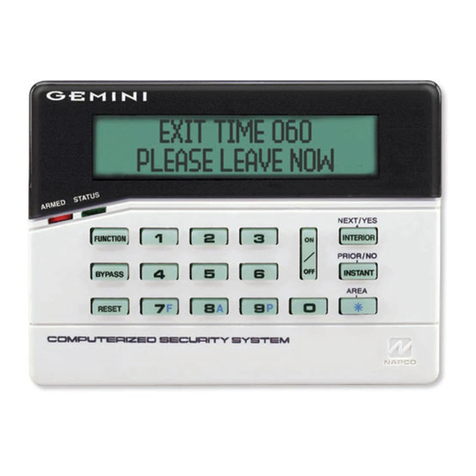
The LIBRA-DXK4RF series keypads feature a handy pull-up reference label. Before mounting the keypad onto the
wall, push the Sliding Label Plate (with label and felt backing affixed and handle facing forward) down the guides at the
rear of the keypad until it snaps into place. Once installed, the Sliding Label Plate cannot be removed without first
removing the keypad from the wall. Note: The keypad fire and panic keys should not be considered a substitute for a
listed manual initiating device, such as a pull box.
If installing onto a double-gang box, insert mounting screws through the two vertical elongated holes on the left side of
the case and into the box. If the box is visible when viewed from the front, adjust the keypad vertically and tighten the
screws. Then, using hardware suitable for the mounting surface, add one or two screws at the right side of the keypad
case directly into the wall to ensure a secure installation. Note: Do not over tighten the screws! Uneven walls may
cause the keypad case to distort.
WIRING
After the bus wires are brought through the bus wire hole, and the keypad back case is
mounted the wires can be connected as shown in the table at the right. After connecting the
wires care must be taken to loop the antenna wire carefully into the antenna hole as the
front cover is connected to the keypad back case. The antenna should fall easily into the
wall cavity away from the keypad bus wires. The wire should hang as straight as possible
below the keypad for optimal reception. If the wire cannot be hung inside the wall, it is better
for the wire to be cut flush with the printed circuit board rather than to have the wire become
tangled behind the keypad.
KEYPAD AND RECEIVER ADDRESS JUMPERS
If more than one receiver is being utilized, each must be individually addressed so that it can be identified by the con-
trol panel. This is accomplished by the placement of jumper "RX" located in the upper right corner of the back of the
keypad, as shown below. Factory default is no jumper, therefore making the receiver inside the keypad as RF Re-
ceiver #1. With the jumper in place, it is receiver #2. Refer to the Wiring Diagram for jumper configuration. Note:
Each receiver leaves the factory internally configured as #1, therefore, if only one receiver is being used, address as-
signment is not required.
In summary, if more than one keypad is installed:
•Each must be assigned a unique address (that is, no two keypads may be numbered alike).
•Keypads must be addressed consecutively (that is, missing numbers are not permitted).
•Only Keypad No. 1 may be used for programming. (However, for ease of programming, it is recommended that a
GEM-DXK1 be selected as Keypad #1).
Up to seven (7) LIBRA-DXK4RF series keypads may be addressed to the control panel (Keypads 1–7).
COLOR TERMINAL
RED 9
BLACK 10
GREEN 11
YELLOW 12
WHITE* N/O PANIC
WHITE* N/O PANIC
*Cut and insulate 2 white
wires if not used.

