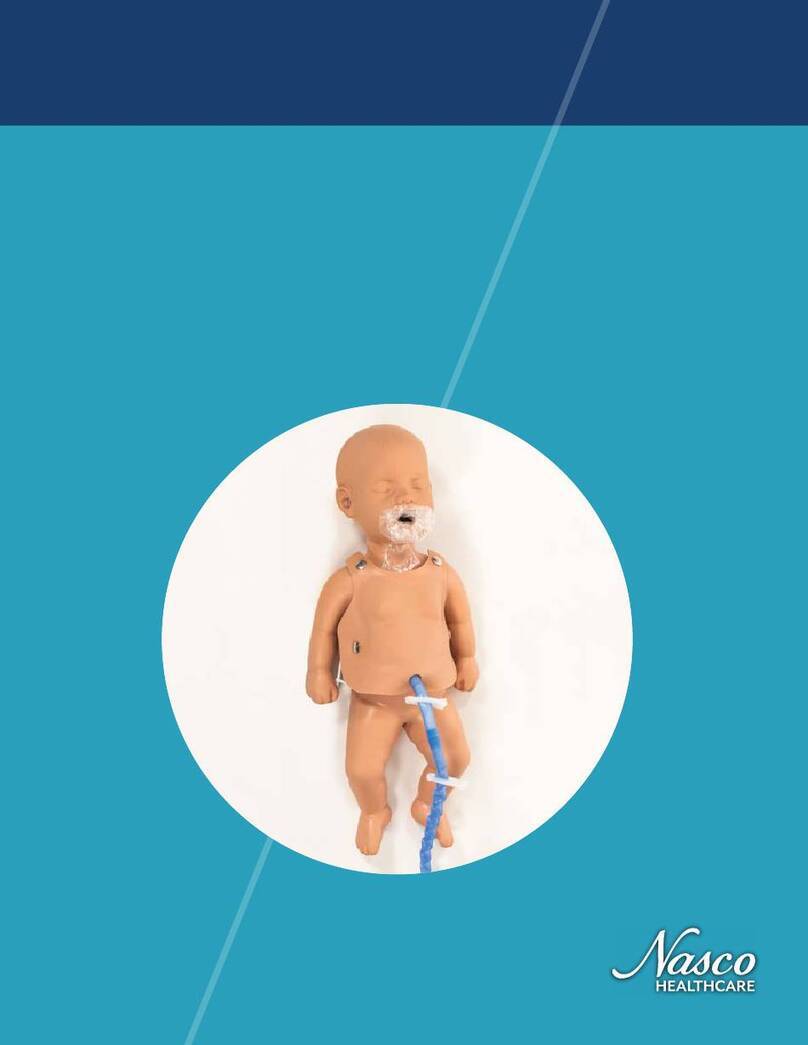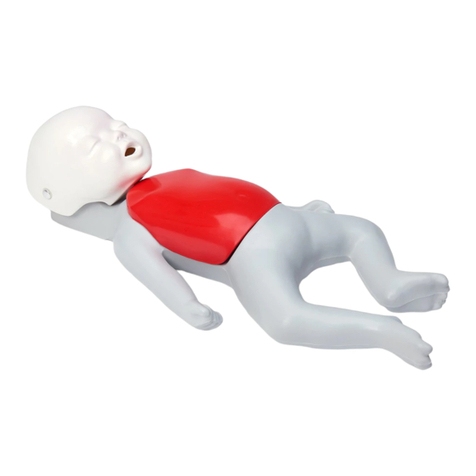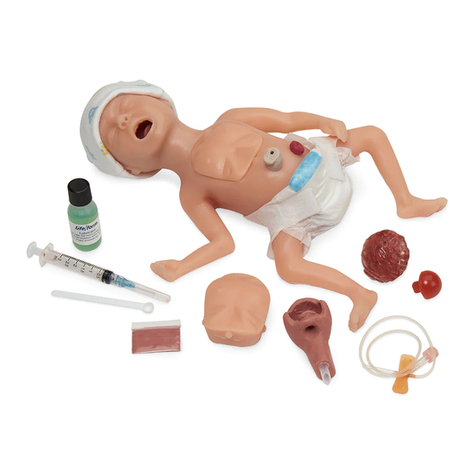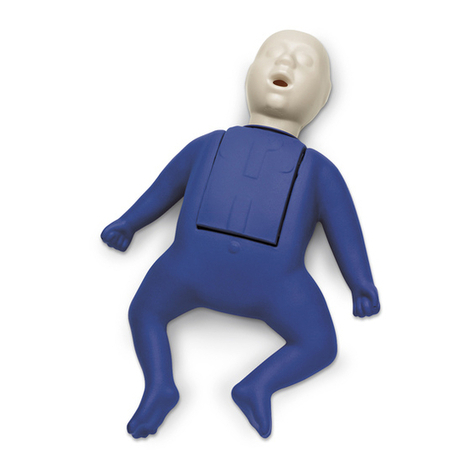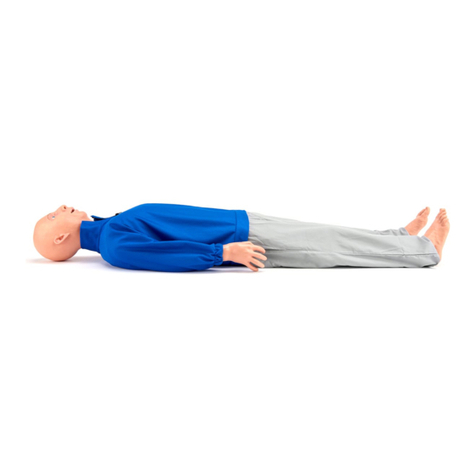
Thank you for purchasing a Pediatric Water Rescue Manikin. The product comes with two tools; a faucet
connection hose and an air inflation bulb.
To simulate realistic weight and to use in water rescue and safety training, fill manikin with water using
the following instructions.
FILL MANIKIN
Steps:
1. Hold manikin upside down or lay in sink.
2. Open both valves on bottom of manikin’s feet. Rescue Timmy has one metal valve on the left foot
and one aqua drain valve with an internal flap on the right foot.
3. Attach hose from faucet to left metal valve on baby’s
foot or insert through internal flap of aqua drain valve
on Timmy’s foot. (See Figure 1.)
4. Fill manikin with warm water until water begins to flow
from the open metal valve on right foot.
5. Shut off flow of water.
6. Close valve on right foot.
7. Remove hose from valve on left foot.
8. Gently squeeze air from manikin until water flows from
left valve. Close valve tightly.
9. Let manikin lay 1 or 2 minutes with head down.
10. Repeat steps 2 through 8 making sure all air is out of
the manikin.
NOTE: Do not store manikins filled with water. Microbiological growth could occur and extreme
temperature will effect the manikin.
Rescue Cathy & Billy
Rescue
Timmy
Figure 1
RETURN POLICY
Should it be necessary to return an item for credit or for any other reason, contact our Customer Care
Department to obtain an RGA Number. Please refer to your invoice number when phoning in your request
for returning merchandise. For more information on any product we manufacture; call or write our Customer
Care Department.
Freight and shipping charges are the sole responsibility of the end user. No product will be received with
shipping charges due. Any product considered for warranty work must be identified by serial number and
invoice number from the agency through whom the product was purchased. Without this information the
product will not receive a return authorization number as required.
WARRANTY
Simulaids® warrants their products to be free from defects in materials and/or workmanship for a period
of three years from the date of purchase, as evidenced by the date on the invoice of the product shipment
to the end user. The warranty expressly does not cover abuse, accidental or purposeful damage, or any
form of modification to the product. This warranty does not cover moulage products. Simulaids® reserves
the right to either replace affected parts or the entire unit, at their sole discretion, after investigating and
reviewing the actual product and the damage. In most instances, a digital photo of the product in ques-
tion showing the damage will help qualify a product for return to the factory. At no time will any product
be accepted at the factory without proper return authorization issued by Simulaids®.
Do not allow print material to come in contact with the skin of your product. The ink will embed
in the porous surface and be impossible to remove. Ink stains are not covered under warranty.
DRAIN MANIKIN
After every use the manikin must be drained of all
water and filled with air before storing it.
Steps:
1. Place manikin’s feet into sink and open both
valves. Insert pencil or dowel (DO NOT
USE PEN) through internal flap of aqua
drain valve for Timmy manikin only.
(See Figure 2.)
2. Let drain 30 minutes.
3. Holding manikin over sink, squeeze excess
water from manikin.
4. Repeat steps 2 and 3.
5. Close metal valve on left foot of baby
manikin. Close aqua drain valve cap on
Timmy manikin.
6. Attach tubing from inflation bulb to metal
on right foot. Inflate manikin with air by
pumping bulb. DO NOT OVERINFLATE.
Grasp valve with tubing and turn to close.
(See Figure 3.)
7. Remove inflation bulb assembly.
Actual product may vary slightly from photo. Nasco Healthcare reserves the right to change product
color, materials, supplies, or function as needed.
Figure 2
Figure 3
HC190001INM37.indd 3-4 4/9/19 10:03 AM
About the Simulator
2
.
Thank you for purchasing a Pediatric Water Rescue Manikin. The product comes
with two tools; a faucet connection hose and an air inflation bulb. To simulate
realistic weight and to use in water rescue and safety training, fill manikin with
water using the following instructions.
FILL MANIKIN
Steps:
1. Hold manikin upside down or lay in sink.
2. Open both valves on bottom of manikin’s feet.
*Rescue Timmy has one metal valve on the left foot and one aqua drain valve
with an internal flap on the right foot.
Thank you for purchasing a Pediatric Water Rescue Manikin. The product comes with two tools; a faucet
connection hose and an air inflation bulb.
To simulate realistic weight and to use in water rescue and safety training, fill manikin with water using
the following instructions.
FILL MANIKIN
Steps:
1. Hold manikin upside down or lay in sink.
2. Open both valves on bottom of manikin’s feet. Rescue Timmy has one metal valve on the left foot
and one aqua drain valve with an internal flap on the right foot.
3. Attach hose from faucet to left metal valve on baby’s
foot or insert through internal flap of aqua drain valve
on Timmy’s foot. (See Figure 1.)
4. Fill manikin with warm water until water begins to flow
from the open metal valve on right foot.
5. Shut off flow of water.
6. Close valve on right foot.
7. Remove hose from valve on left foot.
8. Gently squeeze air from manikin until water flows from
left valve. Close valve tightly.
9. Let manikin lay 1 or 2 minutes with head down.
10. Repeat steps 2 through 8 making sure all air is out of
the manikin.
NOTE: Do not store manikins filled with water. Microbiological growth could occur and extreme
temperature will effect the manikin.
Rescue Cathy & Billy
Rescue
Timmy
Figure 1
RETURN POLICY
Should it be necessary to return an item for credit or for any other reason, contact our Customer Care
Department to obtain an RGA Number. Please refer to your invoice number when phoning in your request
for returning merchandise. For more information on any product we manufacture; call or write our Customer
Care Department.
Freight and shipping charges are the sole responsibility of the end user. No product will be received with
shipping charges due. Any product considered for warranty work must be identified by serial number and
invoice number from the agency through whom the product was purchased. Without this information the
product will not receive a return authorization number as required.
WARRANTY
Simulaids® warrants their products to be free from defects in materials and/or workmanship for a period
of three years from the date of purchase, as evidenced by the date on the invoice of the product shipment
to the end user. The warranty expressly does not cover abuse, accidental or purposeful damage, or any
form of modification to the product. This warranty does not cover moulage products. Simulaids® reserves
the right to either replace affected parts or the entire unit, at their sole discretion, after investigating and
reviewing the actual product and the damage. In most instances, a digital photo of the product in ques-
tion showing the damage will help qualify a product for return to the factory. At no time will any product
be accepted at the factory without proper return authorization issued by Simulaids®.
Do not allow print material to come in contact with the skin of your product. The ink will embed
in the porous surface and be impossible to remove. Ink stains are not covered under warranty.
DRAIN MANIKIN
After every use the manikin must be drained of all
water and filled with air before storing it.
Steps:
1. Place manikin’s feet into sink and open both
valves. Insert pencil or dowel (DO NOT
USE PEN) through internal flap of aqua
drain valve for Timmy manikin only.
(See Figure 2.)
2. Let drain 30 minutes.
3. Holding manikin over sink, squeeze excess
water from manikin.
4. Repeat steps 2 and 3.
5. Close metal valve on left foot of baby
manikin. Close aqua drain valve cap on
Timmy manikin.
6. Attach tubing from inflation bulb to metal
on right foot. Inflate manikin with air by
pumping bulb. DO NOT OVERINFLATE.
Grasp valve with tubing and turn to close.
(See Figure 3.)
7. Remove inflation bulb assembly.
Actual product may vary slightly from photo. Nasco Healthcare reserves the right to change product
color, materials, supplies, or function as needed.
Figure 2
Figure 3
HC190001INM37.indd 3-4 4/9/19 10:03 AM
3. Attach hose from faucet to left metal valve on baby’s foot or insert through
internal flap of aqua drain valve on Timmy’s foot. (See Figure 1.)
4. Fill manikin with warm water until water begins to flow from the open metal
valve on right foot.
5. Shut off flow of water.
6. Close valve on right foot.
7. Remove hose from valve on left foot.
8. Gently squeeze air from manikin until water flows from left valve.
Close valve tightly.
9. Let manikin lay 1 or 2 minutes with head down.
10. Repeat steps 2 through 8 making sure all air is out of the manikin.
NOTE: Do not store manikins filled with water. Microbiological growth could
occur and extreme temperature will effect the manikin
