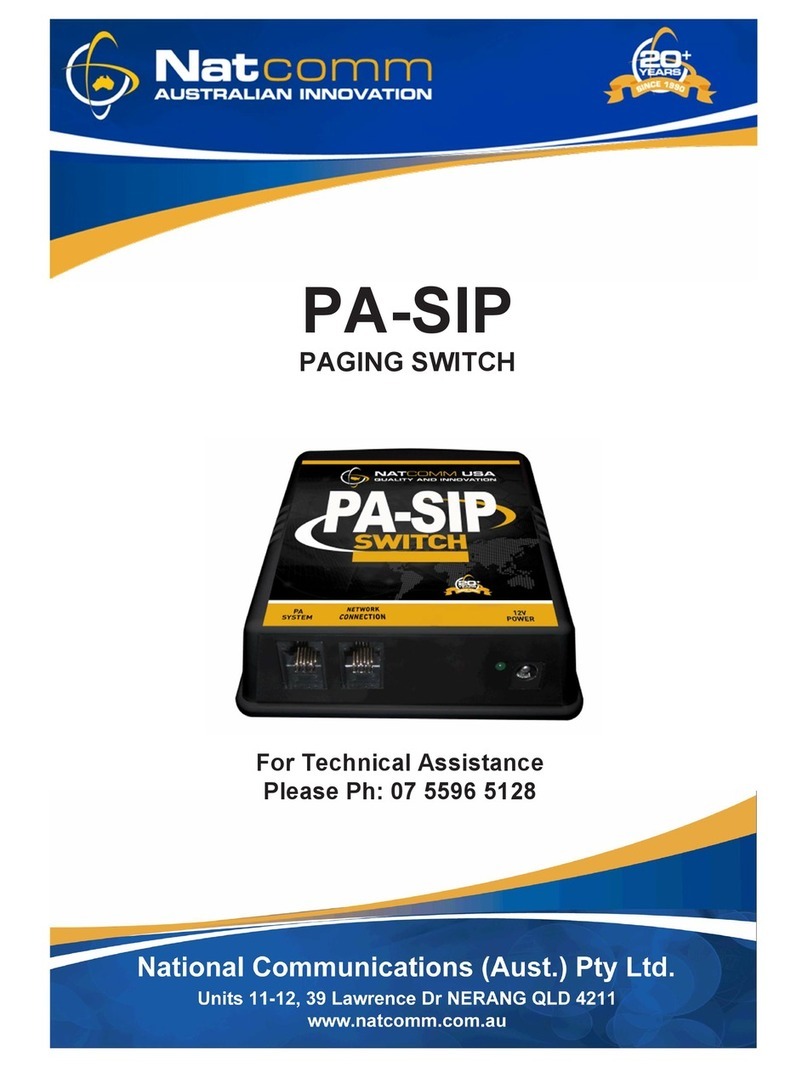
NatComm PA2 User manual

PA2
PAGING SWITCH
USER GUIDE
For Technical Assistance
Please Ph: 07 5596 5128
or Email : [email protected]om.au

Page 2 Natcomm
PACKING LIST
Your Model PA2 Paging Switch is supplied as a complete kit, ready for quick and
easy installation.
Description Qty
PA2 Paging Switch 1
12V Power Adaptor 1
Telephone Line Cord, fitted with a male plug 1
RCA to PA2 Connection cable 1
(includes integrated Isolation Transformer)
.

Natcomm Page 3
OPERATION
Our Model PA2 Paging Switch is designed to connect to an Analog extension of a
conventional PBX telephone system, or an FXS, FXO or ATA port of an IP telephone
system.
It can also be connected direct to an analog PSTN telephone line, for special
applications such as telephone exchange based PBX solutions.
Once installed, PA2 provides you with the capability to make a Paging Call from any
extension of your PBX, as follows :
1.
DIAL AN EXTENSION NUMBER
To make a paging call, the User need only dial the telephone extension number
that PA2 is connected to.
2.
MAKE YOUR ANNOUNCEMENT
PA2 will automatically answer the incoming call after 1 ring and then connect
the caller to the attached paging amplifier. The caller can then make a paging
announcement and hang up.
3.
HANG UP
PA2 has a ‘hang up tone’ detection circuit which will then terminate the call after
the detection of Two AUSTRALIAN specification hang up tones. PA2 will then
be ready to take another paging call.
NOTE
PA2 is calibrated to detect AUSTRALIAN Specification Hang Up tones. If your PBX
telephone system has not been set to output AUSTRALIAN Specification Hang Up
tones when a call is terminated, then you should change it to do so.
If your PBX telephone system cannot output AUSTRALIAN Specification Hang Up
tones, then PA2 can terminate a call after any one of the following other conditions
takes place:
1)
By pressing any TOUCH TONE digit after the announcement.
2)
After a fixed period of time (set by the User).
3)
After detection of a period of silence (set by the User).
See pages 6-7 for full details.

Page 4 Natcomm
INSTALLATION
Refer to the Installation Diagram on Page 5.
1.
Unplug all equipment from the Analogue telephone extension socket to be
u sed.
2.
Connect the TELEPHONE EXTENSION port of PA2 Switch to the Analogue
telephone service, using the supplied RJ to RJ telephone cable.
3.
Locate the supplied RCA to PA2 Connection cable and connect the SYSTEM
port of the RCA to PA2 Connection cable to the PA SYSTEM port of the PA2
Switch, Using the supplied RJ to RJ telephone line cable.
4.
Connect the SOURCE end of your RCA to PA2 Connection cable to the Line In
or Auxiliary Input of the Amplifier, using the supplied Audio cable which has an
RCA Audio plug.
5.
Connect the supplied power adaptor to the PA2 SWITCH and switch the power
ON.
6.
Switch your Amplifier ON, place a paging call to the PA2 switch and adjust
your PA volume to suit.
7.
Hang Up.
PA2 will hang up after detection of 2 Hang Up tones.
8.
User Programming of PA2 Switch parameters.
Three User Programmable parameters are provided.
In most cases you will not need to program PA2.
Refer to pages 6-9.

Natcomm Page 5
INSTALL
A
TION DIAGRAM

Page 6 Natcomm
HANG UP TONE DETECTION
PA2 incorporates a HANG UP TONE DETECTOR which is designed to detect
‘AUSTRALIAN’ specification hang up tones, that will normally be present at the
completion of a Paging call. This process is fully automatic.
When PA2 is installed on a PBX system, the Hang Up tone generated may be outside
of the cadence and frequency normally used in the AUSTRALIA for Hang Up tones.
In this situation, PA2 may not hang up until the Maximum Paging Call Time has
elapsed (see section 4, page 7), or after a period of silence (see section 3, page 7).
Our Hang Up detector, looks for :
1.
A Tone Frequency between 300Hz and 600Hz.
2.
A Tone Duration between 200mS and 600mS.
3.
A 50% Duty Cycle +/- 20%
(ie ON and OFF periods should be the same +/- 20%)
You should adjust your PBX system to generate Hang Up tones as per the above
specification, or to output normal AUSTRALIAN Hang Up tones.
OR
You can use one or more of the other Call Termination methods described on page 7.
ELECTRO MAGNETIC INTERFERENCE
Electromagnetic Interference (EMI) from some Switch Mode Power Supplies and
some UPS units (Uninterruptable Power Supplies) can prevent hang up tones being
detected by PA2.
Switch Mode Power Supplies are easily identified because they do not use a
transformer and are very light.
If you are experiencing a problem, you can isolate the source of the problem by firstly,
turning OFF any Switch Mode Power Supplies located near PA2 (and its power
adaptor) and test if the problem is resolved. If the problem is resolved you should
move the offending Switch Mode Power Supply away from PA2 (and its power
adaptor) to a suitable distance that overcomes this problem (usually 2m or more). If
the PA2 power adaptor is connected to an Uninterruptable Power Supply, remove it
and also test if the problem is resolved.
Natcomm Page 7
CALL TERMINATION OPTIONS
A paging call be terminated in any one of 3 ways:
1. UPON DETECTION OF HANG UP TONES
PA2 is pre-programmed to automatically HANG UP the paging call after the detection
of Two AUSTRALIAN Specification Hang Up tones.
PA2 is calibrated to look for AUSTRALIAN specification Hang Up tones (see page 6).
You can change the detection parameters or disable this facility (refer pages 9-11).
2. BY THE USER PRESSING ANY TOUCH TONE
The person making the Paging Call can terminate the paging call by pressing ANY
Touch Tone number (0-9) on their telephone keypad at the completion of their
announcement.
3. AFTER A FIXED PERIOD OF TIME
PA2 will automatically terminate a paging call after a programmable length of time.
The default connection time for PA2 is : 30 seconds.
This is a handy back up in case any of the above methods fails to take place.
The default time can be set from 1 second to 99 hours (see page 9-11).

Page 8 Natcomm
SAFETY LINE ISOLATION CABLE
PA2 is supplied with a Paging Amplifier connection cable that has an Integrated
Isolation Transformer to provide Safety Isolation from harmful voltages that could
come from the Paging Amplifier should it malfunction.
Do not attempt to connect any equipment to the PA SYSTEM port of this unit without
Using the supplied Paging Amplifier connection cable.
PA2 is designed to only operate when the supplied Paging Amplifier connection
cable is connected.
The SYSTEM port of the Paging Amplifier connection cable has a modular (RJ11 6
pin) connector to connect to the PA SYSTEM Port of PA2 Switch, using the supplied
RJ11 to RJ11 cable.
The SOURCE port of the Paging Amplifier connection cable has a modular (RJ 4
pin) connector which should connect to the supplied Audio Cable with the RCA Audio
plug.

Natcomm Page 9
PROGRAMMING OPTIONS
PA2 Switch provides for FOUR separate User Programmable settings. In most cases
you will not need to program PA2, as the default settings are likely to be suitable for
typical sites.
THE NUMBER OF RINGS BEFORE PA2 ANSWERS
You can set the number of rings before PA2 will answer incoming calls and switch
to the Paging Amplifier :
Allowable Range : 01 to 19 rings
Default Setting is : 1 rings
THE FIXED TIME DURATION OF A PAGING CALL
You can set a fixed CALL TIME in seconds (minutes or hours) that will take place
before PA2 will HANG UP.
Allowable Range : 01 to 99
Default Setting is : 30 seconds
You can also change the Allowable Range from 01-99 seconds to either : 01-99
minutes or 01-99 hours (see page 11, section B)
HANG UP TONE PARAMETERS
You can Disable or Delay Hang Up tone detection.
Set 00 if you wish to DISABLE Hang Up Tone detection
Set 01-99 to DELAY the start of Hang Up Tone detection for 01-99 seconds after
the paging call is answered.
Allowable Range : 01 to 99
Default Setting is : 5 seconds

Page 10 Natcomm
PROGRAMMING PROCEDURE
Should you need to program PA2, please follow the procedure below :
1.
TURN OFF POWER TO YOUR PA2 UNIT
2.
DISCONNECT THE LIU FROM PA2 SWITCH
PA2 will not program with the LIU connected.
3.
CONNECT A STANDARD ANALOG TELEPHONE
(or a telephone buttinski) to the Programming port of PA2
4.
TURN ON POWER TO YOUR PA2 UNIT
5.
PA2 WILL OUTPUT 3 SHORT ‘BEEPS’
Do not proceed until you have heard 3 short beeps.
If you do not hear 3 beeps, return to the start (1).
6.
ENTER THE REQUIRED SETTINGS :
As specified in sections A to C on page 11.
You can change one or more settings in any order.
You will hear a single ‘beep’ after each correct entry.
.

Natcomm Page 11
PROGRAMMING PROCEDURE
A.
NUMBER OF RINGS TO ANSWER
To enter the NUMBER OF RINGS press #1xx
where xx = number of rings and can be 01-19
(for example, press #105 for 5 rings)
B.
MAXIMUM DURATION OF THE PAGING CALL
To enter the MAXIMUM PAGING TIME press #2xx
where xx = number of seconds and can be 01-99
(for example, press #215 for 15 seconds)
If the Duration of the call needs to be more than 99
seconds, then you can change the duration as follows :
To change DURATION TIME to seconds press #31
To change DURATION TIME to minutes press #32
To change DURATION TIME to seconds press #33
C.
HANG UP TONE DETECTION
To DISABLE HANG UP TONE Detection; press #400
To DELAY HANG UP TONE Detection; press #4xx
where xx = number of seconds and can be 01-99
(for example, press #415 for 15 seconds).

Page 12 Natcomm
SPECIFICATIONS
Dimensions (inches) : 4.2 (W) x 4.2 (D) x 1.7 (H)
Dimensions (mm) : 106 (W) x 106 (D) x 43 (H)
Weight : 6 ounce or 170g
Power Supply : 12V AC or 12V DC Power
Power Consumption : Idle - 0.5 W; Call – 0.75W
Line IN Connector : RJ 11 6 pin (2 center)
Program Port Connector : RJ 11 6 pin (2 center)
Power Connector : 2.5mm barrel connector
FCC & IC COMPLIANT : Supplier Number NC
Ringer Equivalence Number : 0.1 REN
WARRANTY
This device is guaranteed against defects from workmanship for a period of two
years (24 months) from the date of purchase.
In the event of a problem, please call ph (07) 5596 5128 for assistance and if
necessary, a Return Authorization. You should then return your unit, along with
the proof of purchase date, and a written statement about the nature of the
problem.
The Manufacturers obligation is solely to repair or the product. The product may
be replaced at the discretion of the Manufacturer. The warrantor is not liable for
any incidental or consequential damages due to such defects.
This Warranty shall not apply to any unit which has been subject to alteration,
modification, abuse, negligence, accident, external voltage/ lightning surge or
Used in any manner contrary to these instructions.
The User is responsible for freight costs to the repair point. The warrantor will be
responsible for freight costs in returning this unit back to the User.
Damage caused to this device or attached equipment by lightning strikes or over
voltage surge is not covered under this warranty.
THE CASE IS SEALED AT THE FACTORY.
OPENING THE CASE WILL VOID THE WARRANTY.
Other manuals for PA2
1
Table of contents
Other NatComm Switch manuals

NatComm
NatComm PA-SIP User manual

NatComm
NatComm Speaker Switching Unit User manual

NatComm
NatComm PA1 User manual

NatComm
NatComm Faxability Switch 2 User manual

NatComm
NatComm PA2 User manual

NatComm
NatComm DUET SWITCH 1 User manual

NatComm
NatComm Multiple Input Unit User manual

NatComm
NatComm Multiple Modem Switch User manual

NatComm
NatComm EFT-POS User manual

NatComm
NatComm DUET User manual