BHM
10/17/18
NTV-DOC254
Agreement: End user agrees to use this product in compliance with all State and Federal laws. NAV-TV Corp. would not be held liable for
misuse of its product. If you do not agree, please discontinue use immediately and return product to place of purchase. This product is
intended for off-road use and passenger entertainment only.
3 | P a g e
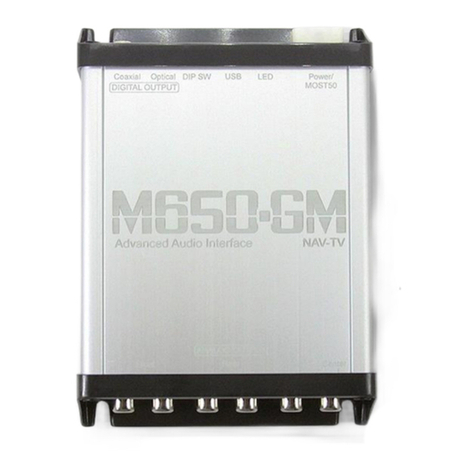
1. The BMW09-N intercepts the OEM screen video cable and power harness, both are
located at the screen. You must gain access to behind the screen for proper installation.
a. Remove any dash panels secured to the sub-dash to access the Torx screws
which secure the screen. Remove the screen and set aside.
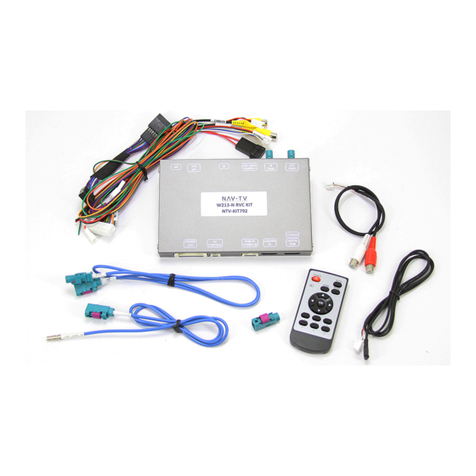
2. Connect the provided 8-PIN T-Harness (located on the main power harness) in between
the OEM screen harness and the screen.
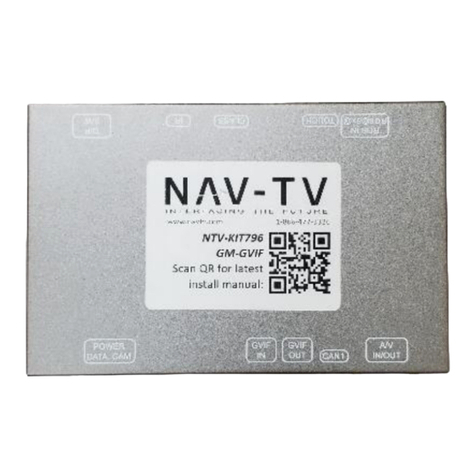
3. Connect the provided LVDS video cable to the port on the BMW09-N interface labeled
’LCD OUT’ and the other end back to the screen at the LVDS port.
4. Connect the OEM LVDS video cable (originally connected to the screen) to the port on
the BMW09-N interface labeled ‘LCD IN’.
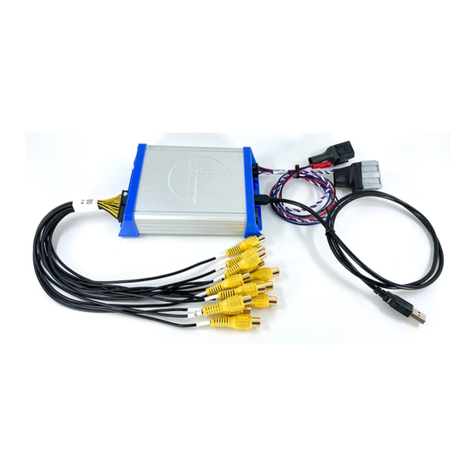
5. Install and run the reverse camera power and signal to the BMW09-N interface location and
connect to the RCA labeled ‘CAMERA’. Power your camera with an ACC source or use the
violet wire for reverse 12v (+) only. NOTE: this wire outputs 500 mA MAX –do not use to
supply power to more than 1 camera. Use this wire to trigger a relay if you’re concerned
with current supply.
6. Optional: If installing a secondary camera or AUX video source, connect signal RCA to the
RCA on the BMW12-N interface labeled ‘AVIN’.
7. After DIP switch settings have been set (see page 2), connect the 24-PIN power
connector to the BMW09-N interface labeled ‘POWER CAN’. Proceed to Menu Options
section if necessary (front camera settings, etc) or to BMW09-N Operation.
