BHM
01/23/17
NTV-DOC280
Agreement: End user agrees to use this product in compliance with all State and Federal laws. NAV-TV Corp. would not be held liable for
misuse of its product. If you do not agree, please discontinue use immediately and return product to place of purchase. This product is
intended for off-road use and passenger entertainment only.
6 | P a g e
10. Connect signal from the rear camera to the RCA labeled ‘CAMERA’ among the main
Power/CAN harness.
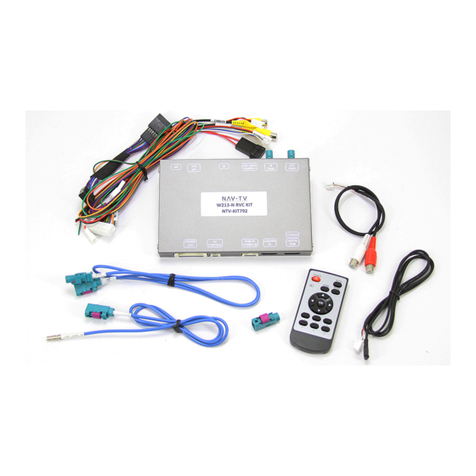
11. Connect the white plug from the Power/CAN Harness to the port on the W205-H RVC
interface labeled ‘POWER/CAN’.
12. Optional: If adding an additional video input (including front camera), use the provided
RCA labeled ‘AV IN’ for signal input. This video source must be powered with an ACC
source. NOTE: If the user desires for automatic front camera-switching, this option must
be set upon installation. See MENU Settings on page 8.
13. Optional: If adding the HD-LINK Adapter to allow HDMI input, connect the following:
a. ACC 12v (+) must be tapped from the cigarette lighter harness 12v
b. Ground (-) must be tapped from the cigarette lighter harness (-)
c. Connect the provided HDMI Cable from the ‘VIDEO OUT’ HDMI connector on the
HD-LINK to the ‘DIGITAL RGB’ connector on the W205-H interface.
d. Connect your provided HDMI signal source to the ‘HDMI IN’ port on the HD-LINK
e. Set AV1 (or AV2) to ‘HD95E’ in the W205-H menu settings (see page 8).
14. Start the car and test for proper functionality before replacing any dash pieces.
NOTE: If after verifying DIP Switches and you still don’t get reverse activation (screen switching to cam-image
while in reverse), re-test with ALL dash-board pieces connected properly.
NOTE: If the above was tried and you still are not getting anything on screen, providing the green wire among
the CAN 2 Harness with a (+) reverse signal will switch the screen manually.

