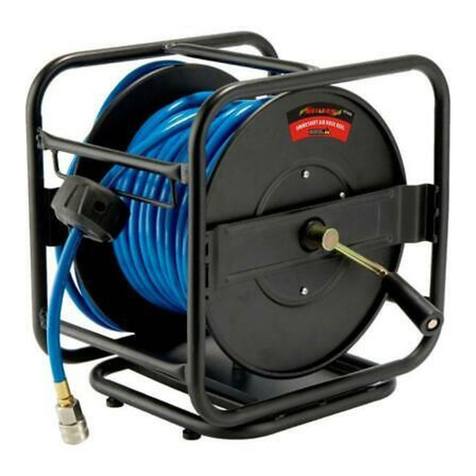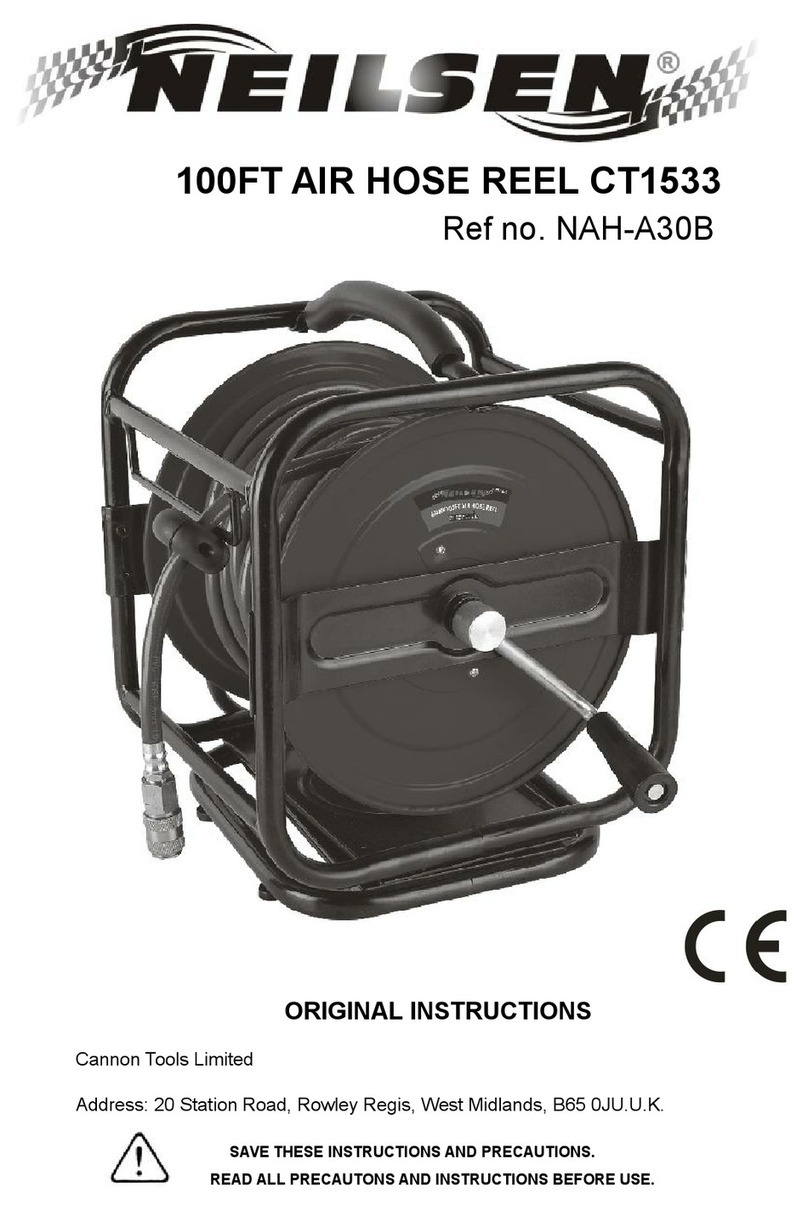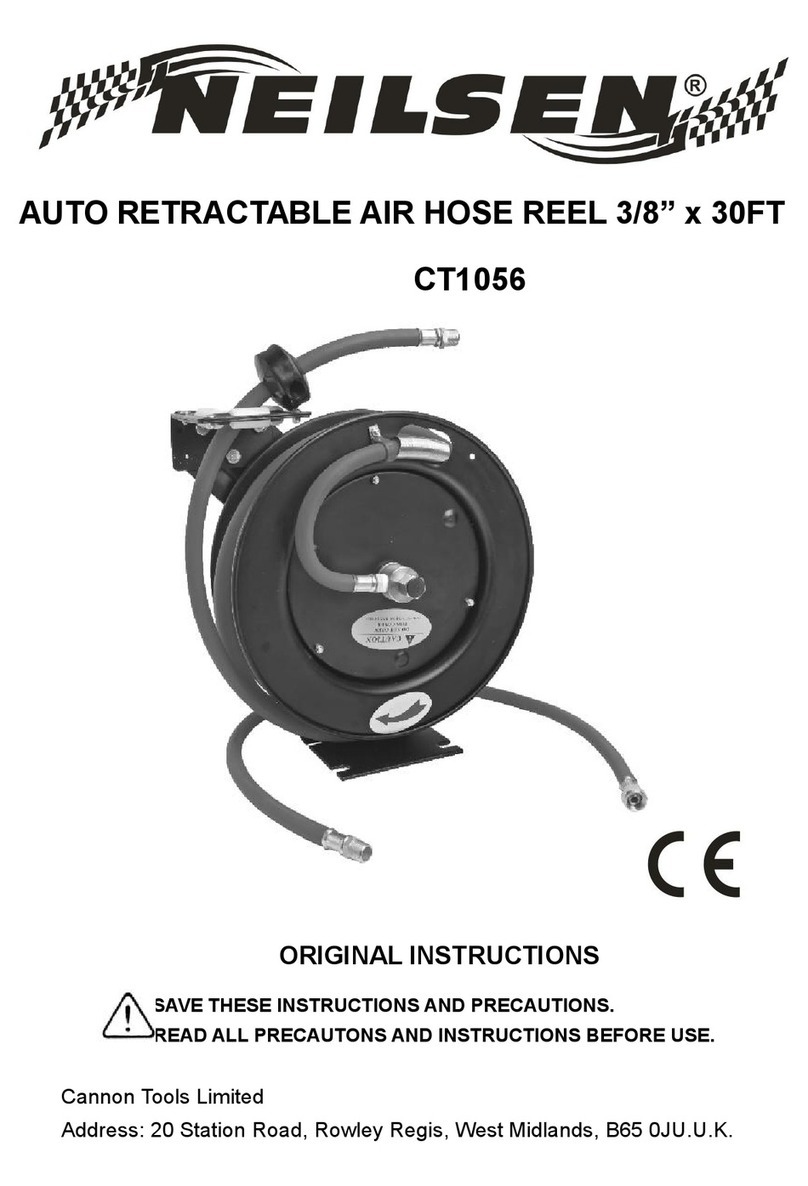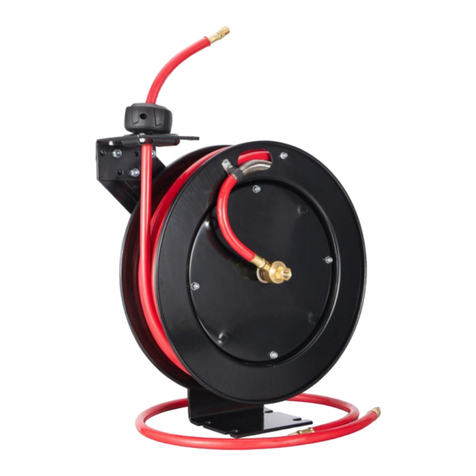
1. Remove the Bolts on the Support Post and reposition to move the guide
rollers, if needed, for the desired mounting location (wall, floor or ceiling).
2. Replace the Bolts and tighten.
1. Choose a mounting location that is free of electrical wiring or other
obstructions, and is sturdy enough to support the weight of the Reel and
hose as well as the force used to extend and retract it.
2. Make a paper template from the mounting plate of the Reel. Mark the
center of the bolt holes in the desired mounting location.
3. Check for hidden wiring, then, drill holes to accommodate 1/2” bolts
4. Mount the Reel and secure in place with four bolts.
ADJUST THE SPRING TENSION
1. Pull out approximately six feet of Hose.
2. Remove the Hose Stopper from the Hose and slide the Hose out of
the Roller Guide so the Hose is hanging loose.
a. To increase tension, wrap the loose hose one time around the
b. To decrease tension, unwrap the hose one time from the drum.
3. Run the hose back through the guide and re-attach the hose stopper.
4. Pull the Hose out several feet to check the tension.
GENERAL OPERATING INSTRUCTIONS
1. Check the Wheel operation by slowly pulling the Hose out. You should
2. To lock the Hose, pull it out a minimum of 1/2 revolution and it will stay
locked after the first, second, or third click.
3. To unlock, slowly pull until the clicking stops, and let it retract until the
Hose Stopper hits the Hose Guide.
CAUTION! Hold on to the Hose while it is rewinding, to avoid damage to the
4. Attach a coupler (sold separately) to your air compressor hose and
apply thread seal tape to the Inlet fitting on the Reel. Connect the
coupler to the Inlet fitting.
5. Connect your air tool to the other end of the Hose using another coupler
6. Follow all instructions from the air tool and compressor for set up and
7. When finished using the Hose, disconnect the air tool and retract the
hose. Wipe the Hose Reel clean with a dry cloth.
