manuals.online logo
Brands
  1. Home
  2. •
  3. Brands
  4. •
  5. Nektar
  6. •
  7. Recording Equipment
  8. •
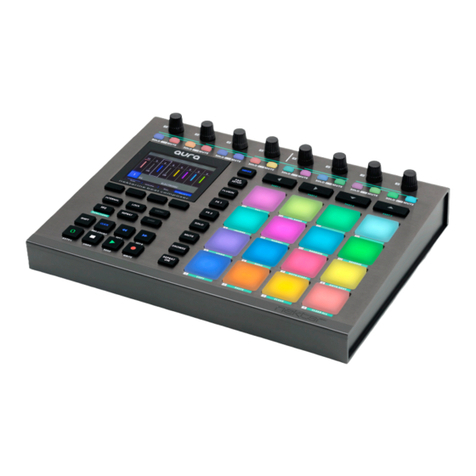
  9. Nektar Aura Safety guide

Nektar Aura Safety guide

www.nektartech.com Nektar Aura Cubase Integration 1
Setup
Here are the steps you need to go through to get Cubase up and running with Aura::
• Make sure Cubase is already installed on your computer. If not, please install and run it at least once and quit Cubase again.
• Run the Aura_Steinberg_Support installer, included in the package along with this PDF guide..
• Connect Aura to your computer or a powered USB hub connected to your computer and make sure it‘s switched on.
• Launch Cubase.
• In Cubase go to Studio/Studio Setup and select MIDI Port Setup.
• Untick all of the ports in the ‘In ‘All MIDI Inputs‘‘ column except for
- macOS: ‘AURA Internal‘
- Windows: ‘AURA‘.
The ports should now look similar to the image below.
• Click ‘OK‘ to close the Studio Setup window.
That’s it, setup is now complete and Aura should be communicating with Cubase.
Nektar Aura: Cubase Setup and User Guide
2 Nektar Aura Cubase Integration www.nektartech.com
When Aura is connected and detected by Cubase, the [DAW] button is illuminated blue and the display has been updated.
The [DAW] button toggles Cubase control on/off when Nektarine is present on a track.
Transport Buttons
Aura‘s transport buttons control Cubase ‘s transport functions exclusively, regardless of whether Nektarine mode, Aura‘s Sequencer,
Internal mode or Repeat is selected.
The buttons activate primary and secondary functions. The secondary functions are accessed when [Shift] is pressed:
Aura and Cubase Working Together
Buttons: Shift Click Rewind Forward
Description: Switch Metronome On/
O. Cubase does not
update the LED‘s color.
Moves the play position
backwards by 1 bar. Hold
for continued rewind.
Moves the play forward
by 1 bar. Hold for conti-
nued forward.
Secondary functions:
Press [Shift]+ [Button] to
activate
n/a Pre-Count: Not in use.
Cubase does not have a
pre-count feature.
Set L: Sets the left loop
point to current play
position.
Set R: Sets the right loop
point to current play
position.
Buttons: Loop Stop Play Record
Description: Switch Loop On/O. The
buttons LED is green
when on.
Stops playback or record. Activates play. Activates Record
Secondary functions:
Press [Shift]+ [Button] to
activate
Goto L: Moves Song
Position to the left loop
point.
Undo: Activates Cubase‘s
Undo function.
Read: Switch Automation
Read on/o in Cubase.
Write: Switch Automation
Write on/o in Cubase.
Using the transport buttons to set loop points can be done quickly once it has been practiced a little:
• Use Forward/Rewind to move the Song Play Position to where you want the left locator.
• Press [Shift]+[<<] to set the left locator.
• Press the Forward/Rewind buttons again to move the Song Play Position to where you want the right locator.
• Press [Shift]+[>>] to set the right locator.
[R1-8] and Display Functions
The [R1-8] pots control Cubase arrangement functions
[R1 - Loop]: Move the current loop by the length of the loop. Press [Shift] while moving [R1] to move in 1 bar increments.
[R2 - Loop Length]: Change the length of the loop in 1 bar increments. Press [Shift] while moving [R2] to adjust in beats.
[R3 - Tempo]: Adjust the tempo in BPM. Press [Shift] while moving [R3] to adjust in 1/10 of a BPM increments.
[R4 - Footswitch]: Programs the footswitch behavior with a selection of 6 options.
INTERNAL: Retains the assignment from Aura‘s Internal Mode.
PLAY/STOP: Toggle Cubase‘s Play/Stop buttons.
RECORD: Activates Cubase‘s Record button.
TAP TEMPO: Tap the footswitch to set the tempo in Cubase
LOOP: Switch Loop On/Off
ADVANCE LOOP: Moves the loop the length of the loop to the next location.
[R5 - <Track>]: Scroll through Cubase tracks by moving the pot.
[R6 - Song Pos]: Moves the Song Position.
[R7 - <Marker>]: Selects Cubase markers
www.nektartech.com Nektar Aura Cubase Integration 3
Aura and Cubase Working Together
[Display button 1 - Tap Tempo]: Tap in time to set tempo in Cubase
[Display button 2 - Marker In]: Press to set a Cubase marker at current song position
Activating Nektarine for Aura Control
Once an instrument track hosting Nektarine is selected, press [DAW] to toggle between DAW mode and controlling Nektarine.
Aura automatically detects the Nektarine instance hosted on the current track. Because of this, running even several hundred instances of
Nektarine in any one project is a seamless control experience.
You can change track either from Aura or directly in Cubase, though Aura behaves a little different depending on the method:
• Selecting track from Aura always leaves Aura in DAW mode. Press the [DAW] button to control Nektarine.
• Selecting a track hosting Nektarine directly in Cubase using the mouse, activates that instance.
• Selecting any track that does not host Nektarine directly in Cubase, while Nektarine is active, will automatically switch back to DAW
mode.
• Selecting another Nektarine track following will automatically activate that instance.
Aura and Groove Agent
Steinberg‘s Groove Agent plugin can be controlled from Aura using one of the prepared templates described on this page.
Note that Groove Agent SE is not a VST3 plugin and therefore cannot be hosted in Nektarine.
Routing Aura’s MIDI Out to a Specific Track in Cubase
Routing Aura to one specific track is useful. If you plan to use the sequencer running alongside Cubase for example, routing to one track only
prevents the sequencer from playing notes on other tracks, as they are selected. To set this up, complete the following steps.
• Go to Studio/Studio Setup and make sure that all ports are now unticked in the
‘In ‘ALL MIDI Inputs’’ column. If you followed the setup on page 1, that means the
macOS: ‘AURA Internal‘ or in Windows: ‘AURA‘ port should now be unticked as well as all the others.
• Select the track you want Aura routed to. Then click on the MIDI in field (by default its set to
‘ALL MIDI Inputs’) and select the Aura MIDI port you unticked in Studio Setup. This will route
Aura to this track only, unless you select it also for other tracks.
• Activate the amber monitor button for the track. This ensures you can hear
MIDI data sent to the track from Aura, even when ‘Record enabled’ is not active.
You can also activate Nektarine instance Lock so Aura controls don’t change, even
if you change track. Press [Shift]+[Lock] to Lock/Unlock the current instance.
Support
If you are not getting the results described, please check your installation one more time as well as the Nektar support tab on our website
www.nektartech.com. You can also contact our support staff here

Other manuals for Aura

2

Other Nektar Recording Equipment manuals

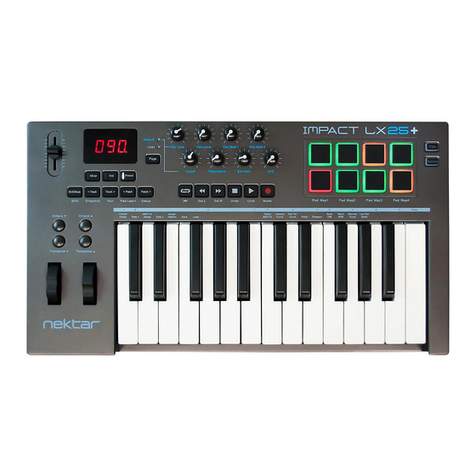
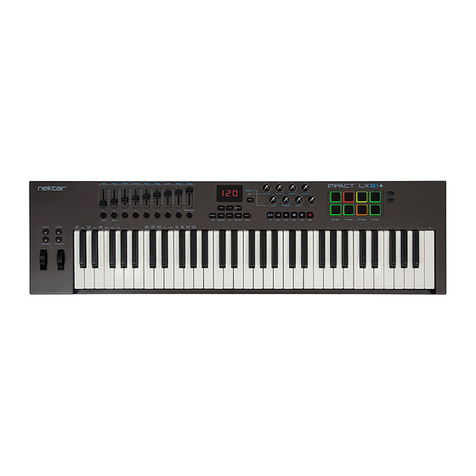
Nektar Impact LX49+ User manual

Nektar

Nektar Impact LX49+ User manual

Nektar IMPACT GXP 49 User manual

Nektar

Nektar IMPACT GXP 49 User manual

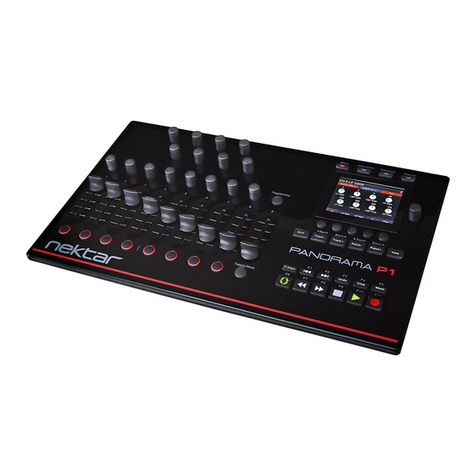
Nektar Panorama P1 User manual

Nektar

Nektar Panorama P1 User manual

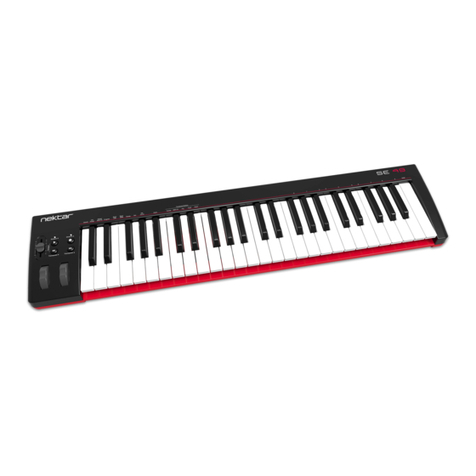
Nektar SE49 User manual

Nektar

Nektar SE49 User manual

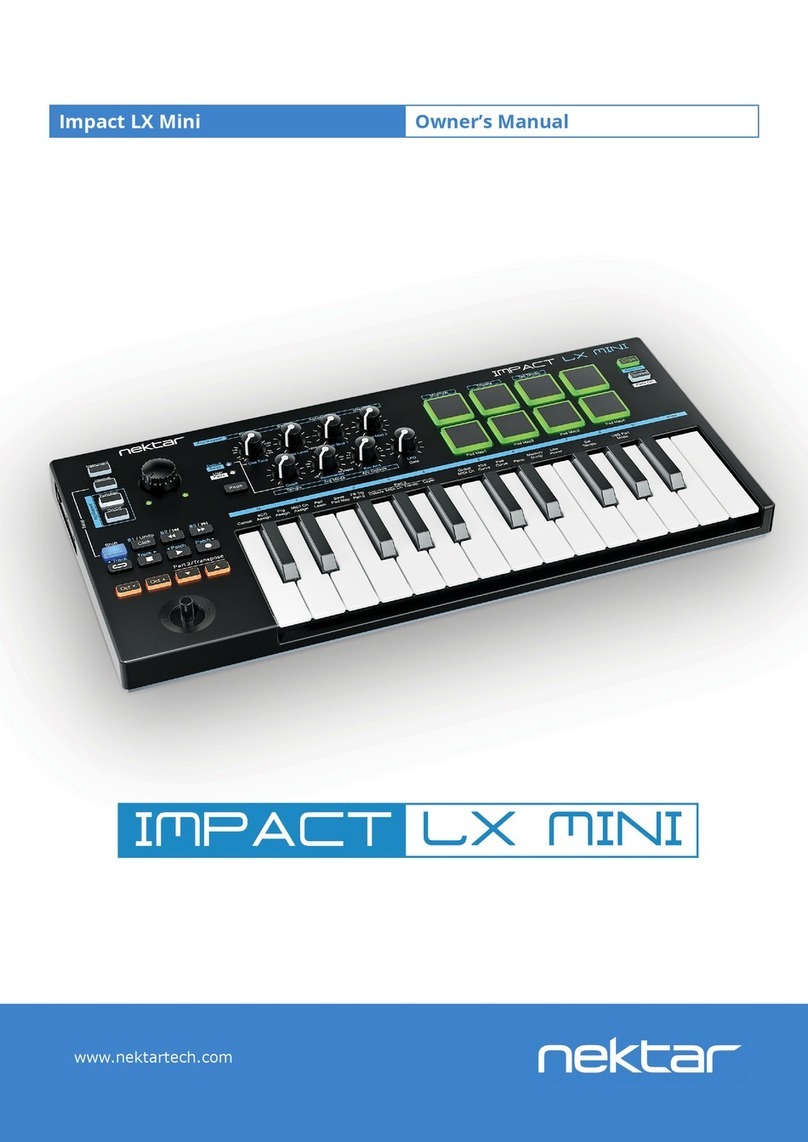
Nektar Impact LX Mini User manual

Nektar

Nektar Impact LX Mini User manual

Nektar Aura User manual

Nektar

Nektar Aura User manual

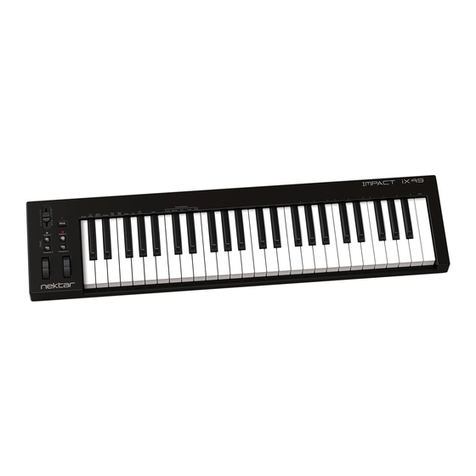
Nektar Impact iX49 User manual

Nektar

Nektar Impact iX49 User manual

Nektar SE49 User manual

Nektar

Nektar SE49 User manual

Nektar Reason T4 User manual

Nektar

Nektar Reason T4 User manual

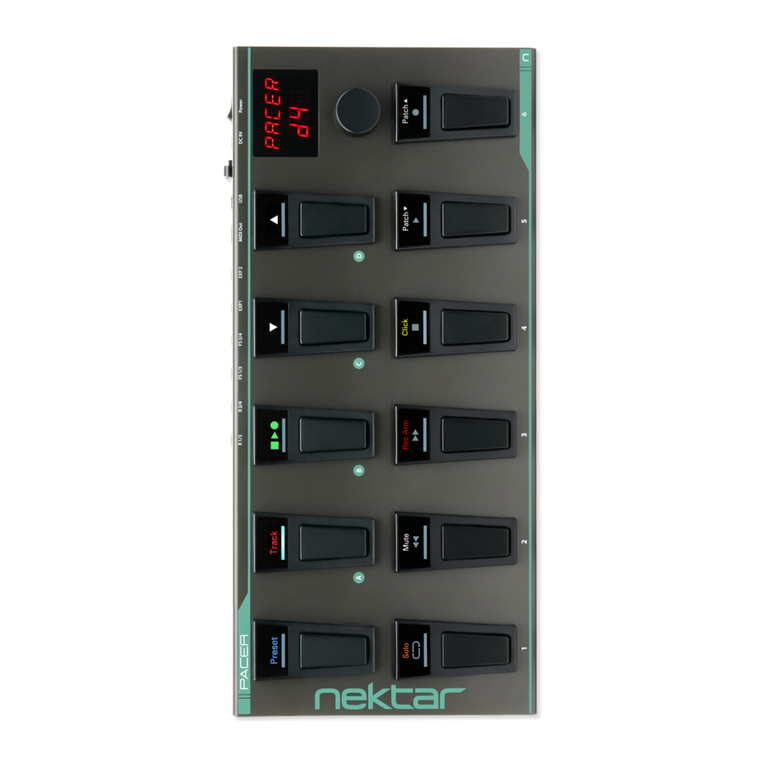
Nektar Pacer User manual

Nektar

Nektar Pacer User manual

Nektar Aura Safety guide

Nektar

Nektar Aura Safety guide

Nektar Impact iX49 User manual

Nektar

Nektar Impact iX49 User manual

Nektar Impact LX49+ Manual

Nektar

Nektar Impact LX49+ Manual

Nektar Panorama P1 User manual

Nektar

Nektar Panorama P1 User manual

Popular Recording Equipment manuals by other brands

Incite Fire SEC-HIM-35 product manual

Incite Fire

Incite Fire SEC-HIM-35 product manual

RSS Digital Snake S-1608 owner's manual

RSS

RSS Digital Snake S-1608 owner's manual

Origin Effects CALI76 user manual

Origin Effects

Origin Effects CALI76 user manual

Peavey TubeFex Operation manual

Peavey

Peavey TubeFex Operation manual

Tektronix 7S14 instruction manual

Tektronix

Tektronix 7S14 instruction manual

Martin Audio Installed System Digital Management Processor Engineer... user manual

Martin Audio

Martin Audio Installed System Digital Management Processor Engineer... user manual

RCA 10---Band Stereo Graphic Equalizer Service manual

RCA

RCA 10---Band Stereo Graphic Equalizer Service manual

Nady Systems SC-100 user guide

Nady Systems

Nady Systems SC-100 user guide

IMC Cansas - SCI8 Getting started

IMC

IMC Cansas - SCI8 Getting started

PIRATE MIDI BRIDGE4 user manual

PIRATE MIDI

PIRATE MIDI BRIDGE4 user manual

M-Audio KeyRig49e user guide

M-Audio

M-Audio KeyRig49e user guide

Tigertronics SignaLink Installation and operation guide

Tigertronics

Tigertronics SignaLink Installation and operation guide

National Instruments PCI-GPIB Getting started

National Instruments

National Instruments PCI-GPIB Getting started

Tascam HD-R1 technical information

Tascam

Tascam HD-R1 technical information

CZone Signal Interface User & installation manual

CZone

CZone Signal Interface User & installation manual

Woodward SPM-D10 manual

Woodward

Woodward SPM-D10 manual

Meicheng DSS-R-CL1100 manual

Meicheng

Meicheng DSS-R-CL1100 manual

Nav TV GM IO3-PRG installation manual

Nav TV

Nav TV GM IO3-PRG installation manual

manuals.online logo
manuals.online logoBrands
  • About & Mission
  • Contact us
  • Privacy Policy
  • Terms and Conditions

Copyright 2025 Manuals.Online. All Rights Reserved.