manuals.online logo
Brands
  1. Home
  2. •
  3. Brands
  4. •
  5. NetApp
  6. •
  7. Storage
  8. •
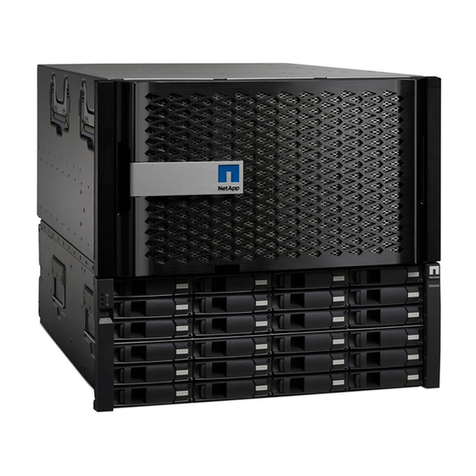
  9. NetApp AltaVault System Manual

NetApp AltaVault System Manual

HELPFUL LINKS
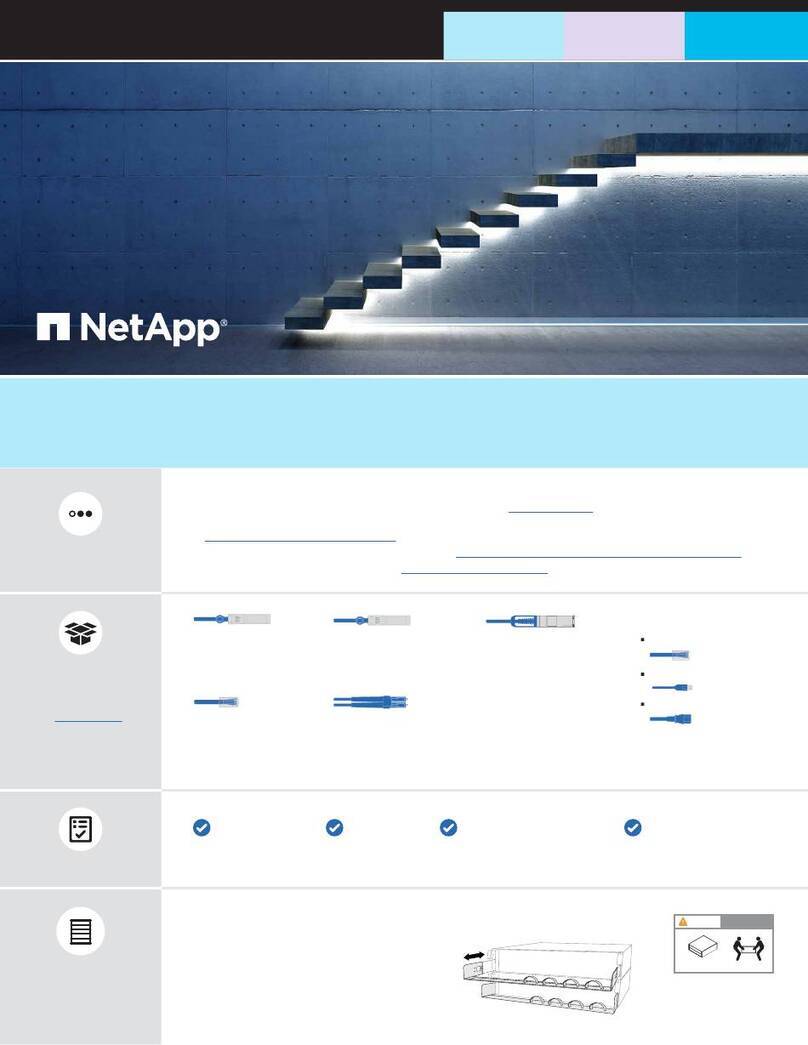
Visit the NetApp web site for more information.
NetApp
support site
Complete AltaVault System Setup
5
Power switch
1
2
4
1235
Visually verify that the ID for each disk shelf is unique, and if not, set the disk shelf ID.
NOTE: A valid shelf ID for a AltaVault system could be one of 00, 01, 10, 11.
00 is the default shelf ID.
a. Using one hand, hold the left ear cover between your thumb and index nger.
Pull either the top or the bottom of the cover until one end is released.
Pull off the left ear cover.
b. Press and hold the shelf ID button until the rst digit
on the digital display blinks.
c. Press the button until the desired number (between 0 and 9) is displayed.
This number continues to blink.
d. Repeat steps b and c for the second digit.
e. Press and hold the button until the second number stops blinking.
Both numbers on the digital display should blink and
the shelf fault LED illuminates in about ve seconds.
The fault LED stays lit until you power-cycle the shelf.
f. Power-cycle the disk shelf to make the new disk shelf
ID takes effect.
g. Replace the left ear cover.
Set the disk shelf ID
0 1 2 3 4 5 6 7 8 9 10 11 12 13 14 15 16 17 18
480 GB
480 GB
480 GB
480 GB
480 GB
480 GB
480 GB
480 GB
480 GB
480 GB
480 GB
480 GB
480 GB
480 GB
480 GB
480 GB
480 GB
480 GB
480 GB
480 GB
480 GB
480 GB
480 GB
480 GB
DS2246
Left ear cover
Shelf ID
digital display
(two digits)
Shelf fault LED
1
2
You must power on all the disk shelves before powering on the controller.
Powering on the controller before the disk shelf prevents AltaVault OS from operating normally.
Verify that the power supplies are working correctly:
PSU OK LED ( ) is lit green in each power supply.
View the disk shelf LEDs (on shelf front) to verify the disk
shelf powered on correctly:
Power LED ( ) is lit green.
Fault LED ( ) is not lit.
Power on disk shelf; move the power switch to the ON (|) position.
BOTH power supplies MUST be powered on.
•
•
Verify that the power supplies are working correctly:
PSU OK LED ( ) is lit green in each power supply.
View the system LEDs (on controller front) to verify the controller powered on correctly:
Power LED ( ) is lit green.
System attention LED ( ) blinks for a few minutes while AltaVault OS is booting up.
The System attention LED turns off when AltaVault OS is nished booting up.
Power on controller; move the power switch to the ON (|) position.
BOTH power supplies MUST be powered on.
•
•
Hold the bezel parallel to the front of the controller.
Install the bezel on the controller front as shown in the illustration.
The bezel will snap into place.
Install bezel
•
•
•
See the NetApp AltaVault Cloud Integrated Storage Installation and Service Guide at the NetApp Support site.
FRONT
VIEW OF
CONTROLLER
REAR
VIEW OF
CONTROLLER
Power switch
13
14
15
16
7
8
9
10
3
4
5
6
LINK LINKLINK LINK
0a 0b 0c 0d
e0be0a
0
e0e e0fe0c e0d
LINK LINKLINK LINK
L
N
K
a
b
c
d
X206 7
INT LNK
LNK ACT
LNK ACT
X314 9 A
A
B
C
D
To view AltaVault documentation see:
http://mysupport.netapp.com
210-06615+A0
Installation and Setup Instructions
AltaVault System
Computer with Internet
Initial conguration is done via
serial console
Additional network cables
For connecting your storage system to
Ethernet switches
You provide:
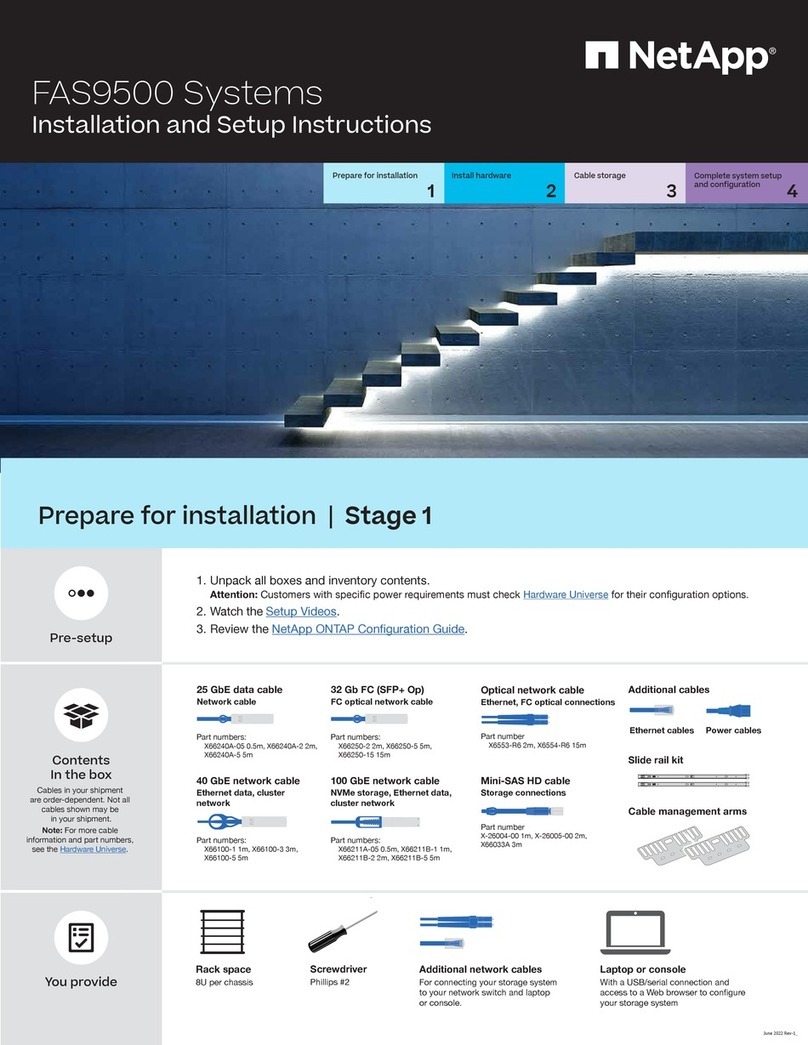
Prepare for installation
14 5
123
Configuration
worksheet
Power cables:
2 per controller chassis
2 per disk shelf
SAS cables:
mini SAS HD-QSFP cable (controller-shelf)
QSFP-QSFP cable (shelf-shelf)
In the box:
Install AltaVault controller
24 5
123
Rack space - 10U
AltaVault system chassis: 6U
AVA10S disk shelf: 4U
Screwdriver and screws
For securing hardware into racks
You provide:
Bezel
Power LED
System
attention LED
Controller
activity LED
A
A
X20 6 7 X31 4 9 A
Console port
(Setting: 9600 N-8-1)
Management port
(wrench icon)
13
4
e i
0e j
0e k
0ei
0
3
4
2
LNK
a
0b
0c
0d
0
LNK LNK LNK
0a
ee0b e0c e0d
LNK LNK LNK LNK LNK LNK LNK LNK
0e|0e
e0f|0f
e0g|0g
e0h|0h
e
Controller
attention LED
|
|
|
|
Power
supplies
Power on disk shelf
1
Power on controller
2
Finish AltaVault Setup over Serial Console
3
RAID Card with
mini SAS HD ports
RAID Card with
mini SAS HD ports
2
1
Connect power cords
4
Connect cables
45
1234
Connect controller to a computer
2
Connect controller to networks
1
AltaVault controller: 1
Up to 3 AVA10S shelves
Configuration
X206 7 X314 9 A
13
4
e i
0e j
0e k
0e i
0
3
4
2
LNK
a
0b
0c
0d
0
LNK LNK LNK
0a
ee0b e0c e0d
LNK LNK LNK LNK LNK LNK LNK LNK
0e|0e
e0f|0f
e0g|0g
e0h|0h
e
•
•
1 Meter mini SAS to QSFP+
5 Meter mini SAS to QSFP+
Controller
Two power supplies MUST be installed in each
controller chassis.
DO NOT power on the
controller at this point.
Power switch
Power switch
Use
retaining clips
X206 7 X314 9 A
1
3
4
e i
0e j
0e k
0e i
0
3
4
2
LNK
a
0b
0
c
0d
0
LNK
LNK LNK
0a
ee0b e0c e0d
LNK LNK LNK LNK LNK LNK LNK LNK
0e|0e
e0f|0f
e0g|0g
e0h|0h
e
- Ensure the power switch on each
power supply is in the OFF position (O).
-
Cable both power supplies for each
controller chassis.
Disk shelf
Two power supplies MUST be installed in each disk shelf.
-Ensure the power switch on each power supply is in
the OFF position (O).
-
Cable both power supplies for each disk shelf.
•
•
Install disk shelves
34 5
123
DO NOT remove HDDs from the disk shelf during installation. Excessive handling of the drives can lead to internal damage.
Install shelf in rack or cabinet
NOTE: You can install the shelf above or below the controller.
The distance between the shelf and controller is dependent on the length of the SAS cables you plan to use.
Mount the disk shelf in the rack.
Secure shelf to rack using appropriate screws (not provided).
Install the mounting rails (provided in rail kit) following the instructions in rail kit.
Be cautious while lifting.
1
2
3
Alternatively, you can mid-mount the shelf using the mid-mount brackets provided in the rail kit.
LIFTING HAZARD
CAUTION
80-100 lbs. (36-45 kg)
3.0TB
3.0TB
3.0TB
3.0TB
3.0TB
3.0TB
3.0TB
3.0TB
3.0TB
3.0TB
3.0TB
3.0TB
3.0TB
3.0TB
3.0TB
3.0TB
3.0TB
3.0TB
3.0TB
3.0TB
3.0TB
3.0TB
3.0TB
3.0TB
•
Install AltaVault controller
2
Install controller in rack or cabinet
1
4 5
123
Install the mounting rails (provided in rail kit) following the instructions in rail kit.
Use chassis handles while lifting.
Mount the chassis in the rack.
Secure chassis to rack using appropriate screws (not provided).
1
2
3
To disk shelf SAS
port
Latch release CLICK
LIFTING HAZARD
CAUTION
95 lbs. (43.1 kg)
Alternatively, you can mid-mount the chassis using the mid-mount brackets provided in the rail kit.
Optional 2-Post
Mid-mount Brackets
NOTE: Controller and disk shelves are shipped in separate boxes.
FRONT VIEW OF DISK SHELF
24 Disk drives
Right ear cover
Left ear cover
Shelf ID digital display
(two digits)
Disk activity and fault LEDs
Shelf LEDs:
power
shelf fault
activity
REAR VIEW OF DISK SHELF
Two power supplies with integrated fans
DC fault
PSU ok
AC
Power supply LEDs :
AC fault
Fan fault
SAS ports SAS port link LEDs
IOM fault LED
Two I/O modules (IOM6)
Connect the management port (wrench
icon) on your controller to the Ethernet
switch in your management network,
using a network cable.
See your network administrator for
help connecting to your switches.
Connect 10GigE ports or GigE ports for
data connection.
Network cable
To Ethernet switch
To management port (wrench icon) on
controller
3
4
e i
0e j
0e k
0e i
0
2 4 6 8
1 3 5 7
10 12 14 16
9 11 13 15
12
11
14
13
16
15
6
5
8
7
10
9
2
1
4
31000/100/10M
LNK/
1000/100/10M
LNK/
2 4 6 8
1 3 5 7
10 12 14 16
9 11 13 15
12
11
14
13
16
15
6
5
8
7
10
9
2
1
4
31000/100/10M
LNK/
1000/100/10M
LNK/
To Ethernet switch 1
To host
LNK LNK LNK LNK
e0a e0b e0c e0d
GigE or 10GigE cables
10GigE ports
GigE ports
•
•
LNK
0h|0h
e
3
4
e i
0e j
0e k
0e i
0
Management subnet
AltaVault system
2 4 6 8
1 3 5 7
10 12 14 16
9 11 13 15
VLAN
Console port
Management
port
Windows client
Serial console is needed to congure IP address for
management port. Once this is done, further conguration
can be done using a web browser and connecting to the
management IP address.
Connect controller to shelf
3
SAS cabling instructions
*
Pull latch release to remove SAS cable.
NOTE:For optimal system performance, it is required that you
cable your storage system as described here.
NOTE:
For conguring more than one shelf, see the NetApp AltaVault Cloud Integrated Storage Installation and Service Guide.
To controller: Ensure that latch release is facing up.
To disk shelf: Ensure that latch release is facing down.
Insert this end of the SAS cable into the mini SAS HD port on the controller.
- Y
ou hear a distinct click when the c
able latches securely in the port.
- Tug on the cable to make sure the cable is latched securely.
- Re-attach the cable if you do not hear the click sound
or if the cable is loose.
*
Latch release
To controller
mini SAS HD port
CLICK
Other NetApp Storage manuals

NetApp FAS9500 User manual

NetApp

NetApp FAS9500 User manual

NetApp DS4243 Installation and maintenance instructions

NetApp

NetApp DS4243 Installation and maintenance instructions

NetApp StorageGRID Webscale SG6000 Series Operating manual

NetApp

NetApp StorageGRID Webscale SG6000 Series Operating manual

NetApp AFF A400 Manual

NetApp

NetApp AFF A400 Manual

NetApp StorageGRID Webscale SG6000 Series User manual

NetApp

NetApp StorageGRID Webscale SG6000 Series User manual

NetApp DiskShelf14mk4 FC User manual

NetApp

NetApp DiskShelf14mk4 FC User manual

NetApp H600S Series Manual

NetApp

NetApp H600S Series Manual

NetApp NearStore R100 User manual

NetApp

NetApp NearStore R100 User manual

NetApp E Series Instructions for use

NetApp

NetApp E Series Instructions for use

NetApp FAS2020 Manual

NetApp

NetApp FAS2020 Manual

NetApp FAS8300 User manual

NetApp

NetApp FAS8300 User manual

NetApp FAS8200 Series Manual

NetApp

NetApp FAS8200 Series Manual

NetApp FAS2240-2 User manual

NetApp

NetApp FAS2240-2 User manual

NetApp AFF A800 Instruction Manual

NetApp

NetApp AFF A800 Instruction Manual

NetApp StorageGRID Webscale SG5700 Series Operating manual

NetApp

NetApp StorageGRID Webscale SG5700 Series Operating manual

NetApp E Series User manual

NetApp

NetApp E Series User manual

NetApp E2712 User manual

NetApp

NetApp E2712 User manual

NetApp AFF A900 Manual

NetApp

NetApp AFF A900 Manual

NetApp AFF A400 User manual

NetApp

NetApp AFF A400 User manual

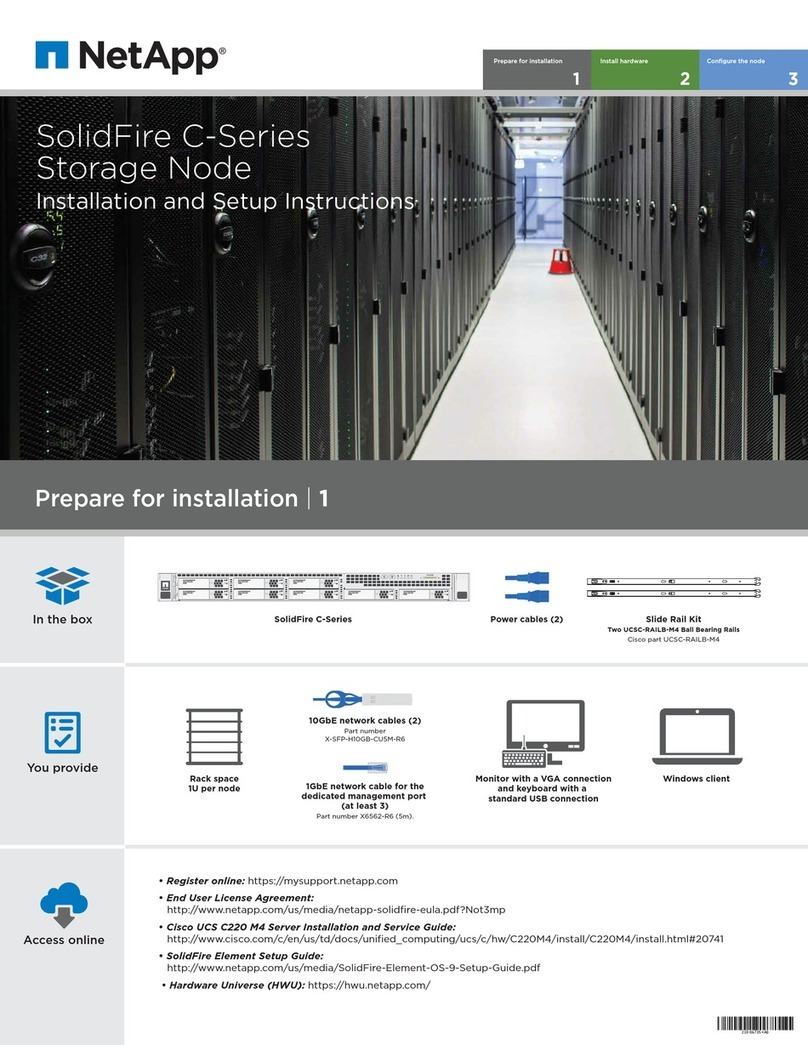
NetApp SolidFire C-Series Manual

NetApp

NetApp SolidFire C-Series Manual

NetApp AFF A400 User manual

NetApp

NetApp AFF A400 User manual

NetApp E Series User manual

NetApp

NetApp E Series User manual

NetApp FAS2700 Series User manual

NetApp

NetApp FAS2700 Series User manual

NetApp EF550 User manual

NetApp

NetApp EF550 User manual

Popular Storage manuals by other brands

Lexar JumpDrive FireFly quick start guide

Lexar

Lexar JumpDrive FireFly quick start guide

Sony SLW-MG2 operating instructions

Sony

Sony SLW-MG2 operating instructions

SimpleTech SimpleShare STI-NAS/160 quick start guide

SimpleTech

SimpleTech SimpleShare STI-NAS/160 quick start guide

Western Digital WDBAAH0015HCH - My Book Elite Specifications

Western Digital

Western Digital WDBAAH0015HCH - My Book Elite Specifications

Toshiba MK3259GSXP specification

Toshiba

Toshiba MK3259GSXP specification

Spectra Logic T-Series Spectra T50e quick start guide

Spectra Logic

Spectra Logic T-Series Spectra T50e quick start guide

HP StorageWorks EML E Series Installation

HP

HP StorageWorks EML E Series Installation

Drobo Drobo user guide

Drobo

Drobo Drobo user guide

Buffalo TeraStation 7000 user manual

Buffalo

Buffalo TeraStation 7000 user manual

Dell PowerVault NX3500 Getting started

Dell

Dell PowerVault NX3500 Getting started

Campbell SM4M instruction manual

Campbell

Campbell SM4M instruction manual

Sony Microdrive RHMD2G operating instructions

Sony

Sony Microdrive RHMD2G operating instructions

LG ESS Home 10 installation manual

LG

LG ESS Home 10 installation manual

OWC Mercury Elite Pro Dual mini user guide

OWC

OWC Mercury Elite Pro Dual mini user guide

Maxtor Atlas SCSI Drive 15K II Specification sheet

Maxtor

Maxtor Atlas SCSI Drive 15K II Specification sheet

Huawei FusionModule800 installation guide

Huawei

Huawei FusionModule800 installation guide

Drobo 5N Guide

Drobo

Drobo 5N Guide

Digital Equipment RA81 user guide

Digital Equipment

Digital Equipment RA81 user guide

manuals.online logo
manuals.online logoBrands
  • About & Mission
  • Contact us
  • Privacy Policy
  • Terms and Conditions

Copyright 2025 Manuals.Online. All Rights Reserved.