manuals.online logo
Brands
  1. Home
  2. •
  3. Brands
  4. •
  5. NetApp
  6. •
  7. Storage
  8. •
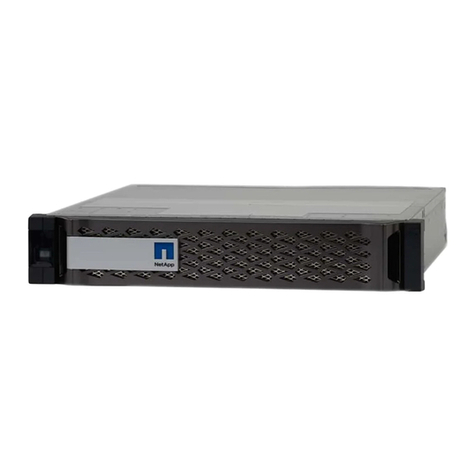
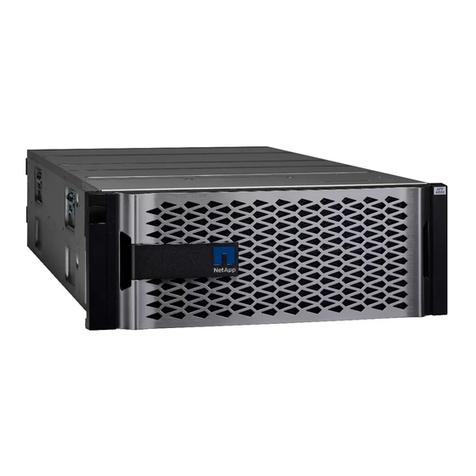
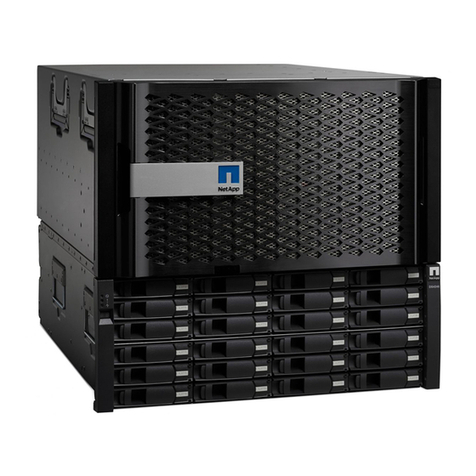
  9. NetApp AFF A900 Manual

NetApp AFF A900 Manual

Part numbers:
X66240A-05 (112-00639), 0.5m
X66240A-2 (112-00598), 2m
X66240A-5 (112-00600), 5m
25 GbE data cable
Network cable
December 2021 Rev-1_
1. Unpack all boxes and inventory contents.
Attention: Customers with specific power requirements must check Hardware Universe for their configuration options.
2. Watch the Setup Videos.
3. Review the NetApp ONTAP Configuration Guide.
Laptop or console
With a USB/serial connection and
access to a Web browser to configure
your storage system
Rack space
8U per chassis
Additional network cables
For connecting your storage system
to your network switch and laptop
or console.
Screwdriver
Phillips #2
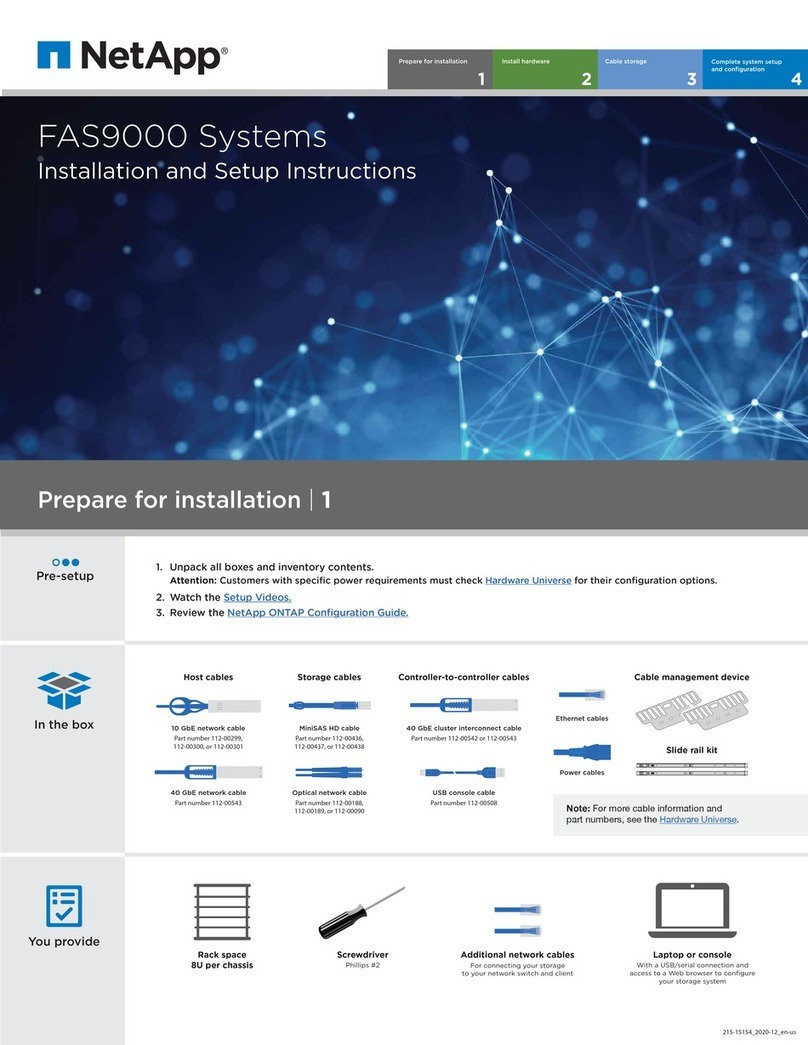
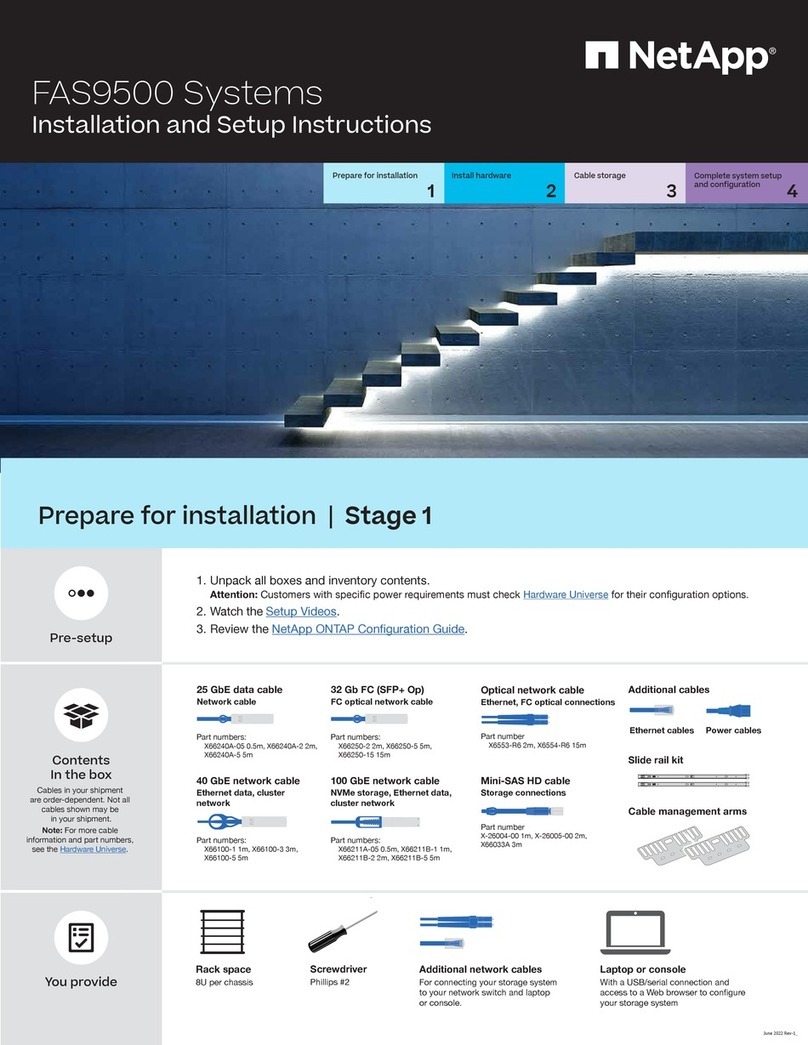
AFF A900 Systems
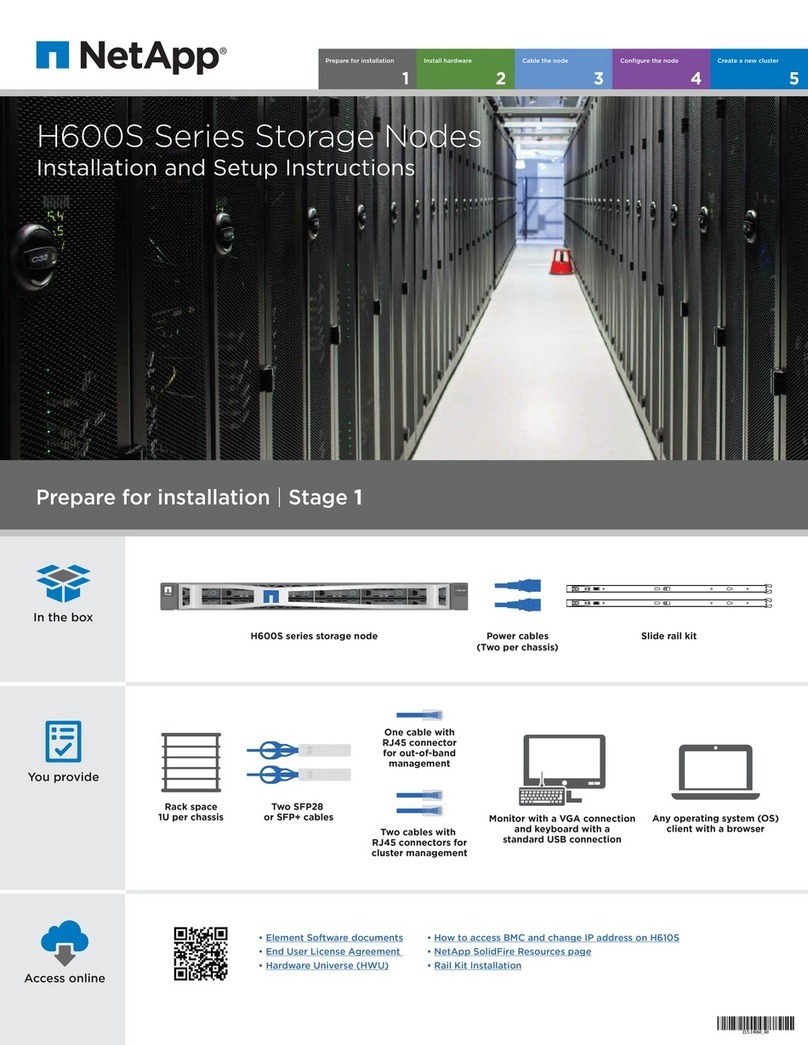
Installation and Setup Instructions
Prepare for installation | Stage 1
Contents
In the box
Cables in your shipment
are order-dependent. Not all
cables shown may be
in your shipment.
Note: For more cable
information and part numbers,
see the Hardware Universe.
You provide
Pre-setup
Install hardware Cable storage Complete system setup
and configuration
2
Prepare for installation
1 3 4
Optical network cable
Ethernet, FC optical connections
Part number
X6553-R6 (112-00188), 2m
X6554-R6 (112-00189), 15m
Slide rail kit
Additional cables
Power cablesEthernet cables
Cable management arms
100 GbE network cable
NVMe storage, Ethernet data,
cluster network
Part numbers:
X66211A-05 (112-00595), 0.5m
X66211B-1 (112-00573), 1m
X66211B-2 (112-00574), 2m
X66211B-5 (112-00576), 5m
Part numbers:
X66250-2 (112-00342), 2m
X66250-5 (112-00344), 5m
X66250-15 (112-00346), 15m
32 Gb FC (SFP+ Op)
FC optical network cable
40 GbE network cable
Ethernet data, cluster
network
Part numbers:
X66100-1 (112-00542), 1m
X66100-3 (112-00543), 3m
X66100-5 (112-00544), 5m
B5
B6
B4
B3
B2
B1
B10
B9
B8
B7
B11
A5
A6
A4
A3
A2
A1
A10
A9
A8
A7
A11
6-2
6-1
a b c d
a b
a b
a b
6-2
6-1
Controller A
PSU 1
Controller B
PSU 2 PSU 3 PSU 4
abcd
a b c d
a b c d a b c d
a b
a b
a b
a b a b
abcd
abcdabcd
B5
B6
B4
B3
B2
B1
B10
B9
B8
B7
B11
A5
A6
A4
A3
A2
A1
A10
A9
A8
A7
A11
6-2
6-1
a b c d
a b
a b
a b
6-2
6-1
Controller A
PSU 1
Controller B
PSU 2 PSU 3 PSU 4
abcd
a b c d
a b c d a b c d
a b
a b
a b
a b a b
abcd
abcdabcd
• Install rail kits, as needed, using the rail kit
installation instructions.
• Install the empty chassis into the system cabinet or rack.
• Reinstall the system components into the chassis,
matching the chassis slot ID with the slot ID
sticker on the component.
• Attach cable management arms.
• Place the bezel on the front of the system.
Install system in a rack or cabinet:
Cable controller for a switchless or switched cluster:
See your network administrator for help connecting to your switches.
DO NOT power on
controllers at this point.
Handles and cable
management arms
240 lbs. (109 kg)
Fully-populated chassis
90 lbs. (41 kg)
Empty chassis
2
1
Switchless cluster: Cable cluster
interconnect aports together in slot A4 and
B4 (e4a) and again in slot A8 and B8 (e8a).
Switched cluster: Cable cluster
interconnect a ports in slot A4 and B4 (e4a)
and again in slot A8 and B8 (e8a) to the
cluster network switch.
Connect the wrench ports to the
management switches.
Cable ports in slot A3 and B3 (e3a and e3c)
and slot A9 and B9 (e9a and e9c) to the
25 GbE network switches.
Cable host‐side bports in slot A4 and
B4 (e4b) and slot A8 and B8 (e8b) to
the host switch.
Cable ports in slot A5 and B5 (5a,
5b, 5c, and 5d) and slot A7 and B7
(7a, 7b, 7c, and 7d) to the
32 Gb FC network switches.
Strap the cables to the cable
management arms (not shown).
Connect the power cables to the PSUs
and connect them to different power sources
(not shown).
5
6
1
2
3
Cluster interconnect cable
(PN X66100)
40 GbE network cable (PN X66100)
Ethernet cable
Power cable
Switchless cluster
Switched cluster
PSU 1 and PSU 3
provide power to
all side A FRUs,
PSU 2 and PSU 4
provide power to
all side B FRUs.
A
PSU 1 PSU 2 PSU 3 PSU 4
B
2nd
power
source
1st
power
source
31
1
2To management
network switches
3
1
To cluster switches
1
To cluster switches
Install hardware | Stage 2
To 25 GbE
network
switches
To host
network
switch
To 32 Gb
FC network
switches
To 32 Gb
FC network
switches
To 25 GbE
network
switches
To host
network
switch
33
To 25 GbE
network
switches
To host
network
switch
To 32 Gb
FC network
switches
To 32 Gb
FC network
switches
To 25 GbE
network
switches
To host
network
switch
2To management
network switches
4
32 Gb FC (SFP+ Op) (PN X66250)
25 GbE network cable (PN X66240A)
4 4
4 4
B5
B6
B4
B3
B2
B1
B10
B9
B8
B7
B11
A5
A6
A4
A3
A2
A1
A10
A9
A8
A7
A11
6-2
6-1
a b c d
a b
a b
a b
6-2
6-1
abcd
a b c d
a b c d a b c d
a b
a b
a b
a b a b
abcd
abcdabcd
Shelf 1
NSM A
NSM B
e0a
e0a
e0b
e0b
Controller A Controller B
Connect controller A port e2a to port e0a on NSM A on the shelf.
Connect controller A port e10b to port e0b on NSM B on the shelf.
Connect controller B port e2a to port e0a on NSM B on the shelf.
Connect controller B port e10b to port e0b on NSM A on the shelf.
1
2
Cabling an AFF A900 with one NS224 disk shelf
Cable storage | Stage 3
100 GbE QSFP28 copper cable (PN X66211B)
Insert 100 GbE QSFP28 cable tab DOWN and gently push into place until it clicks.
B5
B6
B4
B3
B2
B1
B10
B9
B8
B7
B11
A5
A6
A4
A3
A2
A1
A10
A9
A8
A7
A11
6-2
6-1
a b c d
a b
a b
a b
6-2
6-1
abcd
a b c d
a b c d a b c d
a b
a b
a b
a b a b
abcd
abcdabcd
Cabling an AFF A900 with two NS224 disk shelves
Cable storage | Stage 3 cont.
a
b
Controller A
Slot 2
Controller B
e0a
e0b
e0a
e0b
Shelf 2
NSM A
NSM B
e0a
e0b
e0a
e0b
Shelf 1
NSM A
NSM B
Slot 10
a
b
a
b
a
b
Slot 10 Slot 2
Use the table to the right to connect your controllers to the two NS224 shelves.
100 GbE QSFP28 copper cable (PN X66211B)
Insert 100 GbE QSFP28 cable tab DOWN and gently push
into place until it clicks.
Shelf 1
Shelf 2
NSM A
NSM B
e0a
e0a
e0b
e0b
NSM A
NSM B
e0a
e0a
e0b
e0b
Controller A Controller B
Complete system setup and configuration |Stage 4
3Complete initial cluster setup with network discovery:
Note: If your laptop does not support network discovery, see the Detailed guide.
Connect your laptop to the management switch and access the network computers and devices.
Power on the shelves and set shelf IDs:
Note: For NS224 drive shelves, shelf IDs are pre-set to 00 and 01. If you want to change the shelf IDs, use the straightened end of a paperclip,
or narrow tipped ball point pen to access the shelf ID button behind the faceplate.
1. Plug the power cords into the shelf power supplies, and then connect them to power sources on different circuits.
Note: NS224 shelves have no power switch and will begin to boot. For all other shelf models, turn on the power switch to boot the shelves.
2. If you need to change the
shelf IDs, continue with substeps
a through e; otherwise, skip to
“Power on the controllers” below.
Repeat these steps for any
remaining drive shelves.
1
aOpen File Explorer
c
Double-click either ONTAP icon.
Note: Accept any certificates displayed on your screen.
b
Click network in the left pane.
Then right click and select refresh.
Laptop Management Switch
5Completing setup:
1. Click...
a) mysupport.netapp.com b) Create/log in to your account c) Register your system
2. Download and install Active IQ Config Advisor. Verify the health of your system by running Config Advisor.
3. After you have completed the initial configuration, go to the NetApp ONTAP Resources
page for information about configuring additional features in ONTAP.
4Use System Manager Guided Setup to configure your cluster.
2Turn on the power
switches to all nodes:
PSU 1 and PSU 3 provide
power to all side A FRUs,
PSU 2 and PSU 4 provide
power to all side B FRUs.
Remove end cap
Shelf ID number
0 0
a
Shelf ID number
0 9
c
Press and hold shelf ID button until 2nd
digit blinks, then push to advance to 0-9.
Note: The first digit stops blinking, and
the second digit continues to blink.
Wait 10 seconds for the
Amber LED (!) to appear,
then power-cycle the drive
shelf to set shelf ID.
e
0 9
Replace end cap
d
Shelf ID button
Faceplate
Press and hold shelf ID button until 1st digit
blinks, then push to advance to 0-9.
Note: The first digit continues to blink.
b
A
PSU 1 PSU 2 PSU 3 PSU 4
B
2nd
power
source
1st
power
source PSU 1 PSU 2 PSU 3 PSU 4
B5
B6
B4
B3
B2
B1
B10
B9
B8
B7
B11
A5
A6
A4
A3
A2
A1
A10
A9
A8
A7
A11
6-2
6-1
a b c d
a b
a b
a b
6-2
6-1
abcd
a b c d
a b c d a b c d
a b
a b
a b
a b a b
abcd
abcdabcd

Other manuals for AFF A900

3

Other NetApp Storage manuals

NetApp AltaVault System Manual

NetApp

NetApp AltaVault System Manual

NetApp StorageGRID Webscale 10.4 Product manual

NetApp

NetApp StorageGRID Webscale 10.4 Product manual

NetApp AFF A200 Operator's manual

NetApp

NetApp AFF A200 Operator's manual

NetApp FAS9500 Instruction sheet

NetApp

NetApp FAS9500 Instruction sheet

NetApp AFF A800 User manual

NetApp

NetApp AFF A800 User manual

NetApp H600S Series Manual

NetApp

NetApp H600S Series Manual

NetApp StorageGRID Webscale SG6000 Series Operating manual

NetApp

NetApp StorageGRID Webscale SG6000 Series Operating manual

NetApp StorageGRID Webscale SG6000 Series User manual

NetApp

NetApp StorageGRID Webscale SG6000 Series User manual

NetApp NearStore R100 User manual

NetApp

NetApp NearStore R100 User manual

NetApp FAS9000 Manual

NetApp

NetApp FAS9000 Manual

NetApp E-Series 3040 40U User manual

NetApp

NetApp E-Series 3040 40U User manual

NetApp DS4243 Installation and maintenance instructions

NetApp

NetApp DS4243 Installation and maintenance instructions

NetApp FAS9500 Manual

NetApp

NetApp FAS9500 Manual

NetApp FAS8700 Instruction sheet

NetApp

NetApp FAS8700 Instruction sheet

NetApp SG1000 Operating manual

NetApp

NetApp SG1000 Operating manual

NetApp AFF A300 User manual

NetApp

NetApp AFF A300 User manual

NetApp DE5600 User manual

NetApp

NetApp DE5600 User manual

NetApp FAS500f User manual

NetApp

NetApp FAS500f User manual

NetApp SG100 Instruction sheet

NetApp

NetApp SG100 Instruction sheet

NetApp FAS8300 Manual

NetApp

NetApp FAS8300 Manual

NetApp DS4486 Manual

NetApp

NetApp DS4486 Manual

NetApp E5700 User manual

NetApp

NetApp E5700 User manual

NetApp E Series User manual

NetApp

NetApp E Series User manual

NetApp StorageGRID Webscale SG5700 Series Operating manual

NetApp

NetApp StorageGRID Webscale SG5700 Series Operating manual

Popular Storage manuals by other brands

DMP Electronics eBox-4 Series manual

DMP Electronics

DMP Electronics eBox-4 Series manual

Intimus 8000 operating instructions

Intimus

Intimus 8000 operating instructions

Hitachi Ultrastar 15K73 Reference manual

Hitachi

Hitachi Ultrastar 15K73 Reference manual

HP StorageWorks P4000 Series Hardware installation instructions

HP

HP StorageWorks P4000 Series Hardware installation instructions

NVELOPE NV7 installation guide

NVELOPE

NVELOPE NV7 installation guide

Sony VPCSB Series Replacement instructions

Sony

Sony VPCSB Series Replacement instructions

IBM SAN768B-2 Installation, service and user guide

IBM

IBM SAN768B-2 Installation, service and user guide

Digittrade HS128 user manual

Digittrade

Digittrade HS128 user manual

Acomdata DHD2000UFAB-72 quick start guide

Acomdata

Acomdata DHD2000UFAB-72 quick start guide

IBM VXA-2 - Tape Drive - VXAtape Troubleshooting

IBM

IBM VXA-2 - Tape Drive - VXAtape Troubleshooting

LaCie 301278 user manual

LaCie

LaCie 301278 user manual

Panasonic KX-TDA5920 Leaflet

Panasonic

Panasonic KX-TDA5920 Leaflet

Iomega StorCenter px12-400r user guide

Iomega

Iomega StorCenter px12-400r user guide

HPE Alletra 6000 Controller Replacement Guide

HPE

HPE Alletra 6000 Controller Replacement Guide

GMDE GHESS 9.8-14.4-TH user manual

GMDE

GMDE GHESS 9.8-14.4-TH user manual

Freecom VALUELOADER DLT user manual

Freecom

Freecom VALUELOADER DLT user manual

CORNING SFSHSG-01 quick start guide

CORNING

CORNING SFSHSG-01 quick start guide

Dell PowerVault MD3000i Update manual

Dell

Dell PowerVault MD3000i Update manual

manuals.online logo
manuals.online logoBrands
  • About & Mission
  • Contact us
  • Privacy Policy
  • Terms and Conditions

Copyright 2025 Manuals.Online. All Rights Reserved.