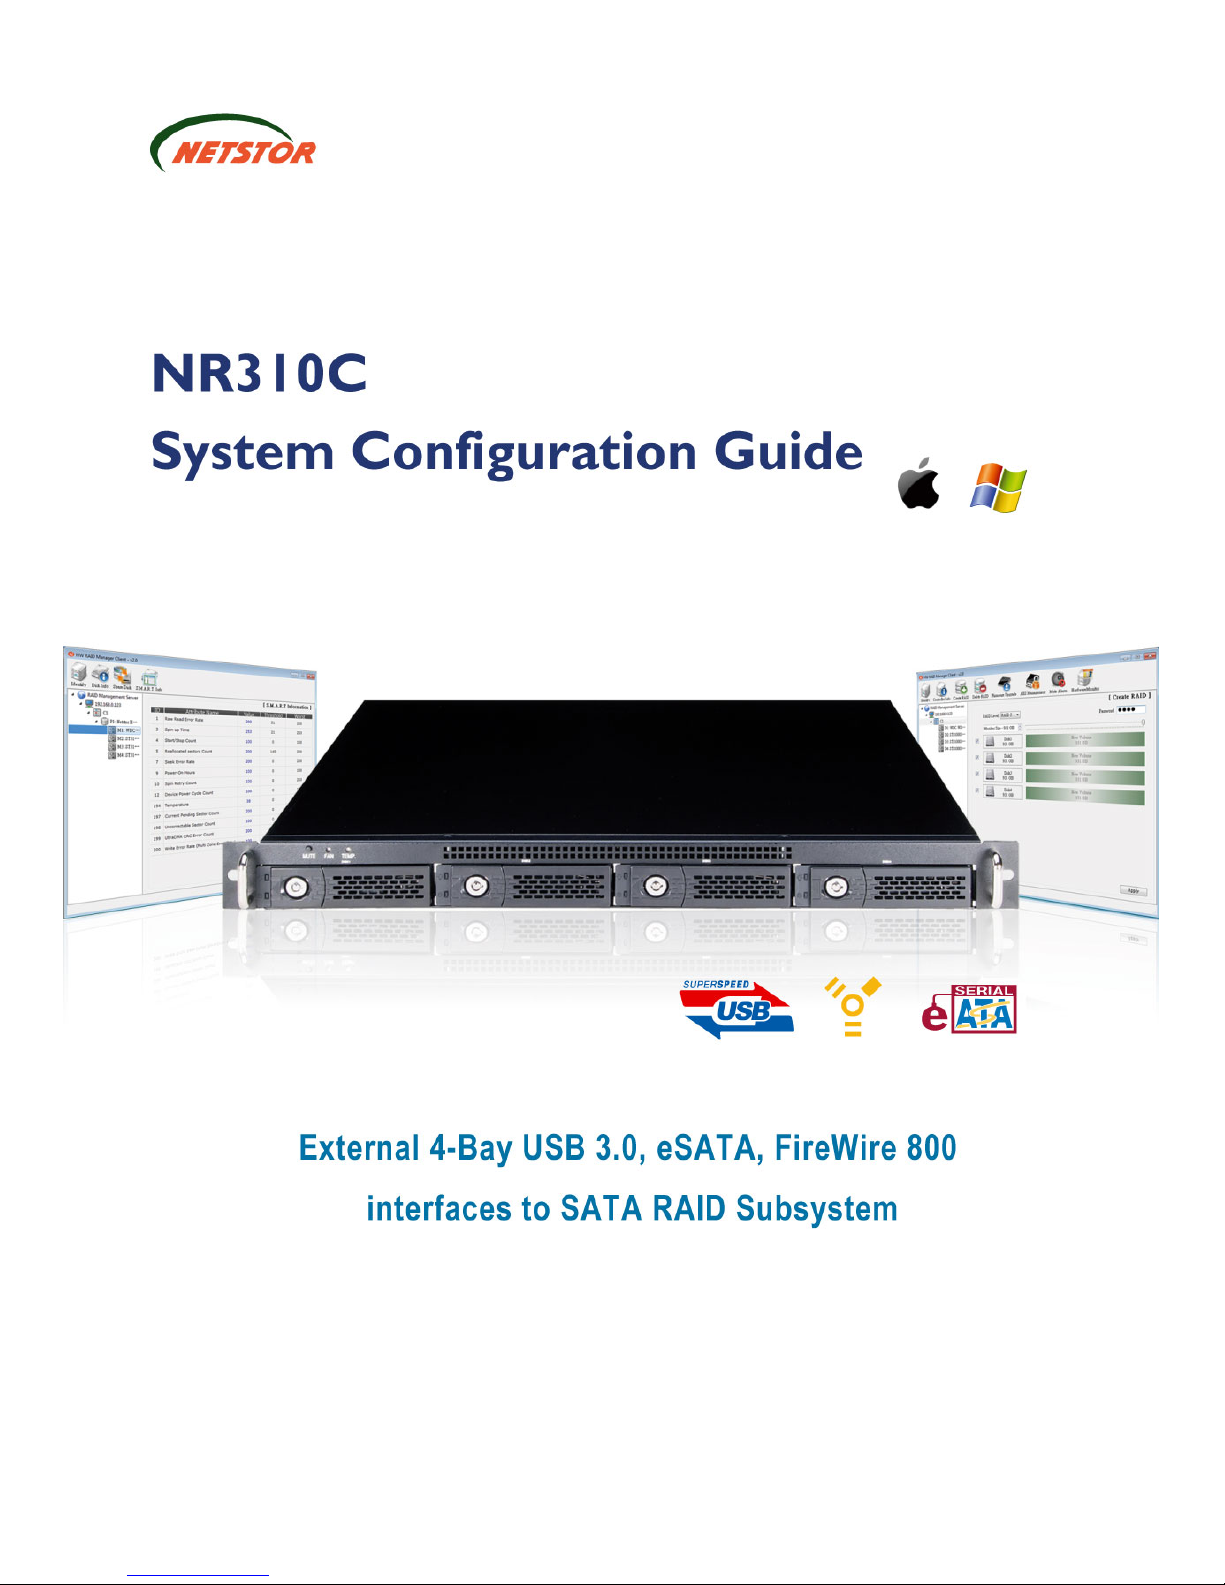
Netstor NR310C User manual

First Edition, July 2011
Copyright © Netstor Technology Co., Ltd. All rights reserved

Table of contents
1. Introduction……………………………………………………………………………………………………………………… P1
2. Configuration via GUI
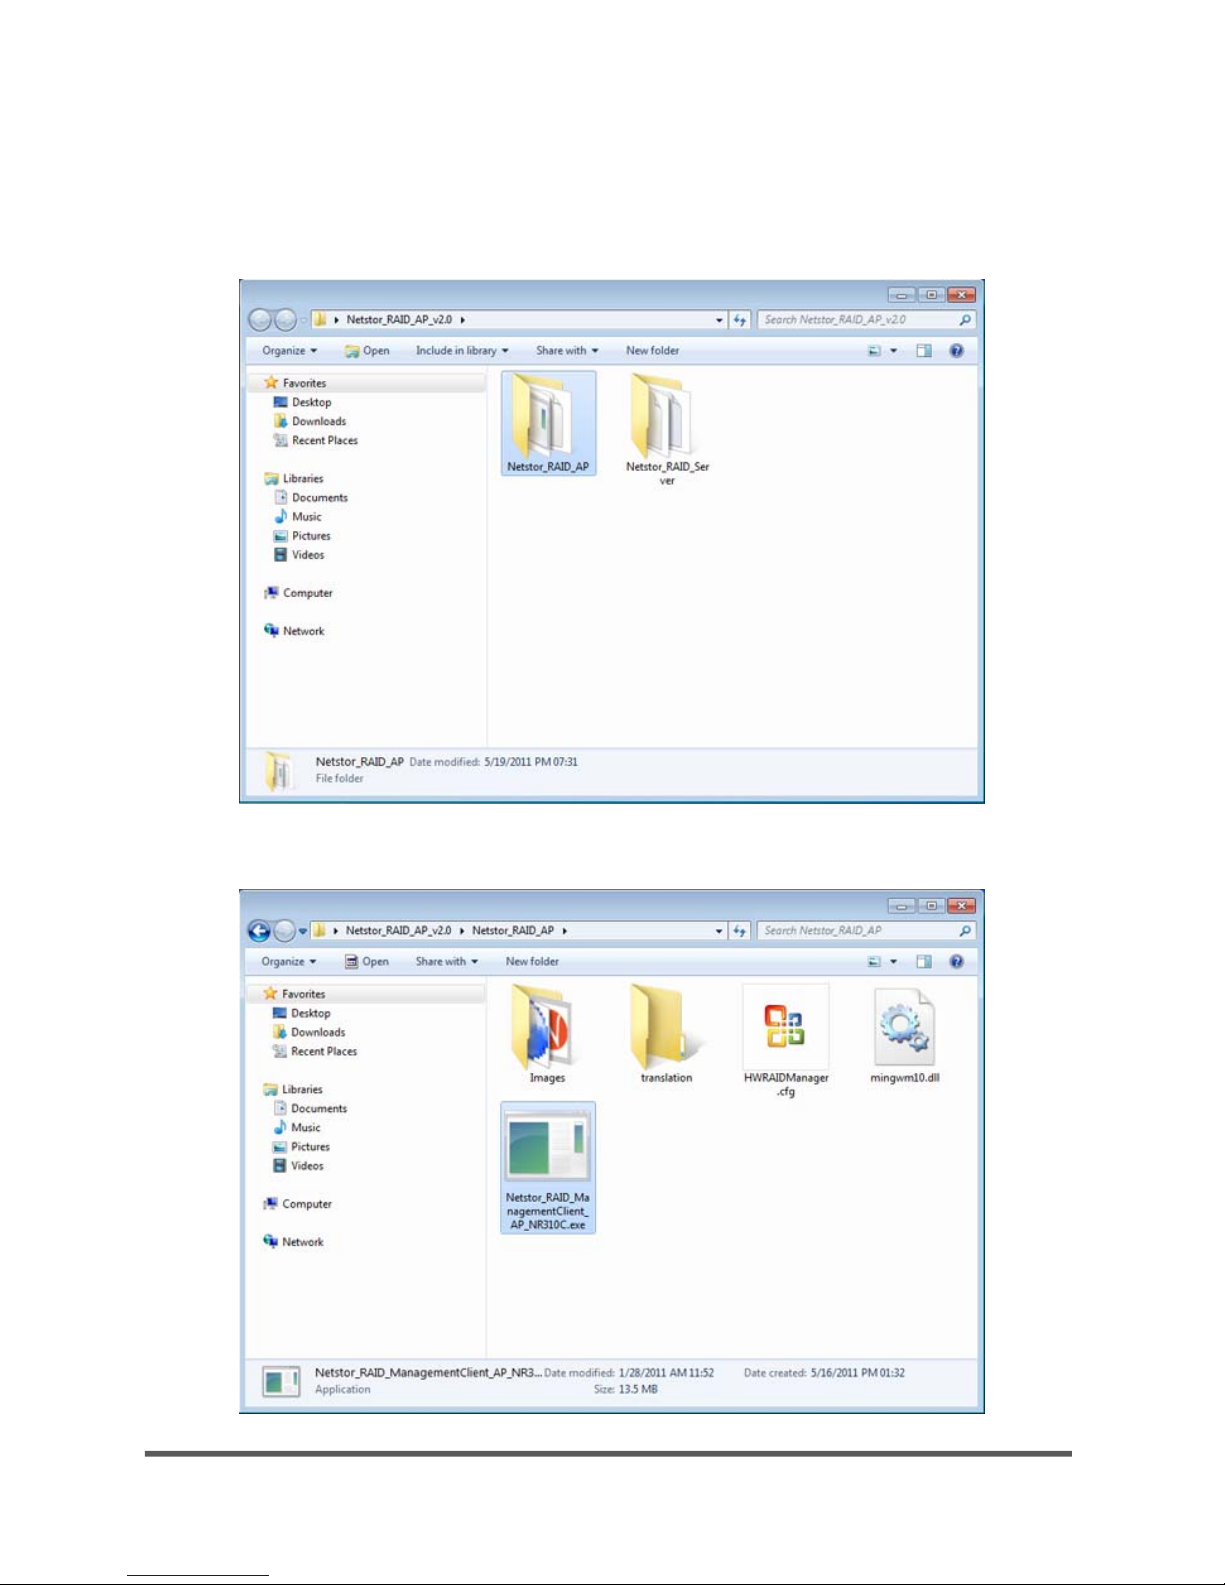
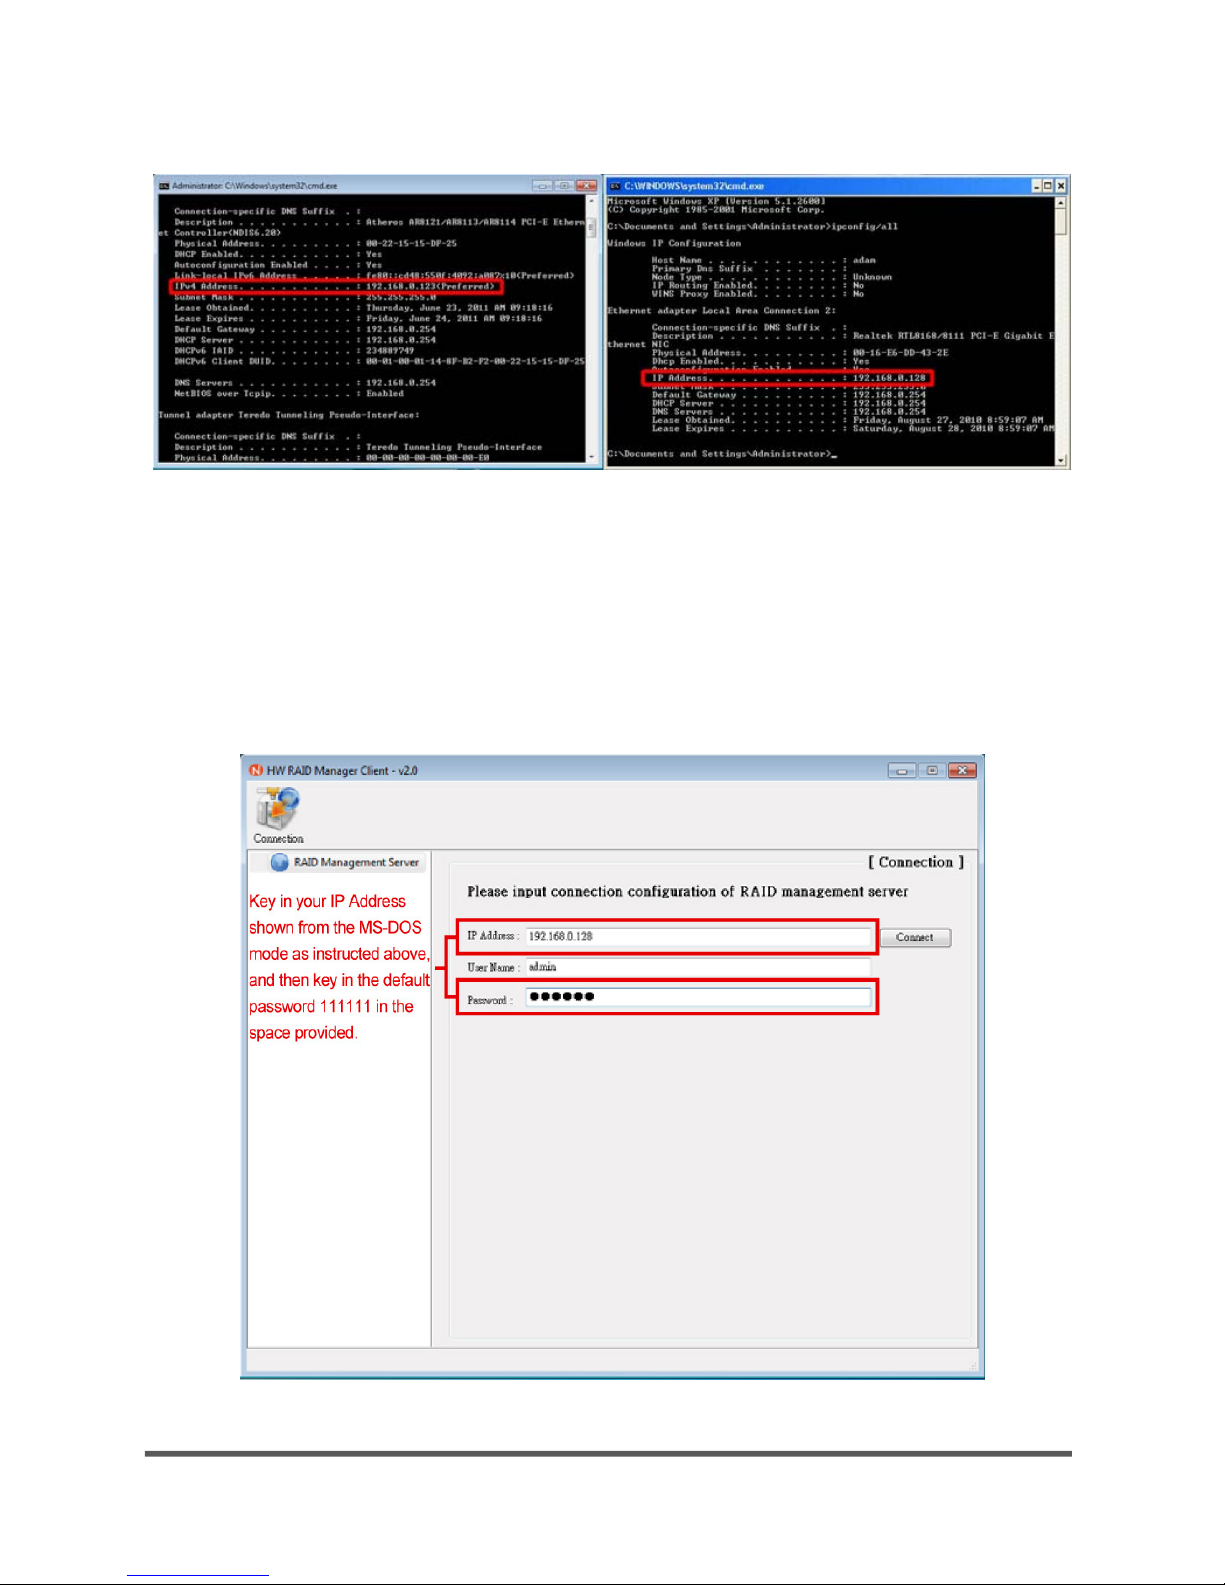
2.1 Starting the RAID Manager………………………………………………………………………… P1
2.1.1 For Windows operating system……………………………………………………………… P2
2.1.2 For Mac OS X…………………………………………………………………………………………… P7
2.2 Understanding the GUI…………………………………………………………………… P10
2.3 The Host…………………………………………………………………………………………… P11
2.3.1 The Server Information…………………………………………………………… P11
2.3.2 Event Log……………………………………………………………………………………… P12
2.3.3 E-mail Alert………………………………………………………………………………… P13
2.4 The NR710C System……………………………………………………………………………………… P13
2.4.1 Identification………………………………………………………………………………………… P13
2.4.2 Information on Controller…………………………………………………………………… P13
2.4.3 RAID Configuration……………………………………………………………………………… P14
2.4.4 Firmware Upgrade………………………………………………………………………………… P18
2.4.5 AES Management…………………………………………………………………………………… P18
2.4.6 Mute Alarm……………………………………………………………………………………………… P19
2.4.7 Hardware Monitor………………………………………………………………………………… P19
2.5 Information on Controller, RAID and Disk……………………………………………… P19
2.5.1 Identification………………………………………………………………………………………… P20
2.5.2 Information on RAID…………………………………………………………………………… P20
2.5.3 Spare Disk……………………………………………………………………………………………… P20
2.5.4 RAID Settings………………………………………………………………………………………… P21
2.6 The Disk Drive…………………………………………………………………………………………………… P22
2.6.1 Identification………………………………………………………………………………………… P23
2.6.2 Information on DISK…………………………………………………………………………… P23
2.6.3 Spare Disk……………………………………………………………………………………………… P23
2.6.4 S.M.A.R.T. Information………………………………………………………………………… P24
2.6.5 About the Failure of the Hard Disk Drive………………………………………… P25

1
1. Introduction
This system configuration guide aims to provide users with guidelines on the Netstor RAID
Manager. The configuration of the RAID system and monitor of the drives in the NR310C module
are illustrated in this guide. The Netstor RAID Manager includes two programs. The first one:
ManagementServer, and the second one: ManagementClient.
If you are using host with NR310C, the program ManagementServer should be activated first, and
then run the program ManagementClient to manage RAID. On the other hand, if you are a client,
you only need to run program ManagementClient to administer RAID through the network, but you
should note that the program ManagementServer should be already activated on the host.
If you want the application program ManagementServer to be activated on the startup of the
computer, you simply create a shortcut of the program ManagementServer from folder
Netstor_RAID_Server under RAID_AP_v2.0, and then copy the shortcut to Start / All Programs /
Startup from the Windows operating system.
2. Configuration via GUI
‧2.1 Starting the RAID Manager
If you want to use volume larger than 2 TB, the jumper on the backplane of NR310C should be
placed over pin 1 and pin 2, and the operating system and the hardware should also support
volume larger than 2 TB. If you want to use volume under 2 TB, the jumper should be placed over
pin 2 and pin 3.
JP1:
Pin 1 and pin 2 closed (default) – volume larger than 2 TB
Pin 2 and pin 3 closed – volume under 2 TB
The steps illustrated below show you how to start the RAID Manager.

2
‧2.1.1 For Windows operating system
A. Find the folder RAID_AP_v2.0 from the CD, and then copy the folder to your computer. After
you copy the folder onto your computer, double click the folder on computer and you will see
two sub-folders under it. Find the folder Netstor_RAID_Server and double click it, then find
the executable program ManagementServerSetup and execute it. After the execution of
the program, you will see the icon of Netstor H/W RAID Manager that appears at the right
bottom of the screen.
‧The Netstor_RAID_Server folder

3
‧The executable program ManagementServerSetup
‧The Netstor H/W RAID Manager appears at the bottom right of the screen

4
B. Go to the folder Netstor_RAID_AP under RAID_AP_v2.0, and find the executable program
Netstor_RAID_ManagementClient_AP_NR310C, and then execute it.
‧The Netstor_RAID_AP folder
‧The executable program Netstor_RAID_ManagementClient_AP_NR310C

5
C. For Windows 7, go to Start, click All Programs, and click Accessories, and then select Run.
After the window shows up, key in cmd (meaning command prompt) in the space, and then
click OK. A MS-DOS mode appears, and then key in ipconfig/all and press the enter key.
Find IPv4 Address shown from the screen. For example, 192.168.0.123.
For Windows XP, go to Start, and click Run, then key in cmd (meaning command prompt) in
the space, and click OK. A MS-DOS mode shows up, and then key in ipconfig/all and press
the enter key. Find your IP Address shown from the screen. For example, 192.168.0.128.
‧Key in cmd in the space and then click OK
‧Key in ipconfig/all and then press the enter key

6
‧Find your IP Address from the MS-DOS mode
Windows 7 Windows XP
D. If you are using computer that connects to NR310C enclosure, you enter localhost or your IP
Address shown from the MS-DOS mode as directed above, and admin in User Name, and
then you enter the default password 111111. After you key in the three entries above, you
click Connect to make connection from client to server.
‧The connection from client to server

7
2.‧1.2 For Mac OS X
A. Find the folder Netstor_Mac from the CD, and then copy the folder onto your computer. After
you copy the folder onto the computer, double click the folder and you will see two sub-folders
under it. Find the folder Netstor_RAID_Server_Mac and double click it, then find the
executable program WebServer and execute it. After the execution of the program, you will
see the icon of Netstor H/W RAID Manager appearing at the right bottom of the screen.
‧Find the Netstor_RAID_Server_Mac folder
‧The executable program WebServer

8
B. Go to the folder Netstor_RAID_Client_Mac under Netstor_Mac, and find the executable
program Netstor_New_AP, and then execute it.
‧Find the Netstor_RAID_Client_Mac folder
‧The executable program Netstor_New_AP
C. Click the Apple logo on the top left of the screen, and then select System Preferences. After
a window appears, select Network under the Internet and Network section. Select AirPort in
the Show drop-down menu. Select TCP/IP on the Network screen, and then find your
computer's IP address on the subsequent screen displayed on your Mac. For example,
192.168.3.101.

9
‧Select Network under the Internet and Network section.
‧Select AirPort in the Show drop-down menu.
‧Select TCP/IP on the Network screen, and then find the IP address.

10
D. If you are using computer that connects to NR310C enclosure, you enter localhost or your IP
address as directed above, and admin in User Name, and then you enter the default
password 111111. After you key in the three entries above, you click Connect to make
connection from client to server.
‧The connection from client to server
2.2‧Understanding the GUI
There are three parts in the GUI (Graphical User Interface).
The first part of the GUI is the controller part that is at the left side of the interface. In the controller
part, a hierarchical menu is shown. It contains five main functions: RAID Management Server,
localhost/IP Address, C1, P1, and M1.
The second part of the GUI is the function part that is at the top side of the interface. Various
sub-functions such as server info, event log and email alert that are tied with its main function,
localhost/IP Address, are shown in this part.
The third part of the GUI is the details of the function that are at the right side of the interface.
Information and operations related to the function are presented in this part.

11
C1 on the left side of the GUI interface represents one entire NR310C enclosure. As you click C1,
you will see eight buttons standing for eight functions on top of GUI. The eight functions you will
see are identify, controller info, create RAID, delete RAID, firmware upgrade, AES management,
mute alarm, and hardware monitor. Each of the functions has its specific purpose. For the detail of
the function, please see the following sections.
2.3 The Host
The localhost or IP address appearing in the first part of the GUI signifies the host to which the
NR310C is connected. It consists of server information, event log, and e-mail alert.
‧2.3.1 The Server Information
In the server information, you can change the user name and password. If you want to change
the user name, find New user name and enter a name in the space, and then click Apply. If you
want to change the password, enter the current password and the new password in the spaces
provided, and then click Apply. After the user name and password are changed, you will need to
key in the new user name and password for entering the GUI.

12
‧The server information
‧2.3.2 Event Log
Activities of the disk drives inside the enclosure are monitored and recorded by the Netstor H/W
RAID Manager. Go to the server information, and click Event Log at the top side of the interface,
and then you will see events of the disk drives recorded in the event log. If you want the records
to be erased, click Clear on the interface to erase all the records of the events.
‧The event log

13
‧2.3.3 E-mail Alert
If events such as RAID malfunctioned, temperature overheated or fan failure take place and you
want to be notified of the occurrence, you click Email Alert at the top side of the interface, and you
input information in the spaces of sender e-mail, sender username, sender password, and
recipient e-mail, and then you will be notified of the event that is happened by e-mail sent to your
e-mail addresses.
‧The e-mail alert
‧2.4 The NR310C System
CX at the left side of the GUI represents the NR310C enclosure. As one NR310C enclosure is
connected with the host, C1 standing for the NR310C appears, and as a second NR310C is
connected with the host, C2 indicating the second NR310C shows up. Various functions are
included in this part.
‧2.4.1 Identification
As you click the button Identify, the blue LEDs of all member disks on the selected NR310C
enclosure appear flashing.
‧2.4.2 Information on Controller
If you click C1 from the hierarchical menu at the left side of the interface, the RAID level, the
capacity of RAID, and disk drives will be shown in the controller information.

14
‧The controller information
‧2.4.3 RAID Configuration
You can configure the RAID system through the Netstor H/W RAID Manager. RAID levels such as
RAID 0, RAID 1, RAID 3, RAID 5, and RAID 10 are provided. When you have chosen a RAID level,
the Netstor H/W RAID Manager will map out the disk drives that are selected and the capacity of
RAID will be shown. On the interface, each of the disk drives accompanies with a check box in front
of the drive. You are allowed to select the disk drives you want to use for RAID by putting a check
in the check box; furthermore, a scroll bar is provided on the interface for you to manage the
capacity of the disk drive.
‧RAID creation

15
If you want to give protection for RAID, you can build a password for the system by entering a
password in the space. After you have done the procedures above, click Apply on the interface,
and then a dialog on the confirmation of RAID configuration shows up.
‧Building a password for RAID
‧The confirmation of the RAID configuration
After RAID is configured, a dialog shows up to inform you the success of the configuration.
‧The success of the configuration

16
After the success of the configuration, you can click C1 at the left side of the interface, and the
information about the disk drives for RAID will be given on the interface.
‧The information about RAID
If you want to eliminate RAID, you click Delete RAID on the top side of the interface, and select
the RAID you want to delete, and then click Apply.
‧RAID deletion

17
After the deletion of RAID, a dialog shows up to inform you the success of the deletion of RAID.
‧The success of the deletion of RAID
If you created a RAID 0 volume for Disk (D:) and a RAID 5 volume for Disk (E:), you will see P1
standing for Disk (D:) and P2 for Disk (E:) from the graphical user interface. If you delete P1 from
the GUI, you might encounter loss of both Disk (D:) and Disk (E:) from My Computer. To solve this
problem, right-click My Computer, and then select Manage. After the window of Computer
Management shows, select Disk Management from the left column, and then Disk (D:) for RAID 5
appears from My Computer.
RAID Levels
The NR310C supports seven RAID levels. The following chart gives descriptions to each of the RAID
levels.
RAID Level Description Minimum
Drives
RAID 0 No data redundancy. Offers highest data throughput. 2
RAID 1 Known as disk mirroring. It creates an exact copy of a set of data on
two disks. 2
RAID 3 It uses disk striping with a dedicated parity disk, providing complete
data redundancy. 3
RAID 5 It uses disk striping with parity data distributed across all member
disks. Low cost of redundancy. 3
RAID 10 It builds a classic RAID 1+0 array, providing disk striping and
redundancy via disk mirroring. 4

18
Large
Full capacity of each selected member disk is used. One or more disk
drives can be set as large. Capacities of the selected member disks are
strung. Firstly, data are written on the first member disk, and when
capacity of the first disk is utilized, data begin to be written on the
second disk. Large does not provide data redundancy.
1
Clone
Among the selected member disks, the total capacity of the volume
derives from the multiplication of the number of the selected disks
based on the smallest capacity of the member disk. Data are duplicated
into each selected member disk. Two or more disk drives can be
formatted in clone set. Disk redundancy is supported.
2
‧2.4.4 Firmware Upgrade
If you want to upgrade the firmware of NR310C, you click Firmware Upgrade on the top side of
the interface, and click Browse to locate the file, and then click Update to upgrade the firmware
of NR310C.
‧Firmware upgrade
‧2.4.5 AES Management
The enclosure NR310C does not support the function of AES (Advanced Encryption Standard)
Management.
Other manuals for NR310C
1
Table of contents
Other Netstor Storage manuals

Netstor
Netstor NA322A-G3 User manual

Netstor
Netstor NA333TB3 User manual

Netstor
Netstor NA338TB User manual

Netstor
Netstor NA622TB3 User manual

Netstor
Netstor NA381TB User manual

Netstor
Netstor NR760A-IP User manual

Netstor
Netstor NR760A User manual

Netstor
Netstor NA381TB3 User manual

Netstor
Netstor NA762A User manual

Netstor
Netstor NR701C User manual

Netstor
Netstor NA380A-G3 User manual

Netstor
Netstor NR310C User manual

Netstor
Netstor NA762A-G3 User manual

Netstor
Netstor NS750S User manual

Netstor
Netstor NA611TB3 User manual

Netstor
Netstor NS370TB3 User manual

Netstor
Netstor NA338TB3 User manual

Netstor
Netstor NA333A User manual

Netstor
Netstor NS388S User manual