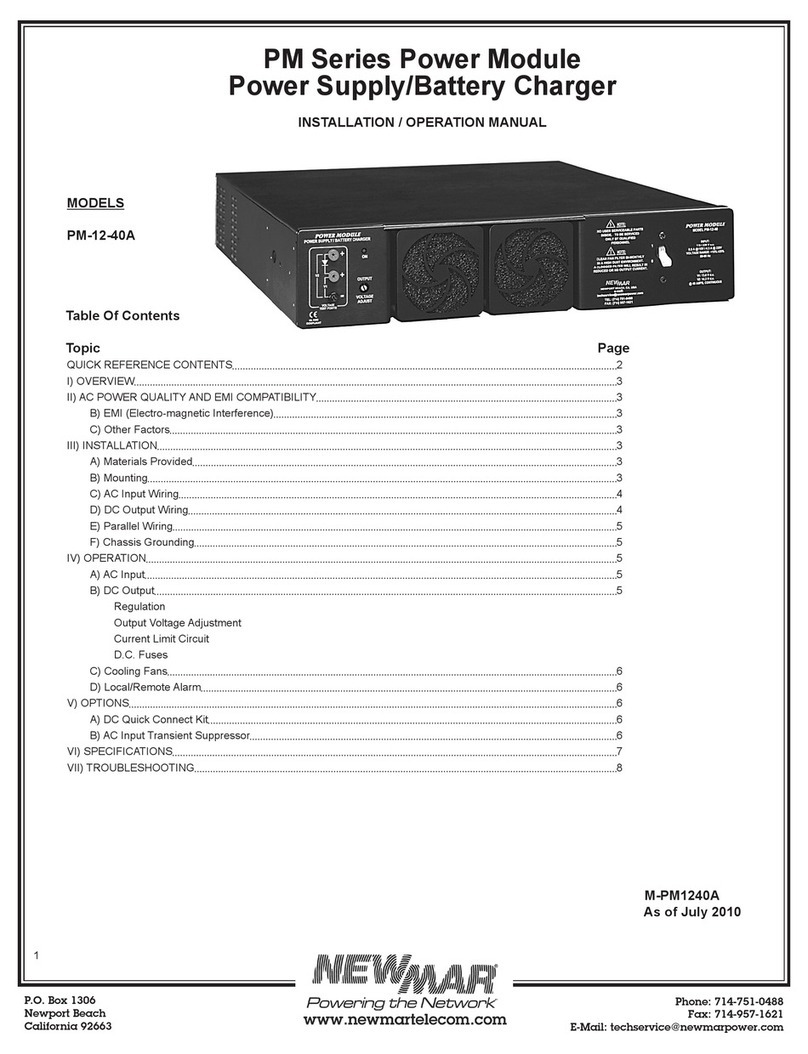
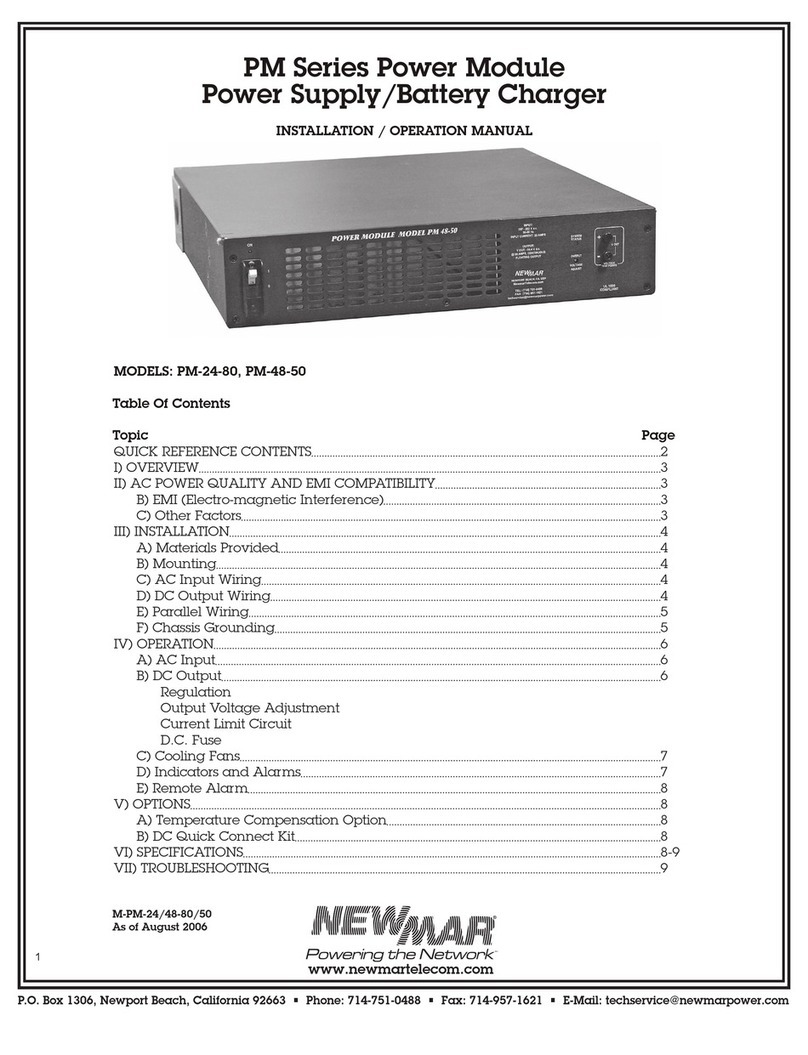
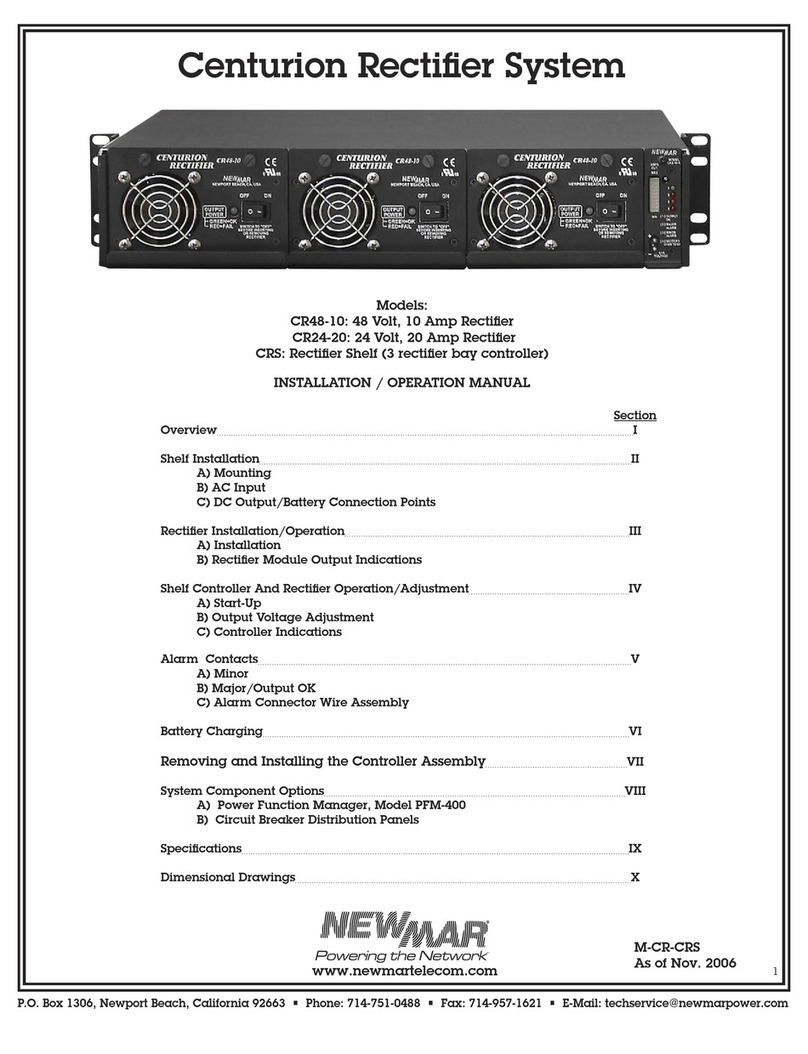
NewMar SPS 12-20 User manual

P.O. Box 1306
Newport Beach
California 92663
Phone: 714-751-0488
Fax: 714-957-1621
Site Power System
Installation/Operation Manual
Models: SPS 12-20, SPS 24-10, SPS 48-6
Table of Contents Page Table of Contents Page
1 Principles of Operation 2 2.5 Multiple Units 7
1.1 Introduction 2 2.6 Internal Alarm Card 7
1.2 LEDs 2 2.6.1 Relays 8
1.3 Display 2 2.6.2 Rectifier Fail/AC Fail 8
1.4 Auto Float Boost 2 2.6.3 Rectifiers in Parallel 9
1.5 Low Voltage Disconnect and Reset 3 2.7 Commissioning the Rectifier 9
1.6 Temperature Compensation 3 3 Servicing 9
1.7 Current Limit 3 3.1 Warnings 9
1.8 Output Over Voltage Shut Down 4 3.2 Troubleshooting 10
1.9 Input Over Voltage Shut Down 4 3.3 Fuses 10
1.10 Input Inrush Current Limiter 4 4 Adjustments 10
1.11 Over Temperature Shutdown 4 4.1 Standard Settings 11
1.12 Reverse Polarity Protection 4 4.2 Adjust Float Voltage 11
1.13 Parallel Rectifier Operation 4 4.3 Adjust Boost Voltage 11
1.14 External Shutdown 4 4.4 Adjust Boost to Float Current Threshold 12
1.15 Alarm & Control Interface 4 4.5 Adjust Current Limit 12
1.16 Internal Alarm Card 5 4.6 Adjust Over Voltage Shutdown 12
2 Installation 5 4.7 Adjust Low Voltage Disconnect and Hystersis 12
2.1 General Warnings 5 4.8 Adjust Temperature Compensation Slope 12
2.2 Postioning of SPS 5 4.9 Adjusting the Alarm Output Volt Low/High Setting 13
2.3 Cabling 6 5 Optional Accessories 13
2.4 Temperature Compensation 7 6 Warranty 13
7 Dimensional Drawings 14
Manual-SPS
As of May 2012

P.O. Box 1306
Newport Beach
California 92663
Phone: 714-751-0488
Fax: 714-957-1621
1 Principles of Operation
1.1 Introduction
The SPS Series range of freestanding convection cooled wall-mount power systems consists of the following models:
Output
Model Input
Volts
Max Input
Current
Frequency
Range
Nominal
Voltage
Rated
Voltage
Voltage
Range
Maximum
Current
Power
Rating
SPS 12-20
85 - 275
VAC*
4A @ 110V
2A @ 220V 45 - 100 Hz.
12V 14.5V 11.5 - 15V 20A 300W
SPS 24-10 24V 29V 22 - 30V 10A 300W
SPS 48-6 48V 58V 45 - 60V 6A 300W
* 85 - 100 VAC: Reduced output power
The SPS units feature:
• Convection Cooling • Automatic Boost/Float Charge cycle
• Thermal Protection • Active Load Sharing when operated in parallel with
another rectifier
• Power Factor Corrected • External Alarm and Control interface
• Input/Output Voltage and Current Protected • Bar Graph Current Indicator
• Temperature Compensation • Integrated Alarm Outputs
• Built in LVD - Battery Low Voltage Disconnect
1.2 LEDs
There are 4 LEDs that indicate the operational state of the rectifier. These LEDs can be used to determine the
present state of the rectifier and diagnose faults.
AC On: This LED glows green to indicate that AC power is connected to the unit and that the primary
stages of the rectifier are operating.
Shutdown Mode LED:
• Yellow – Rectier in “Current Limit”
• Red – Rectier shutdown through over voltage or over temperature.
Float/Boost LED:
• Green – Rectier operating in “Float Charge” mode
• Yellow – Rectier operating in “Boost Charge” mode
Temperature Probe LED:
• Green – Temperature Compensation Probe connected and within limits
• Red – Rectier has failed– also lights if the output voltage is externally forced above the rectier output
voltage + 4.5%. Powered from the battery. Off if the LVD has tripped.
• Note that if the Temperature Compensation Probe is connected and the rectier fails, the LED may not
show. The monitor external signals are still correct. To verify the condition, unplug the Temperature Com
pensation Probe.
1.3 Display
A row of LEDs on the front panel indicates the approximate current output from the rectifier (note only 1 LED is lit
at any one time).
1.4 Auto Float Boost
When the SPS is powered on, it starts in Boost Charge mode. If the battery charge current is above the ‘Boost to
Float” Current threshold, it will stay in Boost Charge mode. When the battery charge current falls below
2

P.O. Box 1306
Newport Beach
California 92663
Phone: 714-751-0488
Fax: 714-957-1621
the “Boost to Float” Current threshold for more than 10 seconds, it will switch to Float Charge mode. If for some
reason the battery charge current rises above the “Boost to Float” Current threshold, the rectier will switch back
into Boost Charge mode (there is no time delay).
A Boost Timer limits the time the rectifier stays in Boost Charge mode. While the SPS is in Boost Charge mode and
in Current Limit, the Boost Timer is inhibited. When the rectier comes out of Current Limit, the Boost Timer starts
and will automatically switch the rectier into Float Charge mode after about 4 hours, even if the battery current
remains above the Boost to Float Current threshold.
The Boost and Float voltages are preset in the factory but may be adjusted to suit the specific battery installation -
see Section 4.2, 4.3.
1.5 Low Voltage Disconnect and Reset
The Low Voltage Disconnect (LVD) feature is designed to protect the battery from deep discharge when the battery
is supplying the load current (i.e. AC is off, or the load is drawing more than the SPS capacity).
The SPS monitors the battery voltage when the battery is supplying current, and disconnects the load from the
battery when the battery voltage falls to a preset level. When the battery voltage has increased above the LVD
Hysterisis voltage the load is automatically reconnected back to the battery.
The LVD may be manually reset when it has operated by pressing the LVD Reset button on the front of the rectifier.
The LVD switches the battery +ve supply (the -v is common with the battery). Do not connect the Battery and Load
+v together.
The LVD voltage and the LVD Hysterisis voltage are preset in the factory, but may be adjusted to suit the specic
battery installation - see Section 4.7.
Model Voltage Adjustment Maximum Load Current
SPS 12-20 9.5 to 12V 20A
SPS 24-10 19 to 24V 10A
SPS 48-6 38 to 38V 6A
Do not exceed the maximum load current, as the LVD circuitry may be damaged. The LVD circuitry is protected
by shutting down if its circuitry is overheated due to over current conditions. Excessive overloading will cause an
internal protection fuse to rupture.
If the LVD functionality is not required, then the load should still be connected to the Load connection on the
rectier, as the rectier senses the current on the Battery connection (not the load) for the Auto Float Boost function.
1.6 Temperature Compensation
A temperature compensation probe with 2 meter cable and pre-attached connector is provided with the SPS.
Batteries require different charging voltages depending on the ambient temperature of the battery. The colder
the battery, the higher the voltage required to charge the battery. The battery temperature is measured
by connecting a Temperature Compensation Probe to one of the battery terminals. The rectifier will then
automatically adjust the charging voltage.
The Temperature Compensation Slope is preset in the factory but is adjustable from 0.1% to 0.2% change in charge
voltage per degree C - see Section 4.8.
If the Temperature Compensation Probe is not connected, then the SPS will assume a battery temperature of 25°C.
1.7 Current Limit
The SPS automatically limits the rectifier output current. The maximum output current is preset in the factory but
may be adjusted down. See Section 4.5.
3
P.O. Box 1306
Newport Beach
California 92663
Phone: 714-751-0488
Fax: 714-957-1621
1.8 Output Over Voltage Shut Down
The SPS will automatically shutdown if the output voltage exceeds the preset value. The Over Voltage Shutdown
voltage is preset in the factory but may be adjusted.
1.9 Input Over Voltage Shut Down
If the input voltage is outside the specied range, the SPS may shut down until the allowed voltage is restored.
1.10 Input Inrush Current Limiter
On startup, the peak AC inrush current is limited to twice the maximum operating current. The output voltage and
current rise slowly from zero during startup, that prevents nuisance trip of input circuit breaker.
1.11 Over Temperature Shutdown
When the SPS reaches its maximum operating temperature, it will progressively reduce the output current to
attempt to reduce the heat within the unit. In extreme circumstances, the rectier will totally shutdown.
The maximum operating temperature range is: -10 to 70° C
1.12 Reverse Polarity Protection
The SPS has an internal reverse polarity protection fuse and crowbar diode fitted. These parts are not user
serviceable, and the rectier will require returning for servicing if they fail.
1.13 Parallel Rectifier Operation
The SPS may be connected in parallel to source more current, or to provide a degree of redundancy. The rectiers
should have the load share signal connected between the rectifiers. This is achieved by connecting the load share
signal line on the Alarm & Control Interface port on each rectifier. The rectifiers with the higher voltage output will
automatically adjust their output voltage down so that they each take a uniform share of the load.
The SPS connected in parallel must all be of the same brand and voltage rating.
1.14 External Shutdown
The SPS can be remotely forced to shutdown by applying a 10-12V signal to the rectifier load share pin of the
Monitor connector.
1.15 Alarm & Control Interface
The monitor connection allows remote monitoring of the rectier. The monitor connection is a RJ45 socket. The
pinout of the socket is as follows:
Pin # Description
Pin 1 Load Share signal (0-5V), external shutdown (10-12V in)
Pin 2 LVD Synch signal
Pin 3 Temp Comp Probe/Output Voltage Control
Pin 4 Rectier Failed Signal – Pulls to ground via 4k7 resistor
Pin 5 -ve for Temp Comp Probe (signal Gnd)
Pin 6 Rectier “Off Normal” alarm (open collector output)
Pin 7 +V Battery Out (max 250mA)
Pin 8 AC fail (open collector output) (off = AC present)
The open collector outputs are rated at 100V, 10mA.
1
Pin 1 is the left most pin,
when facing the socket
with the pins on the
bottom.
4

P.O. Box 1306
Newport Beach
California 92663
Phone: 714-751-0488
Fax: 714-957-1621
1.16 Internal Alarm Card
The alarm card provides voltage free relay contacts in the event of:
• AC failure
• SPS failure
• SPS Shutdown Mode (over temperature, over voltage, current limit)
• High voltage output
• Low voltage output
When SPSs are connected in parallel using an RJ45 patch cable (Newmar part # 466-4524-0) to connect between
the alarm and control interface on each rectier, the alarm outputs on the Alarm Card give the status of all the
connected units. This means that only one alarm card needs to be connected to the alarm circuitry when the
rectifiers are connected in parallel.
2 Installation
2.1 General Warnings
The SPS contains no user serviceable components. Do not disassemble the SPS.
To isolate the SPS from AC power, simply unplug the IEC mains connector from the rectier.
DANGER
Do not operate the rectifier if the covers are damaged or removed in any way.
• The rectier contains voltages that may be lethal even after the input supply has been
removed
• The rectier contains components at High Temperatures that may burn if touched
2.2 Positioning of SPS
A great deal of care should be taken with positioning the unit, as the position can affect its life expectancy and
performance.
This unit MUST be mounted on a wall or vertical surface using the side mounts. Observe the up ^ arrow printed on
the lower left of the front panel.
The SPS should be positioned close to the load and batteries, so as to keep the length of the low voltage cables to a
minimum. These cables are carrying high currents, and voltage drop in the cables must be kept to a minimum. It
is better to have a long AC lead and short DC voltage cables.
The rectifier must be positioned so that airflow through the rectifier is not impeded in any way. These rectifiers are
convection cooled – their performance and life expectancy is reduced if the airow is impeded.
The SPS should not be mounted above another rectifier or a source of heat.
The rectier should be mounted 2 inches clear of any other solid object, and care should be taken to ensure that
air entering the rectier is cool air, and has not been heated by other equipment.
12.25”
11.8””
2.44”
.24”
.89” 4.7”
6.28”
5
This manual suits for next models
2
Table of contents
Other NewMar Power Supply manuals

NewMar
NewMar MDP-25 User manual

NewMar
NewMar EP 12-10 User manual

NewMar
NewMar POWER-PAC User manual

NewMar
NewMar Centurion CR48-10 User manual

NewMar
NewMar PM-24-80 User manual

NewMar
NewMar power-pac User manual

NewMar
NewMar PT-20CE User manual

NewMar
NewMar RM2048HE User manual

NewMar
NewMar Centurion II User manual

NewMar
NewMar Centurion II User manual
Popular Power Supply manuals by other brands

Videx
Videx 520MR Installation instruction

Poppstar
Poppstar 1008821 Instructions for use

TDK-Lambda
TDK-Lambda LZS-A1000-3 Installation, operation and maintenance manual

TDK-Lambda
TDK-Lambda 500A instruction manual

Calira
Calira EVS 17/07-DS/IU operating instructions

Monacor
Monacor PS-12CCD instruction manual