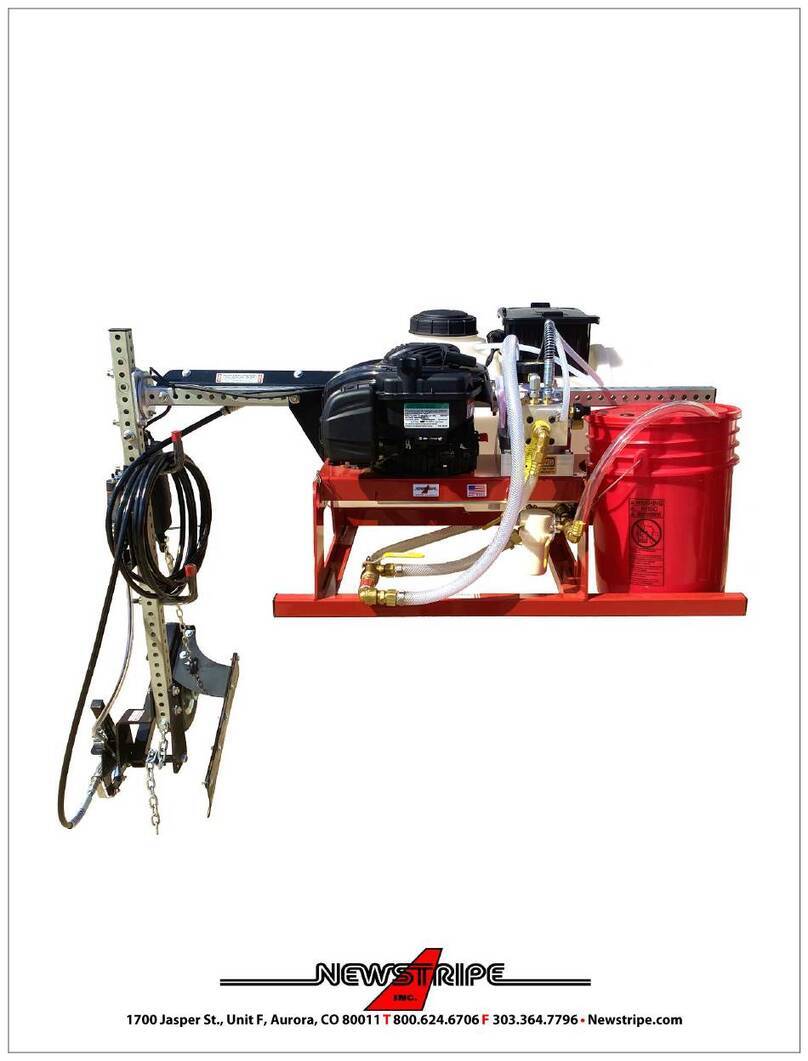
Newstripe HashMark-Master II 3400 User manual

1700 Jasper St., Unit F, Aurora, CO 80011 T800.624.6706 F303.364.7796 •Newstripe.com
HashMark-Master II™3400 Manual / 5147.0822
HashMark-Master II™ 3400
Product Manual
For Use With Graco 3400 & S200 High Pressure Airless Machines

HashMark-Master II™3400
ALWAYS wear safety goggles or protective eye-wear when operating the unit!
HashMark-Master II™ 3400 Manual / 5147.0822

HashMark-Master II™3400
ALWAYS wear safety goggles or protective eye-wear when operating the unit!
HashMark-Master II™ 3400 Manual / 5147.0822
TABLE OF CONTENTS
Precautionary Warning…..........Page 1
Parts Breakdown.……….………....Page 2
Assembly & Adjustment..……....Page 3-4
Operation……….....………………….Page 5
Stowing Procedure….……………..Page 6
Warranty ...……...……………………Page 7
Thank you!And congratulations on
your purchase of the HashMark-
Master IITM HP by Newstripe. You can
now precisely and accurately layout
hash marks without the use of stencils
or templates!
Please read over the instructions and
make sure you understand operating
procedures before using the unit.

HashMark-Master II ™3400
ALWAYS wear safety goggles or protective eyewear when operating the unit!
HashMark-Master II™ 3400 Manual / 5147.0822
Page 1of 7
PRECAUTIONARY WARNING!
Please read and understand all operation instructions as
detailed in this manual. Failure to follow specified
instructions may result in equipment damage or serious
injury to personnel, up to and including death!
TO BE USED ONLY WITH WATER AND OIL BASED PAINTS.
Skin Injection Hazard: High Pressure spray can inject toxins
into the blood stream. If injection occurs, seek emergency
medical treatment immediately.
NEVER try to stop or deflect leaks with any part of your body.
ALWAYS release the pressure in the system before changing
or cleaning the spray tip.
ALWAYS use the nozzle tip guard.
ALWAYS engage the Trigger Lock on the spray gun before
removing the spray gun for hand operation.
NEVER place your hands or any body parts in front of the
spray gun.
NEVER point the spray gun at or spray other persons or
animals.
NEVER clean the spray tip while it is attached to the spray
gun. Remove the spray tip from the gun to clean the tip
guard.
NEVER remove the spray tip while cleaning the pump.
NEVER use pliers to tighten or loosen high pressure fittings
on the outlet side of pump.
Use only in a well-ventilated area.
Always consult your Facility Safety and/or Personnel
Department for specified safety protocols prior to operating
this equipment.

HashMark-Master II ™3400
ALWAYS wear safety goggles or protective eyewear when operating the unit!
HashMark-Master II™ 3400 Manual / 5147.0822
Page 2of 7
Item
Description
Part Number
1
Hand Grip
10004281
2
1/4” x 2-1/8” Lynchpin
10004805
3
Spray Control Lever
10002951
4
Spray Control Cable
10002358
5
Roller Bearing (4 Required)
10004802
6
Gun Mount & Handle (No Parts Included)
10005146
7
Gun Mount Clamp Assembly
10005152
8
Rail
10005141
9
Down Tube
10004993
10
Front Guide Tube
10004994
11
Rear Guide Tube
10004995
12
3/16” Hex Wrench
10000889
13
Replacement Guide Plates & Wheel Set
10004797
14
Rail Riser
10005145
15
Star Knob
10000007
Your package should contain the items pictured. Call 1-800-624-6706 if you are missing any items.
PARTS BREAKDOWN
1
2
4
7
8
9
5
10
11
12
13
14
15
6
3

HashMark-Master II ™3400
ALWAYS wear safety goggles or protective eyewear when operating the unit!
HashMark-Master II™ 3400 Manual / 5147.0822
Page 3of 7
Step 1: Remove the two rear axle bolts and nuts on the
right side of the machine. Discard the nuts and the rear
axle bolt only. Note: Keep the front axle bolt for
reassembly.
Step 2: Slide the riser into the right side of the frame,
and then reinstall the front axle bolt into the welded nut
in the riser. Discard the original rear axle bolt. Slide one
½” lock washer, followed by one/ ½” flat washer onto a
1/2-13 x 2-1/2” Bolt. Install the bolt with washers in the
rear axle hole, into the nut welded on the riser. Fully
tighten both bolts.
Step 4: Install the gun mount assembly into the collar
carriage using the provided hex wrench. Tighten the
screws just enough to hold it in place.
ASSEMBLY & ADJUSTMENT
Step 1
Step 2
Step 4
Front View
Rear View
Step 3: Slide the rail down onto the riser until about 6” of
the riser post shows above the rail receiver. Tighten the
two pinch bolts in the rail receiver to secure the rail to
the riser.
Step 3
6”

HashMark-Master II ™3400
ALWAYS wear safety goggles or protective eyewear when operating the unit!
HashMark-Master II™ 3400 Manual / 5147.0822
Page 4of 7
Step 6: Mount the front guide tube to the bottom of the
down tube, with the plastic guide tab and the pivot to the
rear as shown. Align the guide tube and down tube plates
and then secure them together with a 3/8-16 x 1-1/4” bolt,
two flat washers and a 3/8-16 lock nut. Just snug it at this
time so that you can align the three guide tabs with an
existing line or string later. Mount the rear guide tube to
the pivot plate on the rear of the front guide tube with a
1/4-20 x 1-1/2” bolt, two washers and a 1/4-20 lock nut.
Note: The bolt with jam
nut allows you to adjust
the angle of the rear
guide tube it will ride
above the turf if you have
uneven field conditions or
need to tip the machine
back.
Step 6
Step 7
Step 7: Remove the spray gun from the gun mount of
the machine, and place it in the gun mount of the
HashMark MasterTM. Secure it in the gun mount with
the gun mount clamp.
Step 8
Step 8: Roll the carriage back and forth on the rail to make
sure that there is no interference with the paint hose.
Open the strap holding the coiled paint hose and adjust it
if necessary.
Step 5: Install the downtube in the receiver at the right
side of the rail. The plate on the bottom of the
downtube should have the bolt hole toward the front of
the machine. Adjust the down tube so that the plate is
about 4” off the ground and then tighten the star knob.
Step 5
ASSEMBLY & ADJUSTMENT CONTINUED

HashMark-Master II ™3400
ALWAYS wear safety goggles or protective eyewear when operating the unit!
HashMark-Master II™ 3400 Manual / 5147.0822
Page 5of 7
OPERATION
Step 1: Loosen the screws on the carrier and then raise
or lower the gun mount assembly until a 4” wide line is
made, when you spray.
Step 2: Unfold the line guide. For a 4” inset, align the
outside edge of the line guide with the sideline.
Step 1
4”
Step 2
Hash
Marks
At
36” On
Center
Step 3
Step 3: Position the machine with the cutout of the
rear line guide plate, centered over the goal line and
the center of the spray tip at the left edge of the
cutout of the center line guide plate. In a
continuous motion, squeeze the spray lever and roll
the carriage along the rail until it makes contact
with the lynchpin. This will result in a 24” hash mark
line.
Move the machine forward so that the rear guide is
centered over the hash mark you just painted, with
the left edge of the guide aligned with the start of
that hash mark. Paint the next hash mark, as above
and then continue to the next, in the same manner.
This will create hash marks 36” apart, on center.

HashMark-Master II ™3400
ALWAYS wear safety goggles or protective eyewear when operating the unit!
HashMark-Master II™ 3400 Manual / 5147.0822
Page 6of 7
Hash marks for professional and college fields are located 4” from the sidelines and are 24” in length. Many High
School fields are now following many of the NCAA standards. However, some schools still have hash marks
touching the sidelines. Follow your local league recommendations for field layout.
HASH MARK STANDARDS
Step 1: Remove the spray gun from the HashMark MasterTM
and place it back into the gun mount of the machine. Remove
the lynchpin and roll the carriage and gun mount assembly
off of the rail. Rotate the carriage and gun mount assembly
90 degrees, and then roll it back onto the rail. Install the
lynchpin through the rail and into the hole in the carriage
plate, as shown.
Step 2: Rotate the rear line guide tube upward, and
allow it to rest against the front line guide tube, out
of the way as shown.
STOWING PROCEDURE
Step 1
Step 2

HashMark-Master II ™3400
ALWAYS wear safety goggles or protective eyewear when operating the unit!
HashMark-Master II™ 3400 Manual / 5147.0822
Page 7of 7
THE NEWSTRIPE WARRANTY – 18 MONTH
NEWSTRIPE, INC., WARRANTS TO THE ORIGINAL PURCHASER, FOR 18 (EIGHTEEN) MONTHS AFTER DATE
OF PURCHASE, THAT THE EQUIPMENT* HEREBY SOLD SHALL BE FREE OF DEFECTS IN MATERIALS AND
WORKMANSHIP. THIS WARRANTY DOES NOT EXTEND TO ANY DAMAGE OR MALFUNCTION RESULTING
FROM MISUSE, NEGLECT, ACCIDENT, IMPROPER OPERATION, OR NORMAL WEAR AND TEAR.
Damage incurred in shipment from Newstripe, Inc. to the customer is the total responsibility of the
carrier. The CUSTOMER MUST NOTE DAMAGES on the Bill of Lading of Trucking Company or Railroad;
and Newstripe, Inc. will furnish to the customer the cost or parts and labor. The customer can then bill
the common carrier for the damages by placing his signature on the documents.
The Newstripe, Inc. obligation under this warranty and any implied warranties is limited to replacement
or repair of defective parts of its manufacture without charge for 18 (EIGHTEEN) months from date of
purchase. For service under this warranty, buyer shall ship the defective part or parts of the equipment,
transportation prepaid, to Newstripe, Inc. together with a written description of any claimed defect and
proof of purchase date of the materials being returned. Prior to retuning any part or machine, the
CUSTOMER must obtain a Return Materials Authorization number. Call 1-800-624-6706. To review
the complete guidelines for warranty and returns, please visit www.newstripe.com/terms-of-use-
privacy-policy.
*Components not manufactured by Newstripe, Inc. such as engines, compressors, pumps, and
transaxles are furnished with their respective manufacturer’s warranties only. Where Newstripe
elects to extend manufacturers’ warranties, the warranty shall cover up to 100% of the cost to repair
or replace materials and parts for the first 12 months of ownership, excluding labor. Extension of any
manufacturers’ warranty for these components is at the sole discretion of Newstripe, Inc. and does
not include wearable parts and consumable components from normal wear and tear.
The responsibilities described above are the only responsibilities of Newstripe, Inc. under this written
warranty or any implied warranty, and may be exercised only within 18 (EIGHTEEN) months from the
date of purchase. In no event shall Newstripe, Inc. be liable for incidental or consequential damages and
no person had any authority to bind it to any representation or warranty, not be responsible for work
done, materials furnished or repairs made by others without its' specific written authorization.
THIS WARRANTY SHALL BE IN LIEU OF ANY AND ALL OTHER WARRANTIES, EXPRESSED OR IMPLIED,
INCLUDING ANY WARRANTIES OF MERCHANTABILITY OR FITNESS FOR A PARTICULAR PURPOSE, AND
THERE IS NO OTHER REPRESENTATION OR WARRANTY OF ANY KIND WITH RESPECT TO THE GOODS
SOLD HEREBY EXCEPT AS SET FORTH HEREIN. IT IS EXPRESSLY AGREED THAT THIS WARRANTY SHALL BE
LIMITED TO THE ADJUSTMENT, REPAIR OR REPLACEMENT OF PARTS AND THE LABOR AND SERVICES
REQUIRED THEREBY. IN NO EVENT, INCLUDING ANY CLAIM FOR NEGLIGENCE, SHALL NEWSTRIPE, INC.
BE LIABLE FOR INCIDENTAL OR CONSEQUENTIAL DAMAGES.
Sincerely,
Newstripe, Inc.
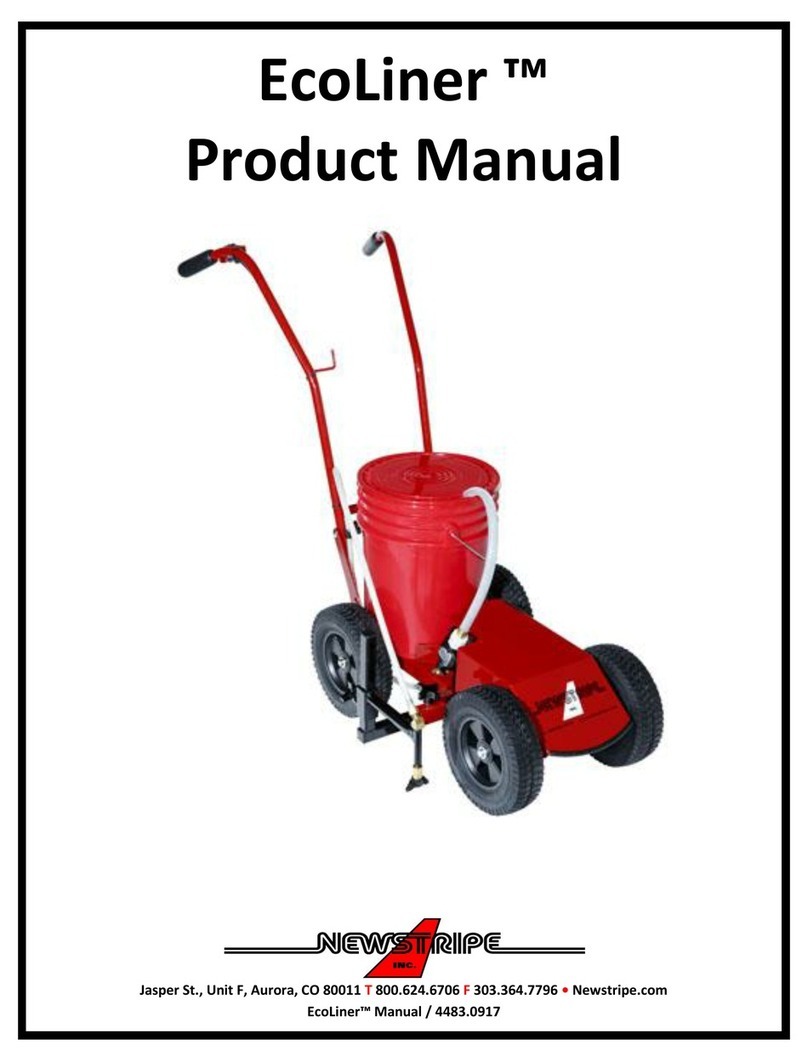
Table of contents
Other Newstripe Paint Sprayer manuals

Newstripe
Newstripe SCOTSMAN User manual

Newstripe
Newstripe LineRider User manual

Newstripe
Newstripe NewRider 1700 HPA User manual

Newstripe
Newstripe EcoLiner User manual

Newstripe
Newstripe RollMaster 5000 User manual

Newstripe
Newstripe 4400 User manual

Newstripe
Newstripe RollMaster 1000 User manual

Newstripe
Newstripe NewRider 1700 HPA User manual

Newstripe
Newstripe 4250 User manual

Newstripe
Newstripe 4400 User manual