Scotsman™Manual / 0960.0416
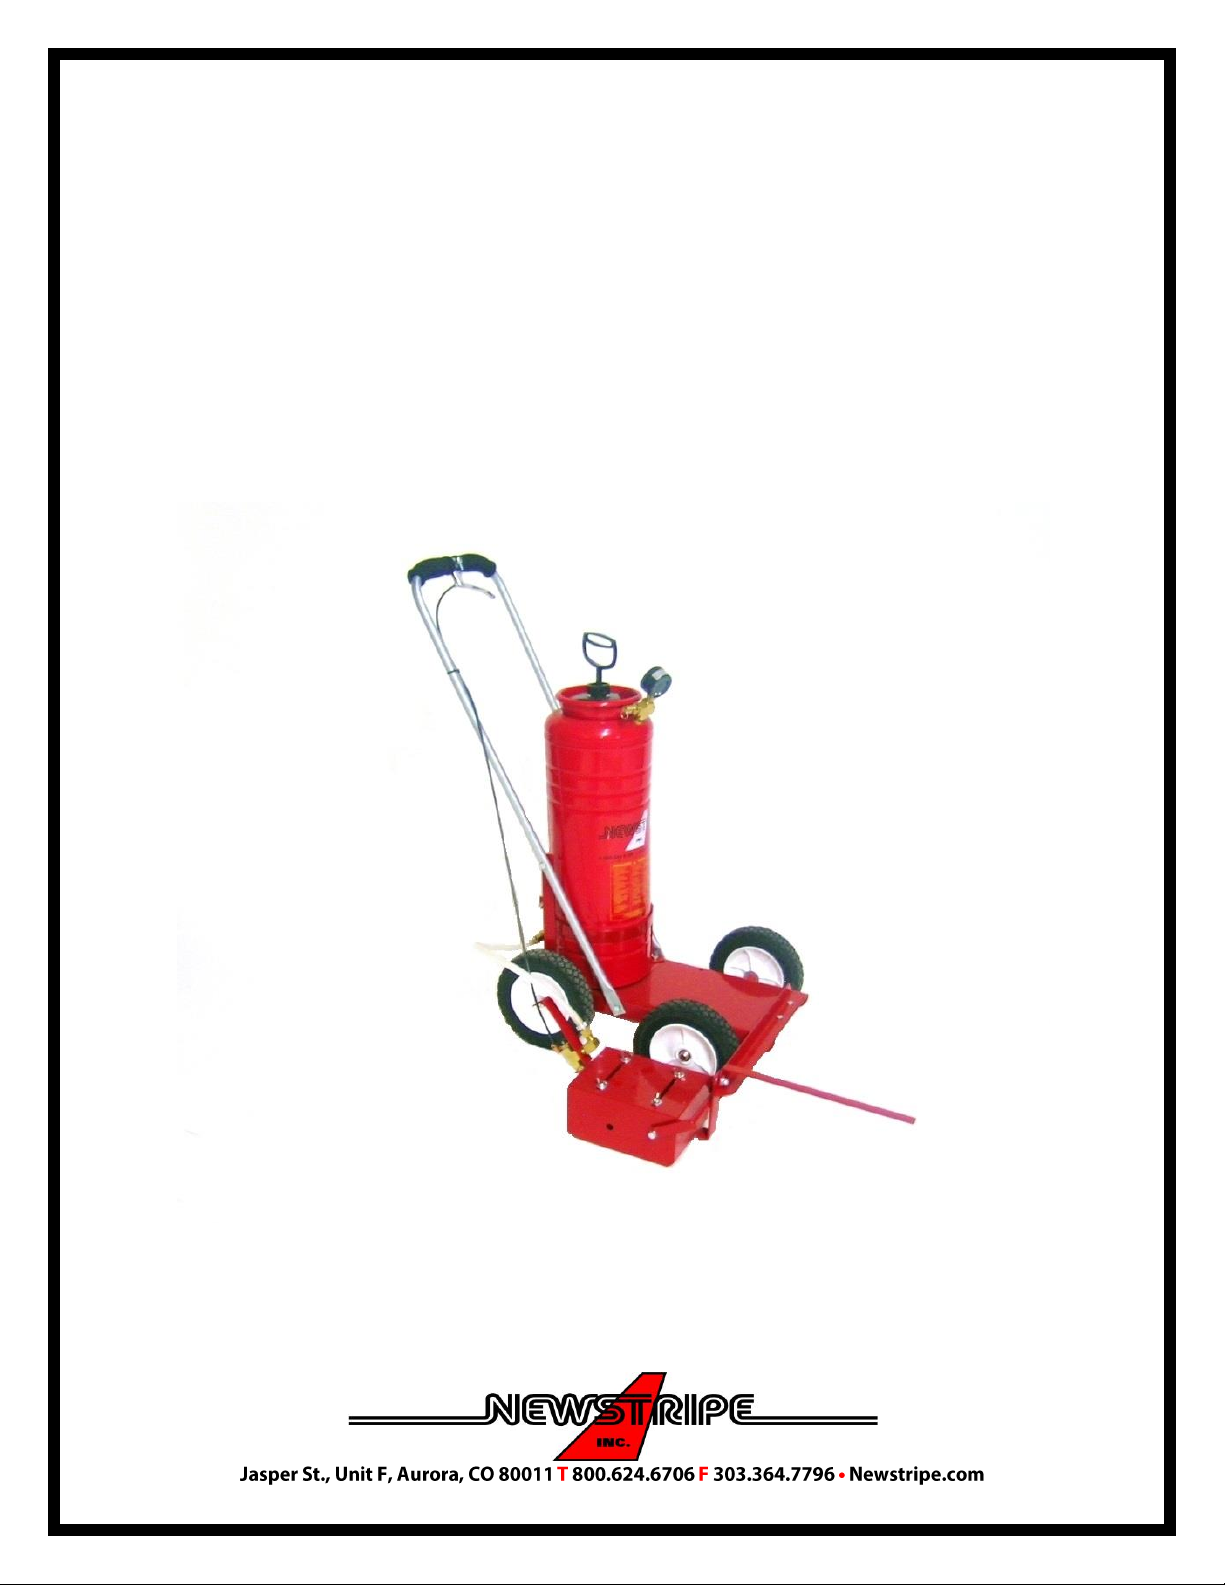
Scotsman™
ALWAYS wear safety goggles or protective eye-wear when operating the unit!
OPERATION
We recommend spraying with water first to become familiar with operation.
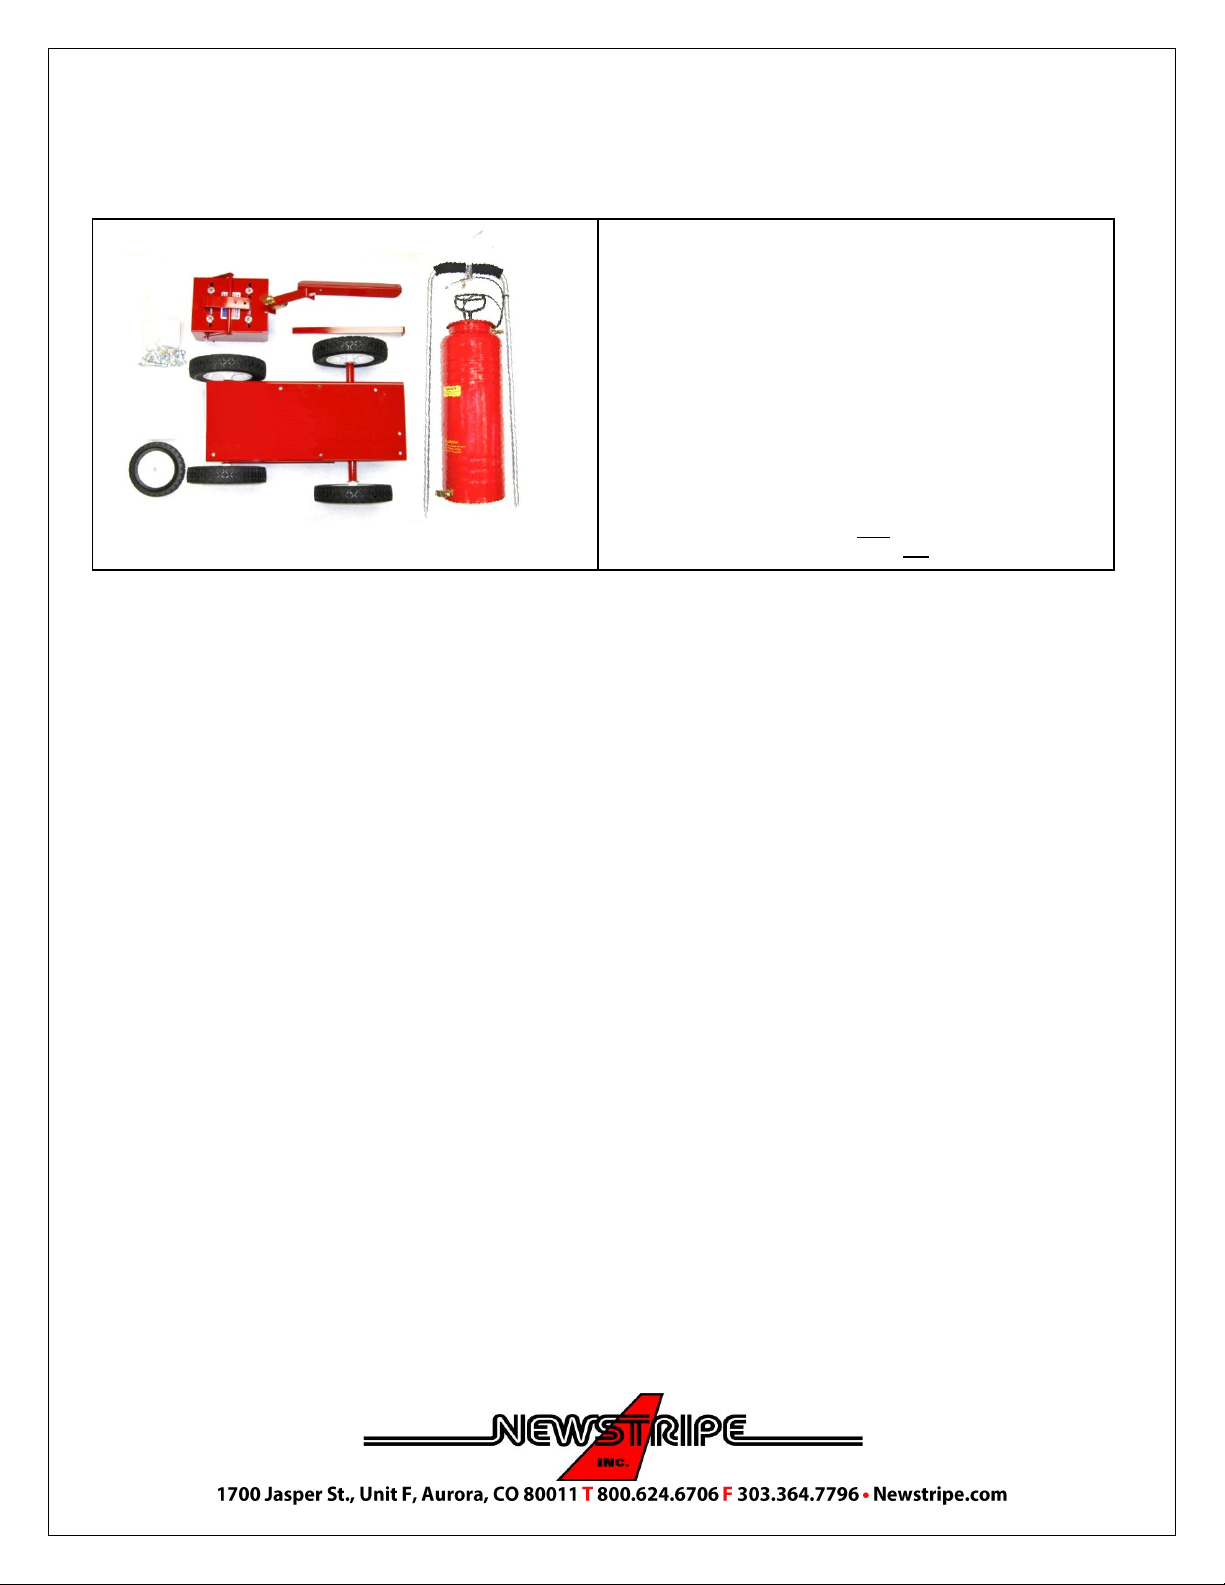
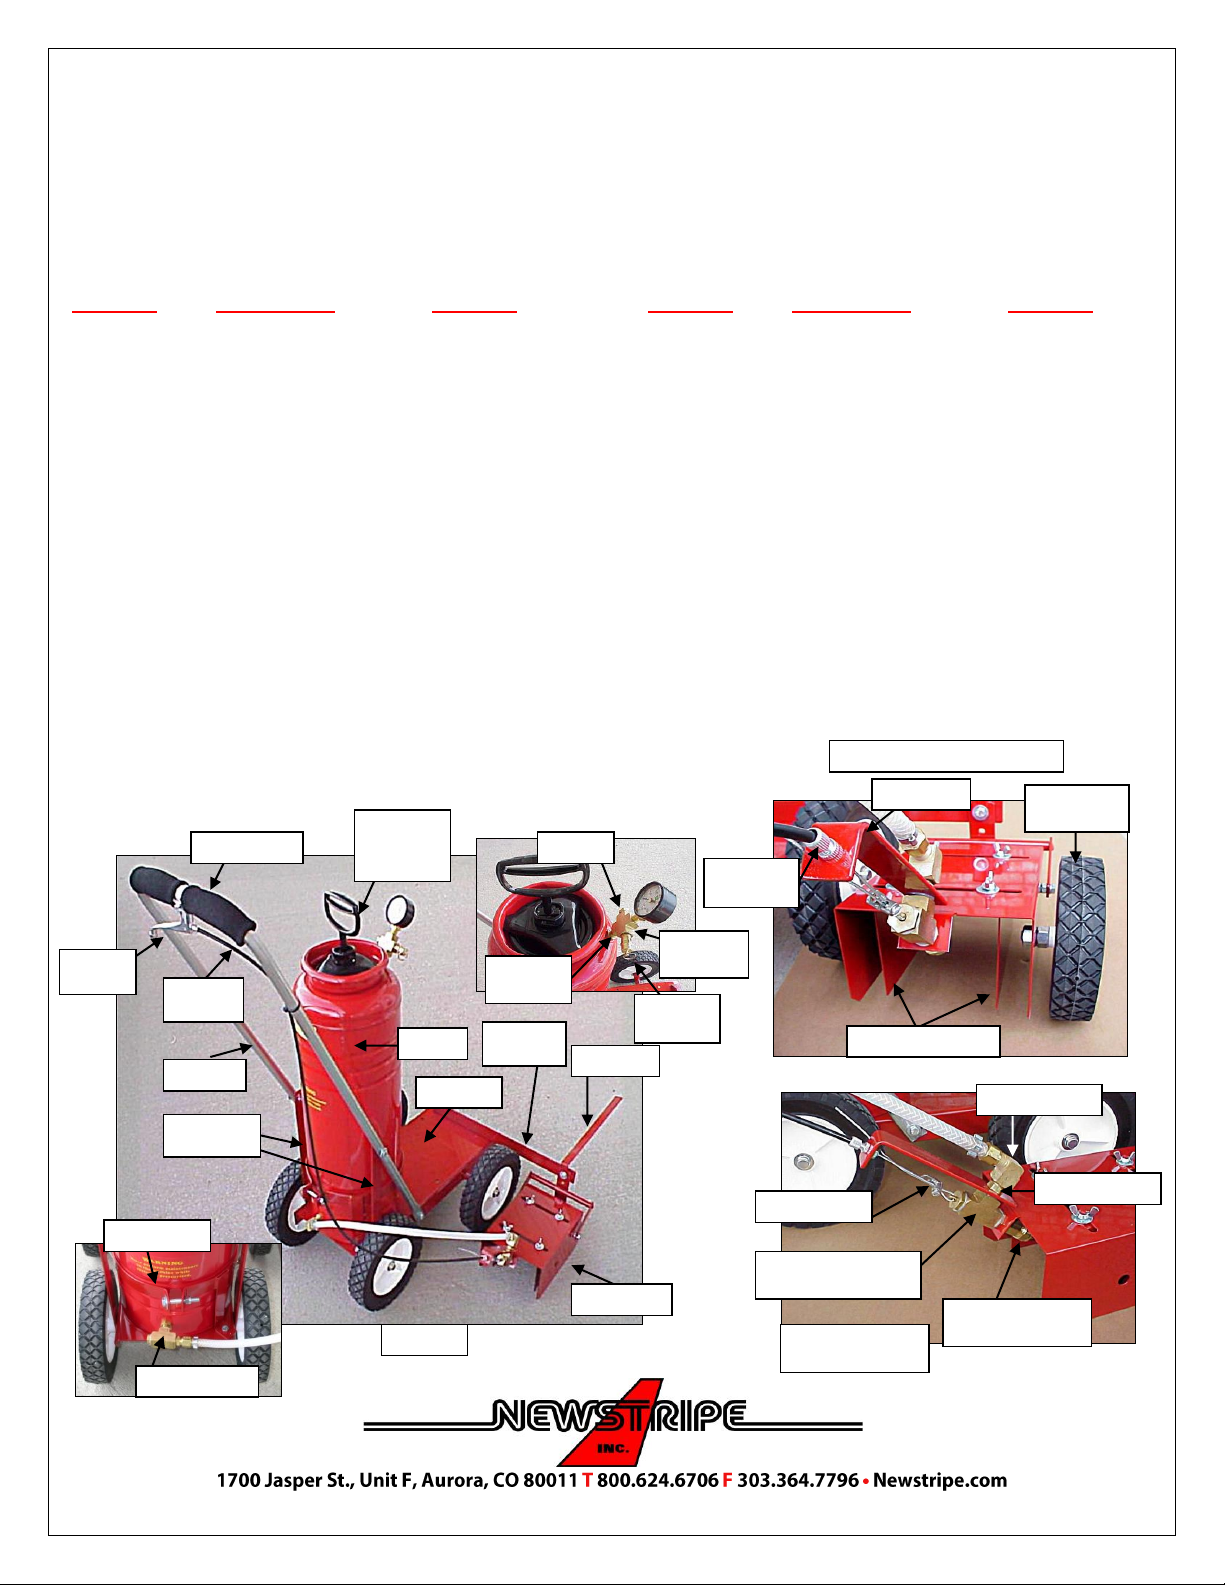
1. Open paint tank (5) by turning the pump/lid handle (4)
counter clockwise until loose, (triangle clamp should
turn freely) then remove.
2. Replace pump/lid assembly (4) into tank (5). Turn the
triangle clamp clockwise into the lowest locking slots in
the tank opening. If it is too high to go into the lowest
locking slot, turn the handle counter clockwise while
holding triangle clamp to loosen the pump nut. Once
the triangle clamp is in the lowest locking slots, turn
the pump handle clockwise until snug. DO NOT OVER
TIGHTEN. Never use any kind of tool to tighten the
pump lid.
3. Hand pump up and down until the desired pressure is
reached. Normal operating pressures are 20-35 psi.
NEVER PRESSURIZE ABOVE 35 psi. The pressure you
select will be dependent on the type and viscosity of
your paint, the speed you walk, etc.
4. Check for any leaks. The pump/lid should seal with
normal hand pressure. Never use pry bars, other tools
or excessive force to close. If necessary clean gasket,
gasket seating area and lubricate or replace the gasket.
5. Pull the control lever (1). An even flow of paint should
spray from the nozzle (12) contacting the bottom edge
of both adjustable spray shields inside spray box (10).
6. View the spray pattern. Ideally, the spray will look like
picture # 1 in "Surface and Paint Preparation guide".
It might be necessary to thin the paint or increase the
pressure to get the proper pattern.
7. The adjusting tab that the spray valve assembly (11)
mounts to, should only be bent up or down to adjust
spray pattern so that the spray strikes the surface at
the midpoint of the spray box. NOTE: Spray pattern
should be adjusted so that spray is hitting ground and
bottom edge of spray shields at the same time.
Activate trigger and paint (or water) will spray from
the gun.
8. Spray Box (10) can be adjusted from 2" to 6". Loosen
wing nuts on top of spray box and slide baffle plates in
or out to the desired width and retighten wing nuts.
The nozzle for 4” wide lines is installed at the factory.
For 2” or 6” wide lines, select the proper nozzle from
the Spray Head Adjustment page. For 6” lines remove
both baffle plates from spray box.
9. When low on paint the unit will begin to "sputter" and
paint will come out unevenly. To refill, pull ring on
pressure relief valve (18) to release the tank pressure.
Turn the pump/lid handle counter clockwise and
remove it from the tank. Refill with thinned, strained
paint and re-pressurize.
OPERATIONAL NOTE!
Note: The pump nut unscrews from the triangle to loosen the lid, but will not
come off. Pour properly thinned paint (See Surface and Paint Preparation) into
the paint tank. If this is your first time, use water to practice
NEVER PRESSURIZE ABOVE 35 psi.
Never use any kind of tool to tighten the pump lid.
Lubricate gasket with petroleum jelly
NEVER try to open tank when pressurized.
ALWAYS strain the paint.