Nexta Tech PLANO-V5/RGBW User manual

MNLPLANO-V5/RGBWNV1.0
Nexta Tech
company brand of Team srl
via G.Oberdan 90, 33074
Fontanafredda (PN) - Italy
Ph. +39 0434 998682
Web: www.nexta-tech.com
Control unit with dimmer function for single colour LEDs with voltage,
12-24 VDC, max 3A for channel (max 5A total). RX radio 433.92 MHz.
PLANO-V5/RGBW
7 - RESET OF THE CONTROL UNIT
This procedure let you take the control unit back to factory settings.
NOTE: even stored transmitters will be deleted
PROCEDURE
STEP 1
Hold the receiver button down (about 5 seconds.)
until the LED begins to flash.
MAKE A SHORT PRESS
THE LED FLASH QUICLY
STEP 2
Within 10 seconds, make a short press of
“hidden” button.
The LED 1 flashes quickly and turns off.
LED FLASHES
PROLONGED PRESS
(about 5 seconds)

1
2
1.1 TECHNICAL DATA
12-24 Vdc
Max load total 3A
for channel.
Max load total 5 A
RGB or RGBW LED with
constant voltage
25
433.920mhz ISM
IP20
-20 +55 °C
80x80x16 mm
Power supply
Output
Type of load
N° of programmable transmitters
Radio frequency
Protection rating
Operating temperature
Dimensions
1 - PRODUCT FEATURES
2 - ELECTRICAL CONNECTIONS
80
80 16
- R G
* if you connect RGBW led is necessary to make the “SETTING TYPE OF LOAD CONNECTED” procedure
B W*+ +

3
4
3 - RADIO PROGRAMMING
This procedure lets you programme compatible multifunctional or generic transmitters.
4 - DELETION OF RADIO
These procedures let you delete from the memory transmitters that have already been programmed.
MULTIFUNCTIONAL TRANSMITTERS
CODES:
HB70-SLCT, HB70-SPCT,
HB80-1C, HB80-1DIM, HB80-2L, HB80-30D, HB80-30RGBW, HB80-4C, HB80-4DIM, HB80-4L,
HB90-6LT,
ROUND-1SP,
SENSA-M, SENSA-P, SENSA-R35M, SENSA-R35P, SENSA-R35T, SENSA-T,
TOUCH-1, TOUCH-1CCT, TOUCH-1DIM, TOUCH-1SP, TOUCH-1L , TOUCH-1RGBW, TOUCH-3C, TOUCH-4DIM, TOUCH-CFU
With multifunctional transmitters the transmitter control modes depend on the model used.
Refer to the transmitter manual, to the paragraph entitled "commands sent by the transmitter",
bearing in mind that it is an "dimmer" device.
GENERIC TRANSMITTERS (WIRELESS BUS)
CODES:
HB80-6G,
MCU-TX4,
TOUCH-1G, TOUCH-2G, TOUCH-4G, TOUCH-LOCK4, TOUCH-TX2,
ROUND-1G
With generic transmitters, the transmitter's control modes are:
Short press= On/Off, Long Press= Dimmer Up/Down
PROCEDURE
STEP 1
Press the button 1.
The led turns on.
MAKE A TRANSMISSION
WITH THE TRANSMITTER
MAKE A SHORT
PRESS
MAKE A TRANSMISSION
WITH THE TRANSMITTER
THE LED TURNS ON
MAKE A SHORT
PRESS
THE LED STARTS
FLASHING QUICKLY
AND TURNS OFF
STEP 2
Within 60 seconds make a transmission with the
transmitter to be saved.
See transmitter manual, the paragraph
entitled "transmitter programming"
for specify information.
The led makes 3 flashes and turns off.
LED MAKES 3 FLASHES
AND TURNS OFF
THE LED STARTS
FLASHING QUICKLY
AND TURNS OFF
PROCEDURE
STEP 1
Hold the receiver button 1 down (about 8 seconds.) until
the LED begins to flash.
STEP 2A
Within 10 seconds make a transmission with the
transmitter that you want to delete.
The LED flashes quickly and turns off.
STEP 2B
Within 10 seconds press the button on
the receiver for a short time to confirm the
delection of all transmitters.
The LED starts flashing quickly and turns off.
PROLONGED PRESS
(about 5 seconds)
LED FLASEHES
DELETION OF
SINGLE TRANSMITTER
DELETION OF ALL
TRANSMITTER SAVED

5
6
5 - SETTING THE TIMED ON
This process is used to set the time for which the Leds stays on before an automatic switch off.
NOTE: don’t use this process with HB70-SLCT, HB70-SPCT and TOUCH-1SP, the controller already has a procedure to
setting the automatic switch off of the light.
PROCEDURE
STEP 1
With a paper clip makes a short press
of the “hidden” button.
The led turns on.
MAKE A SHORT PRESS
THE LED TURNS ON
STEP 2
Within 10 seconds makes a short press of button 1.
The led start to flashes.
Each flash corresponds to a different timing. LED START TO
FLASHES
MAKE A
SHORT PRESS
STEP 3
Makes a short press of button 1 while it is
flashing to end the count.
The led turns off THE LED
TURNS OFF
MAKE A SHORT PRESS
DURING THE FLASHES
1
2
3
4
5
6
7
8
1 minute
3 minutes
5 minutes
15 minutes
30 minutes
1 hour
18 hours
No timed on
FLASHES TIMED ON
6 - SELECTION OF TYPE OF LOAD CONNECTED
Default: RGB mode
This procedure is used to set up the type of control of load.
The three types are:
1 - RGB: in this case to create white light the control unit will use the three output channels "R", “G” and “B”
2 - RGBW modo 1: in this case to create white light the control unit will use the output channel "W"
3 - RGBW modo 2: in this case to create white light the control unit will use the output channel "W" and the three output
channels "R", “G” and “B”. This is to obtain the maximum available light.
PROCEDURE
STEP 1
With a paper clip makes a short press
of the “hidden” button.
The led turns on.
MAKE A SHORT PRESS
THE LED TURNS ON
STEP 2
Within 10 seconds makes a short press of button 2.
The led start to flashes.
Each flash corresponds to a different timing.
LED START TO
FLASHES
MAKE A
SHORT PRESS
STEP 3
Makes a short press of button 1 while it is
flashing to end the count.
The led turns off
THE LED
TURNS OFF
MAKE A SHORT PRESS
DURING THE FLASHES
1
2
3
RGB
RGBW mode 1
RGBW mode 2
FLASHES TIMED ON

5
6
5 - SETTING THE TIMED ON
This process is used to set the time for which the Leds stays on before an automatic switch off.
NOTE: don’t use this process with HB70-SLCT, HB70-SPCT and TOUCH-1SP, the controller already has a procedure to
setting the automatic switch off of the light.
PROCEDURE
STEP 1
With a paper clip makes a short press
of the “hidden” button.
The led turns on.
MAKE A SHORT PRESS
THE LED TURNS ON
STEP 2
Within 10 seconds makes a short press of button 1.
The led start to flashes.
Each flash corresponds to a different timing. LED START TO
FLASHES
MAKE A
SHORT PRESS
STEP 3
Makes a short press of button 1 while it is
flashing to end the count.
The led turns off THE LED
TURNS OFF
MAKE A SHORT PRESS
DURING THE FLASHES
1
2
3
4
5
6
7
8
1 minute
3 minutes
5 minutes
15 minutes
30 minutes
1 hour
18 hours
No timed on
FLASHES TIMED ON
6 - SELECTION OF TYPE OF LOAD CONNECTED
Default: RGB mode
This procedure is used to set up the type of control of load.
The three types are:
1 - RGB: in this case to create white light the control unit will use the three output channels "R", “G” and “B”
2 - RGBW modo 1: in this case to create white light the control unit will use the output channel "W"
3 - RGBW modo 2: in this case to create white light the control unit will use the output channel "W" and the three output
channels "R", “G” and “B”. This is to obtain the maximum available light.
PROCEDURE
STEP 1
With a paper clip makes a short press
of the “hidden” button.
The led turns on.
MAKE A SHORT PRESS
THE LED TURNS ON
STEP 2
Within 10 seconds makes a short press of button 2.
The led start to flashes.
Each flash corresponds to a different timing.
LED START TO
FLASHES
MAKE A
SHORT PRESS
STEP 3
Makes a short press of button 1 while it is
flashing to end the count.
The led turns off
THE LED
TURNS OFF
MAKE A SHORT PRESS
DURING THE FLASHES
1
2
3
RGB
RGBW mode 1
RGBW mode 2
FLASHES TIMED ON

MNLPLANO-V5/RGBWNV1.0
Nexta Tech
company brand of Team srl
via G.Oberdan 90, 33074
Fontanafredda (PN) - Italy
Ph. +39 0434 998682
Email: [email protected]
Web: www.nexta-tech.com
Control unit with dimmer function for single colour LEDs with voltage,
12-24 VDC, max 3A for channel (max 5A total). RX radio 433.92 MHz.
PLANO-V5/RGBW
7 - RESET OF THE CONTROL UNIT
This procedure let you take the control unit back to factory settings.
NOTE: even stored transmitters will be deleted
PROCEDURE
STEP 1
Hold the receiver button down (about 5 seconds.)
until the LED begins to flash.
MAKE A SHORT PRESS
THE LED FLASH QUICLY
STEP 2
Within 10 seconds, make a short press of
“hidden” button.
The LED 1 flashes quickly and turns off.
LED FLASHES
PROLONGED PRESS
(about 5 seconds)
Table of contents
Other Nexta Tech Control Unit manuals
Nexta Tech
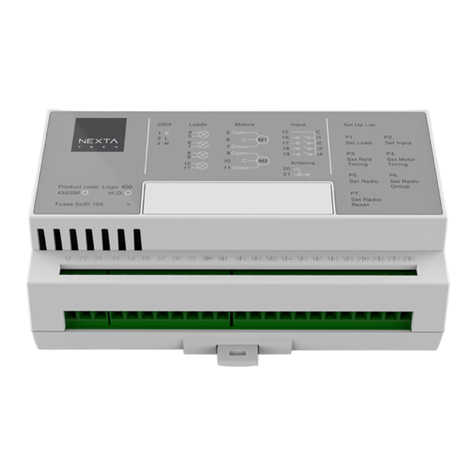
Nexta Tech LOGIC-400-ONE User manual
Nexta Tech
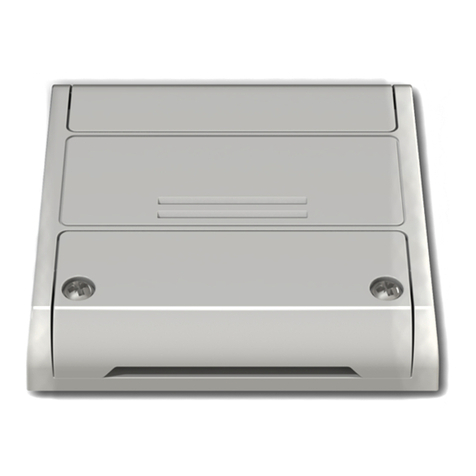
Nexta Tech PLANO-V10/4 User manual
Nexta Tech
Nexta Tech TOP-M400/One User manual
Nexta Tech
Nexta Tech MCX-M500 User manual
Nexta Tech
Nexta Tech PLANO-ONE/4 User manual
Nexta Tech
Nexta Tech PRG-M24 User manual
Nexta Tech
Nexta Tech TOP-ML/One User manual
Nexta Tech
Nexta Tech MCX-M/ONE User manual
Popular Control Unit manuals by other brands

Sinocare
Sinocare TL8251-D1 user manual

Bowers & Wilkins
Bowers & Wilkins CU810 instructions
Hogfors
Hogfors 465 Series Instructions for installation, use and maintenance
Glowworm
Glowworm SYSTEMPRO Installation and servicing
Motorline professional
Motorline professional MC70 User& installer's manual
ELCODIS
ELCODIS 710-0004-01 manual
