NOUVOLED 4 100W TW Series User manual
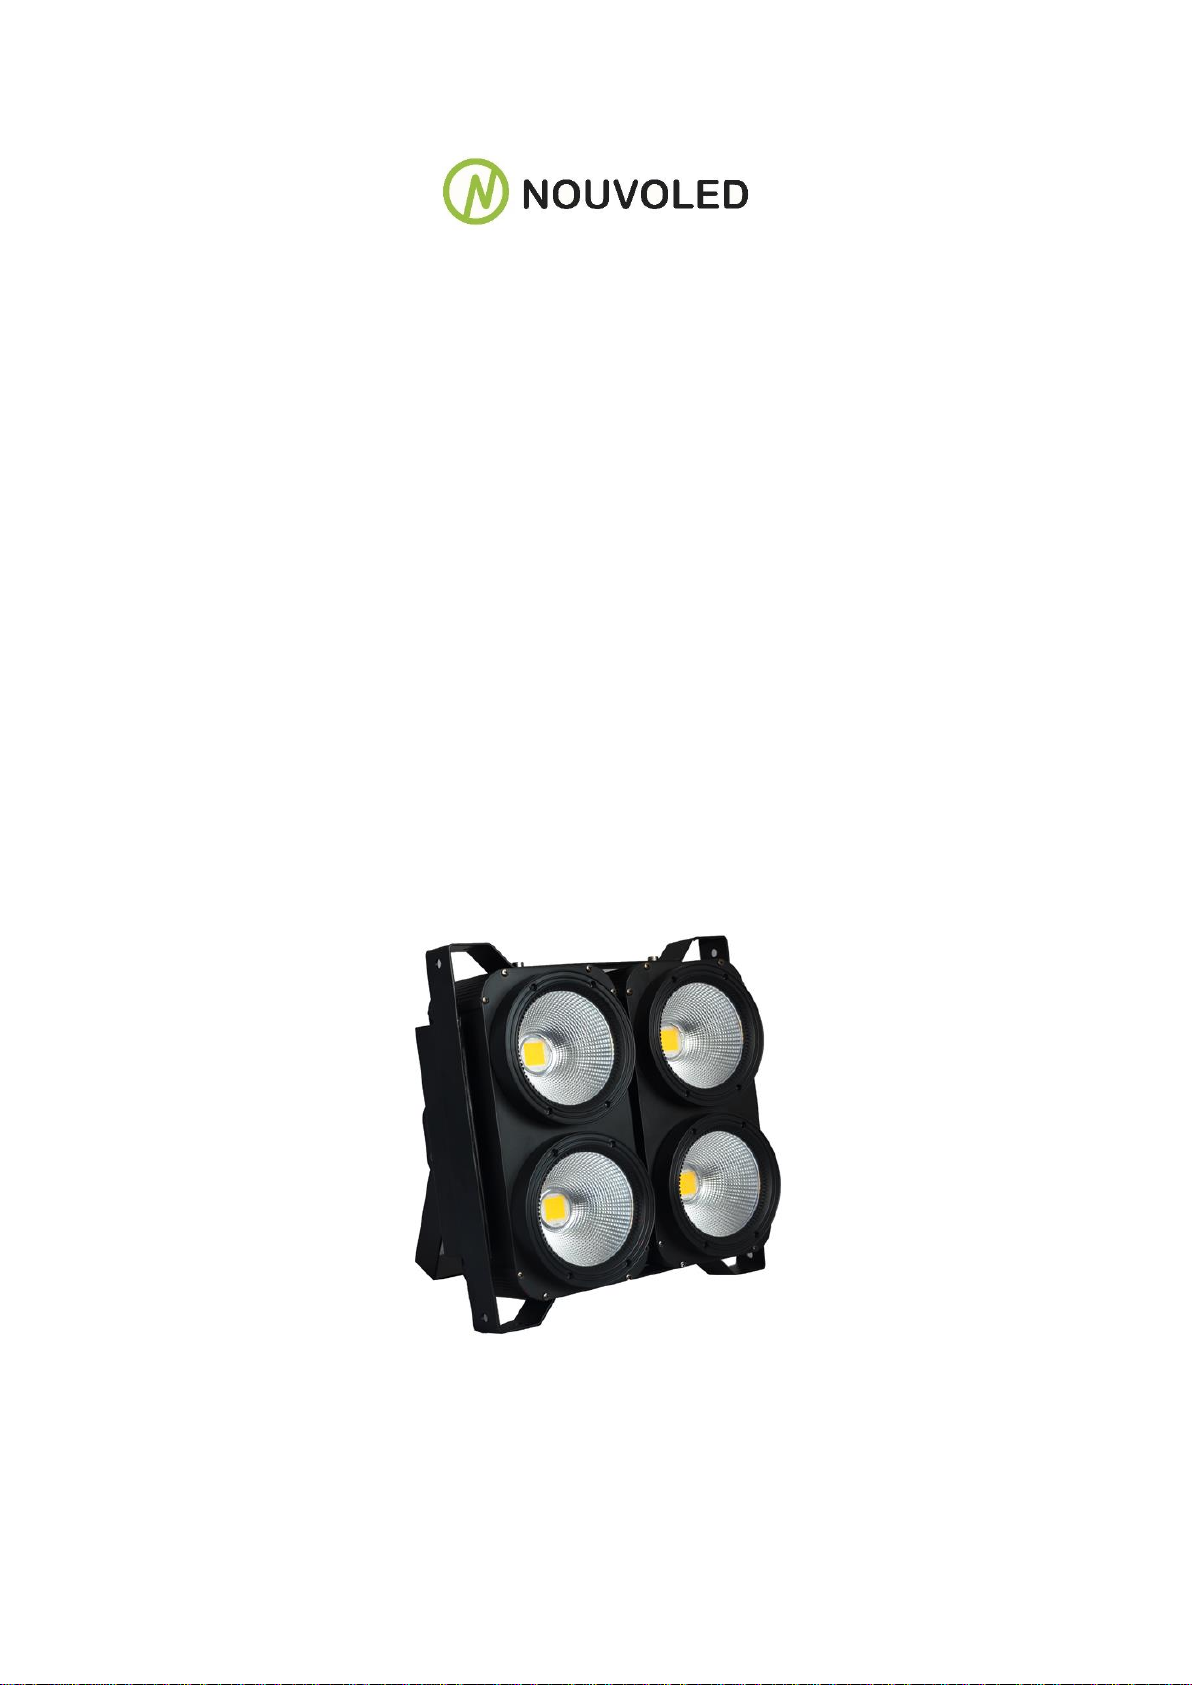
BLINDER 400 TW/CW
USER MANUAL
4X100W TW/CW BLINDER

1. Unpacking
Thank you for choosing our LED blinder. For your own safety, please read this manual before
installing the device. This manual covers important information on installation and applications. Please
keep this manual for future reference.
This light uses 100-watt warm white led giving incredible output. Please unpack this fixture carefully
and check whether it was damaged in shipping.
The following item should be in the box with the fixture:
1.Power wire 2. Signal wire 3. User Manual
2. Safety Instructions.
This device has left the factory in perfect condition. In order to maintain this condition and to ensure a
safe operation, it is absolutely necessary for the user to follow the safety instructions and warning notes
written in this user manual. This fixture is a high voltage fixture. Be careful when dealing with high
voltages.
Please read this manual. If you do not read this manual and damages occur to the fixture, then it
could void the warranty.
During shipping, the light may have been exposed to high temperature changes or humidity changes.
So, as a precaution, do not switch the light on immediately. Condensation can damage the fixture so
leave the fixture switched off until it has reached room temperature. The light is an INDOOR
operational fixture. Do not operate this fixture outdoors or anywhere there is high humidity.
The electric connection must carry out by a qualified person and it is absolutely essential that the
fixture be grounded. So, under no circumstances break off the ground pin on the Edison plug or use
the fixture where a ground is not present. A ground pin, like the fuse for the fixture is there for safety.
Always disconnect the fixture from the power source, when the fixture is not in use or before cleaning
it. Only unplug it from the power source holding onto the Edison plug. Do not pull out the Edison plug
out by just pulling on the power cord itself.
Please keep the fixture away from children and the general public. Please be intelligent and use
common sense when operating the fixture.
3. General Guidelines.
This fixture is a lighting fixture for professional use on stages, in clubs, concert etc.
This fixture should only be operated at between 90 to 240 volts and only indoors.
This fixture should not be operated 24/7 (24 hours a day; 7 days a week). This fixture needs operation
breaks to ensure that it will work for a long time without problems. Please do not shake the fixture and
avoid using brute force when installing or operating it.
When choosing the location to install the fixture, please make sure that it is not exposed to extreme
heat, moisture or dust and never install it outdoors. Make sure that the fixture has a good amount of
free space around it for air flow. Do not install it in a confined space or have insulation around the
fixture. The minimum distance between the fixture and the illuminated surface must be more than 3
feet.
Always mount the fixture with an appropriate safety cable.

Operate the fixture only when you are familiar with the features on the fixture. Do not permit operation
by persons not qualified.
All modifications to the fixture. There are absolutely no exceptions.
If the fixture is operated in any way different to the one described in this manual, this light maybe
damaged and the guarantee will be void.
4. Installation
A safety chain or cable should also be used as a secondary point of holding the fixture in case the
clamp comes loose. Never hang the fixture without a safety chain or cable.
If you are not qualified or have any doubts about hanging the fixture then do NOT hang it.
5. DMX-512 Control Connection
Connect an XLR cable to the female 3-pin XLR output of your DMX controller. The other end should
be connected to the male 3-pin XLR input of the fixture. Then daisy-chain out of the first fixture into
the next fixture or other DMX device. Never “Y” split the DMX connection.
If you need more cable, then it should be two core, screened cable fitted with a 3 pin XLR input and
output connector. Please refer to the diagram below.
DMX-512 connection with DMX terminator
For installations where the DMX cable has to run a long distance or is in an electrically “noisy”
environment, it is recommended that a DMX terminator is used. This helps prevent corruption of the
digital control signal. The DMX terminator is simply a 3 pin XLR plug (male) with a 120 Ω resistor
connected between pins 2 and 3. It is then plugged into the output XLR socket of the last fixture or
other dmx device in the chain. Please see illustration below.
1
23
PIN 3
PIN 2
120Ω
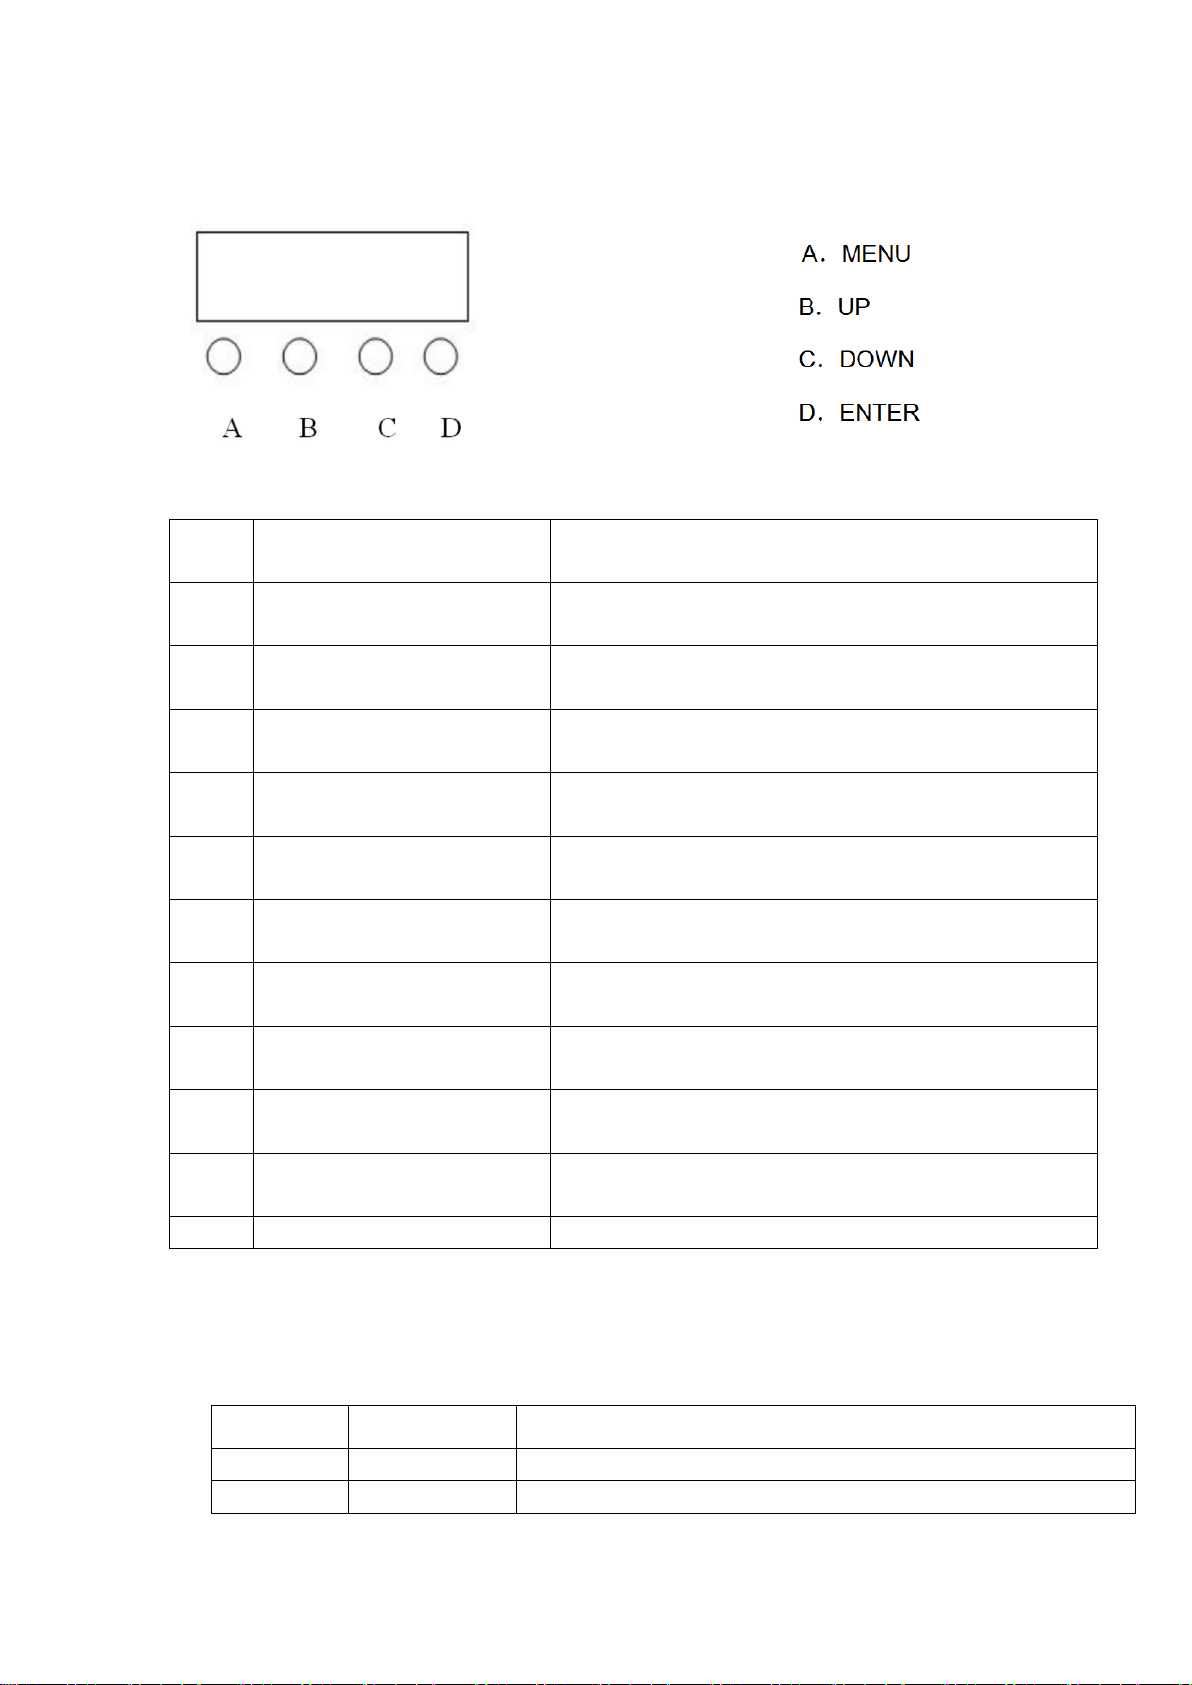
6. Menus in the fixture.
No
Display
Function
1
A001
8 channel DMX address (001-512), press UP/DOWN to
change the address
2
D001
4 channel DMX address (001-512), press UP/DOWN to
change the address
3
H001
2 channel DMX address (001-512), press UP/DOWN to
change the address
4
h001
1 channel DMX address (001-512), press UP/DOWN to
change the address
5
CC00
Jump run method (00-06), Press UP/DOWN to
change the run method
6
LL00
Run speed (01-99), Press UP/DOWN to change the
run speed
7
CP 00
Gradual change (01-99), Press UP/DOWN to change
the speed
8
dE 00
Pulse change (01-99), Press UP/DOWN to change the
speed
9
bEb1
Sound activates
10
W255
White color (0-255), Press UP/DOWN to change the
color
11
n000
Strobe (0-255), Press UP/DOWN to change speed
7. Channel information
8 channel mode
Channel
Function
Description
1
Dimmer
4 LED dimmer, linear dimmer from dark to bright
2
W1
W1 dimmer, linear dimmer, from dark to bright
3
W2
W2 dimmer, linear dimmer, from dark to bright
4
W3
W3 dimmer, linear dimmer, from dark to bright
5
W4
W4 dimmer, linear dimmer, from dark to bright
6
Strobe
W1、W2、W3、W4 strobe, from slow to fast
7
Function
chooses
0-20 Blank
21-35: Jump change 1;
........
121--135: Jump change 6;
136--150: Gradual change 1;
..........
226--240: Gradual change 6;
241--255: Sound activate;
8
Function speed
Function speed, from slow to fast
4 channel mode
Channel
Function
Description
1
W1
W1 dimmer, linear dimmer, from dark to bright
2
W2
W2 dimmer, linear dimmer, from dark to bright
3
W3
W3 dimmer, linear dimmer, from dark to bright
4
W4
W4 dimmer, linear dimmer, from dark to bright
2 channel mode
Channel
Function
Description
1
Dimmer
4 LED dimmer, linear dimmer from dark to bright
2
Strobe
4 LED strobe, from slow to fast
1 channel mode
Channel
Function
Description
1
Dimer
4 LED dimmer, linear dimmer from dark to bright

8. Cleaning and maintenance.
Now ignoring maintenance and cleaning is very good way of creating problems "down the road" and
many companies and installations do just that. However, the net result is, no matter what the fixture,
premature failure!
Changing the oil in a car most people do on a regular basis.
So, with the fixture’s regular maintenance it an excellent practice, if you want the fixtures to last.
So, what is the maintenance for the fixture?
Clean the fan! That’s really it!
Turn off the light.
Using a small vacuum cleaner, suck the dust and “fur balls” out.
Do not use a can of co². That will just blast the dust and dirt everywhere!
The fan keeps the LEDs cool and keep the electronics cool too.
Without the fan working efficiently and dust free, the fixtures will fail and that will be a lot more costly
than having someone vacuum the fixtures on a regular basis.
How often should the fan be cleaned? It depends on where the fixtures are; in a very dusty atmosphere
once a week. So, check the fan on a regular basis, it may not need cleaned every week but a quick
“visual inspection” should be done.
The clear front plastic cover for the lenses should be cleaned so the light output is maintained. With the
fixture turned off, use only a moist lint-free cloth, and clean the plastic cover. Never use alcohol or
solvents to clean the fixture. Never spray anything onto the fixture at the front or in any place on the
fixture.
9. Technical Specification.
Voltage:90-240V 50/60Hz
LED:4pcs 100W Warm white LED
Beam angle:70 degree (Sharp beam effect)
Dimmer:0-100% linear dimmer
Strobe:1-25times/sec or random strobe
Variable run method, jump change, Gradual change
4 LED have different run method
This manual suits for next models
3
Table of contents
Other NOUVOLED Lighting Equipment manuals

NOUVOLED
NOUVOLED VIRGO150S User manual

NOUVOLED
NOUVOLED PLANO 300 TW User manual

NOUVOLED
NOUVOLED VELA 440BSW User manual

NOUVOLED
NOUVOLED SOLAR PRO 300ZB TW User manual

NOUVOLED
NOUVOLED LUSTROUS-FX 1910 User manual

NOUVOLED
NOUVOLED SOLAR PRO 200 CC User manual

NOUVOLED
NOUVOLED BLINDER 200 RGBW User manual
Popular Lighting Equipment manuals by other brands


Gardenline
Gardenline SL-2750 user manual

SELF
SELF RIBBON2 Series instruction manual

Schou
Schou DAY USEFUL EVERYDAY 71830 manual

olympia electronics
olympia electronics KLD-30 quick start guide

Analog way
Analog way ORCHESTRA user manual

Glow Bricks
Glow Bricks FORBIDDEN WEST HORIZON Lego 76989 installation guide