T
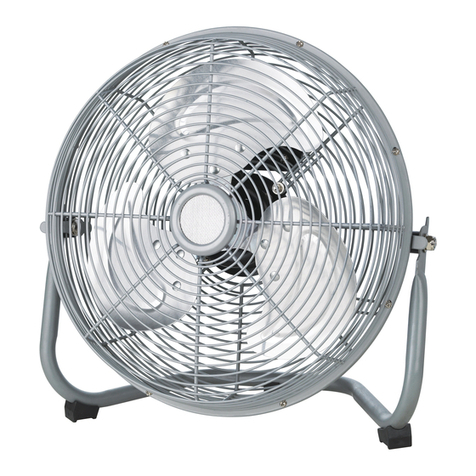
abletop Fan
Thank you for purchasing this tabletop fan. Please read the instructions and warnings
carefully before use to ensure safe & satisfactory operation of this product. Please retain this
information for future reference.
CAUTION:
Use the fan only as described in this manual. Misuse may cause a fire or an
electric shock
1. Do not operate the fan with a damaged
power cord or plug, after it malfunctions,
has been dropped or damaged in any
way. If the power cord is damaged it
must be replaced by a qualified service
engineer to avoid a hazard.
2. Close supervision is necessary when this
fan is used near children and pets.
3. Always turn off the fan after use, before
cleaning or moving location.
4. Do not insert fingers or other objects into
the fan guard.
5. Do not operate the fan in areas where
petrol, paint or other flammable liquids
are used or stored.
6. Do not place the fan near an open
flame, cooking or heating appliance or
hot surface.
7. This fan is not intended for use in wet or
damp locations. ever position the fan in
an area where it may fall into a bath or
other water container.
8. This fan should not be operated outside.
9. Always use on a dry, level surface.
10. Do not let the power cord hang over
the edge of a table or counter.
11. Arrange the power cord away from an
area where it may be tripped over.
12. ever place the power cord under a
carpet or rug.
13. To disconnect from the power supply,
grip the plug and pull from the power
socket. ever pull by the cord.
14. Do not hang or mount the fan on a wall
or ceiling.
15. This product is designed for household
and light commercial use O LY.
16. This appliance can be used by children
aged from 8 years and above and
persons with reduced physical, sensory
or mental capabilities or lack of
experience and knowledge if they
have been given supervision or
instruction concerning use of the
appliance in a safe way and
understand the hazards involved.
Operation
1. Position your fan on a dry, level surface & plug into an electrical socket.
2. To switch on the fan, turn the rotary speed control switch (8) to position 1 = Lo, 2 = Med, or
3 = Hi as desired. 0 = Off – see inset diagram on components image.
3. To assist the flow of air around the room push down the oscillation knob (9) located on
the top of the motor housing (10).
4. To stop oscillation, pull up the oscillation knob (9).
5. Airflow can be adjusted upwards or downwards by simply tilting the fan head to the
desired angle. DO OT tilt the fan head when the fan is on; this may damage the
mechanism.
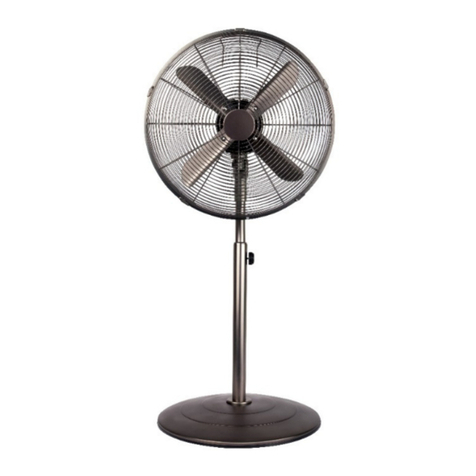
Appliance components
Assembly
1. Loosen the pillar nut (13) from main pillar; insert the main pillar into the hole of the fan
base (12); then secure in place with the pillar nut (13).
2. Remove the locking cap (2) and rear grille securing nut (4) from the motor cover.
Secure the rear grille (5) to the motor cover using the three pins to align it keeping the
carry handle (6) at the top. Then fasten grille securely in place with rear grille securing
nut (4).
3. Push the fan blade (3) onto the motor shaft (7) until the fan blade is fully seated. For
models with shaft pins, push the fan blade onto the motor shaft by matching the slots
on the rear of the blade with the shaft pin.
4. Secure the fan blade (3) with the locking cap (2). The locking cap must be tightened
by turning it counter clockwise. Check that the fan blade rotates freely by turning it
with your hand. If it does not – check the rear grille (5) is correctly aligned on the motor
housing, the rear grille nut (4) is fitted correctly and the locking cap (2) is correctly
threaded & securely tightened.
5. Open the securing clips around the front grille (14) and loosen the safety screw at the
bottom of the front grille (1). Position the front grille hook on the uppermost part of the
rear grille. Push the hook down firmly and press the rim of the front grille onto the rear
grille. Close all clips around the grille & tighten the safety screw (14).
1. Front grille 8. Speed control switch
2. Locking cap 9. Oscillation knob
3.


