7
3 Installation
OceanLED makes every effort to protect our marine and fresh water environment as well as our natural
resources. Please take care to keep packaging away from and out of the water by ensuring loose packaging
materials are secured and not susceptible to being blown into the water. Please recycle all packaging
materials as the sustainability of our environment is everyone's responsibility.
WARNINGS:
•Never use power tools to secure your lights; hand tighten only.
•We recommend you use screws provided. If alternative screws are used, do not use counter sunk or non-
flat shoulder screws to secure your lights.
•Please check all components prior to installation. If there is any damage to connectors, cables, and/ or
any other component, please notify OceanLED BEFORE installation. Failure to notify OceanLED of
damage in transit prior to installation will lead to violation of warranty.
•Do not submerse your cable in water; cable and connections exposed to underwater submersion will not
be covered by warranty. Mounting the light in any other configuration, other than those described in this
guide, will invalidate its warranty. Any incorrectly bonded conduit pipes to the dock light support
that allow water ingress will not be covered under warranty.
Please do not use any un-authorised cleaning products to remove excess paint or antifoul off the bezel.
OceanLED recommends using Isopropyl Alcohol (IPA) only.
Never install a new light fixture then leave in the water unchecked for several days.
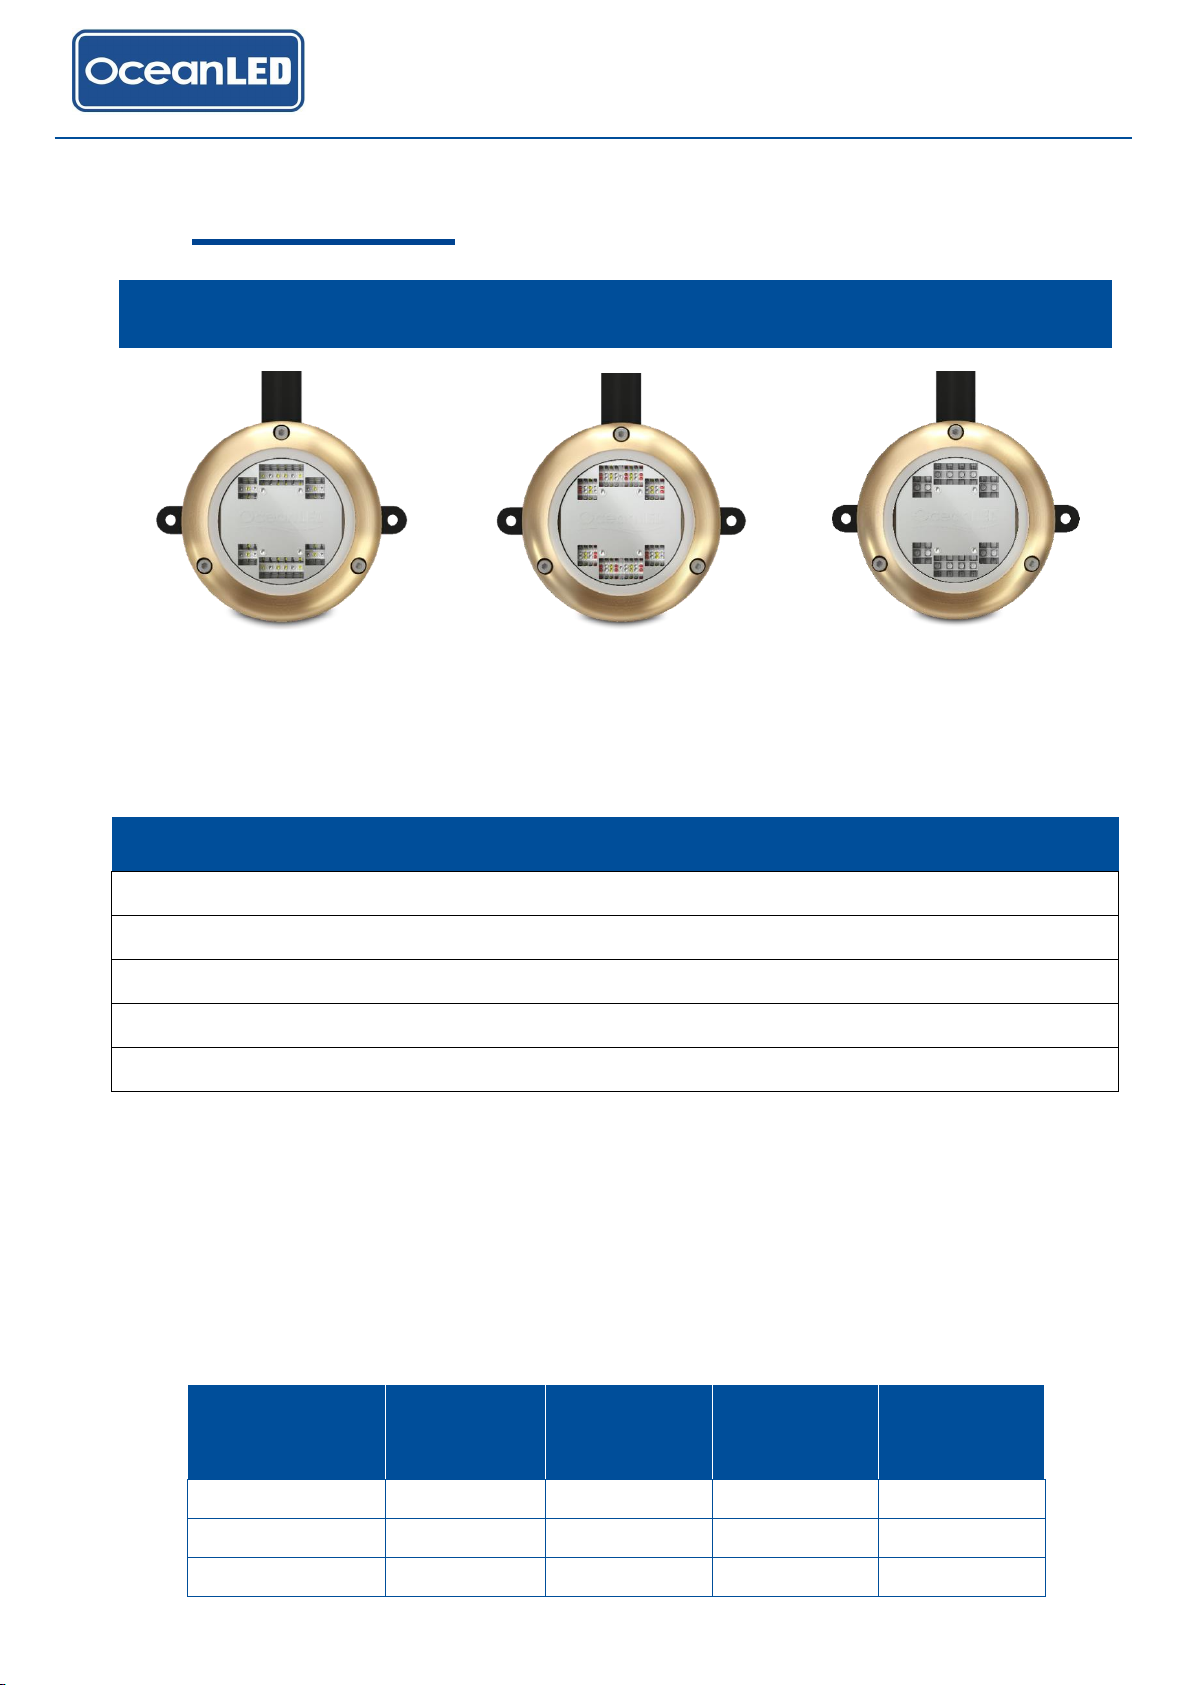
3.1 INSTALLING THE DOCK LIGHT FIXTURE
Fixed
PROCEDURE
1. Install ½ inch PVC conduit into dock light, feeding the cable through the conduit, ensure conduit end
surface that is bonded to the dock light support has a continuous smooth surface and that a
waterproofbond is achieved.Bondthe conduitto thedocklightusingPVC solventweldadhesive (not
supplied).
NOTE: The conduit must be fully sealed along all its length and at the point of cable entry
to prevent water ingress - failure to do so will invalidate warranty.
2. Markthe positioningofthe 2x mountingholesanddrillpilotholeoradequate sizedholefor screw
anchor / wall plug.
3. Attachthe unitto the installation surface using2x screws provided.
4. Once the lightis installed protect the point of cable entry into the conduit from water ingress
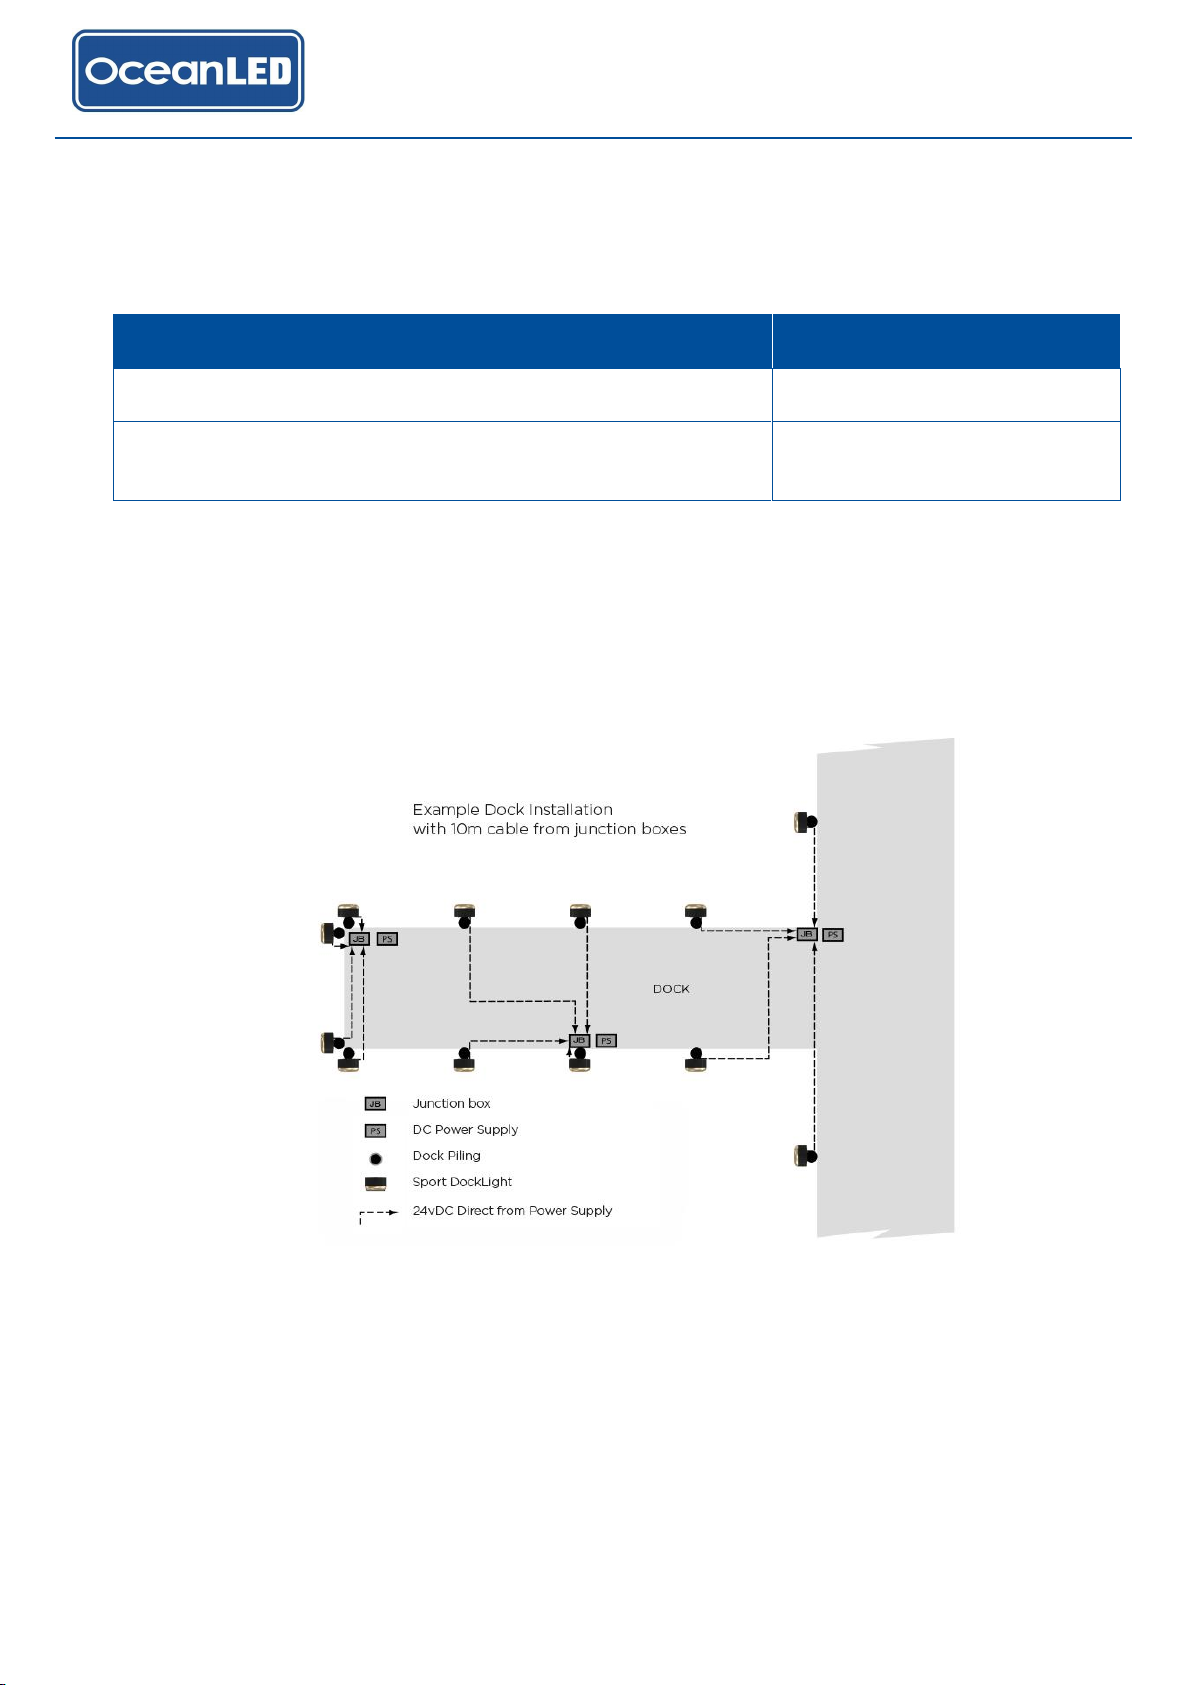
5. Connect the lights to the power source as described below in section 3.2.