EN-1
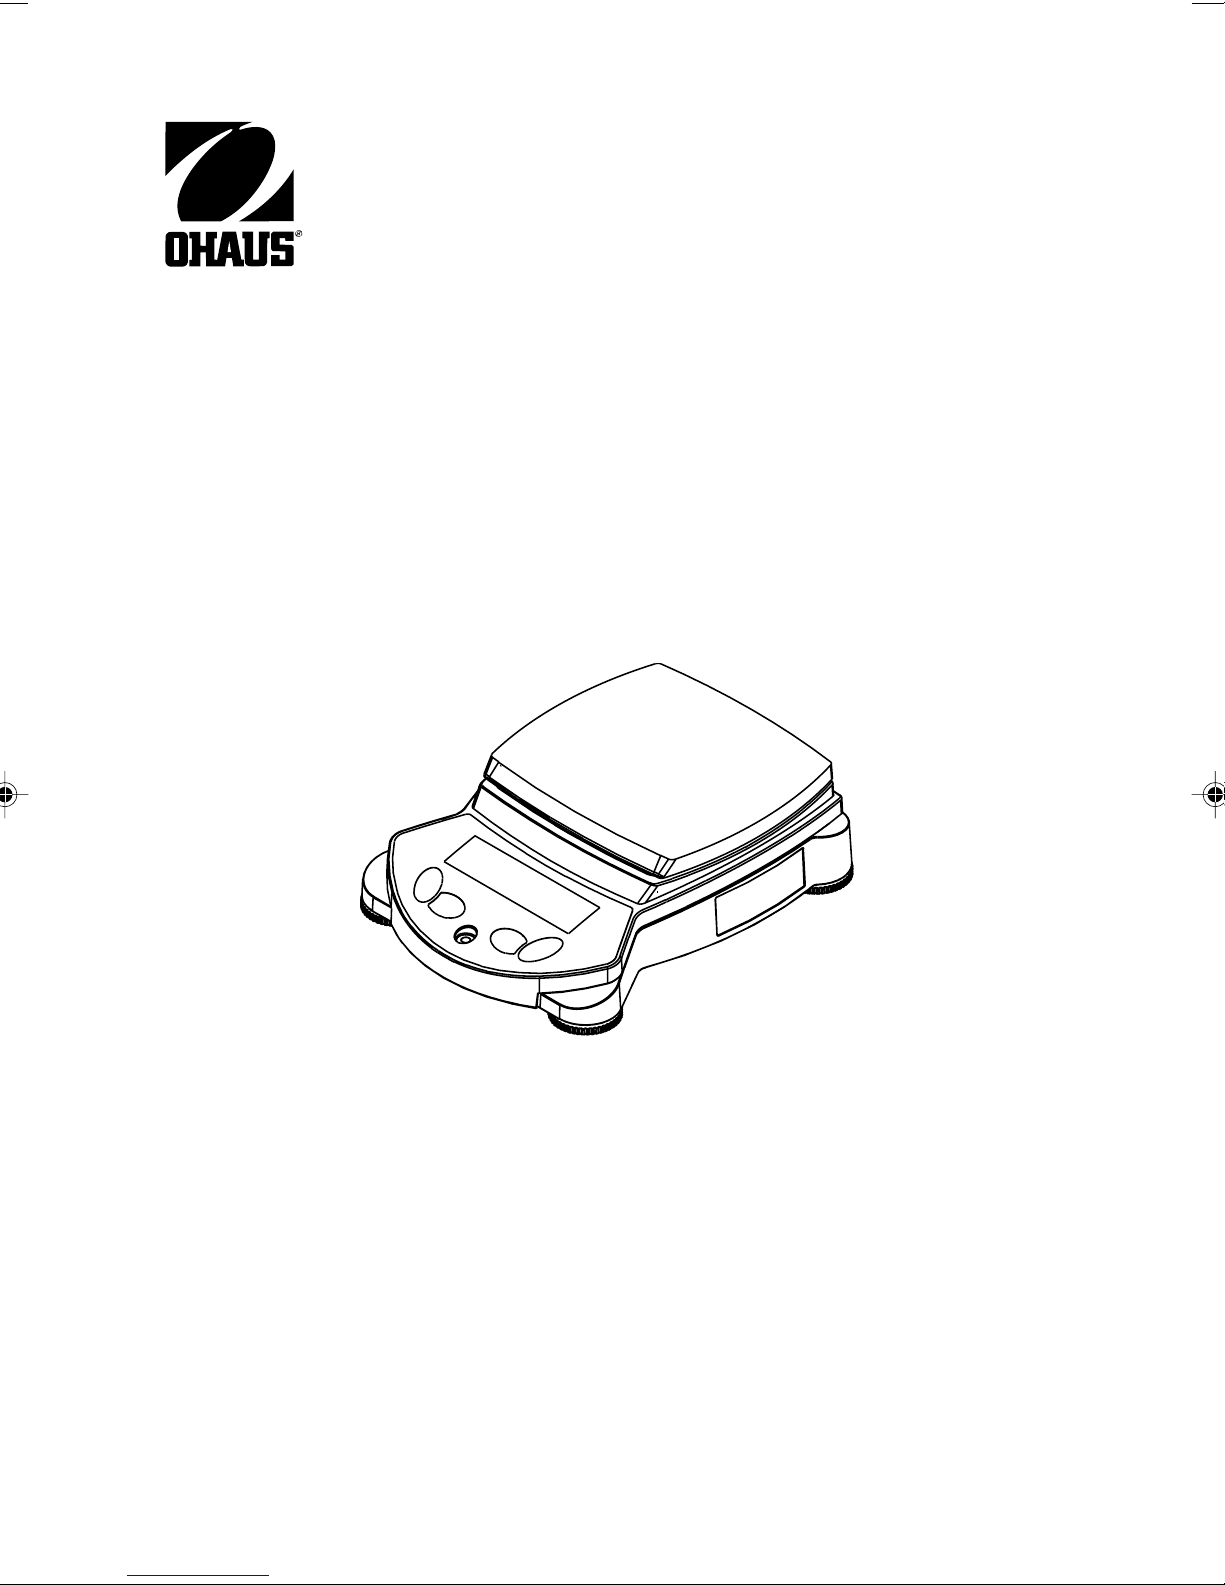
Adventurer Pro Grain Test Scale
1. INTRODUCTION ........................................................................................ EN-3
1.1 Description .............................................................................................. EN-3
1.2 Features .................................................................................................. EN-3
1.3 Safety Precautions ................................................................................... EN-3
2. INSTALLATION ......................................................................................... EN-4
2.1 Unpacking .............................................................................................. EN-4
2.2 Installing Components ............................................................................. EN-4
2.2.1 Assembly .................................................................................... EN-4
2.3. Selecting the Location .............................................................................. EN-5
2.4 Leveling the Scale .................................................................................... EN-5
2.5 Connecting Power .................................................................................... EN-5
2.5.1 AC Adapter ................................................................................... EN-5
2.5.2 Turning Power On and Off ............................................................. EN-5
2.6 Initial Calibration ...................................................................................... EN-5
3. OPERATION .................................................................................................. EN-7
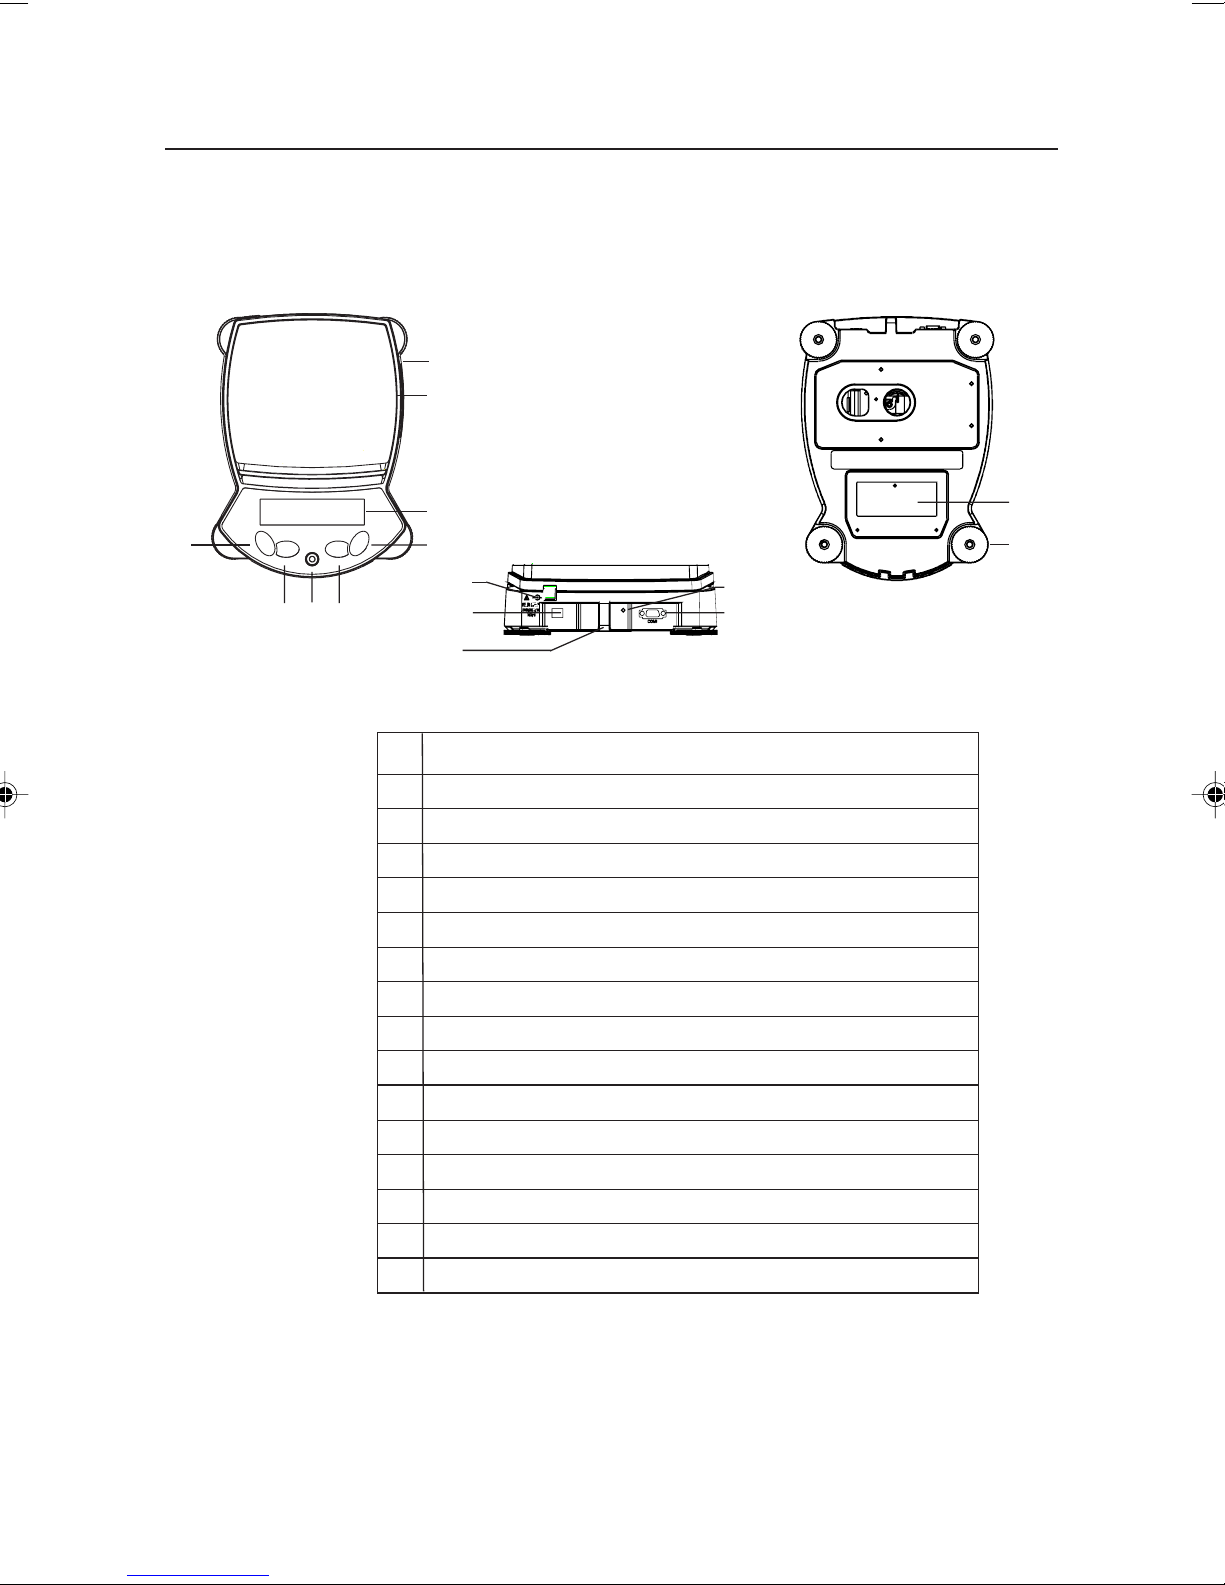
3.1 Overview of Controls ................................................................................ EN-7
3.1.1 Model AVD4102N ......................................................................... EN-7
3.2 Overview of Display Functions .................................................................. EN-8
3.3 Button Control Functions .......................................................................... EN-9
3.4 Using the Button Control Functions .......................................................... EN-10
3.4.1 Setting the Scale to Zero ............................................................ EN-10
3.4.2 Taring ....................................................................................... EN-10
3.4.3 Changing Units of Measure ......................................................... EN-10
3.4.4 Printing Data .............................................................................. EN-10
3.5 Menu ................................................................................................ EN-11
3.5.1 Menu Structure ........................................................................... EN-11
3.5.2 Menu Navigation ........................................................................ EN-12
3.5.3 Changing Settings ...................................................................... EN-12
3.6 Application Modes ................................................................................. EN-13
3.6.1 Weighing ................................................................................... EN-13
3.6.2 Test Weight Mode ....................................................................... EN-13
3.6.3 Dockage Mode .......................................................................... EN-14
3.7 Scale Settings ........................................................................................ EN-16
3.7.1 Calibration ................................................................................. EN-16
3.7.2 Calibration Masses ..................................................................... EN-18
3.7.3 Setup ........................................................................................ EN-19
3.7.4 Readout .................................................................................... EN-19
3.7.5 Mode ........................................................................................ EN-19
3.7.6 Unit ........................................................................................... EN-19
3.7.7 Print-1 and Print-2 ...................................................................... EN-20
3.7.8 RS232-1 and RS232-2 ............................................................... EN-21
TABLE OF CONTENTS
2 toc.pmd 7/27/2006, 3:11 PM1