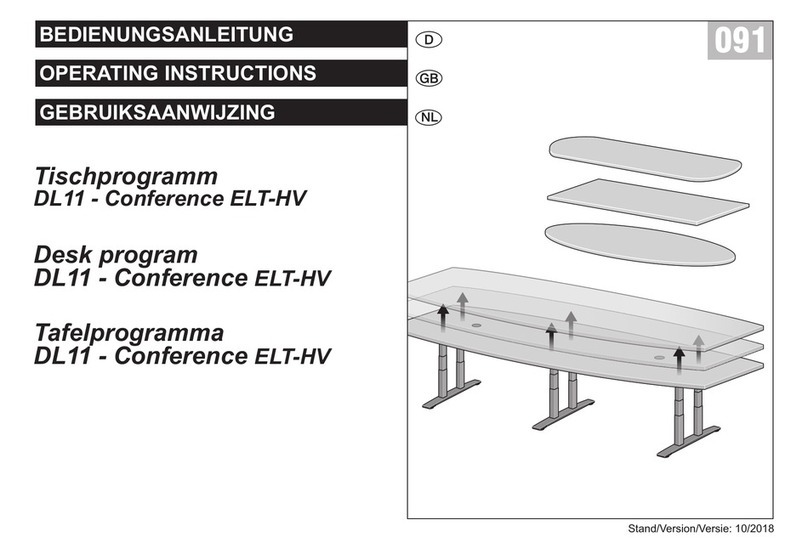
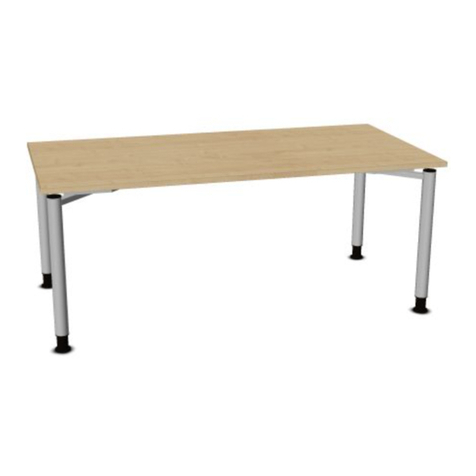
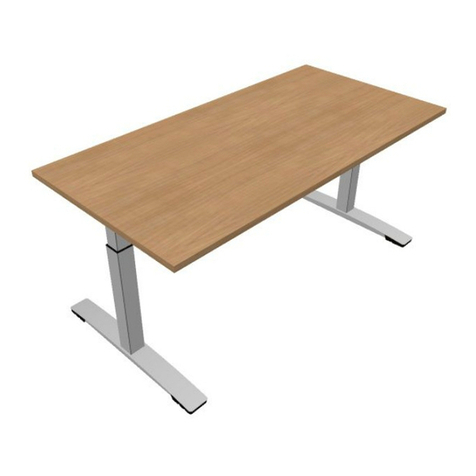
Oka HomeLine MTA 0134 User manual

1
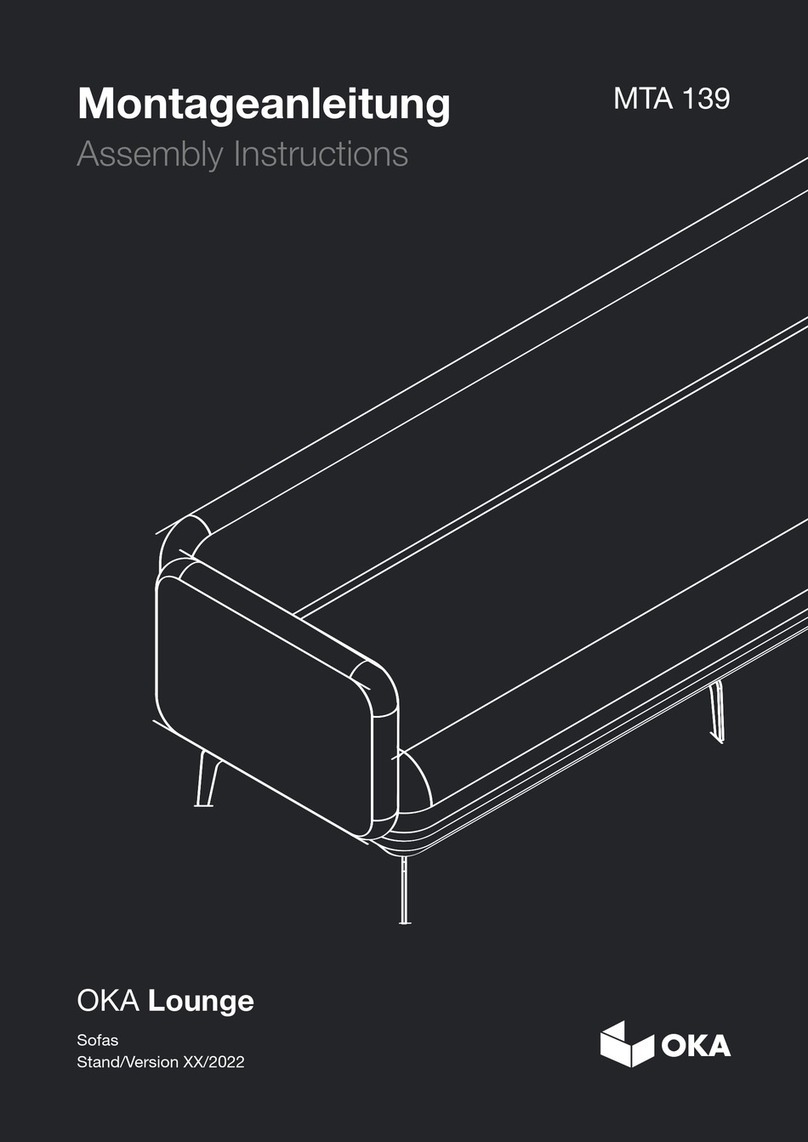
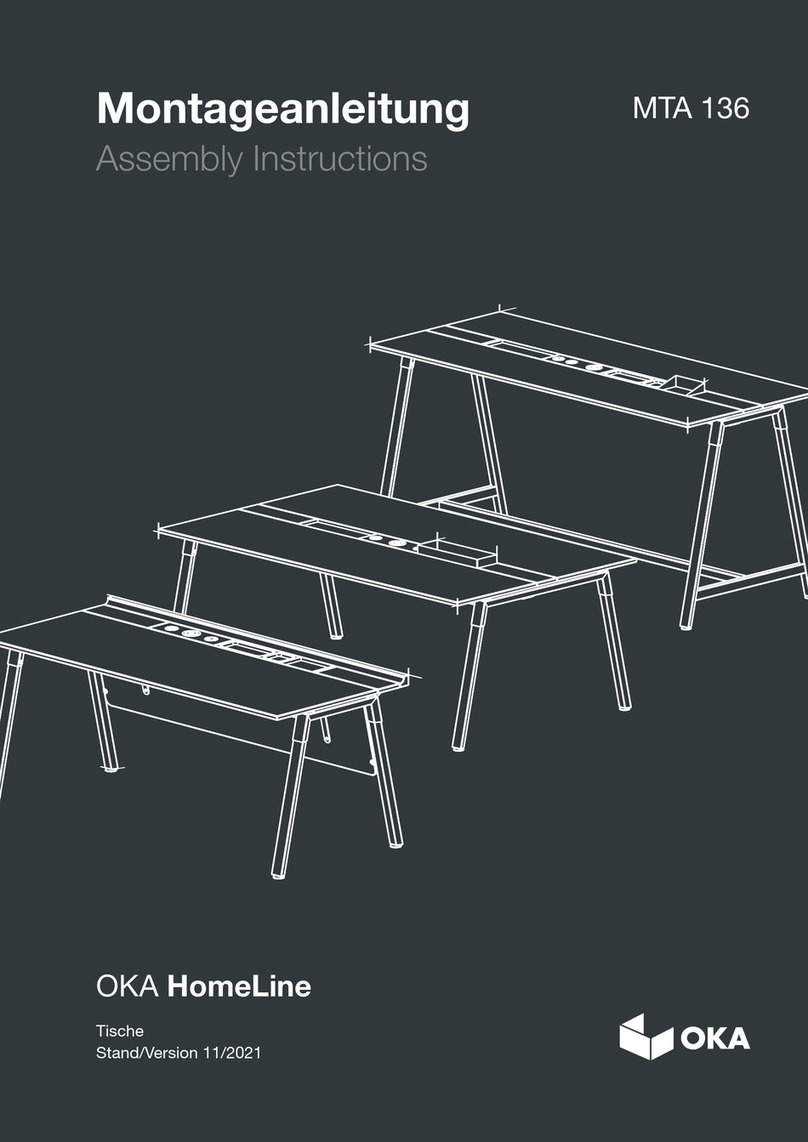
Montageanleitung
Assembly Instructions
OKA HomeLine
Korpusmöbel
Stand/Version 11/2021
MTA 0134

2

3
Table of contents
Inhaltsverzeichnis
1. Allgemeine Hinweise 3
General notes
1.1 Produktsystematik 4
Product systematics
1.2 Aufbau und Montage 6
Construction and assembly
1.3 Montagebeispiel 14
Assembly example
2. Demontage/ Montage der abnehmbaren Rückwand 15
Disassembly/assembly of the removable back wall
3. Kabelmanagement und Beleuchtung 16
Cable management and lighting
4. Montage und Einstellung der Ausstattungen 17
Assembly and adjustment of the equipment
4.1 Einstellung Drehtüren 18
Setting revolving door
4.2 Einstellung Schubladen 19
Adjustment drawers
4.3 Einstellung Schiebetüren 20
Sliding door setting
4.4 Einstellung Klappen 21
Adjustment flaps
4.5 Einstellung Tischmodul 22
Setting table module
5. Tischinstallation in und auf Schrank 23
Table installation in and on closet
6. Kabeldurchlass Tisch 24
Cable passage table
7. Pflegehinweise 25
Care instructions

4
Genral notes
1. Allgemeine
Hinweise

5
• Außenkorpus optional mit Elektrifizierung Outer body optionally with electrification
• halbe Breite half width
• volle Breite full width
1 OH
1 OH
1 OH
2 OH
2 OH
2 OH
3 OH
3 OH
3 OH
A
Außenkorpus Outer Body
B
Innenkorpus Inner Body
Product systematics
1.1 Produktsystematik

6
1 OH Schubkästen
1 OH drawer
2 OH Schubkästen
2 OH drawer
1 OH Drehtüren
1 OH Revolving door
1 OH Hängeregistratur
1 OH suspension file drawer
2 OH Hängeregistratur
2 OH suspension file drawer
2 OH Drehtüren
2 OH Revolving door
2 OH Kombination
2 OH combination
3 OH Drehtüren
3 OH Revolving door
C
Innenkorpus: geschlossene Module
Inner body: closed modules
• offene Regale + Tischmodul optional mit Beleuchtung
open shelves + table module optionally with lighting
• Tischmodul optional mit Elektrifizierung
Table module with optional electrification
Tischmodul table module Klappe flap Schiebetür (nur volle Breite)
Sliding door (only full width)
D
Optionale Ausstattung optional equipment

7
Korpusmöbel in 44 cm Höhe (1 OH) werden immer
komplett montiert ausgeliefert. Korpusmöbel in
84 und 124 cm Höhe (2 und 3 OH) werden immer
teilmontiert ausgeliefert. Die Lieferung umfasst den
montierten Außenkorpus sowie, je nach Konfigura-
tion, bis zu 6 Innenkorpus-Module.
Corpus furniture at a height of 44 cm (1 FH) is always
delivered fully assembled. Corpus furniture at heights
of 84 and 124 cm (2 and 3 OH) are always delivered
partially assembled. The delivery includes the assem-
bled outer body and depending on the configuration
up to 6 inner body modules.
Construction and assembly
1.2 Aufbau und Montage
1 OH
1 OH volle Breite full width
1 OH halbe Breite half width
2 OH
2 OH volle Breite full width
2 OH halbe Breite half width
3 OH
3 OH volle Breite full width
3 OH halbe Breite half width
A
Außenkorpus verpackt Outer Body packed
B
Innenkorpus verpackt Outer Body packed

8
1Außenkorpus mit Transportverpackung
Outer body with transport packaging
2Transportverpackung entfernen
Remove transport packaging
1Innenkorpus mit Transportverpackung
Inner body with transport packaging
2Transportverpackung entfernen
Remove transport packaging
1
2
Vor Montagebeginn die Transportverpackung
entfernen und die Lieferung auf Vollständigkeit,
Richtigkeit und Qualität überprüfen.
In der Montageanleitung werden alle alternativen
bzw. optionalen Ausstattungsvarianten dargestellt.
Die für Sie gültigen Ausführungen entnehmen Sie
bitte den entsprechenden Lieferunterlagen.
Before starting the assembly, remove the transport
packaging and check the delivery for completeness,
correctness and quality.
All alternative or optional equipment variants are
shown in the assembly instructions. Please refer to
the relevant delivery documents for the versions that
apply to you.
CKorpus entpacken Unpack body
C2
Innenkorpus Inner body
C1
Außenkorpus Outer body

9
E
Schraubpunkte Innenkorpus Inner body screw points
D
Versandaufkleber Shipping label
Schraubpunkte bei allen Innenkorpusmodulen
The screw points are identical for all inner modules
1
1
2
D2
Innenkorpus Inner body
D1
Außenkorpus Outer body
1Position des Versandaufklebers mit Infor-
mationen der zugehörigen Unterpositio-
nen (Einbauten) Position of the shipping la-
bel with information on the associated sub-
items (fixtures)
1Versandaufklebers mit Information über
Einbauposition Shipping label with informa-
tion about the installation position
2Beispiel: W300W30000000000000 UL
Example: W300W30000000000000 UL
OL
OL = Oben links Top left
ML = Mitte links Center left
UL = Unten links Bottom left
OR = Oben rechts Top right
MR = Mitte rechts Center right
UR = Unten rechts Bottom right
OL
OR
ML OL
MR OR
UL ULUL
UR URUR

10
E
Außenkorpus vorbereiten Prepare outer body
1Beide Sicherungsschrauben lockern
Loosen both locking screws
2 Rückwand aushebeln
Lever out the rear wall
1
Exzenterschraube Lösen (Pfeil nach außen
drehen) Loosen the eccentric screw (turn
the arrow outwards)
2
Linke & rechte Seite mit Oberboden aus
den Bohrungen lösen bis Verbindungsele-
mente freiliegen Loosen the left & right side
with the top panel from the holes until the
connecting elements are exposed
3
Seiten mit Oberboden nach hinten abset-
zen Sides with top panel set down
11
1
2
E1
Demontage Rückwand Rear wall Disassembly
E2
Seite mit Deckplatte lösen Loosen the side with the cover plate
2
3
1

11
E3
Innenkorpusse positionieren Position the inner bodies
E4
Innenmodule verschrauben Screw the indoor modules together
2
3
2
Anschlag an der Rückseite Stop on the
back
3
Positionierung über Dübel am Unterboden
Positioning via dowels on the sub-floor
4
Weitere Module auf die unteren Korpusse
aufsetzen Place further modules on the lo-
wer carcass
5Korpus bündig an der Hinterkante und der
Seite positionieren Position the body flush
with the rear edge and the side
1
Empfehlung: Fronten wie, Drehtüren;
Schubkästen, Klappen, Schiebetüren, de-
montieren. (siehe Kapitel 4.) Recommen-
dation: dismantle fronts such as revolving
doors, drawers, flaps, sliding doors. (see
chapter 4.)
1
Innenkorpus-Module miteinander ver-
schrauben (sofern ein mehrteiliger Aufbau
vorhanden ist) Screw the inner modules to-
gether (if a multi-part structure is available)
1
5
4
1
1

12
E5
Seiten mit Deckplatte montieren Mount sides with cover plate
E6
Verschraubung Innenkorpus mit Außenkorpus
Screw connection of the inner body to the outer body
E7
Fronten wieder einsetzen Put the fronts back in place
1
2
1
1Innenkorpus am Oberboden und den Sei-
ten mit dem Außenkorpus verschrauben
Screw the inner corpus to the top panel and
the sides with the outer corpus
1Seiten mit Oberboden über Innenkorpusse
platzieren und mit Unterboden verbinden
Place the sides with the top panel over the
inner body and connect to the bottom panel
2Schrauben mit den Abdeckkappen verse-
hen Fit the screws with the cover caps
2Exzenterschraube schließen (Pfeil nach in-
nen drehen) Close the eccentric screw (turn
the arrow inwards)
2
Fronten wie, Drehtüren; Schubkästen, Klappen, Schiebetüren, wieder einsetzen. (siehe Kapitel 4.)
put fronts such as revolving doors, drawers, flaps, sliding doors back in place. (see chapter 4.)

13
F
Beleuchtung Lighting
3Die zwei Leuchten einer Etage mit jeweils
einer Verteilerdose verbinden und Verteiler
mit Klebeband am Innenkorpus befestigen
Connect the two lights of one floor each
with a junction box and attach the distribu-
tor to the inner body with adhesive tape
4Verteilerdose mit dem Netzteil verbinden
und auf den Unterboden des Außenkor-
pus legen Connect the junction box with
the power pack and place it on the under-
side of the outer body
5Kabelüberlängen ins Kabelkanalprofil ein-
legen Insert excess cable lengths into the
cable duct profile
1Allgemeine Vorbereitung
General preparation
1a Kabelkanäle und Verteilersteckdose an
gewünschter Position an Rückwand be-
festigen Fasten the cable ducts and distri-
bution socket in the desired position on the
rear wall
1b Netzteil an gewünschter Position auf Un-
terboden befestigen Fasten the power
supply unit in the desired position on the
sub-floor
2Einetagige Beleuchtung mit 1-fach-Vertei-
ler verbinden Connect single-level lighting
to 1-way distributor
2Mehretagige Beleuchtung mit 4-fach-Ver-
teiler verbinden Connect multi-level lighting
to 4-way distributor
3 4
3
4
5
F2
Mehretagig Multi-level
F1
Einetagig Single-level
22
1
1a
1a
1b
Kabel nicht knicken oder hoch belasten
Do not kink or strain the cable

14
G
Montage Rückwand rear wall assembley
1 Rückwand einhängen
Hang in the rear wall
2 Beide Sicherungsschrauben eindrehen
Screw in both locking screws
1 Höhenausgleichsschraube
Height adjustment screw
2
2
2
1
10 mm
1
F
Höhenausgleich Height adjustment

15
Assemably example
1.3 Montagebeispiel
Außenkorpus
Outer body
Innenmodule
Inner modules
Konfiguration Configuration
Packstücke Packages
Seiten mit Deckplatte demontieren
Dismantle sides with cover plate
Rückwand demontieren
Dismantle rear wall
Schubkästen herausnehmen
Remove drawers
Module positionieren
Position modules
Module untereinander verschrauben
Screw inner modules together
Seiten mit Deckplatte montieren
Mount sides with cover plate
Module mit Aussenkorpus ver-
schrauben Screw the modules to the
outer body
Rückwand montieren
Mounting rear wall
Schubkästen wieder einsetzen
Put the drawers back in
• 2 OH Korpusmöbel 2 OH corpus furniture
• untere Ebene Schubkästen lower level dra-
wers
• obere Ebene offenes Regal mit Schiebetür
upper level open shelf with sliding door
• 1 x 2 OH Außenkorpus 1 x 2 OH outer body
• 2 x 1 OH Schubkästen 2 x 1 OH drawers
• 1 x 1 OH Regal mit Schiebetür 1 x 1 OH with
sliding door
1
4
7
5
2 3
8
6
9
OL
UL
UR

16
1Beide Sicherungsschrauben lockern
Loosen both locking screws
2 Rückwand aushebeln
Lever out the rear wall
1 Rückwand einhängen
Hang in the rear wall
2 Beide Sicherungsschrauben eindrehen
Screw in both locking screws
1
1
1
1
2
2
2
2
Dis-/assembly of the removable rear wall
2. De-/Montage der abnehmbaren Rückwand
B
Montage Assembly
A
Demontage Disassembly

17
1
A
1
B
1
Vor Benutzung der Fernbedienung
Sicherungsstreifen entfernen Remove
the security strips before using the
remote control
Partially assembled delivery (2 + 3 OH)
The power supply unit, the remote control for
the lighting and the excess cable lengths for
accessories are located in a hinged box in the
respective inner body that contains the lighting.
Assembled delivery (1 OH)
The remote control with fastening material and
operating instructions is located on the power
supply unit.
A
Fernbedienung für 1-fache Etagen-
beleuchtung Remote control for single
floor lighting
B
Fernbedienung für 2- und 3-fache
Etagenbeleuchtung Remote control
for double and triple floor lighting
Cable management and lighting
3. Kabelmanagement und Beleuchtung
Bei teilmontierter Auslieferung (2+3 OH)
Das Netzteil, die Fernbedienung für die Be-
leuchtung und die Kabelüberlängen von Zu-
behörartikel befinden sich sich in einer Klapp-
schachtel im jeweiligen Innenkorpus der die
Beleuchtung beinhaltet.
Bei montierter Auslieferung (1 OH)
Die Fernbedienung mit Befestigungsmaterial
und Bedienungsanleitung befindet sich am
Netzteil.
Kabel nicht knicken oder
hoch belasten Do not kink or
strain the cable

18
Adjustment of the
equipment
4. Einstellung der
Ausstattungen

19
Adjustment of the revolving door
4.1 Einstellung der Drehtür
Auflagenverstellung Overlay adjustment
A
Montage Assembly
B
Demontage Disassembly C
Push to Open Push to Open
Montage Türband Hinge Assembly
Tiefenverstellung Depth adjustment
Demontage Türband Hinge Disassembly Einstellung Push to open
Push to open adjustment
Höhenverstellung Height adjustment
3
1
1
2
2
6mm

20
Adjustment of the drawers
4.2 Einstellung der Schubladen
Blende Fixieren Fix the shade
Blendenschräge ausrichten
Align the tilt
Blende shade Blende in der Höhe ausrichten
Align the shade height
Blende seitlich ausrichten
Align the shade left and right
Schrauben festziehen
Tighten the screws
Abdeckung aufstecken
Attach the cover
+/-2mm +/-1,5mm
A
Montage & Demontage Assembly & Disassembly
B
Blende ausrichten & fixieren Align & fix the shade
1
Montage: Schubkasten auf
Schiene stellen und bis zum
Anschlag einschieben As-
sambly: Place the drawer on
the rail and push it in as far
as it will go
2
Demontage: Kunststoff-
platte eindrüken und Schub
anheben Disassambly: Press
in the plastic plate and lift the
thrust
2
1
Table of contents
Other Oka Indoor Furnishing manuals

Oka
Oka DL11 Conference ELT-HV User manual
Oka
Oka DL5 Seminar User manual

Oka
Oka Connect DL6 User manual

Oka
Oka DL9 Jump User manual

Oka
Oka MTA 143 User manual

Oka
Oka DL1 Q50 Desk User manual

Oka
Oka DL9 Jump User manual

Oka
Oka Flexline User manual

Oka
Oka DL11 Conference ELT-HV User manual

Oka
Oka Flexline Quick start guide
Popular Indoor Furnishing manuals by other brands

Ghent
Ghent nexus NEX203ME-FR Assembly instructions

Home affaire
Home affaire Ascona 60566612 Assembly instructions

Furniture of America
Furniture of America CM-DK6846 Assembly instructions

RH
RH THADDEUS Assembly/installation instructions

Axentia
Axentia 115924 Assembly instructions

Argos
Argos 737/8876 Assembly instructions