10
Windows & Novell Network
Install Summary
The On-Line Network User’s Guide .........................10
Network Connection ......................................................10
Software Assessment
Network Software: What’s Available ........................ 11
What Network Administration Software to Install....12
Network Administration Software
TCP/IP: Windows 2000 & NT 4.0 ............................ 13
Novell Setup..............................................................14
Installing Software for Clients
Printer Drivers for Network Distribution .................. 15
Print Directly from a Windows Workstation .............15
Activate the Duplex Unit and Internal Hard Drive
in the Printer Driver ................................................ 16
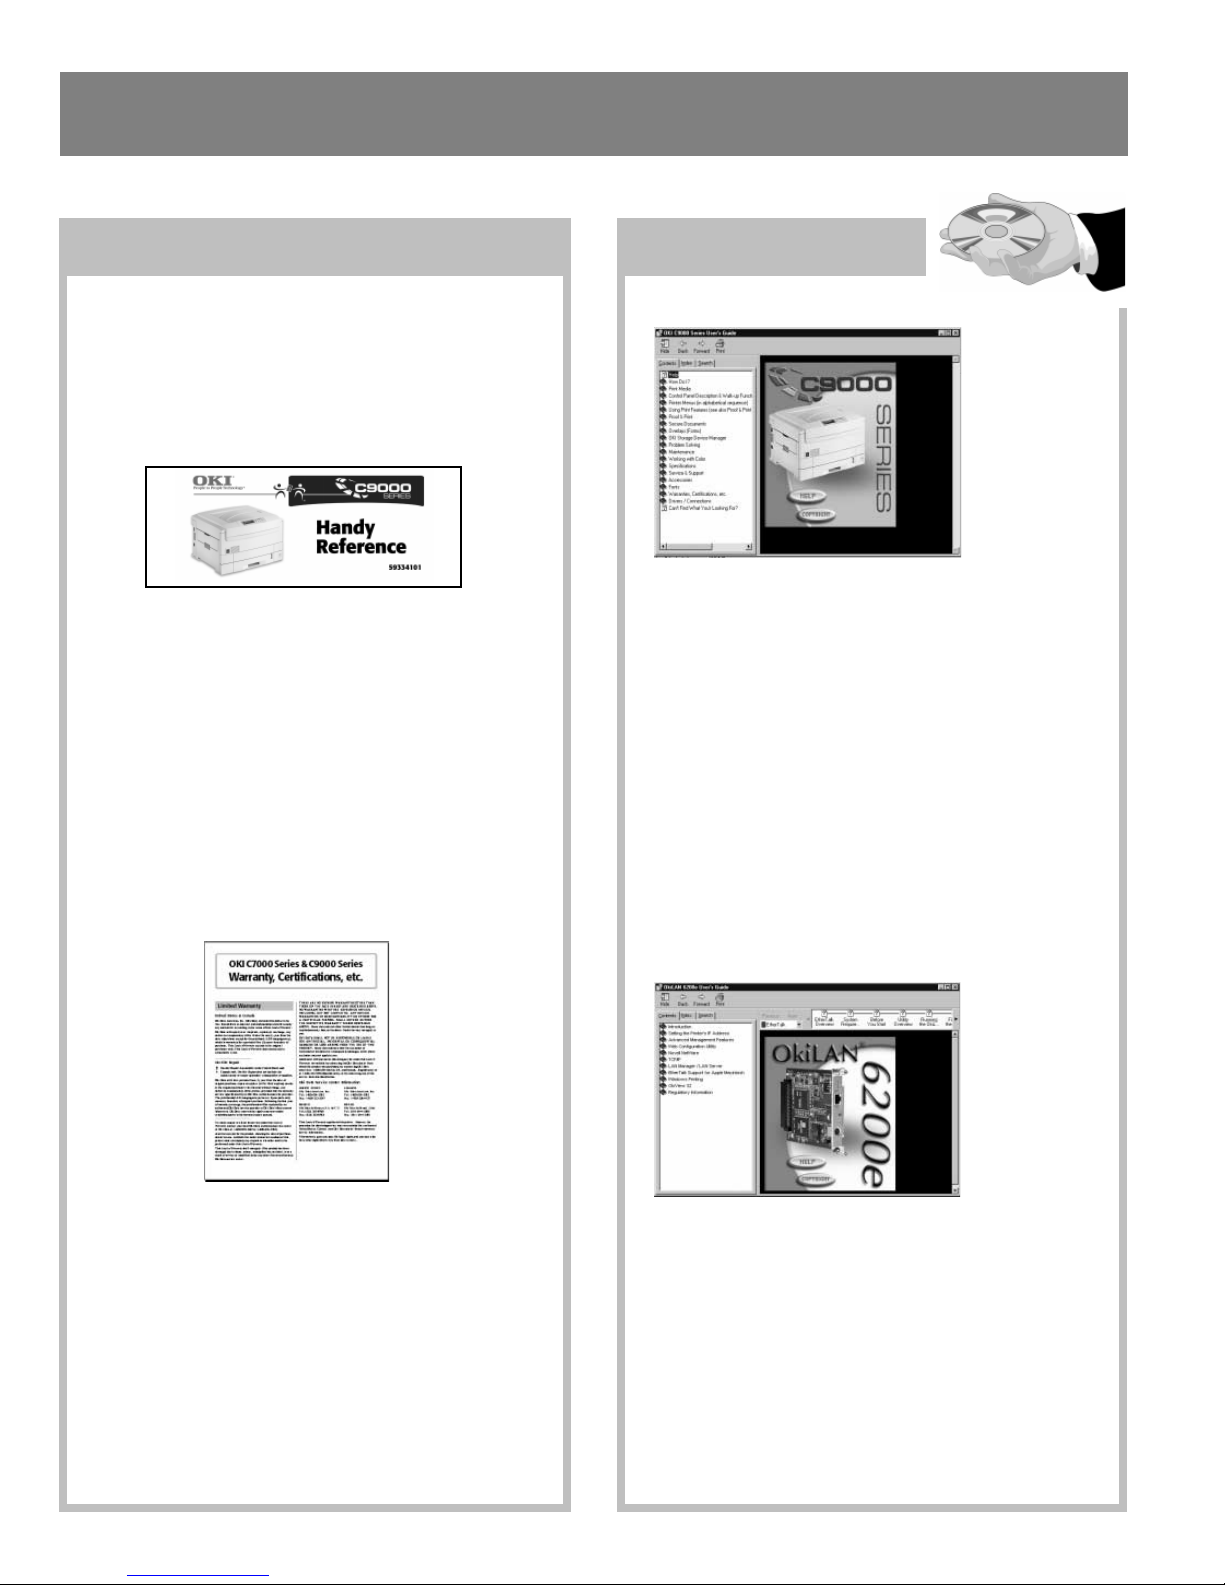
The On-Line Network
User’s Guide
The on-line OkiLAN®6200e Network User’s Guide
contains instructions for setting up the printer on various
network systems.
Minimum requirements: i486™processor, 16 MB RAM,
Microsoft Internet Explorer 4.0 or higher.
You can either view the Network User’s Guide from the
CD or install it on your computer:
□Insert the OKI C9000 Series CD in the CD-ROM
drive.
□Click Start ®Run, then browse to the main
directory on the CD and double-click install.exe.
□Click OK.
□Select the printer model, then click Continue.
□Click the Network and Admin Software button.
11 Network Install: Windows®& Novell®
□Click the Network Documentation button.
□Click your choice:
Install Network User’s Guide
(follow the on-screen instructions.)
or
View Network User’s Guide.
Viewing the Installed Network User’s Guide
To view the Network User’s Guide once it is installed on
your computer, click Start ®Programs ®OKI C
Series Network User’s Guide ®Network User’s
Guide.
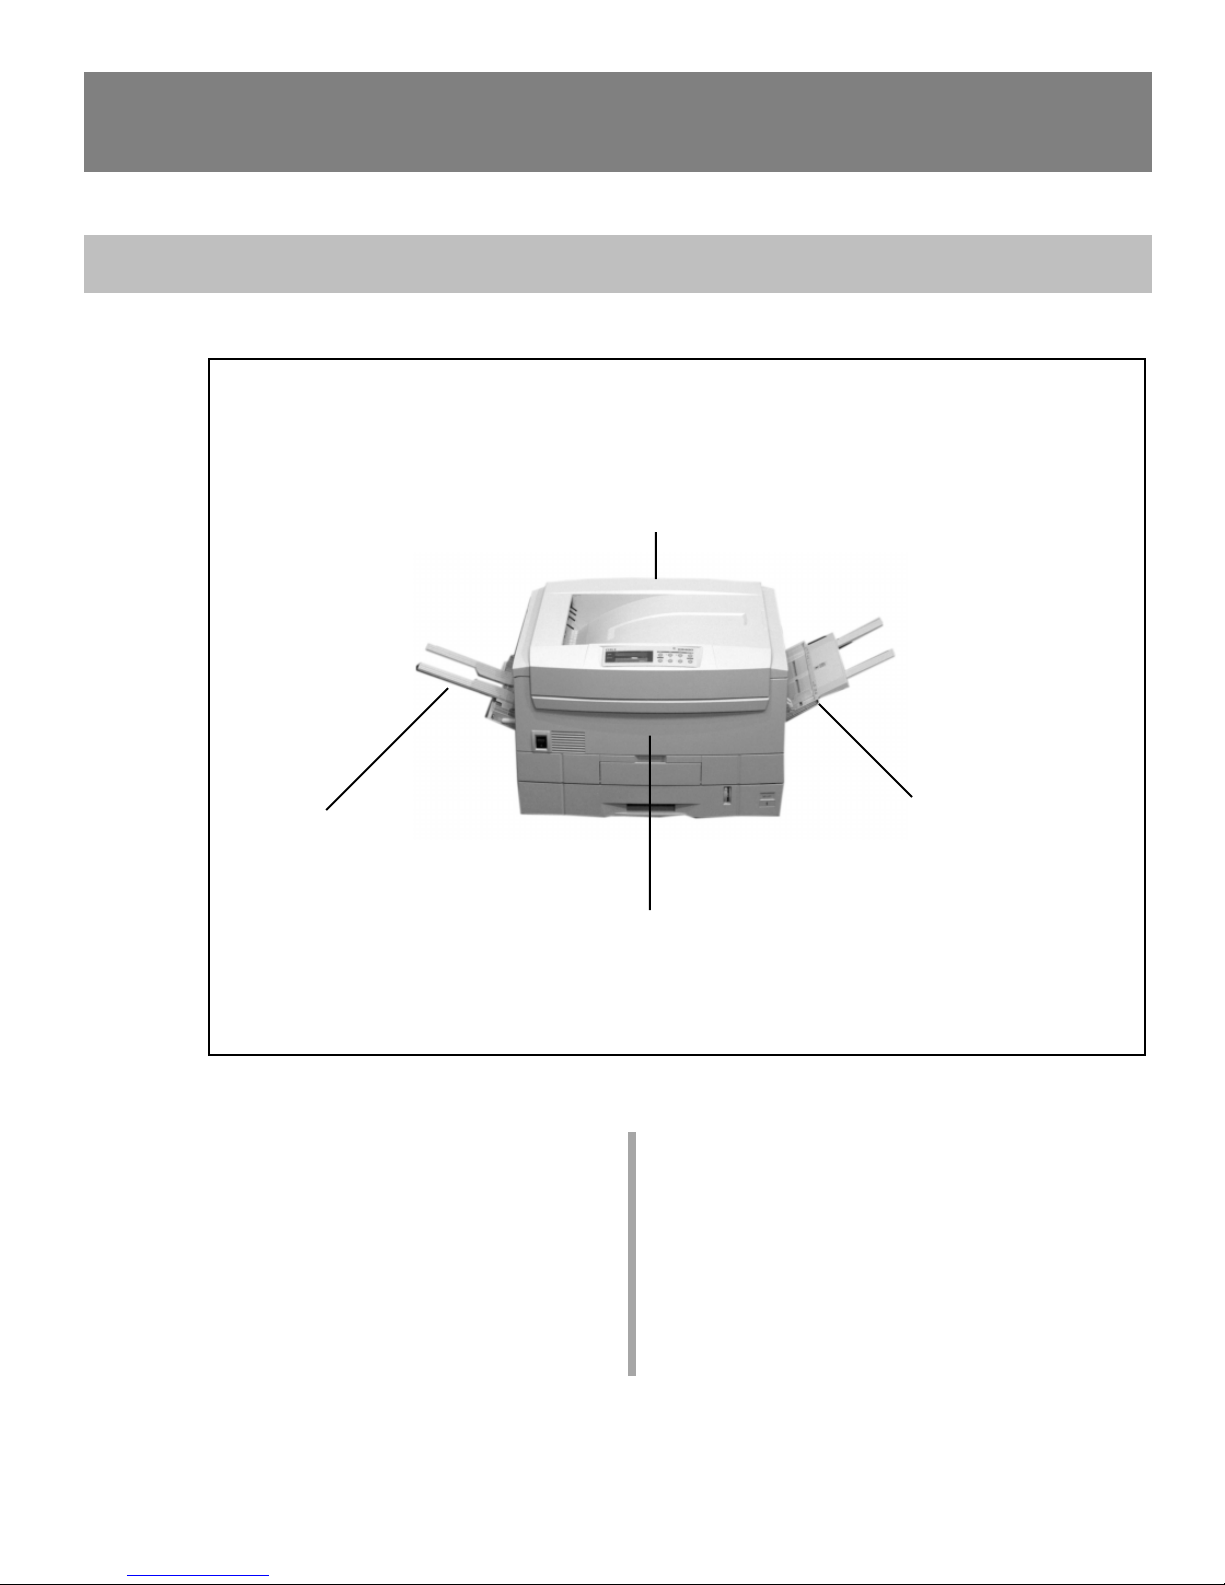
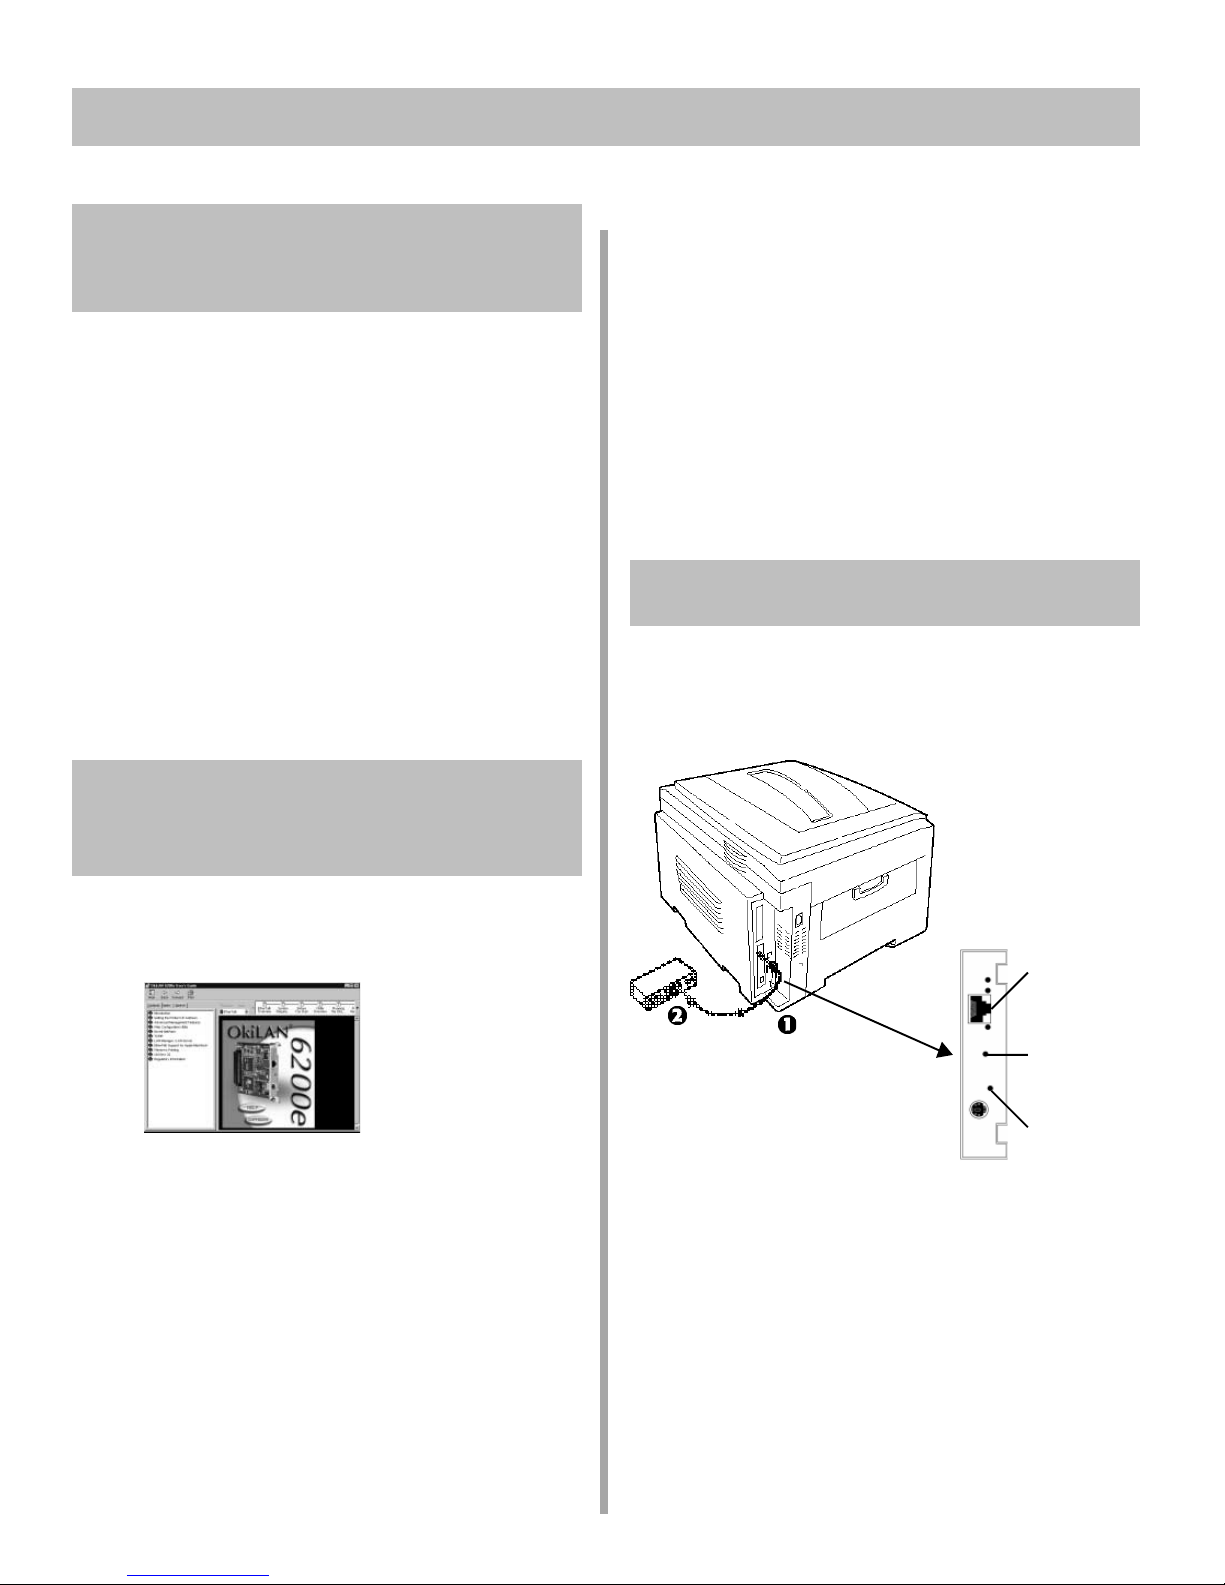
Network Connection
!No Ethernet®cable is supplied with the printer. Use
an Ethernet cable with two twisted wire pairs and an
RJ45 plug.
□Turn the printer off.
□Connect your Ethernet cable to the network port on
the print server (1).
□Connect the other end of the Ethernet cable to the
network port (2).
□Turn the printer on and wait for the print server status
light to stop blinking.
□Press the Test button on the print server.
An OkiLAN 6200e Configuration Sheet prints. This
sheet contains information you need to set up the
printer on your network.
Status Light
Test Button
Network Port