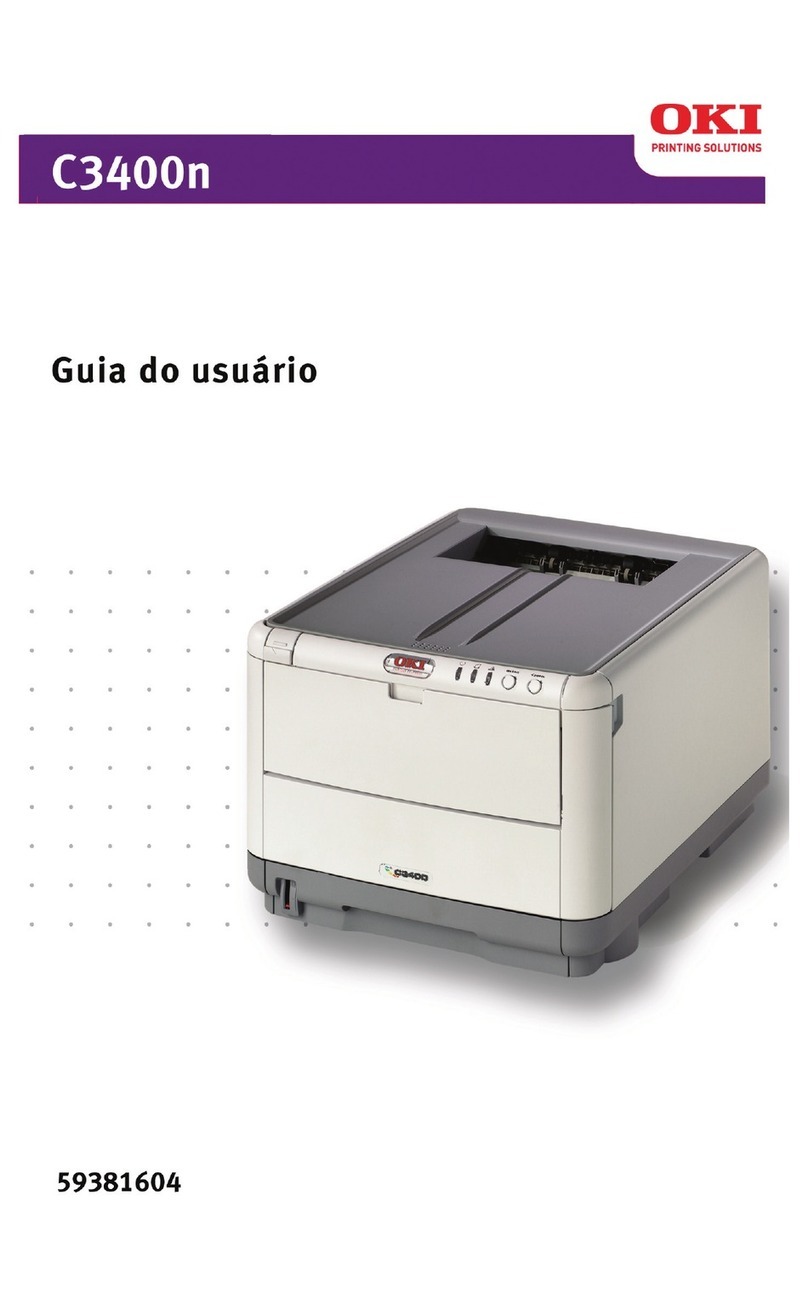
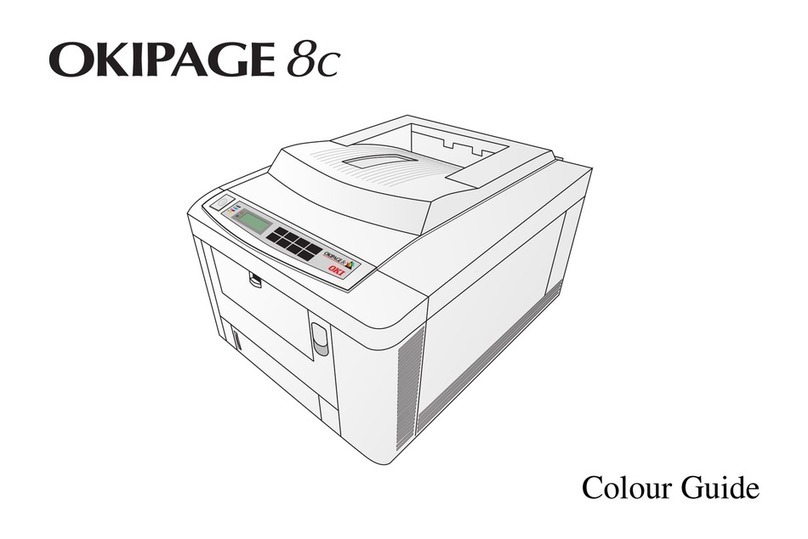
Oki Okicolor8 User manual

Setup Guide |1
Remove the accessory tray
and check the contents
Select a Location
• Firm, level surface capable of supporting
at least110 lbs (50 kg).
• Clearance to open cover, paper tray and
Special Media Stacker (rear exit)
• At least 4 inches (102 mm) additional
clearance on both sides
• Nearby power source
• Room temperature:
– Ideal: 62.6 to 80.6ºF (17 to 27ºC):
– Maximum Permissible: 50 to 89.6ºF
(10 to 32ºC)
• Relative humidity:
– Ideal: 50 to 70% RH
– Maximum Permissible: 20 to 80% RH
• Away from direct sunlight
Unpack
Remove Packaging
!The printer weighs approximately 106
lb (48 kg). Use a least two (2) people to
carry the printer. Use appropriate lifting
techniques.
1Remove the top cushions.
2Lift the printer from the box and place it
on a suitable support.
3Remove it from the plastic bag.
4Remove the shipping tape.
5Remove the control panel protective film.
6Open the front tray and pull out the
shipping retainer, then close the tray.
Overview
1 Unpack ........................................ 1
2 Install the Toner Waste Box... 4
3 Install the Oil Roller ................ 5
4 Prepare the Image Drums ...... 6
5 Install the Toner Cartridges ... 7
6 Load paper................................. 8
7 Connect to Your Computer .... 8
8 Connect to Power..................... 9
9 Print the Demo Page ............... 9
10 Install Software ........................ 9
11 Calibrate the Color................. 10
• Toner cartridges
(1 each: black,
magenta, cyan,
yellow)
• Toner Waste Box
• Oil Roller
•CD
• Image Drum Storage
Bags (4) and
Lens Cleaners (4)
• Power Cord
1

2|OKICOLOR 8
!Make sure the drive coupling on the
toner waste box is lined up with the
coupling on the printer.
1Remove toner waste box from packaging.
2Pull the latch and open the side panel.
Remove any blue shipping retainers.
3Put the toner waste box into the printer as
shown. Press down, then swing the box
into the printer and release.
Our quality assurance department
tests every unit before it is shipped. As a
result, you may notice a small amount
of toner in this part of the printer.
Drive Couplings
4Close the side panel.
Install the Toner
Waste Box
2
!

Setup Guide |3
4Remove the shipping tape from the blue
levers. Make sure the levers are pulled
forward.
5Make sure the blue lock lever is toward the
back of the printer.
6Lower the oil roller into the fuser unit,
sliding the left end under the retaining
ledge.
7Lower the right end into the fuser unit.
8Pull the blue lock lever forward to lock the
oil roller in place.
Install the Oil
Roller
1Remove the oil roller packaging.
2Turn it over and look at the gear end: if you
see a blue shipping retainer, remove it.
3Open the printer cover.
3

4|OKICOLOR 8
4Place the image drums back into the
printer, matching the color coded label
with the label in the printer.
4
!Important: Leave each drum’s
protective paper in place.
Do not touch the drum’s shiny green
surface.
1Remove all image drums and place them
next to the printer.
To catch any toner spillage, you may want
to set the drums on a few sheets of paper.
2Carefully remove the shipping tape and
sponge insert from each drum. You may
want to do this holding the drum over a
trash can to catch any toner clinging to the
sponge.
3Remove the shipping tape and spacers
from inside the printer.
➞
➞
➞
➞
➞
➞➞
➞
➞
➞
Prepare the
Image Drums
!
Extended exposure to light can
temporarily damage the image
drum. Keep the printer cover closed
unless you are actually removing or
installing an image drum.
!

Setup Guide |5
6 Repeat steps 5 and 6 for the three
remaining toner cartridges.
7Remove the protective paper from all four
image drums.
8Close the cover.
4Placing the left end under the color tab,
insert the toner cartridge into the
corresponding color image drum.
5Lower the right end, then push the blue
lock lever forward until it stops.
!Be careful to install each color toner
cartridge in the corresponding color
image drum (C=cyan, M=magenta,
Y=yellow, K=black).
1Remove all four cartridges from their
packaging.
2Shake each cartridge to distribute toner.
3Peel tape off bottom of each cartridge.
Install the Toner
Cartridges
5
Color
Tab

6|OKICOLOR 8
Load Paper
1Pull out the tray and remove the shipping
insert.
2Adjust the paper guides to paper size.
3Fan paper.
Shipping insert
4Insert paper and push in the tray.
The Paper Tray Gauge
The red paper tray gauge on the front of
the tray indicates how much paper is left.
The printer interface cable is not supplied.
PC Systems
You need:
• A shielded IEEE-1284 parallel
bidirectional interface cable,
maxiumum length 6 ft. (1.8 m)
1Plug your interface cable into the parallel
port on the back of the printer and secure it
with the wire loops.
2Plug the other end into your computer and
secure it in place with the screws.
Macintosh Systems
You need:
• An OKICOLOR 8n model printer,
or the optional Okilan 6100e Print
Server (P/N 70034201)
• A UTP cable with RJ45connectors
!If you need to install the Okilan Print
Server, see the directions supplied.
1Turn off the Macintosh and the printer.
2Attach one end of the UTP cable to the
RJ45 port on the printer network server.
3Attach the other end to the RJ45 port
on your Macintosh network card. If
you Macintosh does not have an RJ45
port, you will need a network adapter.
Recommended Media
Standard paper (Hammermill Laser Print,
Radiant White, 24 lb preferred)
Weight: 20 to 28 lb
Capacity: Tray holds up to 500 sheets of
20-lb paper
!For details on media and paper paths,
see your Handy Reference or Online
User’s Guide.
6Connect to
Your Computer
7
RJ45

Setup Guide |7
1Connect the power cord.
2The outlet must be grounded.
1Turn the printer on.
2Press and hold FORM FEED/Print Demo
for 2 seconds.
Install Software
Windows 95/98/NT4.0
1Insert the OKICOLOR 8 CD into your CD
drive.
2Double-click My Computer.
3Double-click CD-ROM Drive.
4Double-click Install.
5Follow the on-screen instructions.
Macintosh
Install the Software:
1Insert the OKICOLOR 8 CD into your CD-
ROM drive.
2Double-click the CD icon that appears on
the desktop.
3Double-click the MAC folder.
4Double-click the PSdrv folder.
5Double-click the English folder.
6Double-click the OKICOLOR 8 Installer.
7Continue with the installation following
the instructions on your screen.
Select the Printer:
1Print the OKICOLOR 8 menu: press ON
LINE on the printer’s control panel, then
press and hold PAPER SIZE/Print Menu
for two seconds until PRINT MENU
displays.
2
2On the printout, under ETHERTALK,
Printer Name, note the name that appears,
for example, OKI_465987. You will need
this name for step 5.
3Activate Chooser from the Apple menu.
4Locate and select the AdobePS icon.
5Highlight the name from step 2, and click
SETUP. The PostScript Printer
Description (PPD) setup screen appears.
6Click Auto Setup to have the Adobe
Printer Driver configure your printer
automatically
OR
Click Select PPD to select a PPD file
manually.
7Follow the instructions on your screen to
finish.
Connect to
Power
Print the Demo
Page
9
10
8
The Demo page prints.

8|OKICOLOR 8
This is an important process to make sure
your OKICOLOR 8 gives you sharp, accurate
color images. There are two parts:
1 Color Registration, and
2 Color Balance.
Setting the Color Registration
Since each color is printed separately, you
must set the color registration to ensure that
the colors line up properly. If the colors are
out of alignment, the printed page will appear
blurry and unclear.
To ensure optimum print quality, you should
set the color registration on a routine basis
(once a month or so).
We also recommend that you set the color
registration when you change image drums,
or if you move the printer.
Windows 95/98/NT4.0
Open the Color Registration Utility.
1Click Start ®Programs ®
OKICOLOR 8 ®OKICOLOR 8
Color Registration Utility.
2Make sure OKICOLOR 8 ( or
OKICOLOR 8 PS) on LPT1: is
highlighted in the box (if you are
using a port other than LPT1, make
sure that port is highlighted).
3From the list, select the tray you want
to calibrate.
Go to Step 4 to continue.
Macintosh
Open the Color Registration Utility.
1In the OKICOLOR 8 Folder,
double-click OKICOLOR 8 Color
RegistrationUtility.
2Then double-click OKICOLOR 8
Col Reg.
3From the list, select the tray you want
to calibrate.
Go to Step 4 to continue.
Windows and Macintosh
4Click Print Color Calibration page.
The printer prints a test page with 9
sections, each with a series of lined boxes
in it.
5Beginning with section #1, find the lined
box where the least amount of color shows
in the spaces between the black lines and
note its corresponding number.
!If more than one box has no color,
select the one closest to zero. If all the
boxes have color, select the lightest one,
nearest zero.
Calibrate the
Color
11
Lined Boxes
Section #1
Lined Box Numbers
List Box

Setup Guide |9
6On the screen, find the corresponding box
(in this case, #1—yellow, left) and enter
the number you noted on the calibration
page.
Windows
Macintosh
7Repeat steps 5 and 6 for the remaining
eight sections.
8Click Send changes to the printer.
The printer prints a test page. This time,
the box in each section where no color
shows should be in the +1, 0, or -1 range
for all 9 sections. If they aren’t, repeat
steps 4 through 6 until they are.
9Click Close.
Setting the Color Balance
Windows and Macintosh
!Be sure to check your printer’s color
registration before you use the color
balance utility.
Use this program to make sure that the three
primary colors your printer uses are properly
balanced. If they are not properly balanced,
one color may dominate, and printed pictures
will not be as lifelike as they could be.
Use this utility
• When you set up your printer the first time.
• When you replace an image drum.
• Whenever you feel the color reproduction
of your printer is not accurate.
1Start the utility:
• Windows systems: click Start ®
Programs ®OKICOLOR 8 ®
OKICOLOR 8 Color Balance Utility.
• Macinstosh systems: in the
OKICOLOR 8 Macintosh Folder,
double-click theColorBalance Utility.
2Make sure OKICOLOR 8 is selected. Click
Reset and PrintAdjustment Page to print a
color balance adjustment page.
Look at the Color Balance Adjustment Page:
• The pattern consists of a series of
rectangles on a gray background.
• Look for the rectangle that matches the
gray background most closely. You may
not find one that matches exactly;
select the one that you think matches
best.
3Enter the row number and column letter of
the closest matching rectangle into the
Column and Row boxes on your screen.
4Click Apply Changes and Print
Verification Page. This sends the new
settings to the printer and prints a color
balance verification page.
!Important: Do not go back to step 2 to
check the color balance. The utility
resets the printer to its default settings
each time it prints the test pattern.
Congratulations!
Your OKICOLOR 8 is ready to print
beautiful color documents.
10 |OKICOLOR 8
Buttons
The control panel buttons are dual function: press and release to
engage the top function; press and hold for 2 to 3 seconds to engage
the bottom function.
Press: Enters and scrolls through Level 1 menu.
Hold: Enters Level 2 menu.
Press: In Menu Mode returns to previous item.
Hold: Clears error condition and returns printer on line.
Press: In Menu Mode advances to next item.
Hold: Deletes data in buffer and executes internal reset.
Press: In Menu Mode sets displayed menu item as the user
default.
Hold: Enters the Power Save Quick Menu.
Press: Changes printer status from on line to off line.
Press: Enters the Paper Size Quick Menu.
Hold: Prints a listing of the current and default menu settings.
Press: Enters the Tray Select Quick Menu.
Hold: Prints a sample of installed printer fonts.
Press: Ejects the current page.
Hold: Prints a Demo Page
!See the on-line OKICOLOR 8 User’s Guide on the
OKICOLOR 8 CD for details on the control panel and
printer menus.
Control Panel
*The printer comes set for Auto Mode (.AUT), which automatically
switches between HP PCL5c and Adobe PostScript, depending on
the document being processed.
Low Toner Indicators
*Printer Language
Paper Size
Buttons
Paper Source
Status


Every effort has been made to ensure that the information in this
document is complete, accurate, and up-to-date. Oki Data assumes no
responsibility for the results of errors beyond its control. Oki Data
also cannot guarantee that changes in software and equipment made
by other manufacturers and referred to in this guide will not affect the
applicability of the information in it. Mention of software products
manufactured by other companies does not necessarily constitute
endorsement by Oki Data.
Copyright 1999 Oki Data Americas, Inc. All rights reserved.
First edition December, 1999.
Written and produced by the Oki Data Training & Publications
Department. Please address any comments on this publication
• by mail to:
Training & Publications Department
Oki Data Americas, Inc.
2000 Bishops Gate Blvd.
Mt. Laurel, NJ 08054-4620
We welcome you to visit our web site:
http://www.okidata.com
OKI is a registered trademark/marque déposées/marca registrada, and
OKICOLOR is a trademark of Oki Electric Industry Company, Ltd.
Adobe, and PostScript are trademarks of Adobe Systems Inc., which
may be registered in certain jurisdictions. Energy Star is a registered
trademark of the United States Environmental Protection Agency. HP
and PCL are registered trademarks of Hewlett-Packard. Macintosh is
a trademark of Apple Computer, Inc., registered in the U.S. and other
countries. Windows is either a registered trademark or a trademark of
Microsoft Corporation in the United States and/or other countries.
Registered Trademark ®, Heidelberger DruckmaschinenAG, used
under license. All rights reserved and unauthorised use or
reproduction is prohibited.
Year 2000 Compliance
All products currently sold by Oki Data are Year 2000 Compliant.
Each product contains information technology that accurately
processes date and time data between the years 1999 and 2000, and
carries no issue for the September 9, 1999 (9999) programming
concern. These products, when used in combination with products
purchased from other manufacturers, whose products properly
exchange date and time information, will accurately process the date
and time. All future products are committed to meeting the same
Year 2000 compliance.
As an Energy Star®Partner, Oki Data has
determined that this product meets the Energy
Star guidelines for energy efficiency.
Energy Star
Other manuals for Okicolor8
3
This manual suits for next models
3
Table of contents
Other Oki Printer manuals