7
2 Install the Driver.
Windows XP and 2000
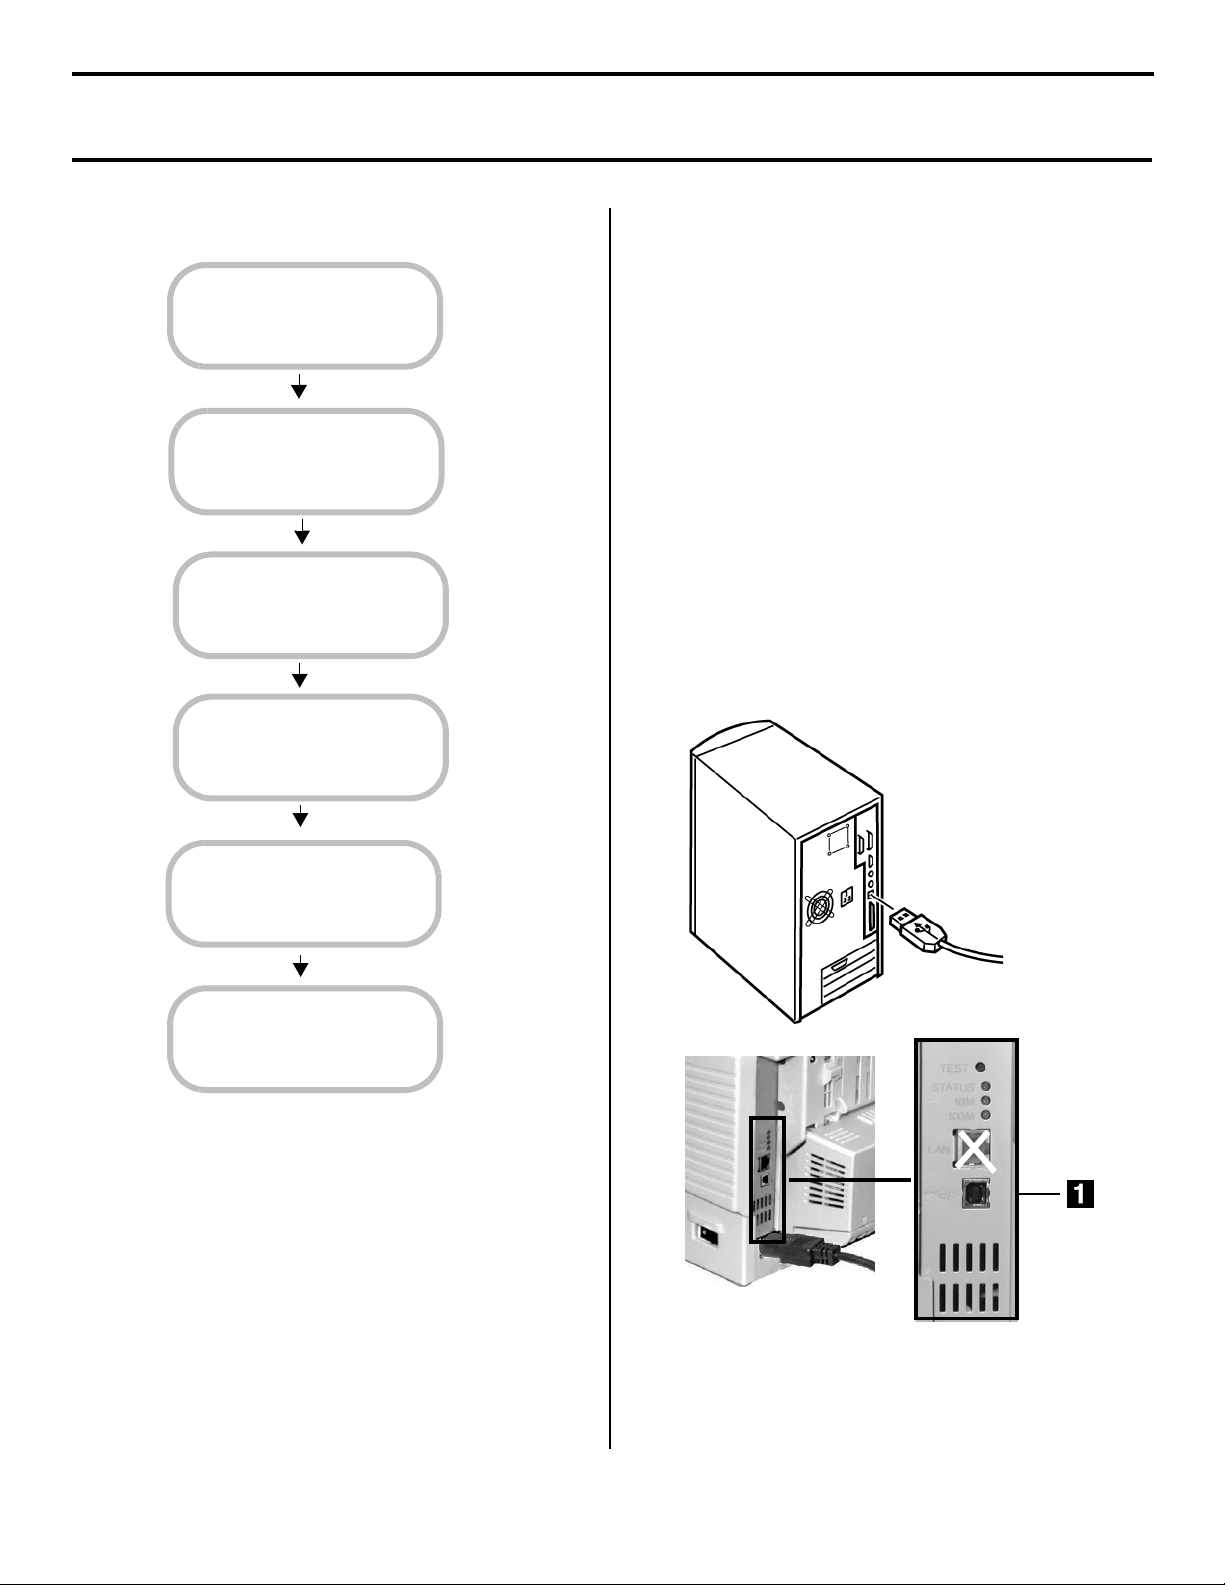
□Make sure the USB cable is connected to your
printer and PC and your printer is turned
OFF.
□Insert the CD supplied with your printer into
your CD-ROM drive. The CD will autorun.
If it doesn’t, click {Start} →{Run} →
{Browse}. Browse to your CD-ROM drive and
double-click {Install.exe}, then click {OK}.
□Select your language.
□The License Agreement appears. Click
{Next}.
□Click {Custom Install} to install the printer
driver and software utilities. To install only
the printer driver, click {Minimal Install} and
skip the next step.
□The “Software Installation” window appears.
Click {Driver Installer}.
□Select {Local printer}. Click {Next}.
□Select the USB port. Click {Next}.
□The “Printer model and emulation” window
appears. Click {Next}. Printer drivers are
installed.
Note: Windows 2000 Only: If Digital
Signature Not Found appears, click
Yes.
□The “Connect cable” window appears. Follow
the on-screen instructions.
Note: Windows 2000 Only: Found New
Hardware appears and the installation
completes.
□Click {Finish}.
Note: If you are planning to install utilities, leave the
Menu Installer open.
Windows Me and 98
□Make sure the USB cable is connected to your
printer and PC and your printer is turned
OFF.
□Insert the CD supplied with your printer into
your CD-ROM drive. The CD will autorun. (If
it doesn’t, click
{Start} →{Run} →{Browse}. Browse to
your CD-ROM drive and double-click
{Install.exe}, then click {OK}.)
□Select your language.
□The License Agreement appears. Click
{Next}.
□Click {Custom Install} to install the printer
driver and software utilities. To install only
the printer driver, click {Minimal Install} and
skip the next step.
□The “Software Installation” window appears.
Click {Driver Installer}.
□Select “Local printer.” Click {Next}.
□Select the USB port. Click {Next}.
□The “Printer model and emulation” window
appears. Click {Next}. Printer drivers are
installed.
□The “Connect cable” window appears. Follow
the on-screen instructions.
□Click {Finish}.
□If prompted to Restart your computer, click
{Finish}. If not and you are planning to
install utilities, leave the Menu Installer open.
If you have not yet loaded the USB driver on your
system:
□The “Add New Hardware” wizard displays.
Select “Specify the location of the driver.”
Click {Next}.
□Select “Specify a location.” Clear
Removable media. Click {Browse}.
□Scroll down and click on your CD-ROM
drive. Click {OK}.
□Click {Next}.
□Click {Next}. The USB driver is located.
□Click {Finish}.
Windows USB Local Installation (cont.)