99
99
9
!!
!!
!
These instructions assume “D” is your CD-ROM drive.These instructions assume “D” is your CD-ROM drive.
These instructions assume “D” is your CD-ROM drive.These instructions assume “D” is your CD-ROM drive.
These instructions assume “D” is your CD-ROM drive.
HaHa
HaHa
Havv
vv
ve ye y
e ye y
e your orour or
our orour or
our origig
igig
iginal Micrinal Micr
inal Micrinal Micr
inal Microsoftosoft
osoftosoft
osoft WW
WW
Windoindo
indoindo
indows 95 CD handws 95 CD hand
ws 95 CD handws 95 CD hand
ws 95 CD handyy
yy
y..
..
.
YY
YY
You maou ma
ou maou ma
ou may be pry be pr
y be pry be pr
y be prompted fompted f
ompted fompted f
ompted for it duror it dur
or it duror it dur
or it during the installaing the installa
ing the installaing the installa
ing the installation.tion.
tion.tion.
tion.
WW
WW
Windoindo
indoindo
indowsws
wsws
ws VV
VV
Verer
erer
ersion?sion?
sion?sion?
sion?
Before you can install the printer software, you need to
determine the version of Windows you are using. To do this:
❑❑
❑❑
❑Turn on your computer.
❑❑
❑❑
❑Click StarStar
StarStar
Startt
tt
t →→
→→
→SettingsSettings
SettingsSettings
Settings →→
→→
→ContrContr
ContrContr
Control Pol P
ol Pol P
ol Panelanel
anelanel
anel. Double-click
SystemSystem
SystemSystem
System.
❑❑
❑❑
❑On the GeneralGeneral
GeneralGeneral
General tab, look under SystemSystem
SystemSystem
System. Beneath
“Microsoft Windows 95” a version number appears, for
example 4.00.950. If that number is followed by the letter
“B” you have Type B, if not, you have Type A.
Install the PCL5e DriverInstall the PCL5e Driver
Install the PCL5e DriverInstall the PCL5e Driver
Install the PCL5e Driver
WW
WW
Windoindo
indoindo
indows 95ws 95
ws 95ws 95
ws 95 TT
TT
Typeype
ypeype
ype AA
AA
A
❑❑
❑❑
❑Turn on your printer.
❑❑
❑❑
❑Click “Driver from disk provided by hardware
manufacturer.” Click OKOK
OKOK
OK.
❑❑
❑❑
❑Insert the OKIPAGE 14 CD into your CD-ROM drive.
❑❑
❑❑
❑In the Copy Manufacturer’s Files field, click BrBr
BrBr
Broo
oo
owsewse
wsewse
wse, then
locate d:\oemsetupd:\oemsetup
d:\oemsetupd:\oemsetup
d:\oemsetup. Click OKOK
OKOK
OK.
❑❑
❑❑
❑In the Install From Disk dialog box, click OKOK
OKOK
OK.
❑❑
❑❑
❑Select a Name forYour Printer dialog box appears. Click
NextNext
NextNext
Next.
❑❑
❑❑
❑In the Print Test Dialog box, select YY
YY
Yeses
eses
es. Click FF
FF
Finishinish
inishinish
inish.
❑❑
❑❑
❑Click YY
YY
Yeses
eses
es on the Printer Test Page Completed dialog.
WW
WW
Windoindo
indoindo
indows 95ws 95
ws 95ws 95
ws 95 TT
TT
Type Bype B
ype Bype B
ype B
❑❑
❑❑
❑Turn on your printer.
❑❑
❑❑
❑Insert the OKIPAGE 14 CD into your CD-ROM drive.
❑❑
❑❑
❑When the Update Device Driver Wizard appears, click
Next.Next.
Next.Next.
Next. Click Finish.Finish.
Finish.Finish.
Finish.
❑❑
❑❑
❑Select a Name for your printer dialog appears. Click NextNext
NextNext
Next.
❑❑
❑❑
❑In the Print Test Dialog box, Select YY
YY
Yeses
eses
es. Click FF
FF
Finishinish
inishinish
inish.
PP
PP
Parar
arar
arallel Connectionallel Connection
allel Connectionallel Connection
allel Connection
Install the PrInstall the Pr
Install the PrInstall the Pr
Install the Printer Softwinter Softw
inter Softwinter Softw
inter Softwarar
arar
aree
ee
e
WW
WW
Windoindo
indoindo
indows 95ws 95
ws 95ws 95
ws 95 ❑❑
❑❑
❑In the Please Insert the Disk Labeled OKIPOKIP
OKIPOKIP
OKIPAA
AA
AGE PrGE Pr
GE PrGE Pr
GE Printerinter
interinter
inter
SoftwSoftw
SoftwSoftw
Softwarar
arar
are CD-Re CD-R
e CD-Re CD-R
e CD-ROMOM
OMOM
OM message box, click OKOK
OKOK
OK.
❑❑
❑❑
❑In the Copying Files dialog box, click BrBr
BrBr
Broo
oo
owsewse
wsewse
wse, then
locate D:\OP14GDI.CNTD:\OP14GDI.CNT
D:\OP14GDI.CNTD:\OP14GDI.CNT
D:\OP14GDI.CNT. Click OKOK
OKOK
OK.
❑❑
❑❑
❑Click OKOK
OKOK
OK until all files are copied.
❑❑
❑❑
❑In the Print Test Page Completed dialog, click YY
YY
Yeses
eses
es.
Install the On-line User’s Guide andInstall the On-line User’s Guide and
Install the On-line User’s Guide andInstall the On-line User’s Guide and
Install the On-line User’s Guide and
the Pthe P
the Pthe P
the PostScrostScr
ostScrostScr
ostScript Dript Dr
ipt Dript Dr
ipt Drii
ii
ivv
vv
ver fer f
er fer f
er for 14i,or 14i,
or 14i,or 14i,
or 14i, 14i/n14i/n
14i/n14i/n
14i/n
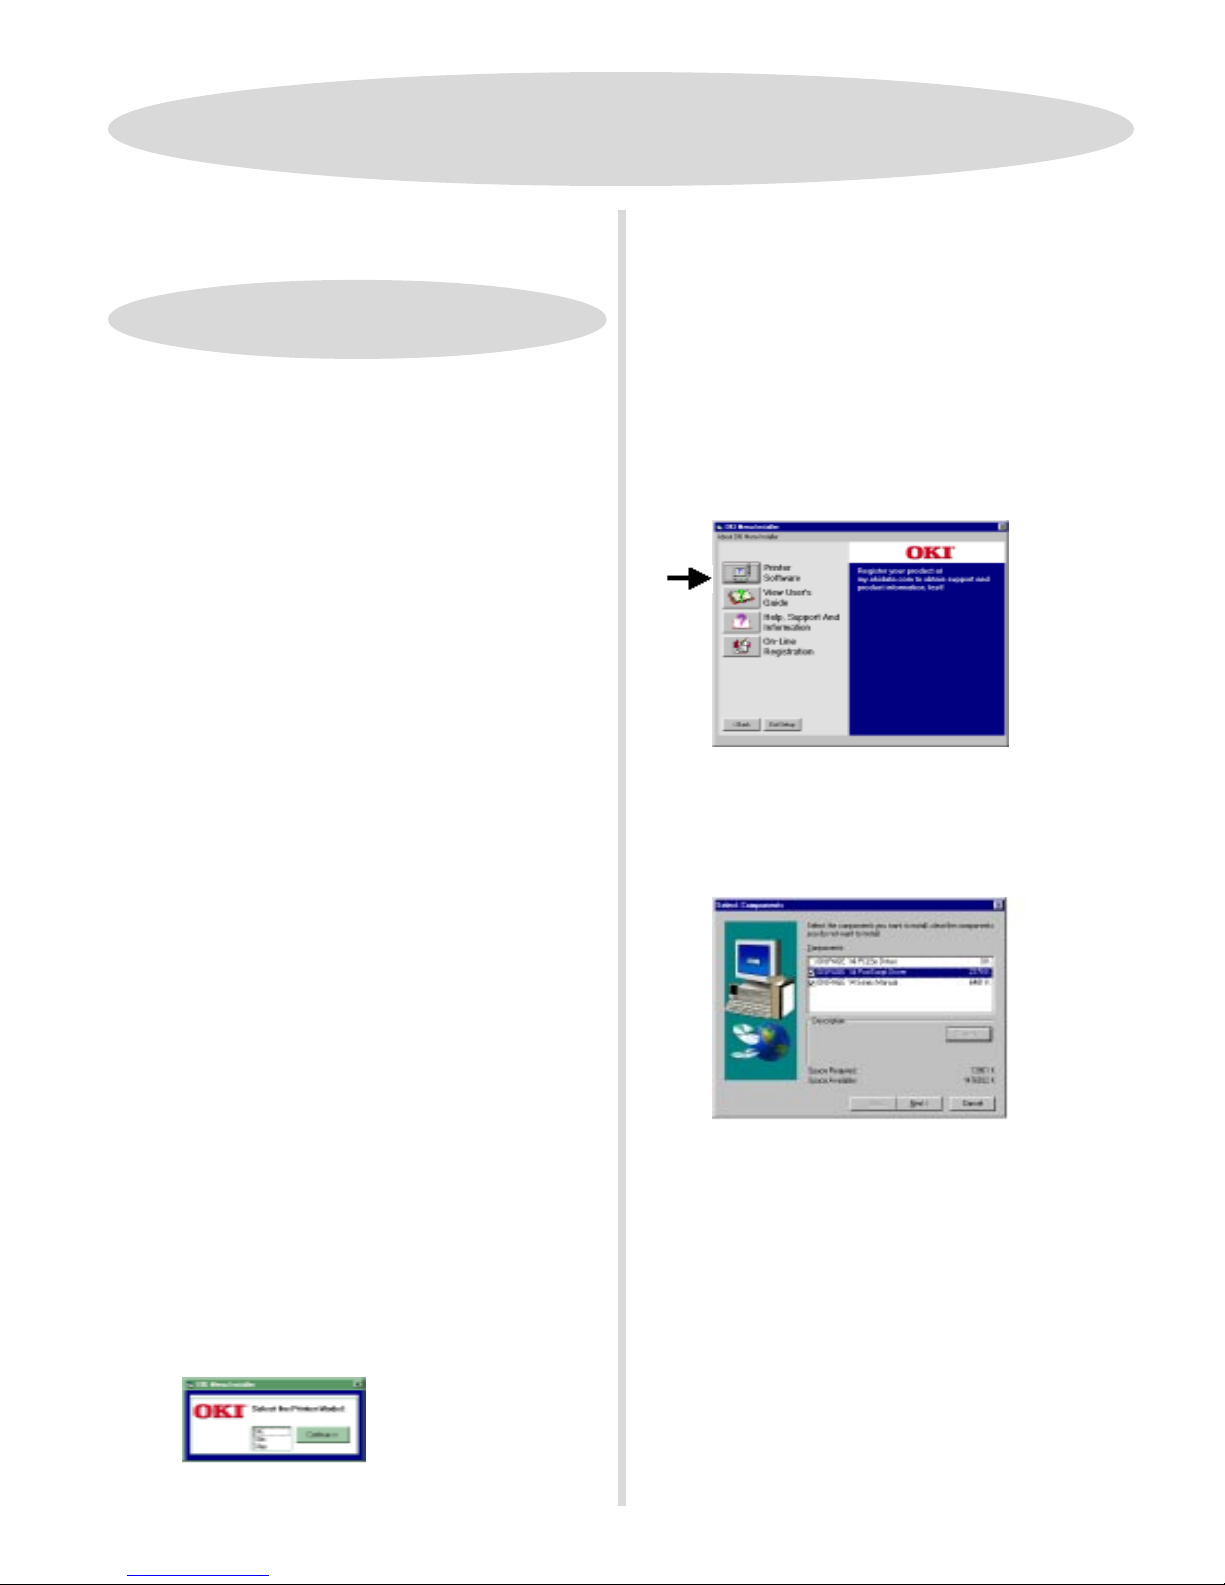
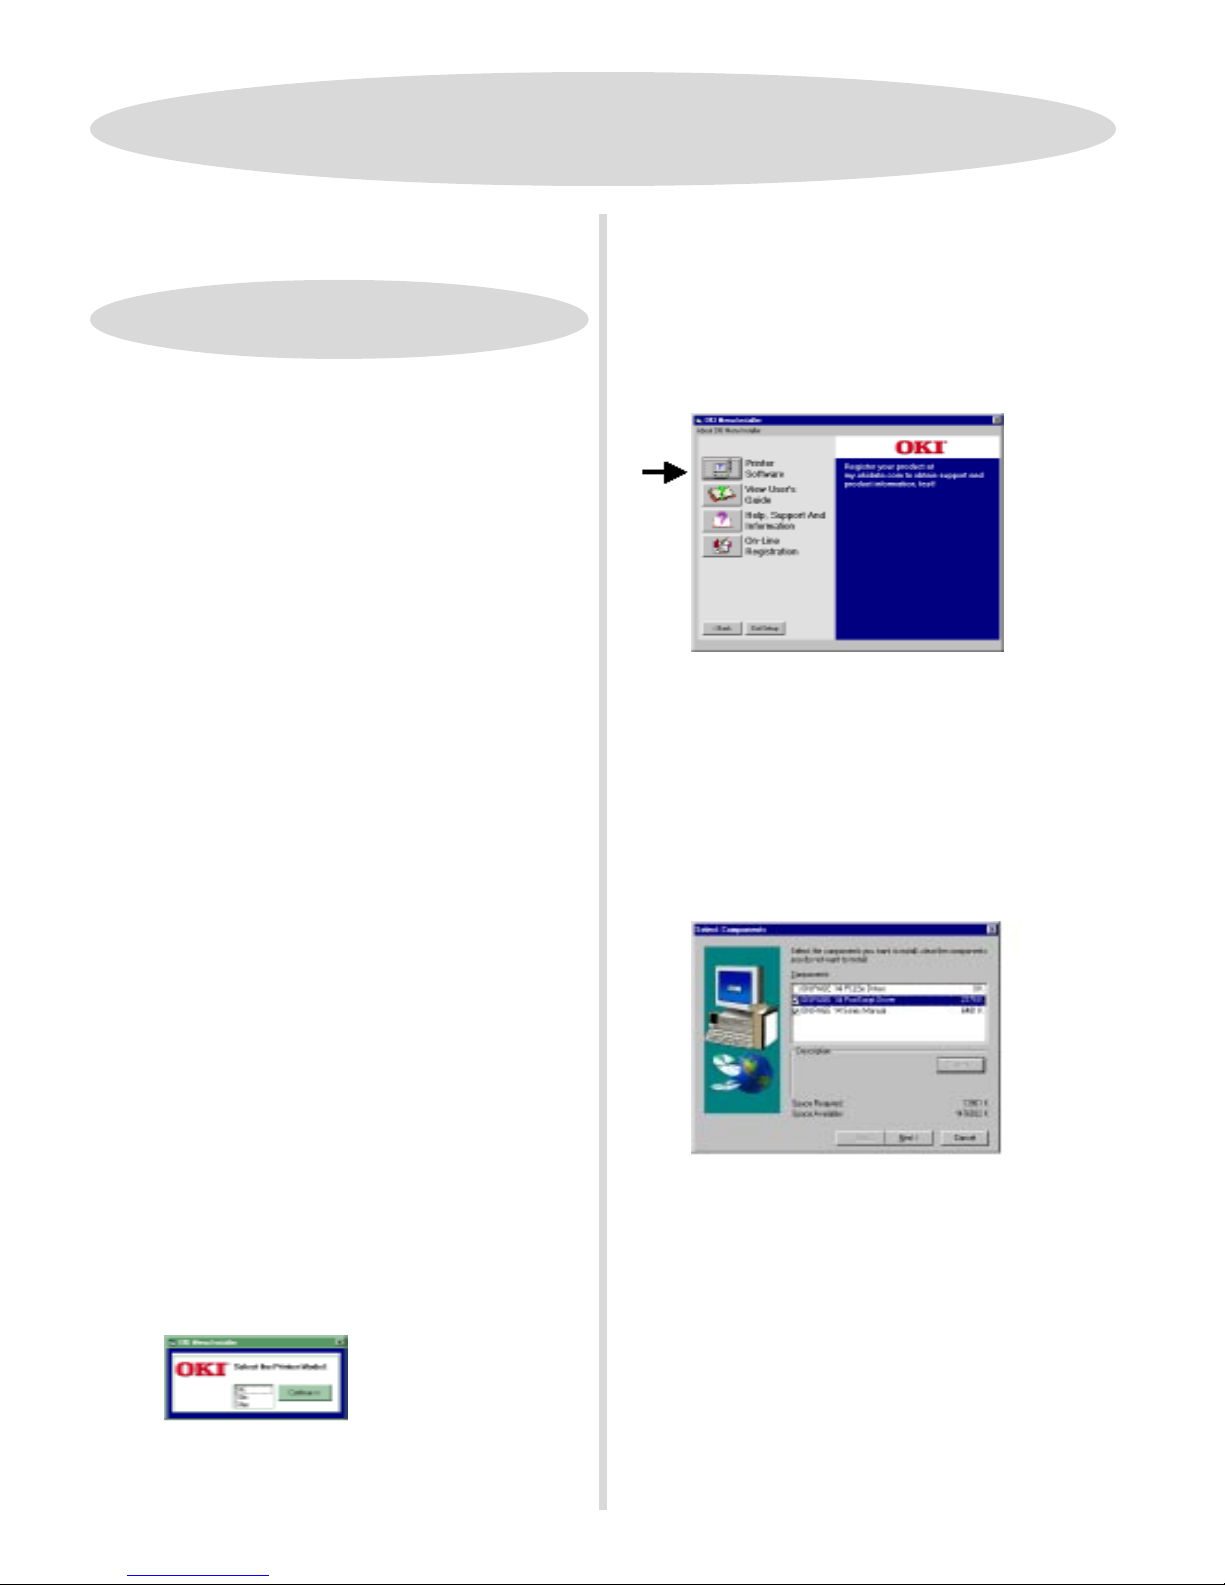
With the CD in your CD-ROM drive:
❑❑
❑❑
❑Click StartStart
StartStart
Start →→
→→
→RunRun
RunRun
Run.
❑❑
❑❑
❑Type D:\install.eD:\install.e
D:\install.eD:\install.e
D:\install.exx
xx
xee
ee
e. Click OKOK
OKOK
OK.
❑❑
❑❑
❑Click on your printer model. Click ContinueContinue
ContinueContinue
Continue.
❑❑
❑❑
❑The OKI Menu Installer appears. To install software on
your hard drive, click the PrPr
PrPr
Printer Softwinter Softw
inter Softwinter Softw
inter Softwarar
arar
aree
ee
ebutton.
!!
!!
!
YY
YY
You can cou can c
ou can cou can c
ou can cliclic
liclic
lick a bk a b
k a bk a b
k a button on the Menutton on the Men
utton on the Menutton on the Men
utton on the Menu Installer to:u Installer to:
u Installer to:u Installer to:
u Installer to:
• View the User’s Guide
• View Help Support and Information
• Register your printer on-line
Note:Note:
Note:Note:
Note:
Windows 95 Type A does not support on-line
registration or viewing the User’s Guide from the CD.
❑❑
❑❑
❑When the Select Components screen appears, check the
components you want to install.
Note:Note:
Note:Note:
Note: Clear the PCL5e
driver: it has already been installed via the Windows
Wizard
.
❑❑
❑❑
❑Follow the instructions on your screen.
!!
!!
!When you have completed installing the printer software,
go to page 15 for more information on using your printer.