Oki OKIPAGE8c User manual

1
Overview
Introduction ......................................................................2
Printer Features ...........................................................2
Select a Location .........................................................2
Unpacking .........................................................................3
Getting Started ............................................................3
Documentation Provided.............................................4
What’s on the CD ........................................................5
Printer Installation...........................................................6
Getting to KnowYour Printer......................................6
Begin the Installation ..................................................7
Prepare the Image Drums............................................ 8
Install the Toner Cartridges .........................................9
Install the Oil Roller..................................................10
Install the Toner Waste Box ......................................10
Load the Paper Tray ..................................................13
Connect to the Computer .......................................... 14
Connect to Power ......................................................15
Print the Demo Page..................................................15
Finishing:Windows 95/98 ............................................16
Software Installation .................................................16
Color Registration .....................................................20
Finishing:Windows NT 4.0 ...........................................22
Software Installation .................................................22
Color Registration .....................................................25
Finishing:Windows 3.1x ...............................................27
Software Installation .................................................27
Color Registration .....................................................30
Finishing:Windows NT 3.51 .........................................31
Finishing: Macintosh .....................................................32
Software Installation .................................................32
Color Registration .....................................................35
Control Panel ..................................................................37

2
Printer Features
•Super Fast Color Presentation Printer!
•True 600 x 600 dpi full color output
•8 ppm full color and black & white
•Prints full-color on sheets up to 8½" x 14"
•Depending on the paper path used, accepts paper
weights up to 44 lb
•32 MB RAM standard, expandable to 80 MB via
optional user-installable SIMMs
•Multiple resident fonts:
- 44 TrueType®, 4 USPS PostNet®fonts
in HP®PCL®mode
- 138 fonts in Adobe®PostScript®3 mode (136 Type
1, 2, and 14, plus 2 Multiple Master fonts)
•1-year, on-site warranty (warranty service
enhancement programs are available: see the
OKIcare™brochure included with your printer)
Select a Location
•Firm, level surface capable of supporting 106 lbs.
•Clearance to open cover, paper tray and Special
Media Stacker (rear exit)
•At least 4 inches (102 mm) additional clearance on
both sides for adequate ventilation
•Nearby power source
•Room temperature:
- Ideal: 62.6 to 80.6ºF (17 to 27ºC):
- Maximum Permissible: 50 to 89.6ºF (10 to 32ºC)
•Relative humidity:
- Ideal: 50 to 70% RH
- Maximum Permissible: 20 to 80% RH
•Away from direct sunlight
Introduction
3
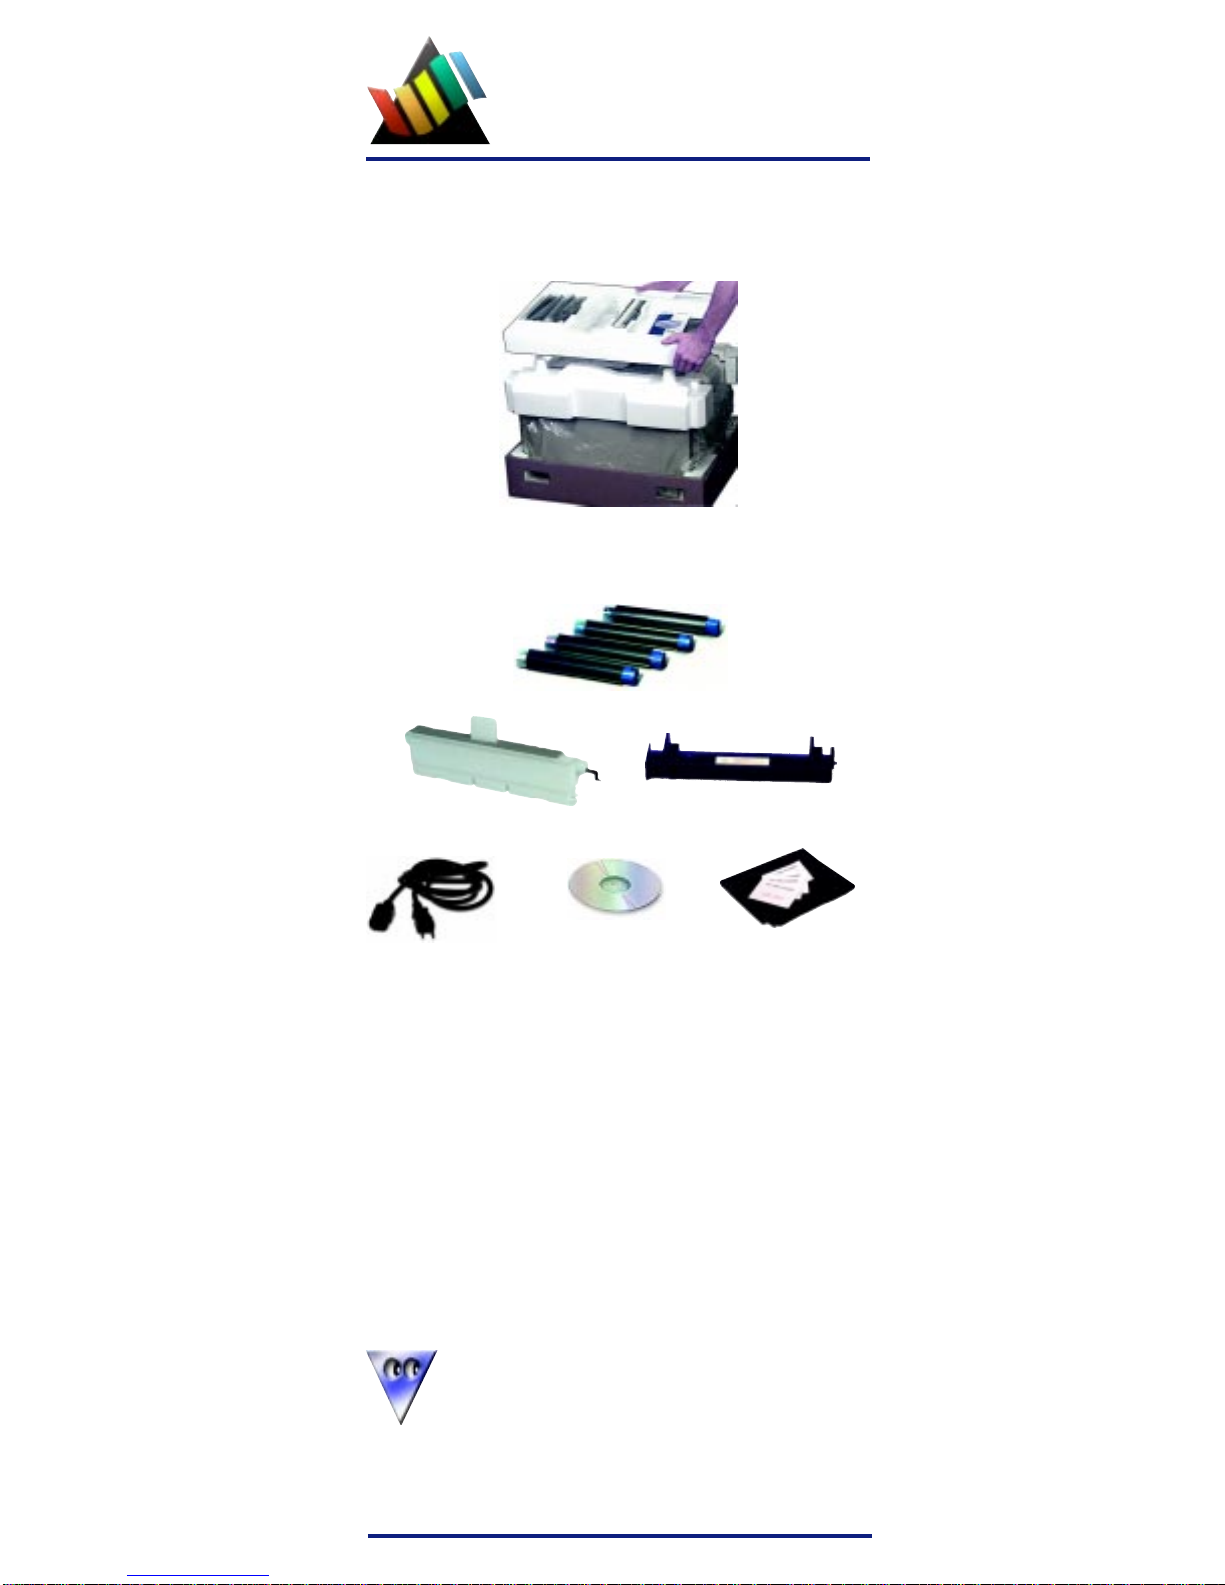
Getting Started
Remove the accessory tray and check the contents:
➊Toner cartridges
(1 each: black, magenta, cyan, yellow)
➋Toner Waste Box
➌Oil Roller
➍Power Cord
➎CD
➏Image Drum Storage Bags (4)
➐Lens Cleaners (4)
Anything missing or damaged? Contact your dealer
immediately.
The printer interface cable is not supplied.
➊
➋➌
➎➏,➐
Unpacking
➍
4
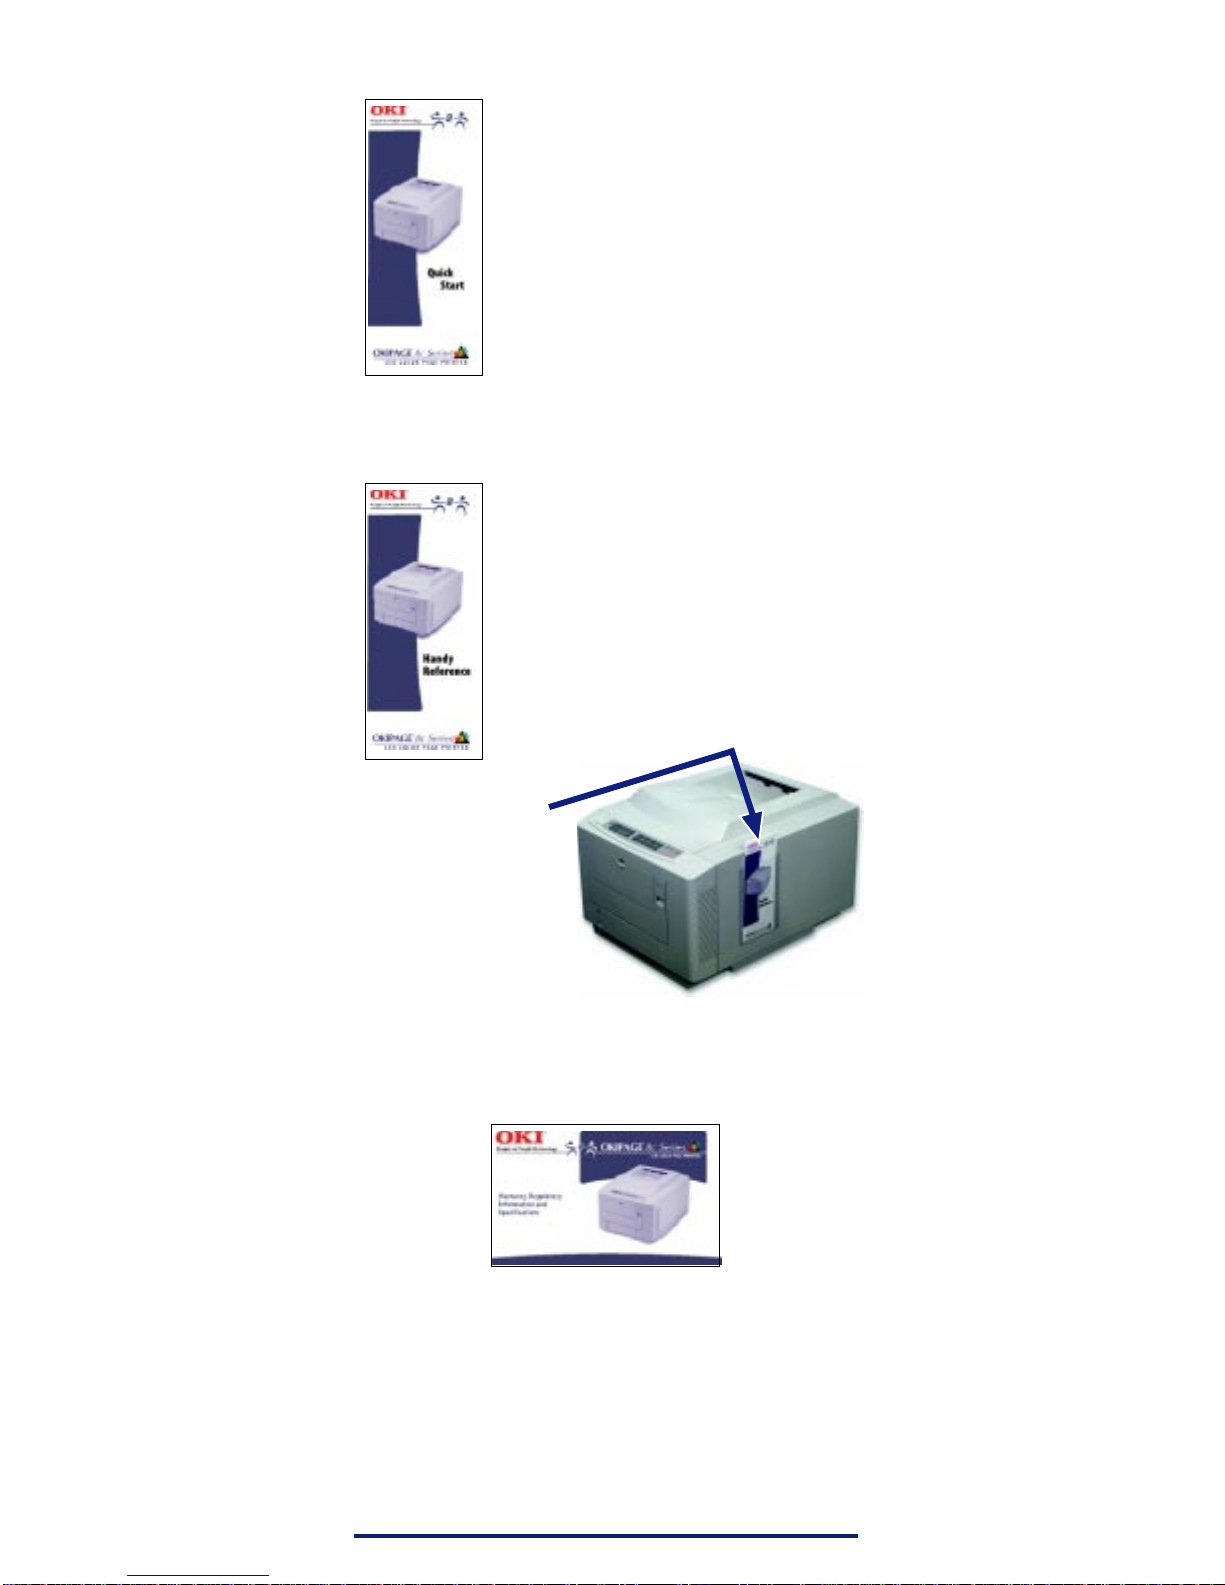
Documentation Provided
“Quick Start”
The document
you’re holding.
“Handy Reference”
with Storage Pocket
Keep this with your printer: it provides
information on
•Obtaining Service
•Consumables & Options
•Routine Maintenance
•Print Media
•Problem Solving
•Moving the Printer
•Emergency First Aid Procedures for
Toner
Apply the
self-adhesive storage
pocket to the right side
of your printer, toward
the front, and put the
Handy Reference in it.
“Warranty,Regulatory Information &
Specifications”
This document contains the following:
•Limited Warranty
•General Safety Information
•FCC/IC/CE Statements
•Electrical/Environmental Specifications
•Material Safety Data Sheets
5
OKIcare™Brochure
This brochure explains the OKIPAGE 8c service
enhancement programs available in the U.S. and Canada.
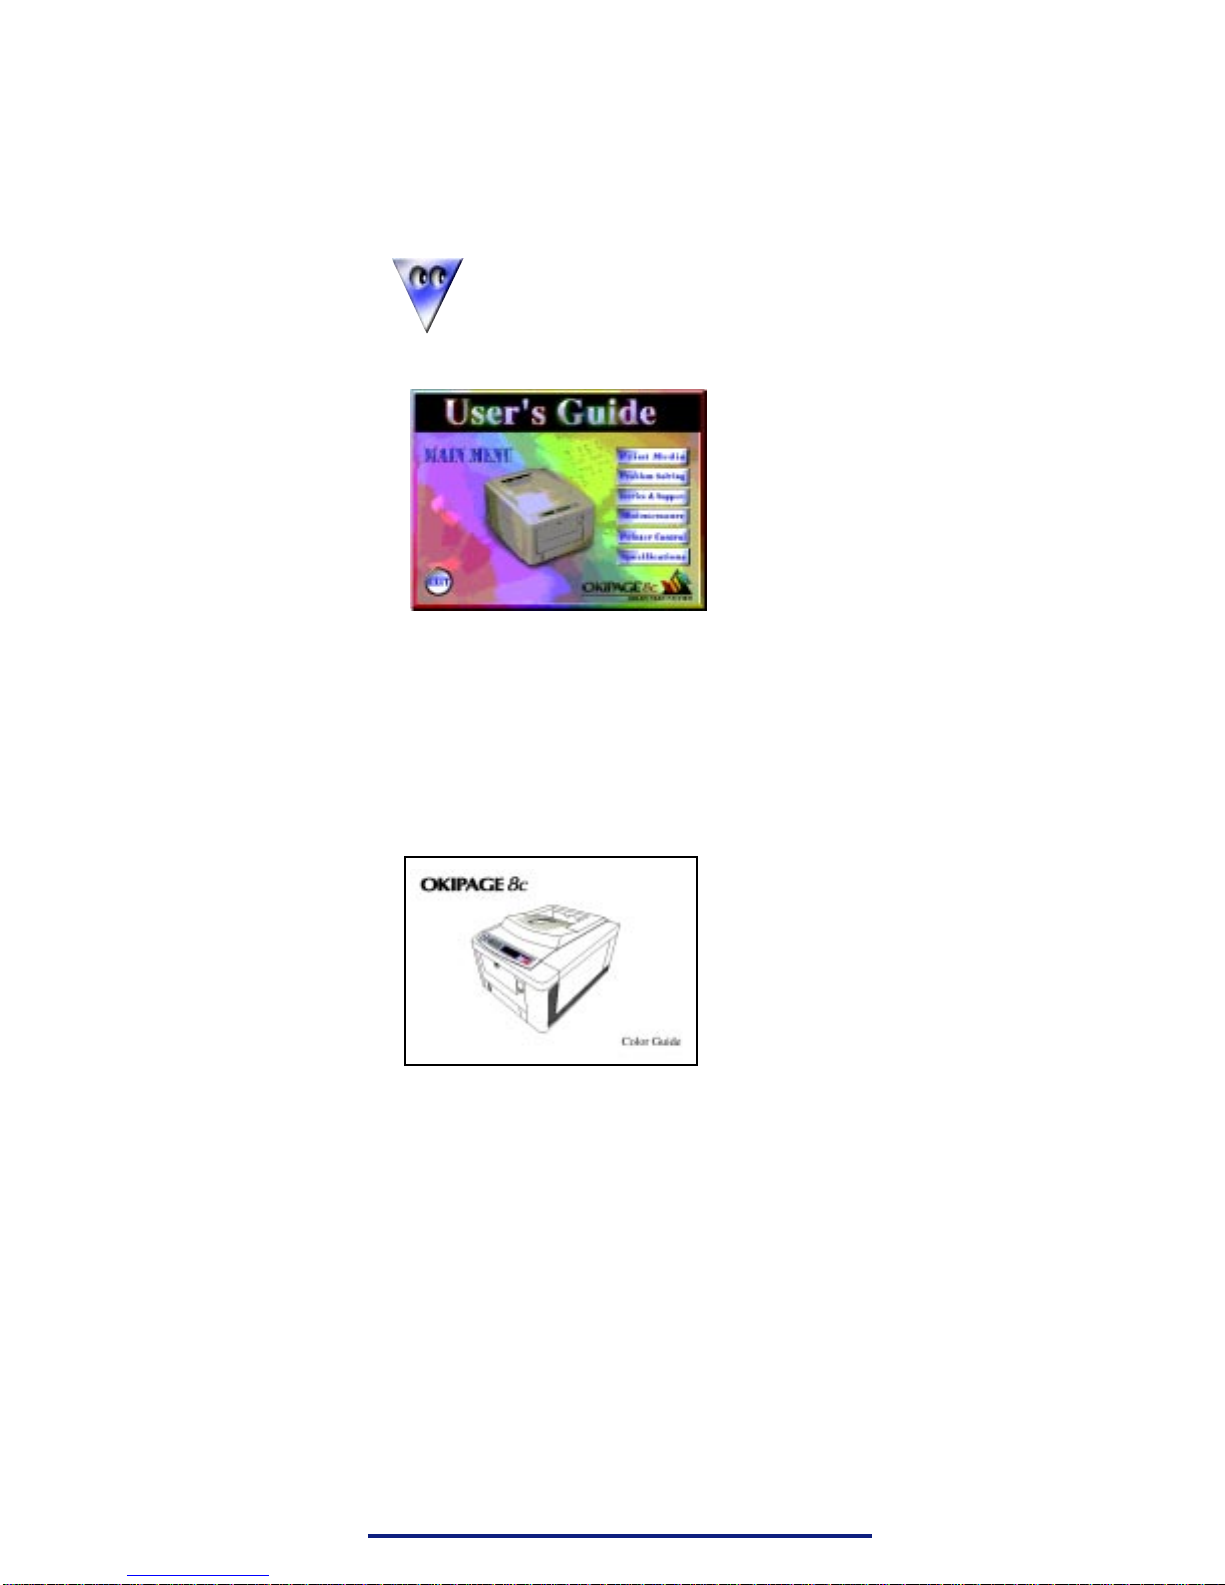
What’sonthe CD
•Printer Drivers & Software Components
•User’s Guide Acrobat®File:
Recommended minimum requirements for
viewing the on-line documentation:
➪➪
➪➪
➪
desktop area = 600 x 800 pixels
➪➪
➪➪
➪
color palette = 256 colors.
➢Print Media
➢Problem Solving
➢Service & Support
➢Maintenance
➢Printer Control
➢Specifications
•Color Guide Acrobat File:
➢The Use of Color
➢Color Perception
➢The Electromagnetic Spectrum
➢Primary & Secondary Colors
➢Specifying Color, etc.
•PANTONE®“Importing Color Palettes Into
Desktop Publishing Applications” Acrobat File:
for Adobe Illustrator®, Adobe Photoshop®, Adobe
PageMaker®, CorelDRAW®, QuarkXPress®,
Macromedia®FreeHand®, etc.
•Adobe Acrobat Reader®3.0 software
•Adobe Type Manager®4.0 software
•PostScript Screen Fonts

6
Printer
Installation
Getting to KnowYourPrinter
The OKIPAGE 8c weighs 106 lbs (48 kg). Be
very careful to take appropriate precautions
when lifting it. It is recommended that at
least two people participate when lifting the
printer.
1. Remove the top cushions. Lift the printer from the
box, remove it from the plastic bag and place it on a
suitable support. Caution! The printer weighs 106 lbs
(48 kg)!
Front View
RearView
On/Off
Switch
SideAccessPanel
DocumentStacker
OPENButton
Control
Panel
Interior
Access
Knob
PaperDrawer
PaperDrawerGauge
Front/Manual
PaperFeed
ParallelInterface
Connector PowerCordSocket
SpecialMediaStacker
(inclosedposition)

7
Begin the Installation
1. Remove the pieces of shipping tape, then peel the
protective film off the front panel.
2. Open the Front Feeder and pull out the shipping
retainer, then close the Front Feeder.
3. Press the OPEN button and lift the top cover.
Tape
Tape
8
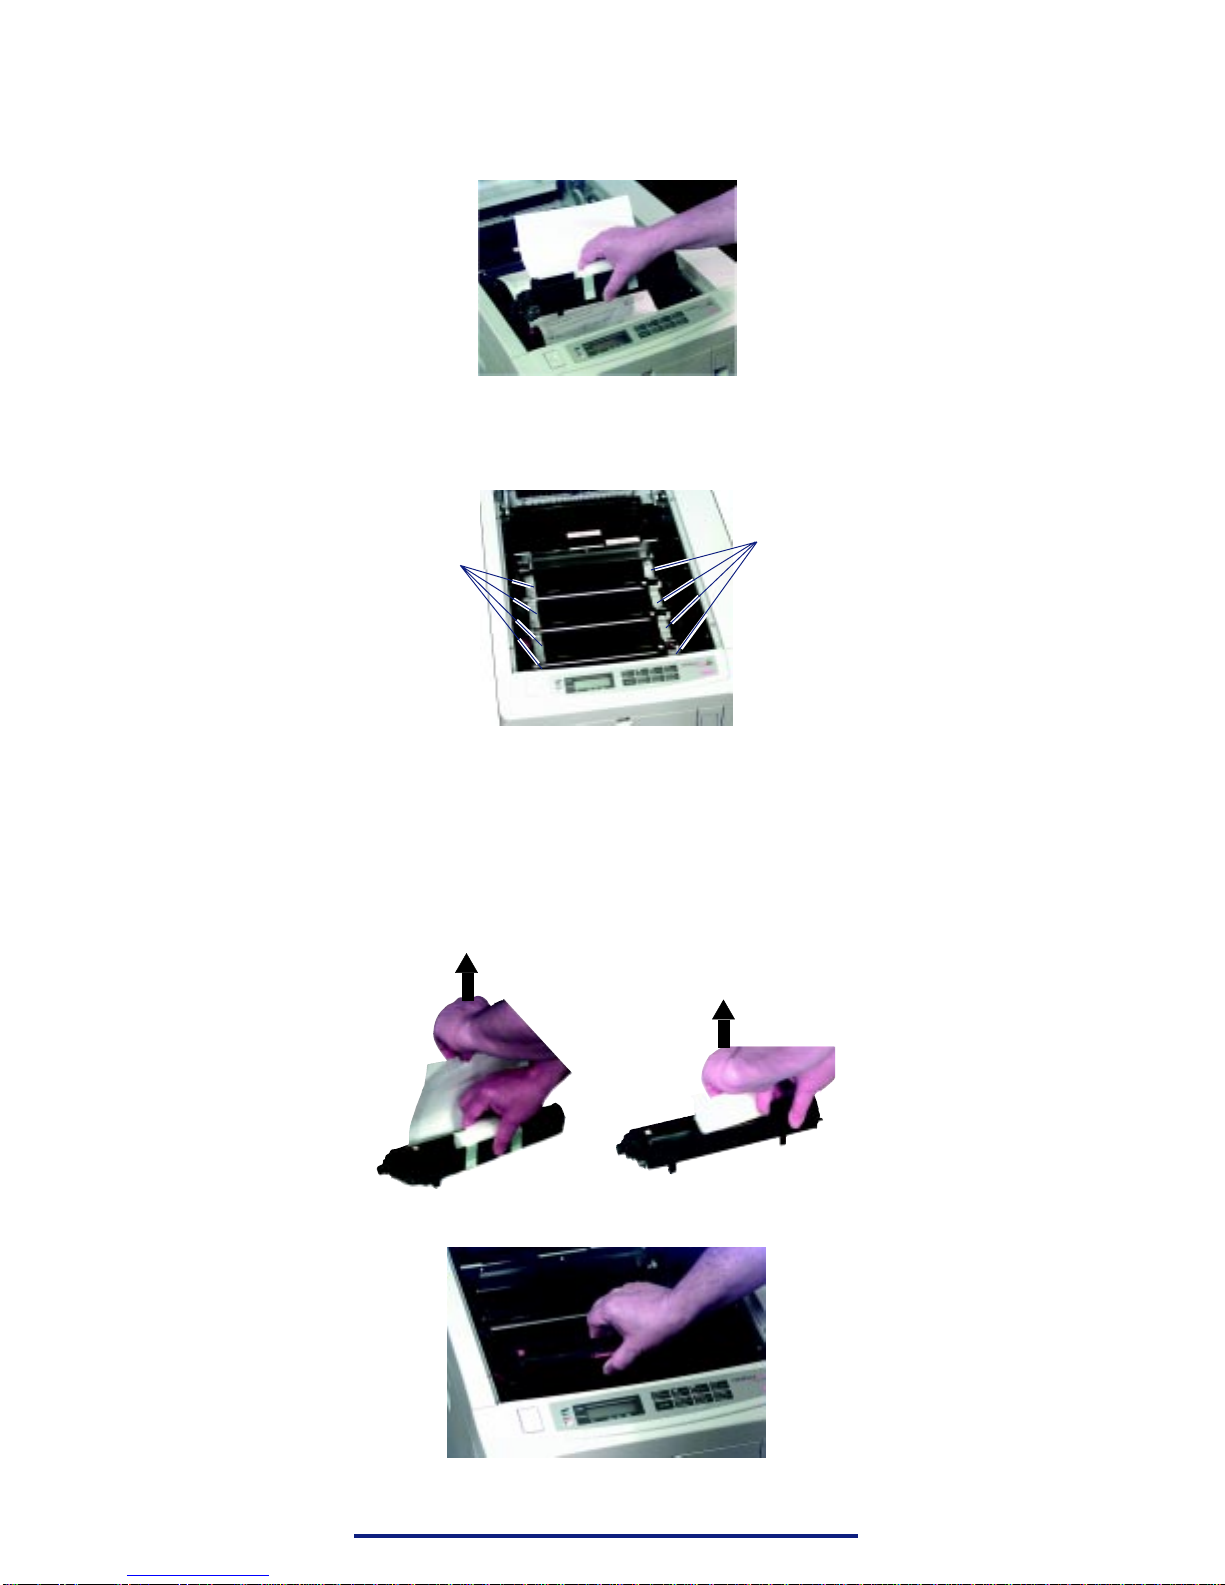
Preparethe Image Drums
1. Lift out each of the image drums and place them on a
flat surface away from direct light: be careful not to
touch the shiny green drum surface!
2. Remove the eight internal pieces of shipping tape and
spacers.
3. For each drum, remove the paper shipping insert, then
carefully remove the foam shipping insert (there is
toner on the bottom of the insert—be careful not to
spill it) and put the drum back into the printer. Match
the color coded label on each drum with the color
coded label in the printer (e.g., magenta to magenta
or M to M).
Tape/Spacers Tape/Spacers

9
InstalltheToner Cartridges
Be careful to install each color toner
cartridge in the corresponding color image
drum: each image drum, toner cartridge and
slot in the printer has a color-coded label
marked with the corresponding letter (Y =
yellow, M = magenta, C = cyan, K = black).
The end of each toner cartridge is keyed so that it will
only fit into the correct color image drum.
The toner cartridge should slide into the
drum easily: do not try to force a toner
cartridge into an image drum!
1. Remove the yellow toner cartridge from its packaging
and shake it back and forth a few times to distribute
the toner evenly, then peel the tape off the bottom of
the cartridge.
2. Insert the left end of
the cartridge in the
yellow image drum,
placing the recess in
the end of the
cartridge under the
color-coded tab on
the image drum.
3. Lower the right end
of the toner cartridge,
aligning the slot on
the cartridge with the
ridge in the image
drum and push the
blue lock lever
toward the back of
the printer until it
stops.
Repeat steps 1 through 3 for each of the three remaining
toner cartridges.

10
InstalltheOil Roller
1. Remove the shipping tape from the fuser lock levers:
make sure the levers are pulled forward (in the locked
position) before proceeding.
2. Remove the oil roller from its packaging. Holding it
by the fins with the caution label facing you, lower
the oil roller into the fuser unit, sliding the left end
under the retaining ledge.
3. Make sure the blue lever is toward the back of the
printer, then lower the right end of the oil roller into
the fuser unit and pull the lever forward to lock the oil
roller in place.
InstalltheTonerWaste Box
1. Pull the latch on the left side of the printer and open
the side panel, then remove the three strips of packing
tape and spacers.
RetainingLedge
Tape/Spacers
Tape
Other manuals for OKIPAGE8c
2
This manual suits for next models
3
Table of contents
Other Oki Printer manuals


Oki
Oki C931 DICOM User manual

Oki
Oki ML6300FB Owner's manual

Oki
Oki OKICOLOR 8 User manual

Oki
Oki MC560 MFP CX2032 Quick start guide

Oki
Oki OKIPAGE 10ex User manual

Oki
Oki B4100 User manual

Oki
Oki MB760 Installation and user guide

Oki
Oki ML320 Epson/IBM User manual

Oki
Oki lp-1030-mf User manual

Oki
Oki B8300n User manual


