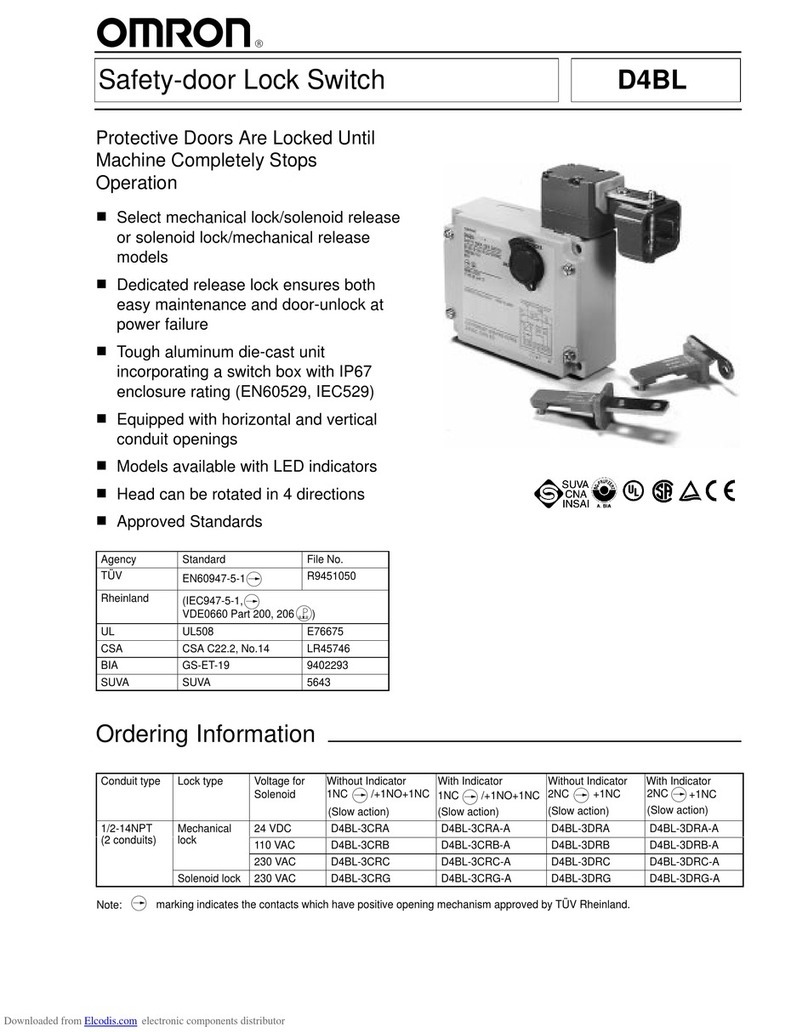
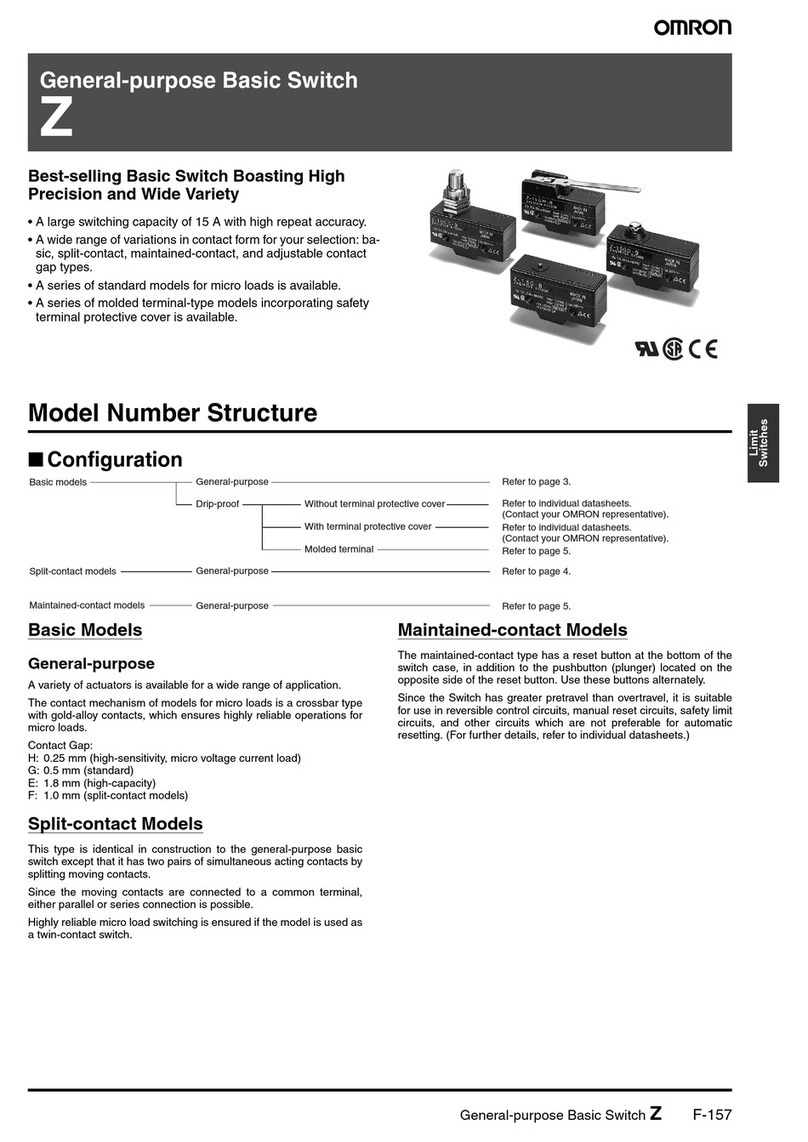
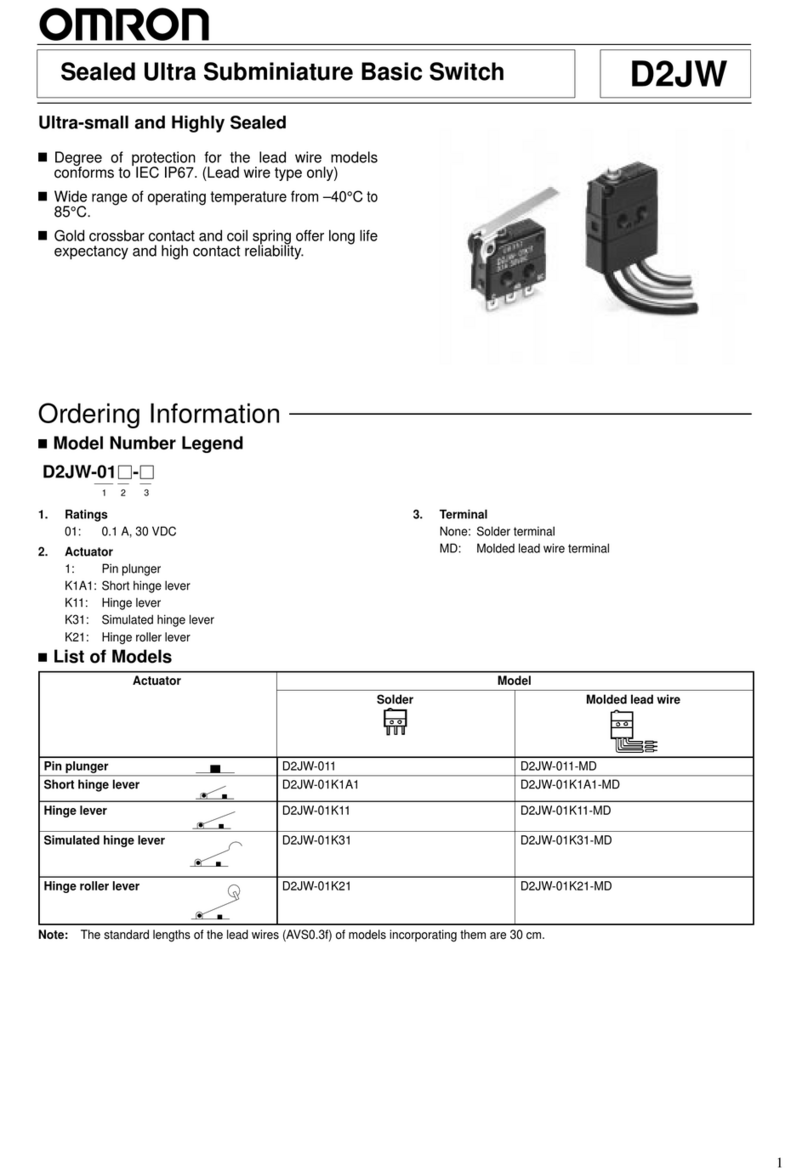
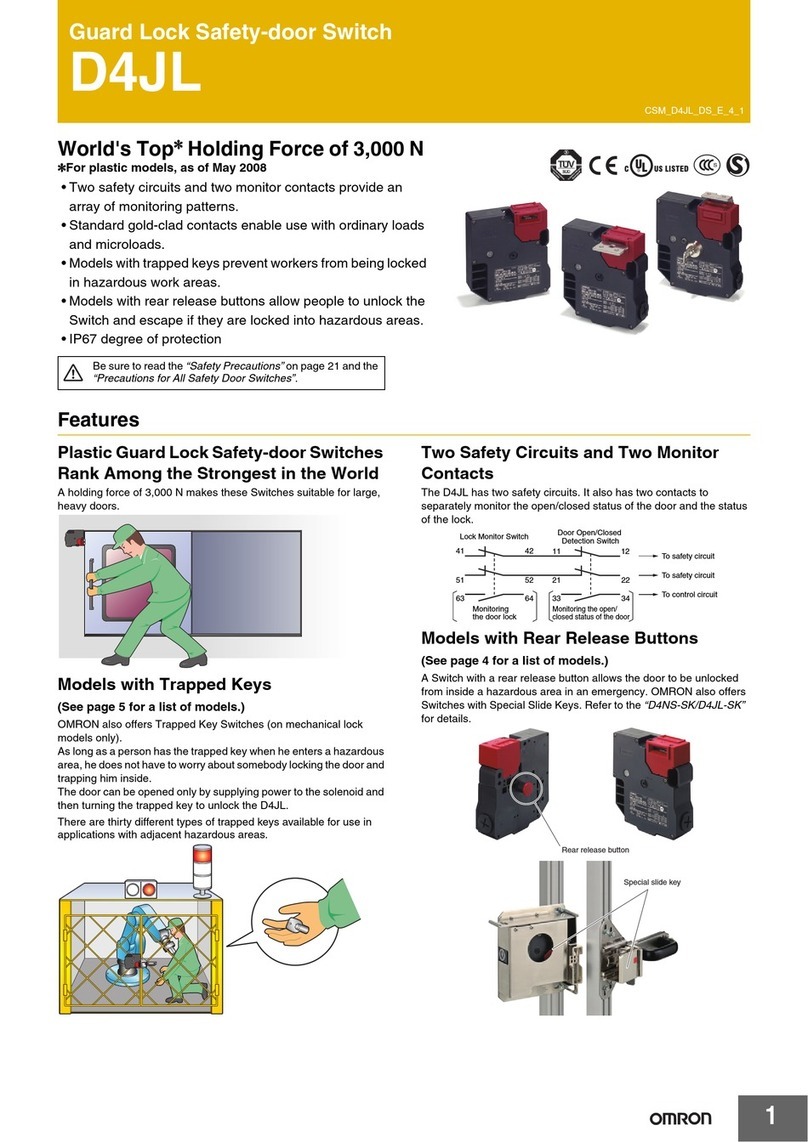
Omron D4DS User manual

1
Safety-door Switch D4DS
Compact Safety Switch Saves Space
and is Ideal for a Variety of Doors
Positive opening mechanism and double
insulation approved by TÜV and BIA.
Five-direction Operation Key.
Approved by UL and CSA standards.
Switzerland’
s SUV
A approval pending.
Degree of protection: IP65 (EN60529), Type 4
(UL/CSA) (indoor use only).
Safety Standards:
•Conformity:
Machinery directive
Low voltage directive
EN50047
EN1088
Approved Standards
Agency Standard File No.
TÜV Rheinland
EN60947-5-1 R9551708
UL (see note)
UL508
CSA C22.2 No.14
E76675
BIA GS-ET-15
1-conduit: 9509915
2-conduit: 9509913
SUVA SUVA
1-conduit: 6010Z
2-conduit: 601
1Z
Note: CSA
C22.2 No. 14
compliance was verified and approved
by
UL (Marked with
).
Eu
Ordering Information
Model Number Legend
Limit Switch
1. Conduit
1: Pg13.5
(1-conduit)
2:
G1/2 (1-conduit)
3:
1/2-14NPT (1-conduit)
5:
Pg13.5 (2-conduit)
6:
G1/2 (2-conduit)
2. Built-in Switch
5: 1NC/1NO (Slow-action)
A: 2NC (Slow-action)
3.
Head Mounting Direction
F: Four mounting directions pos-
sible (Front-side mounting at
shipping)
1. Operation
Key T
ype
1:
Horizontal mounting
2: V
ertical mounting
3:
Horizontal-adjustable vertical
mounting
5: Vertical/Horizontal-adjustable
vertical mounting
D4DS-Kj
1
Operation Key
D4DS-jjjS
123
Note: An
order for the head part or the switch
part alone cannot be accepted.
The
Operation Key is sold separately
.

D4DS D4DS
2
List of Models
Type Conduit
size
1NC/1NO (Slow-action) 2NC (Slow-action)
Model Model
1-conduit Pg13.5 D4DS-15FS D4DS-1AFS
G1/2 D4DS-25FS D4DS-2AFS
1/2-14NPT D4DS-35FS D4DS-3AFS
2-conduit Pg13.5 D4DS-55FS D4DS-5AFS
G1/2 D4DS-65FS D4DS-6AFS
Accessories (Order Separately)
Operation Keys
Type Model
Horizontal
mounting
D4DS-K1
V
ertical mounting
D4DS-K2
Horizontal-adjustable
vertical mounting
D4DS-K3
Vertical/Horizontal
adjustable vertical
mounting
D4DS-K5

D4DS D4DS
3
Specifications
Approved Standard Ratings
TÜV and BIA (EN60947-5-1)
Utilization
category
AC-15
Rated operating current (I
e)
2 A
Rated operating voltage (U
e)
400 V
Note:
Use a 10-A fuse type gl or gG as a short-circuit protection device that conforms to IEC269.
UL (UL508/CSA C22.2 No.14)
A600
Rated
voltage
Carry current Current Volt-amperes
Ca y cu e
Make Break Make Break
120 V
AC
10 A 60 A
6 A
7,200 V
A
720 V
A
240 V
AC
30 A
3 A
480 V
AC
15 A
1.5 A
600 V
AC
12 A
1.2 A
Characteristics
Degree
of protection (see note 1)
IP65 (EN60947-5-1)
Life expectancy (see note 2)
Mechanical:
1,000,000 operations min.
Electrical:
150,000 operations min.
Operating speed
0.1 m/s to 0.5 m/s
Contact gap
2 x 2.0 mm min.
Operating frequency
30 operations/minute min.
Positive opening force (see note 3)
58.84 N min.
Positive opening travel (see note 3)
10 mm min.
Insulation resistance
100 M
Ω
min. (at 500 VDC) between terminals of same polarity
, between terminals of
dif
ferent polarity
, between each terminal and ground, and between each terminal and
non-current-carrying metal part
Contact resistance
25 m
Ω
max. (initial value)
Dielectric strength
Uimp
4 kV between terminals of same polarity
, between terminals of dif
ferent polarity
, and
between each terminal and non-current-carrying metal part (EN60947-5-1)
Rated insulation voltage (U
i)
400 V (EN60947-5-1)
Conditional short-circuit current
100 A (EN60947-5-1)
Short-circuit protective device (SCPD)
10 A, fuse type gI or gG (IEC269)
Switching overvoltage
1,500 V max. (EN60947-5-1)
Pollution degree
(operating environment)
3 (EN60947-5-1)
Conventional enclosed thermal current
(Ithe)
10 A (EN60947-5-1)
Protection against electric shock Class II (double insulation)
V
ibration resistance
Malfunction:
10 to 500 Hz, 0.65-mm single amplitude with an imposed acceleration of
100 m/s
2
max.
Shock resistance
Destruction:
1,000 m/s
2
min.
Malfunction:
300 m/s
2
min.
Ambient temperature
Operating: –30°
C to 70
°
C (with no icing)
Ambient humidity
Operating:
95% max.
Weight
Approx. 76 g (for D4DS-15FS)
Note: 1.
Although the Switch casing resists dust, oil, and water
, make sure that the
keyhole on the head is free from dust, oil, water
, and
chemical, otherwise the D4DS may wear out, break, or malfunction.
2. Life
expectancy values are calculated at an operating temperature of 5
°
C to 35
°
C, and an operating humidity of 40% to 70%. Con
-
tact
your OMRON sales representative for more detailed information on other operating environments.
3.
These figures are minimum requirements for safe operation.

D4DS D4DS
4
Operating Characteristics
1-conduit/2-conduit Models
Model D4DS-1jjS/D4DS-2jjS/D4DS-3jjS D4DS-5jjS/D4DS-6jjS/D4DS-7jjS
Operating
force (extraction)
14.71 N
Release force (insertion)
29.42 N
Pretravel 6±
3 mm
T
otal travel (reference value)
28 mm
Min. positive opening force (see note)
58.84 N
Min. positive opening stroke (see note)
10 mm
Note:
Make sure that the positive opening stroke is at least 16 mm in order to use the D4DS safely
.
Nomenclature
Operation Key
The dedicated key prevents operational mistakes and forci-
bly separates the contacts.
Head
The head can be mounted in four directions. The Opera-
tion Key can be inserted in five directions including the
downward direction.
Cover
The cover, with a hinge on its lower part, can be opened
by removing the screw of the cover, which ensures ease
of maintenance and wiring.
Built-in Switch
Has a positive opening mechanism which forcibly separates
the NC contacts even if they are welded.
The built-in switch incorporates a pair each of NC contacts
and NO contacts or two pairs of NC contacts.
Conduit
Wide switch variations.
Pg13.5: 1-conduit, 2-conduit models
G1/2: 1-conduit, 2-conduit models
1/2-14NPT: 1-conduit models
Oil Seal
The plunger has an O ring. The switch casing ensures
IP65 (except the keyhole, which ensures IP00). Use the
D4DS in places where the keyhole is free from oil and
metal chips.
Note: The
housing and head of the D4DS are made of synthetic resin. If high
mechanical
durability is required, use the D4BS Safety Door Switch.

D4DS D4DS
5
Operation
Contact Form
Model Contact Diagrams Remarks
D4DS-j5jS 1NC/1NO 11 12
23 24
Zb 11
- 12
23 - 24
Stroke
ON
Insertion
position Fully-drawn
position
Only NC contact 1
1-12 has an
approved positive opening
mechanism.
The terminals 1
1-12 and 23-24 can
be used as opposing poles.
D4DS-jAjS 2NC 11
21
12
22
Zb 11
- 12
21 - 22
Stroke
ON
Insertion
position Fully-drawn
position
NC contacts 1
1-12 and 21-22 have
an approved positive opening
mechanism.
The terminals 1
1-12 and 23-24 can
be used as opposing poles.
Note: T
erminals are numbered according to EN50013 and contacts are marked according to EN60947-5-1.
Positive Opening Mechanism
1NC/1NO Contact (Slow-action) 2NC Contact (Slow-action)
Contact spring
Return spring
Fixed contact (NC)
Movable contact
Plunger
Fixed contact (NO)
Contact spring
Return spring
Fixed contact (NC)
Movable contact
Plunger
Only
the NC contacts have a positive open
-
ing function.
When metal deposition occurs, the contacts
are separated from each other by pushing in
the plunger
.
Conforms to EN60947-5-1 Positive Opening
Both NC contacts incorporate a positive
opening function.
When metal deposition occurs, the contacts
are separated from each other by pushing in
the plunger
.
Conforms to EN60947-5-1 Positive Opening
Note:
The switches are marked with “ ” indicating approval for the positive opening mechanism.

D4DS D4DS
6
Dimensions
Note: 1.
All units are in millimeters unless otherwise indicated.
2.
Unless otherwise specified, a tolerance of
±
0.4 mm applies to all dimensions.
3.
The conduit thread varies with the model as follows:
Conduit thread Model
Pg13.5 D4DS-1jjS/-5jjS
G1/2 D4DS-2jjS/-6jjS
1/2-14NPT D4DS-3jjS
See note 3
on page
107.
1-conduit Models
D4DS-1jjS
D4DS-2jjS
D4DS-3jjS
2-conduit Models
D4DS-5jjS
D4DS-6jjS
R2.15±0.05
mounting holes depth: 5
Two, 4+0.15
0dia. holes
30
x 30
30 x 30
Cap
depth:
5
Two, 4+0.15
0dia. holes
56 max.
R2.15±0.05
mounting holes
See note 3
on page
107.

D4DS D4DS
7
Operation Keys
D4DS-K1
Horizontal
Mounting
D4DS-K2
V
ertical Mounting
D4DS-K3
Horizontal-adjustable V
ertical Mounting
Four, R2.15
Four, R2.15 9 dia. 8 dia.
4.5 dia.
Note: Each
dimension has a tolerance of
±
0.4 mm unless otherwise specified.
D4DS-K5
Horizontal/V
ertical-adjustable V
ertical Mounting
18°
Two, M4
9±0.1 41±0.1
43±0.1
Mounting
Holes

D4DS D4DS
8
With Operation Key Inserted
Horizontal
Mounting
D4DS-1jjS + D4DS-K1
D4DS-2jjS + D4DS-K1
D4DS-3jjS + D4DS-K1
D4DS-5jjS + D4DS-K1
D4DS-6jjS + D4DS-K1
V
ertical Mounting
D4DS-1jjS + D4DS-K2
D4DS-2jjS + D4DS-K2
D4DS-3jjS + D4DS-K2
D4DS-5jjS + D4DS-K2
D4DS-6jjS + D4DS-K2
Horizontal-adjustable V
ertical Mounting
D4DS-1jjS + D4DS-K3
D4DS-2jjS + D4DS-K3
D4DS-3jjS + D4DS-K3
D4DS-5jjS + D4DS-K3
D4DS-6jjS + D4DS-K3
44
to 46.5
Key insertion face Horizontal key
insertion radius
R y200
Permissible difference
in center lines between
the Operation Key and
key hole.
44 to 46.5
Key insertion face
Permissible difference
in center lines between
the Operation Key and
key hole.
Horizontal key
insertion radius
R y200
44 to 46.5
Key insertion face Horizontal key
insertion radius
R y200
Permissible difference
in center lines between
the Operation Key and
key hole.
44 to 46.5
Key insertion face
Permissible difference
in center lines be-
tween the Operation
Key and key hole.
Horizontal key
insertion radius
R y200
44 to 46.5
Key insertion face Horizontal key
insertion radius
R y200
Permissible difference
in center lines between
the Operation Key and
key hole.
44 to 46.5
Key insertion face
Permissible difference
in center lines between
the Operation Key and
key hole.
Horizontal key
insertion radius
R y200
Horizontal/Vertical-adjustable
V
ertical Mounting
D4DS-1jjS + D4DS-K5
D4DS-2jjS + D4DS-K5
D4DS-3jjS + D4DS-K5
D4DS-5jjS + D4DS-K5
D4DS-6jjS + D4DS-K5
51.9
to 54.4
Key insertion face
Horizontal key
insertion radius
R y50
Permissible difference
in center lines between
the Operation Key and
key hole.
51.9 to 54.4
Key insertion face
Permissible difference
in center lines between
the Operation Key and
key hole.
Horizontal key
insertion radius
R y200

D4DS D4DS
9
Precautions
CAUTION
Do
not dismount the operation key from the door intentionally
and insert it to the switch with the door open. Machine may
start operating and injury or death may be caused.
Do not use metal connectors or conduits with this switch. Rigid
connectors and conduits may damage the switch. The broken
conduit hole may cause an electrical shock hazard.
Install
the operation key so that it will not hit the operator when the
door
is open.
If
the D4DS is to be used as a switch in an emergency stop circuit or
in a safety circuit for preventing accidents resulting in injuries or
deaths,
use NC contacts with a forced release mechanism and set
the
D4DS so that it will operate in positive opening mode. For safety
,
install the Switch and the Operation Key using one-way rotational
screws
or other similar means to prevent them from easily coming
off.
Protect the
D4DS with an appropriate cover and post a warning
sign
near the D4DS in order to ensure the safety of the door
.
To prevent the D4DS from damage due to circuit short-circuiting,
connect
a fuse with a breaking current 1.5 to 2 times larger than the
rated
current of the D4DS in series to the D4DS.
If
the D4DS is used under EN-approved conditions, use a gI or gG
10-A
fuse approved by IEC269.
Mounting
Be
sure to mount the D4DS with a stopper as shown
in the following
illustration. Do not use the casing of the D4DS as a stopper
. Be sure
to install the stopper so that the space “a” will be a maximum of
3 mm.
Stopper
Switch
Correct Use
Operating Environment
Do
not use the D4DS in the following environments, otherwise the
D4DS
may malfunction.
•
Locations subject to significant temperature fluctuations
•
Humid locations where there is a risk of condensation
•
Locations subject to significant vibrations
•Locations subject to metal chips, oils, and chemicals inside a
protective
door
Operation Key
Be sure to use a special Operation Key only. Do not operate the
D4DS
with anything other than the special Operation Key
, otherwise
the
D4DS may break or the safety
of the system may not be main
-
tained.
Do
not impose excessive force on the Operation
Key inserted into
the
D4DS or drop the D4DS with the Operation
Key inserted, other
-
wise
the Operation Key may deform or break.
Excessive
force
Drop
Secure the Operation Key with screws so that the Operation Key
cannot
be removed with ease.
Refer
to
Dimensions
for the mounting dimensions
of the Operation
Key
and properly mount and the Operation Key correctly so that the
position
and angle will be correct.
Make sure that the Operation Key can be inserted properly with a
tolerance
of
±
0.5 mm in the upward,
downward, left, or right direc
-
tion,
otherwise the D4DS may soon become damaged.
±1 min.
±1 min.
D4DS D4DS
10
Tightening Torque
Be
sure to tighten each screw to the appropriate tightening torque
as shown below
.
3
5
4
1
26
7
No. Type Torque
1 T
erminal screw
0.59 to 0.78 N
S
m
2
Cover mounting screw
0.78 to 0.88 N
S
m
3
Head mounting screw
0.78 to 0.88 N
S
m
4
M4 switch mounting bolt
(see note 1)
0.49 to 0.69 N
S
m
5
Operation Key mounting
screw
2.35 to 2.75 N
S
m
6 Connector
1.8 to 2.2 N
S
m
1.37 to 1.77 N
S
m
(see note 2)
7 Cap screw
1.27 to 1.67 N
S
m
Note: 1. Tighten
each screw with a
washer and use the appropri
-
ate
tightening torque.
2.
This force range applies to 1/2-14NPT
.
Mounting
Switch
Two, M4 Allen-head bolts with washers must be used in order to
mount
the D4DS securely
. T
o mount the D4DS
more securely
, pre
-
pare two, 4 –0.05/–0.15 dia. protruding portions with 4.8 mm maxi-
mum
in height each as shown below and support the D4DS at a
total
of
four points.
Mounting Dimensions with Protruding Portions
Standard Model
T
wo-conduit Model
4–0.05
–0.15 dia. height, 4.8 max.
4–0.05
–0.15 dia. height, 4.8 max.
Mounting hole
Mounting surface
Insertion hole for protrusions
4–0.05
–0.15 dia. height, 4.8 max.
Operation
Key
Mounting Dimensions
•Horizontal/V
ertical Mounting
D4DS-K1 or D4DS-K2
Two, M4
•Horizontal-adjustable
V
ertical Mounting
D4DS-K3
Two, M4

D4DS D4DS
11
•Horizontal/Vertical-adjustable
V
ertical Mounting
D4DS-K5
Two, M4
9±0.1
41±0.1
43±0.1
Securing the Door
When
the door is closed (with the Operation Key inserted), the door
(or
the Operation Key)
may be pushed back across the set zone due
to the door
’
s weight, the door cushion
rubber
, etc. If load is applied to
the
Operation Key
, the door may fail to unlock. Secure the door with
hooks
so that it will remain within in the set zone.
Set zone
(0.5 to 3 mm)
Operation Key
Changes in Head Mounting Direction
By
removing the screws on the four corners
of the head, the head
can be reset in any of four directions.
When changing the head mounting direction, make sure that the
Operation
Key is in the head.
Make
sure that no foreign materials penetrate through the mounting
holes of the head. Internal screws of the head must not be removed,
otherwise
the internal parts of the head may be lost or deformed.
Wiring
Do
not connect lead wires directly to the terminals. Be sure to con
-
nect the lead wires through insulation tubes and crimp terminals.,
and tighten each terminal screw within an optimum torque range.
The lead wires must be an AWG20 to AWG14 type (i.e., 0.5 to
25 mm
2thick).
D dia.
dz dia.
dz dia.: 3.7
D dia.: 4.5
B: 7.0
L: 20.2
F: 7.7
I:
9.0 (mm)
Wire
the crimp terminal as shown in the following diagram so that
it
will
not come in contact with the case or cover
.
Terminal screw
Crimp terminal
Correct Incorrect
Crimp-style terminal
Conduit Opening
Tighten the connector to a torque of 1.8 to 2.2 N Sm (1.37 to
1.77 N
S
m
if it is a 1/2-14NPT). Excessive tightening torque may
damage
the casing. In order to continue satisfying IP65, apply
seal
-
ing
tape to the connector conduit.
The
diameter of the cable must be
suited to the corresponding con
-
nector.
Properly attach the provided conduit cap to the unused conduit
opening and securely tighten the cap screw within a torque range
between 1.27 and 1.67 N Sm when wiring the D4DS two-conduit
model.
Recommended Connector
Size Manufacturer Model Suitable
cable
dia.
G1/2 OMRON SC-6
7.5 to 9.0 mm
LAPP
(see note 1)
ST-PF1/2
5360-1002
6.0 to 12.0 mm
Ohm Electric OA-W1609
7.0 to 9.0 mm
Pg13.5 LAPP
(see note 1)
ST13.5
5301-5030
5.0 to 12.0 mm
1/2-14NPT LAPP
(see note 1)
ST-NPT1/2
5301-6030
6.0 to 12.0 mm
Note: 1.
LAPP is a German manufacturer
.
2.
Ohm Denki is a Japanese manufacturer
.
Maintenance and Repairs
The
user must not maintain or repair equipment incorporating any
D4DS model. Contact the manufacturer of the equipment for any
maintenance
or repairs required.
The user must not maintain or repair equipment incorporating any
D4DS model. Contact the manufacturer of the equipment for any
maintenance
or repairs required.
ALL DIMENSIONS SHOWN ARE IN MILLIMETERS.
To
convert millimeters into inches, multiply by 0.03937. T
o convert grams into ounces, multiply by 0.03527.
Cat. No. C104-E1-2A
This manual suits for next models
10
Table of contents
Other Omron Switch manuals

Omron
Omron D4BL - User manual

Omron
Omron D40ML Series User manual

Omron
Omron D4N Series User manual

Omron
Omron Z User manual

Omron
Omron D2MQ Series User manual

Omron
Omron A165S - User manual

Omron
Omron A4E User manual

Omron
Omron ER6022 User manual

Omron
Omron A22LK Series User manual

Omron
Omron D4BL - User manual
Popular Switch manuals by other brands

ZyXEL Communications
ZyXEL Communications PMG5318-B20B quick start guide

Cisco
Cisco Cisco Small Business Unmanaged Switch SR2016 quick start guide

Infinitybox
Infinitybox 10-Circuit Kit installation guide

GRI
GRI PB-2020 Series quick start guide

Presentation Switchers
Presentation Switchers PS112 user guide

schmersal
schmersal AZ 200 AS operating instructions