CONSOLE INSTRUCTION MANUAL
Key Functions
START/STOP: 1. Start & Pauses workouts.
2. Start body fat measurement.
3.Operates only when in stop mode. Holding key for 3 seconds will reset all function value to
be zero.
DOWN: Decrease value of selected workout parameter: TIME, DISTANCE, etc. During the workout, it will
decrease the resistance load.
UP : Increases value of selected workout parameter. During the workout, it will increase the resistance load.
ENTER: To input desired value or work out mode.
TEST(PULSE、RECOVERY):Press to enter into Recovery function when computer has the heart rate
value. Recovery is Fitness Level 1-6 after 1 minute.F1 is the best, and F6 is the worst.
MODE: Press to switch display form RPM to SPEED, ODO to DIST , WATT to Calories during workout.
Workout Selection
After power-up using UP or DOWN keys to select then pressing ENTER to enter the desired mode.
Setting Workout Parameters
After selecting your desired program, you may pre-set several workout parameters for desired results.
WORKOUT PARAMETERS:
TIME / DISTANCE / CALORIES /AGE
Note: Some parameters are not adjustable in certain programs.
Once a program has been selected, pressing ENTER, will make “Time” parameter flash. Using UP OR
DOWN KEY you may select desired time value. Press ENTER KEY to input value. Flashing prompt will
move to the next parameter. Continue use of UP OR DOWN KEY . Press START/STOP to start workout.
More About Workout Parameters
Program Operation
Manual(P1)
Selecting “Manual” using UP OR DOWN KEY then pressing ENTER KEY . 1St parameter “Time” will flash
so value can be adjusted using UP OR DOWN KEY .Press ENTER KEY to save value & move to next
parameter to be adjusted.
Continue through all desired parameters, pressing START/STOP to start workout.
Note: One of workout parameters counts down to be zero, it will have bi sounds and stop the
workout automatically. Press START KEY to continue the workout to reach the unfinished
workout parameter.
Pre-programs (P2-P11)
There are 10 program profiles ready for use. All program profiles have 16 level of resistance.
Setting Parameters for Pre-programs
Selecting one of pre-programs using UP OR DOWN KEY then pressing ENTER KEY . 1St parameter
“Time” will flash so value can be adjusted using UP OR DOWN KEY .Press ENTER KEY to save value &
move to next parameter to be adjusted.
Continue through all desired parameters, pressing START/STOP to start workout.
Note: One of workout parameters counts down to be zero, it will have bi sounds and stop the
workout automatically. Press START KEY to continue the workout to reach the unfinished
workout parameter.
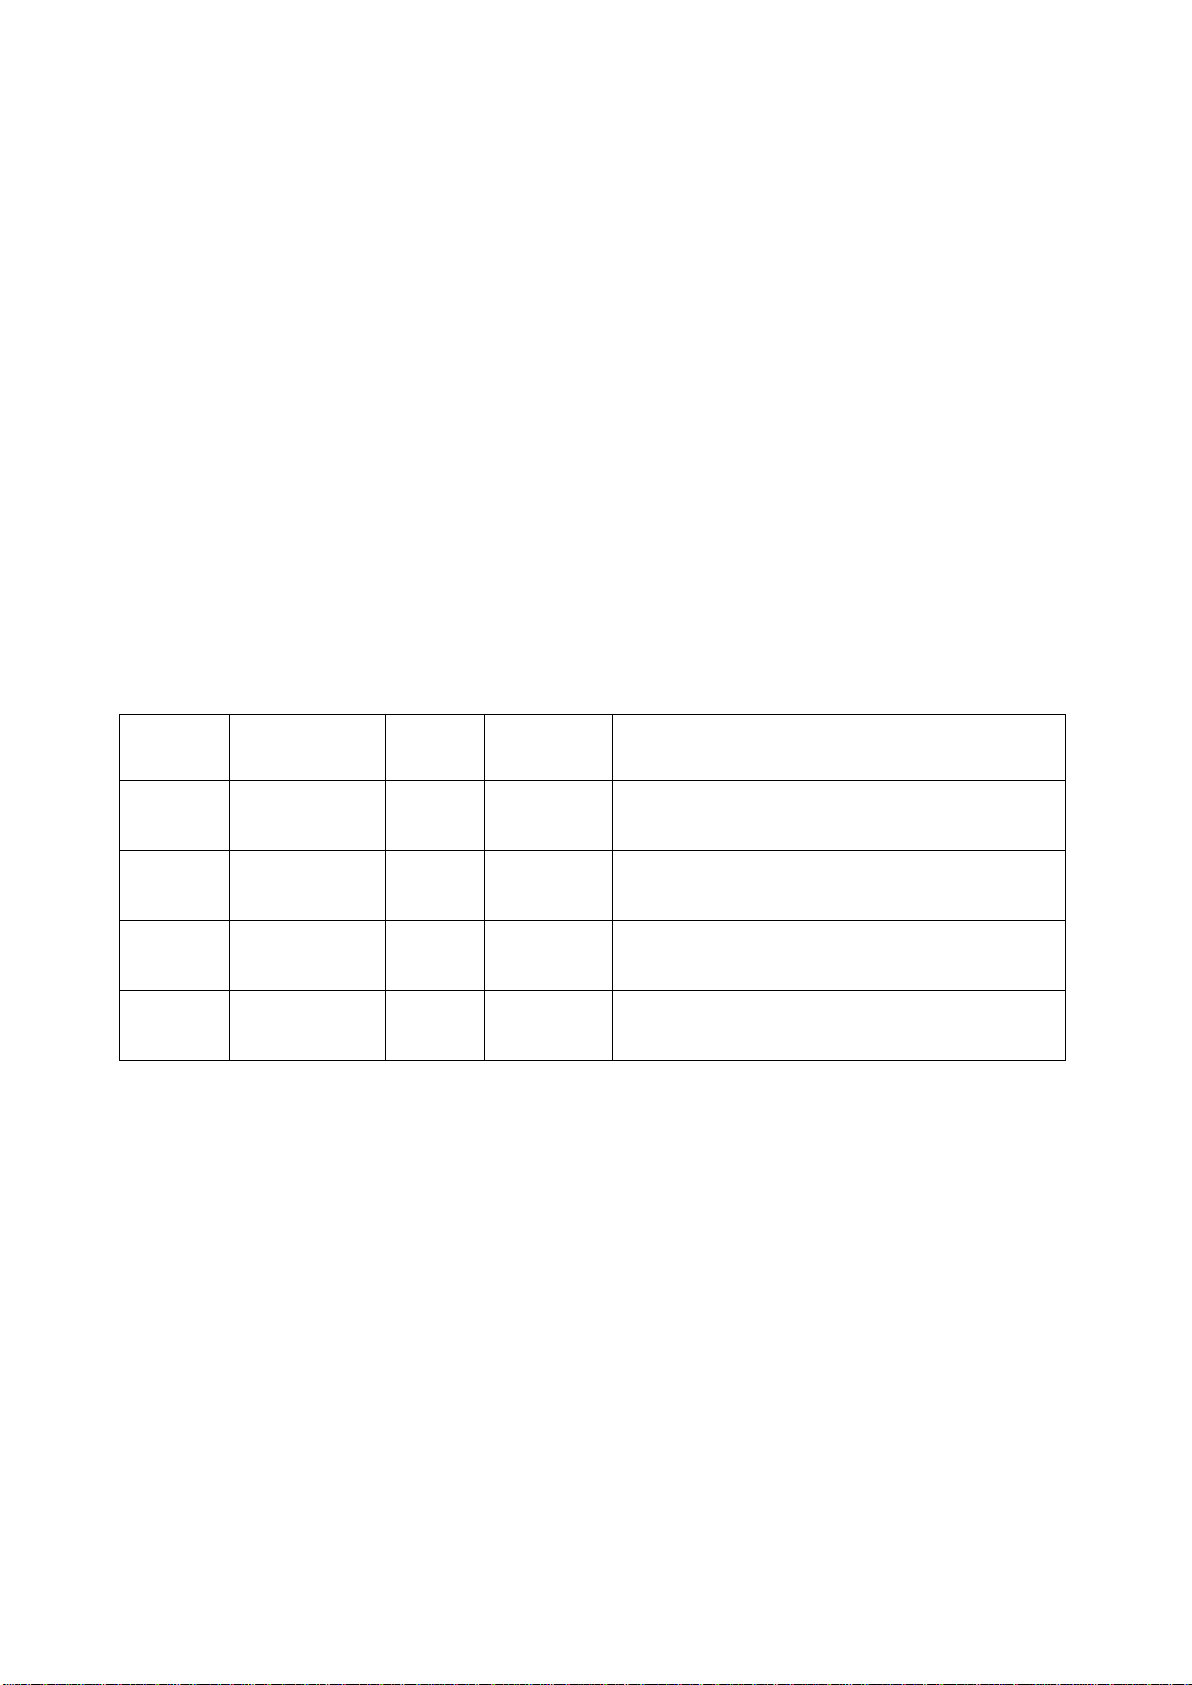
Field Setting
Range Default
value Increment/
Decrement Description
Time 0:00~99:00 00:00 ±1:00
When display is 0:00,Time will count up.
When Time is 1:00~99:00,It will count Down
Distance 0.00~999.0 0.00 ±1.0
1.When display is 0.0,Distance will count up.
2.When distance is 1.0~999.0,it will count
Calories 0~9990 0 ±10
When display is 0,Calories will count up.
2.When Calories is 10~9990,it will count
Age 10~99 30 ±1
Targe HR will be based on Age.When Heart
Rate exceeds Target H.R, the number of
Heart Rate will flash in programs.


 Service manual")