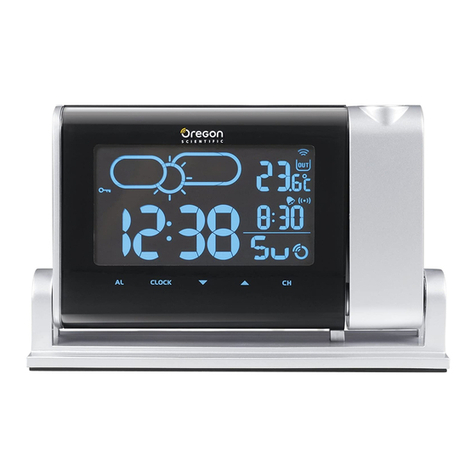
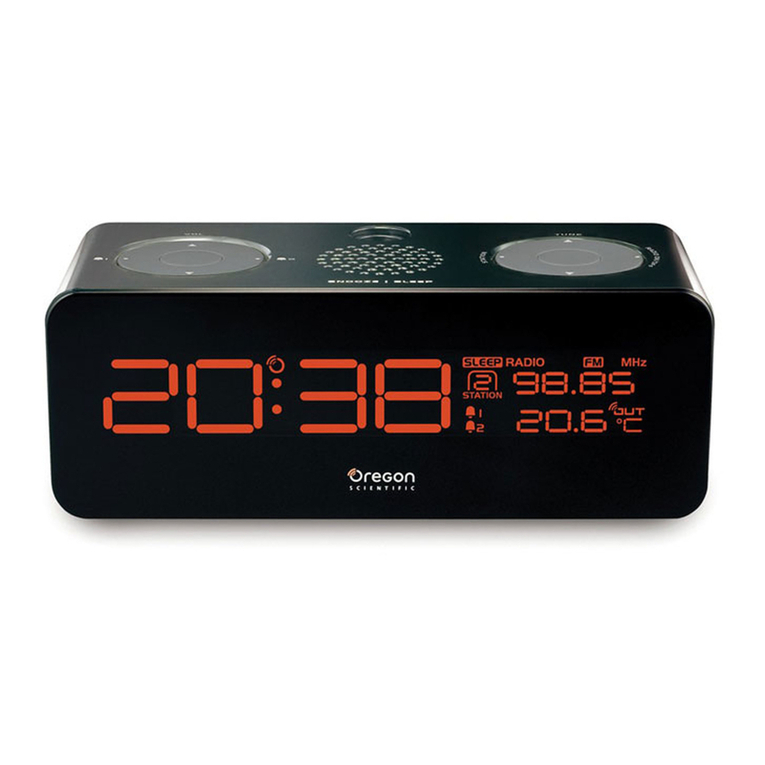
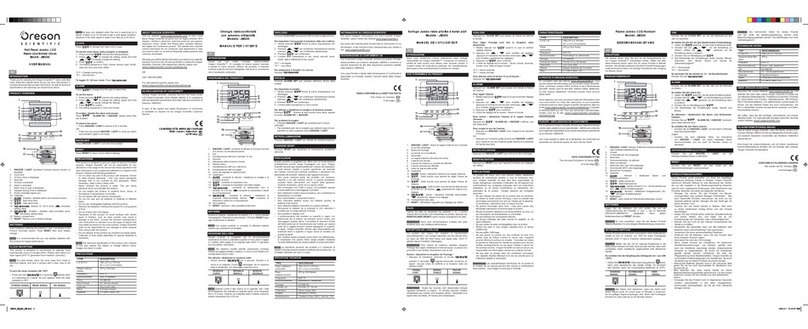
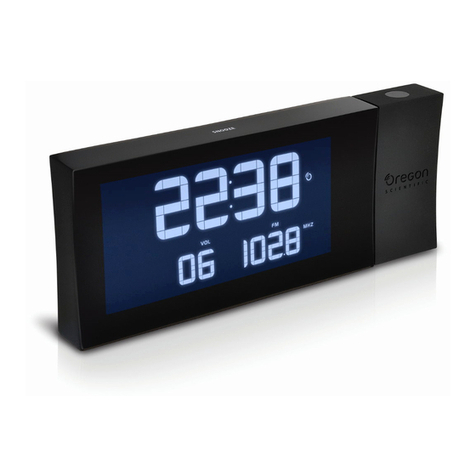
manuals.online logo
Brands
  1. Home
  2. •
  3. Brands
  4. •
  5. Oregon Scientific
  6. •
  7. Clock
  8. •
  9. Oregon Scientific RM888PA User manual

Oregon Scientific RM888PA User manual

1
GB
TRAVEL RADIO-CONTROLLED
PROJECTION CLOCK
MODEL: RM888PA
USER'S MANUAL
SECTION 1 INTRODUCTION
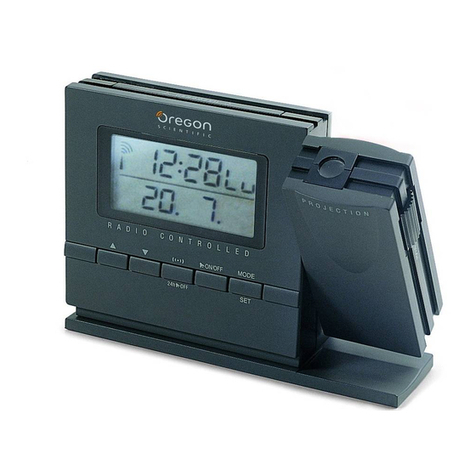
Congratulations on your purchasing the RM888PA RF Travel
Projection Clock.
The Travel Clock has a sli , co pact design i.e. ideal for travel.
The RM888PA is designed to auto atically synchronize its current
ti e and date when brought within range with the U.S.Ato ic
Clock.
The Travel Clock has features such as ti e with alar on/off status
projection, ultilingual day-of-the-week display, back-light, dual
clock displays (analog and digital), user-selectable default clock
display and 8- inute snooze function.
2
GB
G
J
I
H
1
B
3
2
C FDE
1
2
A
K
DC 7.5V
DISPLAY
A. DIGITAL CLOCK DISPLAY
1. Digital clock display
2. Alar -on indicator
B. ANALOG CLOCK DISPLAY
1. Analog clock display
2. Radio-reception icon
3. Alar -on indicator
CONTROL BUTTONS
C. [MODE] BUTTON
Press to change the display ode or press and hold to enter the
setting ode
D. [ALARM] BUTTON
Press to select the daily alar function or press and hold to
enter the setting ode
E. [▲] AND [▼] BUTTONS
Change the value of a setting
F. [SNOOZE/ ] BUTTON
Press to activate the snooze function or turn on the back-light
and projection
G. [RESET] BUTTON
Press to return all settings to default values
H. CLOCK DISPLAY [SWAP] BUTTON
Press to change the default display of the clock
I. [LOCK] SLIDE SWITCH
Locks the key-operation and protects the projection lens while
travelling
3
GB
J. [FOCUS] KNOB
Adjusts the focus of projection
K. .5 V DC JACK (with rubber-cover attached)
For AC power adapter installation
BEFORE YOU BEGIN
In order to operate this unit slide the [LOCK] to the left. This will
unlock the key-operation and expose the projection lens.
DC 7.5V
POWER
This unit can be either operated by batteries or AC power or with
both AC power and batteries.
DC 7.5V
Battery Installation:
1. Re ove the battery co part ent door.
2. Insert two AAA-sized (UM-4) 1.5V batteries as shown.
3. Press RESET.
4. Replace the battery co part ent door.
When the battery power level is low, the analog clock display will
start to blink. Replace the batteries or connect it with AC power
adapter and press RESET.
This unit is equipped with a short-ter power back-up feature. It
can still operate for a short period of ti e even after it has been
disconnected fro the power supply. Therefore, all settings can be
saved during battery replace ent. During this period, the analog
clock display will also blink. In this case, replace the batteries or
connect it with AC power adapter .
Note: Under nor al circu stances, the batteries are good for 1
year. However, the battery life can be vastly reduced by frequent
use of the projector or snooze function.
If not disposed of properly batteries can be har ful. Pro-
tect the environ ent by taking the exhausted batteries
to authorized disposal stations.
HOW TO ACTIVATE THE BACK-LIGHT
Press [SNOOZE/ ] to turn on the back-light for 5 seconds.
unlock lock
4
GB
HOW TO USE THE PROJECTION
At night-ti e the projection akes it easy to read the ti e and the
alar on/off status.
1. Slide the [LOCK] slide switch to expose the projection lens.
2. Press [SNOOZE/ ] to turn on the projection for 5 seconds.
The current ti e in digital for at (as shown in the analog clock
display) will be projected onto the surface that the lens is fac-
ing. The alar -on Indicator [ ] will also be projected if the
Alar is activated.
3. Adjust the projected i age using the [FOCUS] knob.
For continuous projection, you can also acquire an optional
universal power adapter fro an authorized dealer. When the power
adapter is connected to the unit, the clock projection will be acti-
vated. To keep the clock projection activated press and hold
[SNOOZE/ ] for 2 seconds. To deactivate the feature, press and
hold the snooze button for 2 seconds again or si ply re ove the
power adapter.
DC 7.5V
DC 7.5V
Note: Re e ber to leave the projection lens uncovered when the
continuous projection function is being activated.
When you are not using the clock projection feature, slide the
[LOCK] switch close in order to protect the lens and lock the keys.
SECTION 2
THE CALENDAR CLOCK
DEFAULT ANALOG CLOCK DISPLAY
You can select the local ti e or ho e ti e the radio-controlled
ti e as the default analog clock display by using [SWAP] switch
hidden inside the battery co part ent.When the local ti e is
selected or shown, the icon will be displayed.
DIGITAL DISPLAY MODES
Press [MODE] to display the following in sequence:
• Radio-Controlled Clock Ti e (sa e as the default analog clock
display) or Local Ti e.
• Day of the week
• Calendar (Month: Day or Day: Month for at)
• 2nd ti e-zone (Local or ho e ti e)
5
GB
Fig.1
Exa ple of Digital and Analog Display: (Fig.1)
Ho e-ti e
(Radio-controlled ti e)
- 12:55p (12:55)
Local-ti e
- 5:55p (17:55)
(hour offset = +5 hours)
To display the alar clock and details, press [ALARM]. The daily
alar ti e will appear in both the analog and the digital displays.
Exa ple:
ABOUT RADIO RECEPTION
The RM888PA will auto atically synchronize current ti e and
date with the signal broadcast by the US Ato ic Clock when the
product is in reception range of the signal. When the unit is new
and just out of the box, synchronization with the U.S. ato ic clock
can take upto 72 hours. The unit will receive the ost dependable
and interference free signal auto atically between Midnight and 4
AM.
When the unit is within range of radio signals, its radio-control
echanis will override all anual settings unless the signal re-
ception is anually deactivated.
6
GB
When it is receiving radio signal, the radio-reception icon [ ]
(strong signal) or [ ] (weak signal) will start to blink. A co -
plete reception generally takes about 2 to 10 inutes, depending
on the strength of the radio signal. After that, the periodical scan-
ning will take only a few seconds.
When the reception is co plete, the radio-reception icon will stop
blinking and the radio-controlled ti e will be displayed accord-
ingly.
Icon [•] will be displayed if such reception is not successful. To
enforce such reception again, press and hold [▲] for 2 seconds.
For better reception of radio signals, place the clock away fro
etal objects and electrical appliances to ini ize interference.
HOW TO ENABLE OR DISABLE
AUTO-RECEPTION
If you wish to disable radio signal auto-reception while the unit is within
range, press and hold [ ▼ ] button for 2 seconds.The radio-reception
icon on the analog clock display will disappear and the unit will NOT
respond to radio signals.
To enable the feature again, press and hold [▲] for 2 seconds. The radio-
reception icon will be shown again and the analog clock display will
start blinking to initiate radio signal reception.
HOW TO SET THE CALENDAR CLOCK
MANUALLY
1. Press and hold [MODE] for 2 seconds.
2. Enter the U.S. ti e-zone (Pacific [ ], Mountain [ ], Cen-
tral [ ] or Eastern [ ]) using [▲]/[▼].
3. Press [MODE].
4. Enter the clock for at using [▲]/[▼]. You can select 12-hour or
24-hour display.
5. Press [MODE].
6. Enter the hours using [▲]/[▼]. Hold down either button for 2
seconds to rapidly increase or decrease the value.
7. Press [MODE].
8. Enter the inutes using [▲]/[▼].
9. Press [MODE].
10. Set the 2nd ti e-zone off-set hour by entering the hour differ-
ence between the local ti e and ho e ti e. You can select be-
tween + 23 and - 23 hours.
11. Follow the sa e pattern to set the year, date for at ( onth-day
or day- onth), onth, day, and display language (English [E],
Ger an [D], French [F], Italian [I] or Spanish [S]) for day-of-
the-week.
EF DIS
Monday MON LUN MON LUN LUN
Tuesday TUE MAR DIE MAR MAR
Wednesday WED MER MIT MER MIE
Thursday THR JEU DON GIO JUE
Friday FRI VEN FRE VEN VIE
Saturday SAT SAM SAM SAB SAB
Sunday SUN DIM SON DOM DOM
7
GB
12. Press [MODE] to save the changes and exit. If changes are
ade during the process, the seconds will reset and start fro
zero.
The unit will also save all changes and return to nor al display
auto atically after the unit has been left idle for a inute or when
[ALARM] is pressed.
ABOUT THE ALARM
To set the alar ,
1. Press [ALARM] to enter the Alar ode.
2. Press and hold [ALARM] for 2 seconds.
3. Use [▲]/[▼] to enter the hours.
4. Press [ALARM].
5. Use [▲]/[▼] to enter the inutes.
6. Press [ALARM].
The alar will be auto atically activated. The icon will appear
on the digital display and the Alar -on icon will be displayed on
the analog display. To deactivate the alar , press [▲]/[▼] when
the alar ti e is displayed.
HOW TO USE THE DAILY ALARM
The alar will go off for 2 inutes in a two-step crescendo pattern.
The alar -on indicators will flash, the back-light and the clock
projection will be activated for 5 seconds. To ute the alar , press
any key. Pressing [SNOOZE/ ] will activate the snooze function.
SNOOZE FUNCTION
When the snooze function is activated, the alar will be uted
te porarily and set off again after 8 inutes. To disable the snooze
function, press [ALARM].
SECTION 3
ADDITIONAL INFORMATION
THE RESET BUTTON
The [RESET] button is used to enhance synchronization of signals
after battery replace ent or when the unit is operating in an
unfavorable way or alfunctioning. Use a blunt stylus to hold down
the button. All settings will return to their default values.
PRECAUTIONS
This product is engineered to give you years of satisfactory
service if you handle it carefully. Here are a few precautions:
8
GB
CUSTOMER ASSISTANCE
Should you require assistance regarding this product and its
operation, please contact our custo er care depart ent at 800-
853-8883 or via e ail at help [email protected] .
WARRANTY
This product is warranted to be free of anufacturing defects for a
period of 1 year fro date of retail purchase. Defective product
should be directed to the place of retail purchase for exchange.
Should this not be possible, contact our custo er care depart ent
for assistance and a return aterial authorization. No returns ay
be ade without a return authorization. Please retain your retail
receipt as you ay be asked to provide a copy of it for proof of
date purchased.
This warranty does not cover product subjected to abuse, isuse,
accidental da age or ta pering.
CAUTION
- The content of this anual is subject to change without
further notice.
- Due to printing li itation, the displays shown in this
anual ay differ fro the actual display.
- The contents of this anual ay not be reproduced without
the per ission of the anufacturer.
1. Do not i erse the unit in water.
2. Do not clean the unit with abrasive or corrosive aterials. They
ay scratch the plastic parts and corrode the electronic circuit.
3. Do not subject the unit to excessive force, shock, dust,
te perature or hu idity, which ay result in alfunction,
shorter electronic life span, da aged battery and distorted parts.
4. Do not ta per with the unit's internal co ponents. Doing so
will invalidate the warranty on the unit and ay cause
unnecessary da age. The unit contains no user-serviceable parts.
5. Only use fresh batteries as specified in the user's anual. Do
not ix new and old batteries as the old ones ay leak.
6. Always read the user's anual thoroughly before operating the
unit.
SPECIFICATIONS
Power : 2 pcs of UM-4 or AAA-size 1.5V
batteries
Power Adapter (Optional) : 7.5V DC
Weight : 2.75 oz.( 78g )
Di ensions ( ) : 3.94” x 2.36” x.79”
(100 x 60 x 20 )
Accessory : Leather pouch for carrying
Company Name: Oregon Scientific, Inc.
Address: 19861 SW 95th Place, Tualatin, Oregon 9 062, USA
Website address: www.oregonscientific.com

Other Oregon Scientific Clock manuals

Oregon Scientific PRYSMA R User manual

Oregon Scientific

Oregon Scientific PRYSMA R User manual

Oregon Scientific RM338P User manual

Oregon Scientific

Oregon Scientific RM338P User manual

Oregon Scientific RM998PS User manual

Oregon Scientific

Oregon Scientific RM998PS User manual

Oregon Scientific RM383PA - MANUAL 2 User manual

Oregon Scientific

Oregon Scientific RM383PA - MANUAL 2 User manual

Oregon Scientific JM889N User manual

Oregon Scientific

Oregon Scientific JM889N User manual

Oregon Scientific BAR368P User manual

Oregon Scientific

Oregon Scientific BAR368P User manual

Oregon Scientific RM988P User manual

Oregon Scientific

Oregon Scientific RM988P User manual

Oregon Scientific RM888PA User manual

Oregon Scientific

Oregon Scientific RM888PA User manual

Oregon Scientific rm318p User manual

Oregon Scientific

Oregon Scientific rm318p User manual

Oregon Scientific RM822 User manual

Oregon Scientific

Oregon Scientific RM822 User manual

Oregon Scientific RMR939P User manual

Oregon Scientific

Oregon Scientific RMR939P User manual

Oregon Scientific RM313PNFA User manual

Oregon Scientific

Oregon Scientific RM313PNFA User manual

Oregon Scientific JW108 User manual

Oregon Scientific

Oregon Scientific JW108 User manual

Oregon Scientific EMR801 User manual

Oregon Scientific

Oregon Scientific EMR801 User manual

Oregon Scientific DP100 User manual

Oregon Scientific

Oregon Scientific DP100 User manual

Oregon Scientific BAR339P User manual

Oregon Scientific

Oregon Scientific BAR339P User manual

Oregon Scientific PRYSMA RMR221P User manual

Oregon Scientific

Oregon Scientific PRYSMA RMR221P User manual

Oregon Scientific RMR682 User manual

Oregon Scientific

Oregon Scientific RMR682 User manual

Oregon Scientific TimeSphere RM382P User manual

Oregon Scientific

Oregon Scientific TimeSphere RM382P User manual

Oregon Scientific PROJI BAR369P User manual

Oregon Scientific

Oregon Scientific PROJI BAR369P User manual

Oregon Scientific RAR391P User manual

Oregon Scientific

Oregon Scientific RAR391P User manual

Oregon Scientific RM962A User manual

Oregon Scientific

Oregon Scientific RM962A User manual

Oregon Scientific JM200 User manual

Oregon Scientific

Oregon Scientific JM200 User manual

Oregon Scientific BAR332ES User manual
Oregon Scientific

Oregon Scientific BAR332ES User manual

Popular Clock manuals by other brands

Amano PIX-21 Operation manual

Amano

Amano PIX-21 Operation manual

Control Company 5125 instructions

Control Company

Control Company 5125 instructions

Clatronic MRC 832 P instruction manual

Clatronic

Clatronic MRC 832 P instruction manual

BALDR B0008STH Quick setup guide

BALDR

BALDR B0008STH Quick setup guide

Foster Refrigerator A1 34 70 quick start guide

Foster Refrigerator

Foster Refrigerator A1 34 70 quick start guide

Seiko Z120 user manual

Seiko

Seiko Z120 user manual

Hama Happy Dino 00186427 operating instructions

Hama

Hama Happy Dino 00186427 operating instructions

Marathon CL030068 Series user manual

Marathon

Marathon CL030068 Series user manual

evertz 5700MSC quick start guide

evertz

evertz 5700MSC quick start guide

Casio 3286 Operation guide

Casio

Casio 3286 Operation guide

LA CROSSE CLOCK Margaritaville 433-3841MV6T quick start guide

LA CROSSE CLOCK

LA CROSSE CLOCK Margaritaville 433-3841MV6T quick start guide

Casio 5155 Operation guide

Casio

Casio 5155 Operation guide

Breguel 3800 Instructions for use

Breguel

Breguel 3800 Instructions for use

König KN-CL30N manual

König

König KN-CL30N manual

Radio Shack 63-987 owner's manual

Radio Shack

Radio Shack 63-987 owner's manual

La Crosse Technology WS-8008U-IT user manual

La Crosse Technology

La Crosse Technology WS-8008U-IT user manual

La Crosse Technology 513-1429 Faqs

La Crosse Technology

La Crosse Technology 513-1429 Faqs

Amplicom TCL VIBE quick start guide

Amplicom

Amplicom TCL VIBE quick start guide

manuals.online logo
manuals.online logoBrands
  • About & Mission
  • Contact us
  • Privacy Policy
  • Terms and Conditions

Copyright 2025 Manuals.Online. All Rights Reserved.