manuals.online logo
Brands
  1. Home
  2. •
  3. Brands
  4. •
  5. Original BTC
  6. •
  7. Lighting Equipment
  8. •
  9. Original BTC Davey Lighting US-DP7684 User manual

Original BTC Davey Lighting US-DP7684 User manual

Exterior Bracket Light
Instruction Manual
US-DP7684/US-DP7685
US-DP7685
US-DP7684 US-DP7685/C
US-DP7684/C
Open your existing junction box (if you do not have one in the desired position you will need to get an electrician to
install one). If removing an existing fitting first, note all wiring connections: record which of the house wires is
connected to the live (hot), neutral and earth (ground) terminals.
In your junction box there should be two supply wires and one ground wire. Connect your new lamp to the electrical
supply using UL approved wire nuts. Connect the live (hot) black wire from the power supply to either of the white
conductors from the lampholder, then the white (neutral) wire to the other white conductor on the luminaire cable
and bare copper or green/yellow ground wire to the ground terminal or green/yellow wire connected to the fitting.
Support the fitting so that no strain is applied to the wiring when making the electrical connections. If necessary get
a colleague to help.
Safety & Installation Instructions
MADE IN BRITAIN
ORIGINALBTC.COM
+44 (0)1993 882 251
UNIT 21 / 22 AVENUE ONE, STATION LANE, WITNEY, OX28 4XZ, ENGLAND
Established in 1990, Original BTC manufactures relaxed, familiar lighting for traditional and contemporary homes.
All products are hand-assembled in Oxford from high quality components, produced in the UK.
v1.2-11.18
Other Important Information
Switch off at mains before changing lamp(s). Never fit a lamp of greater wattage than recommended. Ensure children do not
play with the light fitting. Dispose of old lamps carefully. Never leave a fitting without a lamp in position (or someone can
accidently touch the contacts). If the electrical flex or electrical components become damaged at any point, power to the fitting
should be disconnected immediately and not operated until the damaged parts are fixed/replaced.
Cleaning and Maintenance
Metal finishes should only be cleaned with a soft, dry cloth. Do not use polishes or abrasives. Switch off power to the fitting
before cleaning.
Ensure that the electrical supply is OFF. Disconnect the electrical supply at the fuse-board.
If removing an existing fitting first, note all wiring connections: record which of the house wires is connected to the live
(hot), neutral and earth (ground) terminals.
Carefully identify where the supply cable is (and check there are no other cables in the area) to avoid damage to concealed
wiring during installation.
Position the light where desired ensuring that there is is access to a suitable junction box for the fixture and suitable
support adjacent to where you will connect to the house supply and mark position of fixing holes, before drilling
appropriate holes as below.
a. Brick or masonry: Drill holes into which the wall plugs tightly fit, then insert wall plugs.
b. Wood: No hole necessary (unless small pilot hole required), screws can be screwed directly into the timber.
c. Plaster/Cavity: Special cavity wall fittings are required, rather than provided fixings.
Open your existing junction box (if you do not have one in the desired position you will need to get an electrician to
install one). In your junction box there should be two supply wires and one ground wire. Connect your new lamp to the
electrical supply using UL approved wire nuts. Connect the live (hot) black wire from the power supply to the black
conductor on the luminaire cable, then the white (neutral) wire to the white conductor on the luminaire cable and bare
copper or green/yellow ground wire to the ground terminal or green/yellow wire connected to the fitting.
Support the fitting so that no strain is applied to the wiring when making the electrical connections.
Double check all the connections are secure, no wires are trapped behind or within the fitting and complete the
installation, screwing the fitting to the wall, over your junction box.
Fit the correct type and wattage of bulb, referring to guidance inside. Do not overtighten bulb.
Switch on at the fuse-board. Your light fitting is now ready for use.
1
2
3
4
5
6
7
8
9
L
N
Live (Hot)
KEY
Neutral
Earth
L =
N =
=
*Mains
Supply
Fitting
BLACK
GRN/YEL
WHITE
BLACK
*
WHITE *check installation
ENG WARNING – RISK OF FIRE AND ELECTRIC SHOCK. THIS PRODUCT IS BEST INSTALLED BY A QUALIFIED ELECTRICIAN.
INSTALL IN ACCORDANCE WITH CURRENT NEC WIRING REGULATIONS.
SUITABLE FOR DAMP LOCATIONS
THE FITTING MUST BE GROUNDED. TURN OFF POWER AT THE MAIN FUSE BEFORE COMMENCING INSTALLATION.
FR ATTENTION – RISQUE D’INCENDIE, RISQUE DE CHOC.
CE PRODUIT DOIT ÊTRE INSTALLÉ SELON LE CODE D’INSTALLATION PERTINENT, PAR UNE PERSONNE QUI CONNAÎT
BIEN LE PRODUIT ET SON FONCTIONNEMENT AINSI QUE LES RISQUES INHÉRENTS.
CONVIENT AUX EMPLACEMENTS HUMIDES
L’APPAREIL DOIT ÊTRE MIS À LA TERRE. COUPEZ LE FUSIBLE PRINCIPAL AVANT DE COMMENCER L’INSTALLATION.
LAMP GUIDANCE
TYPE* WATTAGE**
BASE SHAPE
Exterior Bracket Light 7684/7685
PLEASE READ THE INSTRUCTIONS ON THE REVERSE BEFORE YOU BEGIN INSTALLING YOUR LIGHT
120V ac 60Hz Installation DiagramIP54
US-DP7684 Exterior Bracket Light
US-DP7685 Exterior Bracket Light
US-DP7684/C Exterior Bracket Light Canted Arm
US-DP7685/C Exterior Bracket Light Canted Arm
Contents
1 - Backplate/Arm/Pan assembly
2 - Wingnut*
3 - Wide Gasket
4 - Narrow Gasket
5 - Ring (7684)/Reflector (7685)
and swing bolt
6 - Well Glass
7 - 2 x Fixing screws
8 - 2 x Rawl plugs
Required for Installation
-Screwdriver, flat-head
- Small screwdriver, flat-head
- Drill (if holes are required)
- Wire nuts (9)
- Junction box (10) Installation and Assembly Instructions
1
2
3
4
5
6
7 8
Wide gasket Narrow gasket
*Wingnuts secure pan/reflector and well glass in place. DO NOT overtighten.
Loosen to allow removal of the pan/reflector and glass when re-lamping
If light is to be installed in an exterior location, it is advised that a thin bead of sealant is applied around the back
plate to prevent water damage.
E26 A BALL
LAMP GUIDANCE
TYPE* WATTAGE**
BASE SHAPE




INCANDESCENT
CFL
ECO-HALOGEN
LED
60W MAX
15W
28W
12W
* Warm white (2700k) low energy lamps recommended.
** Wattage value provided as a guide to suitable lamps. Lower wattage than stated may be used.
STEP 1
STEP 2
STEP 2
Key
A - Bracket Light
B - Wire nuts
C - Main supply
D - Junction box*
E- Rawl plugs (if necessary)
F - Fixing screws
*not supplied
A B C
F
D
D
E
D
Make electrical installation, following points 6-8 overleaf, then fix backplate to wall.
STEP 3
Assemble the rest of the light, following the diagram on the opposite page.
- Ensure the wide gasket (the one with the smaller inner hole) fits into the top of the pan (next to lampholder).
- Ensure the narrow gasket is positioned under the lip of the glass (and above reflector).
- Having inserted a light bulb, position the glass in the pan and then secure in place by attaching the reflector
STEP 1
Mark fixing holes for fixing screws- following point 4 & 5 overleaf.
9
10

This manual suits for next models

3

Other Original BTC Lighting Equipment manuals

Original BTC Hatton 3 User manual

Original BTC

Original BTC Hatton 3 User manual

Original BTC Stirrup FF523 User manual

Original BTC

Original BTC Stirrup FF523 User manual

Original BTC Stirrup US-FF523 User manual

Original BTC

Original BTC Stirrup US-FF523 User manual

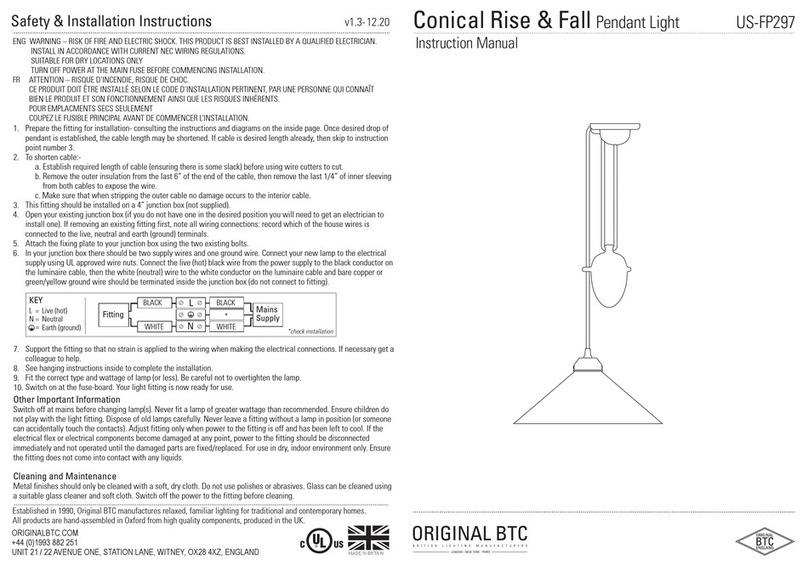
Original BTC US-FP297 User manual

Original BTC

Original BTC US-FP297 User manual

Original BTC Hugo FT417 User manual

Original BTC

Original BTC Hugo FT417 User manual

Original BTC Ginger FT082 User manual

Original BTC

Original BTC Ginger FT082 User manual

Original BTC Cecil FT554 User manual

Original BTC

Original BTC Cecil FT554 User manual

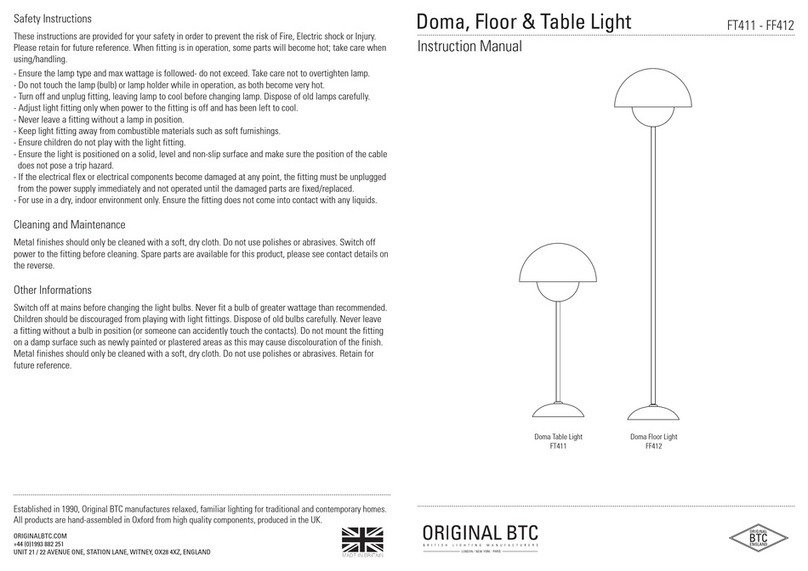
Original BTC Doma FT411 User manual

Original BTC

Original BTC Doma FT411 User manual

Original BTC DAVEY LIGHTING 7202 User manual

Original BTC

Original BTC DAVEY LIGHTING 7202 User manual

Original BTC Primo Table User manual

Original BTC

Original BTC Primo Table User manual

Original BTC Alma US-FF701N User manual

Original BTC

Original BTC Alma US-FF701N User manual

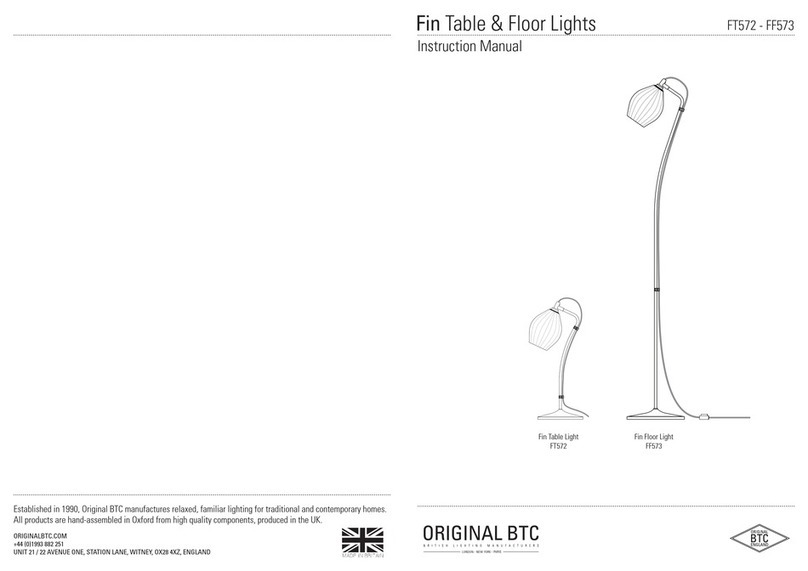
Original BTC Fin FT572 User manual

Original BTC

Original BTC Fin FT572 User manual

Original BTC 7600 User manual

Original BTC

Original BTC 7600 User manual

Original BTC Alma US-FW703 User manual

Original BTC

Original BTC Alma US-FW703 User manual

Original BTC Davey Lighting DP7238 User manual

Original BTC

Original BTC Davey Lighting DP7238 User manual

Original BTC Chester FT580 User manual

Original BTC

Original BTC Chester FT580 User manual

Original BTC FW363 User manual

Original BTC

Original BTC FW363 User manual

Original BTC Pillar 7214 User manual

Original BTC

Original BTC Pillar 7214 User manual

Original BTC Hector User manual

Original BTC

Original BTC Hector User manual

Popular Lighting Equipment manuals by other brands

Life 39.9TSS0518N user manual

Life

Life 39.9TSS0518N user manual

Piscines Magiline FX30 installation manual

Piscines Magiline

Piscines Magiline FX30 installation manual

Event Lighting PAR12X8L user manual

Event Lighting

Event Lighting PAR12X8L user manual

Unimotion MTJ Series Maintenance- and Assembly Instructions

Unimotion

Unimotion MTJ Series Maintenance- and Assembly Instructions

Ferno PXB user manual

Ferno

Ferno PXB user manual

OVE IVY 48 installation manual

OVE

OVE IVY 48 installation manual

Newskill MYTHOS quick guide

Newskill

Newskill MYTHOS quick guide

Dexter Laundry REED manual

Dexter Laundry

Dexter Laundry REED manual

Waldmann ROCIA.planar RPD 1700 Instructions for use

Waldmann

Waldmann ROCIA.planar RPD 1700 Instructions for use

Bestway InflateYourFun 58046 owner's manual

Bestway

Bestway InflateYourFun 58046 owner's manual

Anslut 001-796 operating instructions

Anslut

Anslut 001-796 operating instructions

Velux ZTL installation instructions

Velux

Velux ZTL installation instructions

Portfolio C9142 Specification sheet

Portfolio

Portfolio C9142 Specification sheet

GAME OF BRICKS Mos Eisley Cantina instruction manual

GAME OF BRICKS

GAME OF BRICKS Mos Eisley Cantina instruction manual

Tecsis F3203 operating instructions

Tecsis

Tecsis F3203 operating instructions

Daktronics VF-2100 DISPLAY MANUAL

Daktronics

Daktronics VF-2100 DISPLAY MANUAL

Cree TDS Series installation instructions

Cree

Cree TDS Series installation instructions

Bayrol Automatic pH Instructions for use

Bayrol

Bayrol Automatic pH Instructions for use

manuals.online logo
manuals.online logoBrands
  • About & Mission
  • Contact us
  • Privacy Policy
  • Terms and Conditions

Copyright 2025 Manuals.Online. All Rights Reserved.