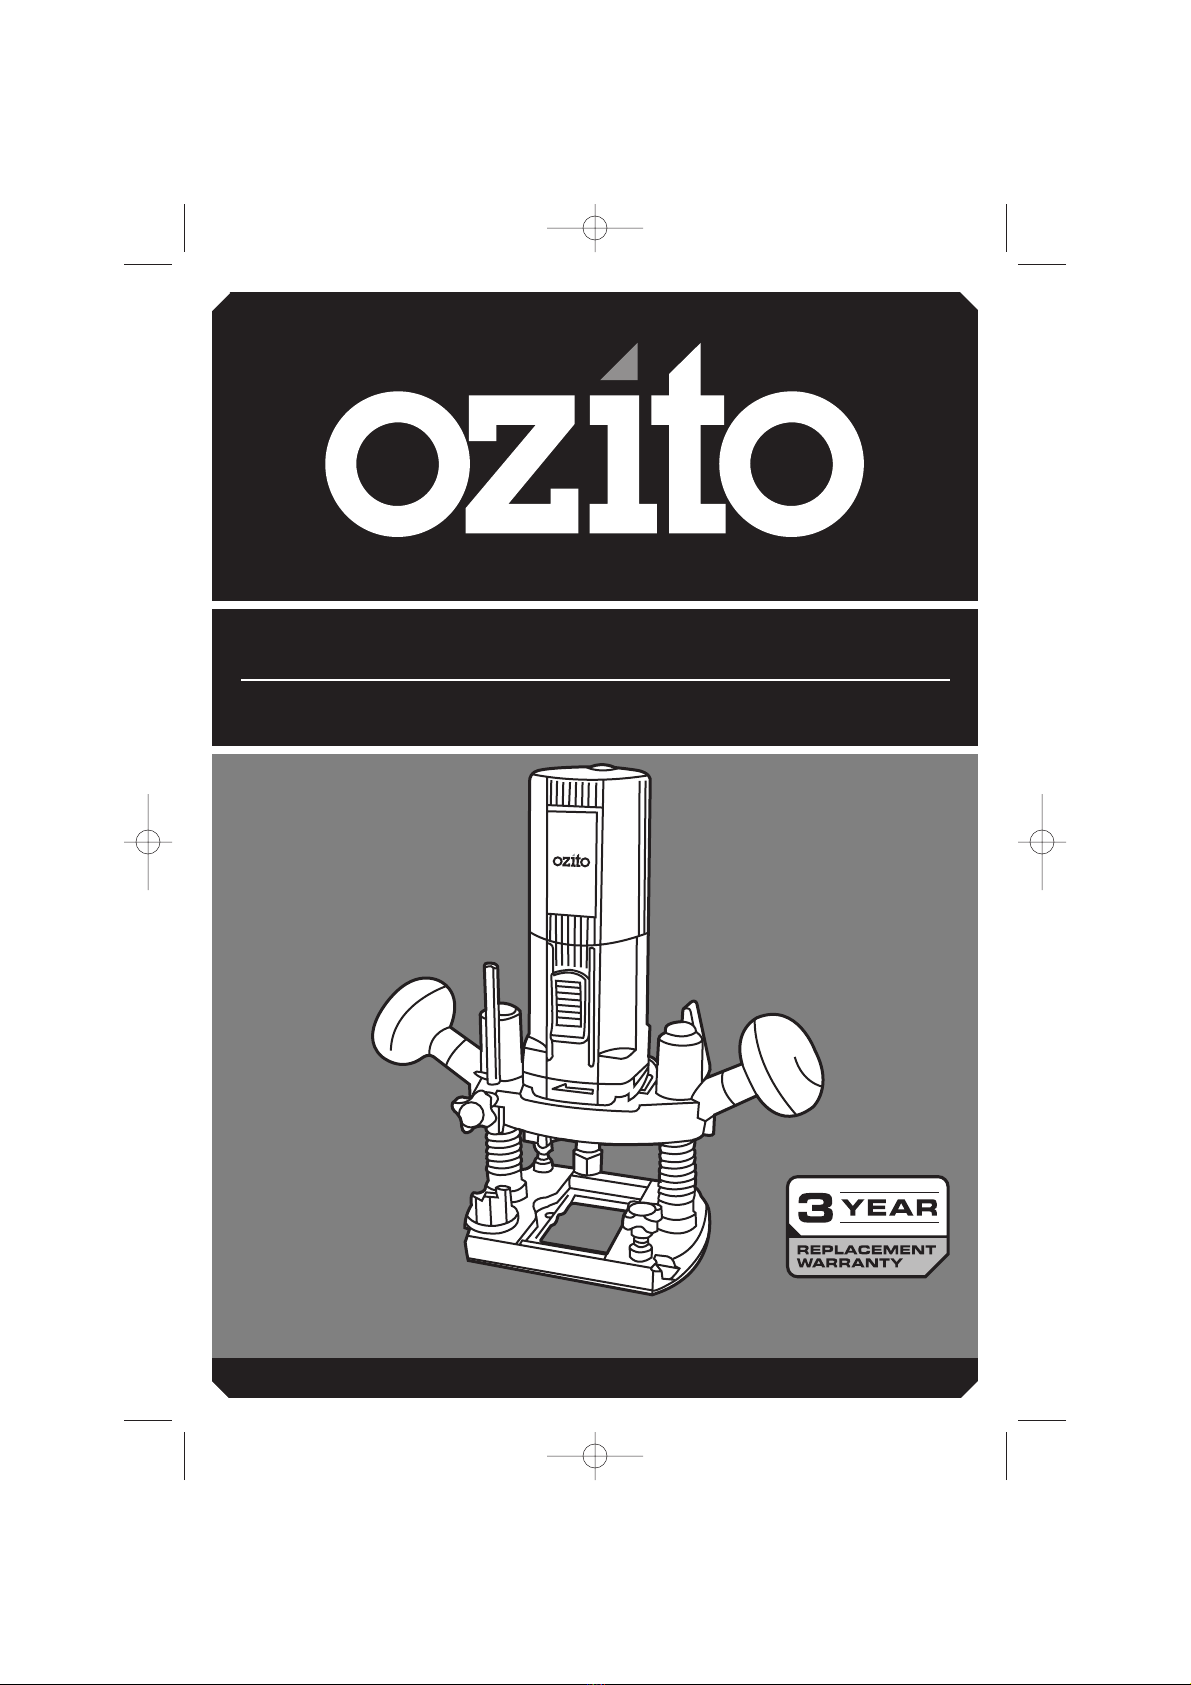
Plunge Lock Lever
The plunge lock lever must first be pulled down in order to then change the
position of plunge up or down. Once the plunge depth is set in the required
position release the lever and it will automatically lock the plunge depth in place.
The plunge lock lever itself is adjustable. To place the lever in a position with which
you are more comfortable; remove the screw, pull the lever out and then replace it
in the preferred position. Retighten the screw.
Setting the Speed
Your router is provided with a variable speed control to greatly increase the versatility
of the tool. This can be used to adjust the rotational speed of the bit to its size and
the material being worked on. The control is located on the top face of the machine.
Use higher speeds for small diameter router bits and lower speeds for larger
diameter router bits.
Note: Do not run the tool at low speeds for extended periods without occasionally
running at high speed with no load. At lower speeds the fan (within the motor) does
not cool the motor as effectively as it does at higher speeds and the motor may
over heat.
Using a Batten as a Guide
When it is not possible to use the straight guide fence, for example when routing
grooves in the back panel of a bookcase to support shelves, proceed as follows:
• Place a batten onto the work piece.
• Move the batten until it is in the correct position to guide the tool.
• Securely clamp the batten to the work piece.
Using the Template Guide
The template guide can be used to make a cut-out shape from a template, for
instance a letter. You will need to purchase or make a template.
• Secure the template over the work piece with double-sided tape
or “G” clamps.
• The router bit must extend below the flange of the template guide to cut the
work piece in the shape of the template.
Using the Centring Pin
The centring pin can be used to cut out circular patterns.
• Drill a hole for the point of the centring pin in the centre of the circle to be cut.
• Place the router on the work piece with the point of the centring pin in the drilled hole.
• Adjust the radius of the circle with the bar of the straight guide fence.
• The router can now be moved over the work piece to cut out the circle.
Switching On and Off
Your router starts and stops by depressing the On / Off slide switch located on the
body of the tool. Push the switch down to start down router; it will lock into place,
allowing you to remove your finger while the router remains in operation. Always
ensure you are holding the router tightly before turning it on. To turn the router off,
simply push the rear of the switch and it will return to the off position.
8
OPERATION