Installation instruction Jet Swim 2000
Liner pool
N.B. The start hose must be placed in a
loop 150-200 mm above the water surface.
a licenced electrician
Concrete pool
N.B. The start hose must be placed in a
loop 150-200 mm above the water surface.
a licenced electrician
N.B.!
Important!
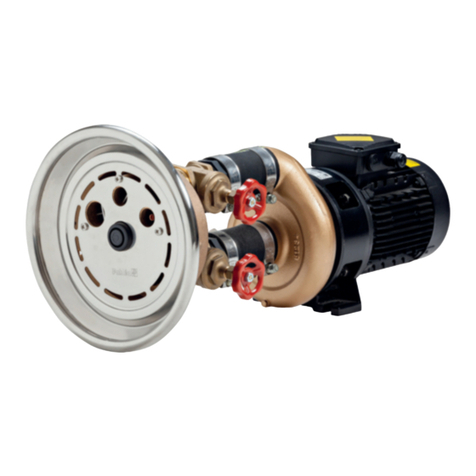
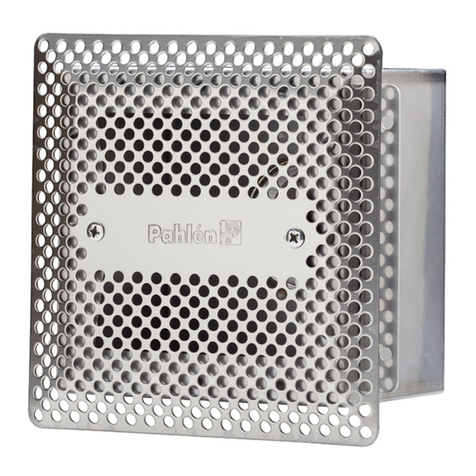
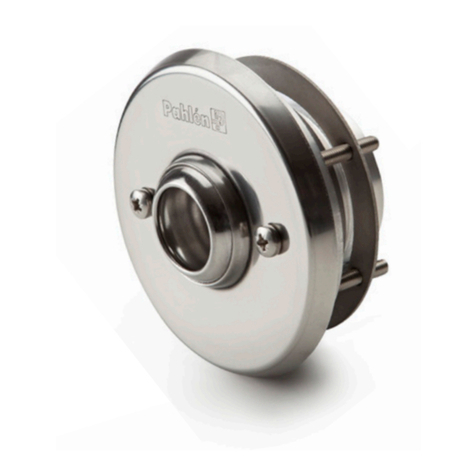
1. Remove the stainless steel front plate and cut out the pool wall according to the hole pattern. The
center of the Jet Swim housing must be a minimum of 170 mm below the water surface.
2. Install the Jet Swim housing in the pool wall. Fix the self-adhesive packing on the bronze part.
3. Install the liner and fill up with water. When the water level is 5 cm below the Jet Swim housing, screw
the flange and the rubber seal against the Jet Swim housing. Cut away the liner from the inside of the
flange and install the air button for start and the stainless steel front plate.
4. Connect the hose for the air injection and tighten the hose clamp. Fasten the opening of the hose 100
mm above the water surface behind the pool wall.
5. Attach the start hose to the contactor cabinet of the pump.
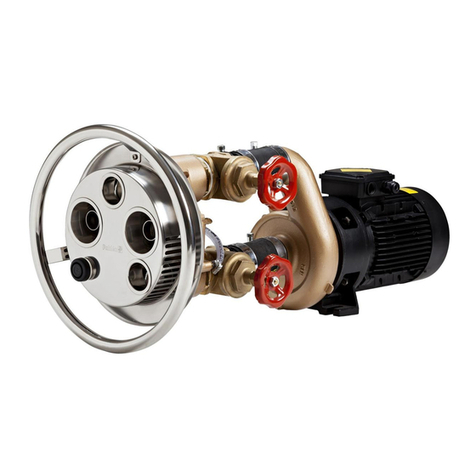
6. Attach tubes and valves to the pump according to sketch. The threads are to be sealed with thread
tape.
7. The electric installation must be done by and shall have a ground fault relay.
8. Open the valves and start the pump with the air button on the stainless steel front.
9. The water flow is controlled by the handle above the nozzles. Air can be added to the water jets by the
handle below the nozzles.
1. Remove the stainless steel front plate and install the Jet Swim housing in the mould. The finished pool
wall should be in line with the flange on the bronze housing. The center of the Jet Swim housing must be
a minimum of 170 mm below the water surface.
2. Install the non leak flanges for the suction and pressure connections and the non leak flanges for the
air injection and start hose (protective hose), before casting. The threads are to be sealed with thread
tape.
3. Install the stainless steel front plate after the casting. The start hose for the air button should be
installed before the stainless steel front.
4. Connect the hose for the air injection and tighten the hose clamp. Fasten the opening of the hose 100
mm above the water surface behind the pool wall.
5. Attach the start hose to the contactor cabinet of the pump.
6. Attach tubes and valves to the pump according to sketch. The threads are to be sealed with thread
tape.
7. The electric installation must be done by and shall have a ground fault relay.
8. Open the valves and start the pump with the air button on the stainless steel front.
9. The water flow is controlled by the handle above the nozzles. Air can be added to the water jets by the
handle below
the nozzles.
- The jet is strong - do not go closer than 0,5 m from the jet outlet.
- The suction of the pump is the punched openings beneath the stainless steel front. Avoid hair
contacting the suction inlet, as long hair can be drawn into the inlet.
- Small children and infants must not be in the pool when the Jet Swim is in operation.
- Before starting the Jet Swim, be sure to inform other people close to the Jet Swim.
- If there is any risk of freezing: close the valves, dismantle and drain the pump.
Lower the water level to about 10 cm below the Jet Swim housing to avoid freezing damage to the built-
in unit.
Store the pump indoors and in a dry place.
The water must not be aggressive. Follow the instructions stated below:
Chlorine content: max 3 mg/l (ppm)
Chloride content: max 150 mg /l
pH-value: 7,2 - 7,8
Alkalinity: 60-120 mg/l (ppm)
Calcium hardness: 200-1000 mg/l (ppm)
For concrete pools with liner, install according to point 1 - 2 for concrete pools and point 3 - 8 for liner
pools.

