manuals.online logo
Brands
  1. Home
  2. •
  3. Brands
  4. •
  5. Panduit
  6. •
  7. Tools
  8. •
  9. Panduit MEHT User manual

Panduit MEHT User manual

© Panduit Corp. 2006
PA24578A01
Rev. 04 7-2006
METAL EMBOSSING HAND TOOL
OPERATION INSTRUCTIONS
For Technical Support:
888-506-5400, ext. 3255
Fax: 630-759-7532
Website: www.panduit.com
E-mail: [email protected]
MEHT
A. Tape cassette door
B. Tape rollers
C. Tape advance knob
D. Start line
E. Tape pawl
F. Embossing handle
G. Embossing wheel
H. Character selection window
I. Cutting handle
J. Embossing adjustment screw
K. Cable tie slot entrance
L. Tape exit/Cutting assembly
M. Trailer length guide
MEHT
OPERATION INSTRUCTIONS
Page: 1 of 14
MEHT
OPERATION INSTRUCTIONS
Page: 2 of 14
About Your New Labelmaker
With your new
PANDUIT
MEHT labelmaker,
you can create a wide variety of aluminum and
stainless steel labels. The labelmaker uses
1/2" (12 mm) label tape. Aluminum and
stainless steel tapes are available as follows:
•META-X: 1/2" x 16 ft. (12.6mm x 4.9m)
aluminum tape
•METS4-X: 1/2" x 21 ft. (12.6mm x 6.4m)
304 grade stainless steel tape
•METS3-X: 1/2" x 21 ft. (12.6mm x 6.4m)
316 grade stainless steel tape
You can also use a Reverse Image Wheel with
the
PANDUIT
MEHT labelmaker. This wheel
allows you to print mirror script labels that
meet special requirements in the industry.
Mirror labels are used on moulds or casts for
metal or rubber injection, silicon casting, fiber
glass applications, and so on.
Visit www.panduit.com for information on
obtaining tapes and accessories for your label-
maker.
MEHT
OPERATION INSTRUCTIONS
Page: 3 of 14
Loading the Label Tape
The
PANDUIT
MEHT is set to emboss non-
adhesive aluminum or stainless steel tape.
To load the tape roll
1. Hold the labelmaker in your left hand.
2. Open tape door (A).
3. Insert roll of tape allowing the end to
extend about 2" (5 cm) through the tape
slot.
4. Close the tape door.
5. Feed the tape between the two rollers (B).
6. Squeeze the embossing handle (F) half-
way (one click) several times to ensure
the tape is inserted all the way.
F
A
B
Cutting the Tape
To cut the tape
1. Squeeze the embossing handle half-way,
several times until the tape extends from
the front of the cutting assembly (M) by at
least 1" (2.5cm).
Note: Before cutting the tape, make
sure the end of the tape extends
beyond the edge of the cutting
assembly so you can easily pull the
label out. Otherwise, a tape jam may
occur.
2. Lift the cutting handle (I) gently until it is
vertical to cut the tape.
Page: 4 of 14
MEHT
OPERATION INSTRUCTIONS
MEHT
OPERATION INSTRUCTIONS
Page: 5 of 14
Embossing the Label
Avoid turning the embossing wheel at
the same time you are squeezing the
embossing handle. This can damage
the character wheel.
To emboss a label
1. Turn the character selection wheel (G)
until the desired letter is centered in the
window (H).
2. Squeeze the embossing handle (F) firmly.
3. Release the embossing handle fully
before selecting the next character.
To add space between words
•Squeeze embossing handle (F) half-way
(one click) or turn the tape advance knob
clockwise (one click per space).
MEHT
OPERATION INSTRUCTIONS
Page: 6 of 14
Embossing on Stainless Steel Tape
You may need to adjust the labelmaker to
emboss properly when using stainless steel
tape.
To adjust for stainless steel tape
1. Turn the adjustment screw (J) clockwise
1/2 to 3/4 turn.
2. Emboss the text as described in
"Embossing the Label" on page 5. When
you return to using aluminum tape, you
may need to reverse this adjustment.
Retracting the Tape
You may want to retract the tape, for example,
if the tape advanced too far or to center the
text on the label.
To retract the tape
1. Pull back the pawl (E).
2. Turn the tape advance knob (C) counter-
clockwise.
MEHT
OPERATION INSTRUCTIONS
Page: 7 of 14
Removing the Tape
To remove the tape
1. Retract the tape as described in
"Retracting the Tape" on page 7.
2. Open the tape cassette door (A) and
remove the tape.
Use caution when removing stainless
steel tape that may have sharp
edges.
3. Reload the tape as described in "Loading
the Label Tape" on page 3.
Page: 8 of 14
MEHT
OPERATION INSTRUCTIONS
A
Centering the Text on the Label
The leader/trailer length guide (M) has
positioning marks for a short (S) or long label
(L). Use the marks on the guide to center the
text on your label.
To center the text on a long label
1. After cutting the previous label, emboss
the text on a new label.
2. Pull the leader/trailer length guide (M) to
the forward position.
3. Advance the tape until the last embossed
letter is opposite the L on the guide. The
label has a leader/trailer of approximately
2" (5 cm) and the text is centered.
4. Lift the cutting handle (I) to the vertical
position to cut the tape.
MEHT
OPERATION INSTRUCTIONS
Page: 9 of 14
M
MEHT
OPERATION INSTRUCTIONS
Page: 10 of 14
To center the text on a short label
1. Retract the tape until the tape edge is at
start line (D).
2. Emboss the text on your label.
3. Advance the tape until the last embossed
letter is opposite the S on the guide. The
label has a leader/trailer of approximately
1.5" (3 cm) and the text is centered.
4. Lift the cutting handle (I) to the vertical
position to cut the tape.
Page: 11 of 14
MEHT
OPERATION INSTRUCTIONS
Punching Cable Tie Slot in Labels
You can punch a cable tie slot in one or both
ends of the label, then label can be attached
using ties. Cable tie slot accommodates
PANDUIT
stainless steel ties:
•MLT-S: .18" width (4.6mm)
•MLT-LH: .25" width (6.4mm)
•MLT-H: .31" width (7.9mm)
1. Insert one end of the cut label into the
cable tie slot (K) with the letters facing
down. The letters must face down to
ensure the bridge of the slot is on the
same side of the label as the characters.
I
K
Make sure to allow enough room for
the tie-buckle before and/or after the
letters. A cable tie slot positioned on
top of the characters or a punched
hole may cause the tape to jam.
2. Lift the cutting handle (I) to the vertical
position to punch the slot.
MEHT
OPERATION INSTRUCTIONS
Page: 12 of 14
Page: 13 of 14
MEHT
OPERATION INSTRUCTIONS
Changing the Wheel
You can replace the character wheel with a
Reverse Image Wheel.
To change the wheel
1. Remove the label tape.
2. Unscrew the screw in the center of the
embossing wheel (G) and remove the
wheel.
3. Position the new wheel.
4. Insert the screw in the center and tighten.
Do not tighten the screw too tightly.
G
MEHT
OPERATION INSTRUCTIONS
Page: 14 of 14
Hints for Trouble Free Operation
Keep the following in mind when using the
labelmaker:
•Letters appear where you want spaces -
You are probably squeezing the
embossing handle too hard.
•Letters overlap - The tape is slipping. This
can happen when dirt or grease gets on
the rollers. Clean the rollers by using a
soft cloth and alcohol, while turning the
tape advance knob back and forth several
times.
•Avoid turning the embossing wheel at the
same time you are squeezing the
embossing handle. This can damage the
character blades.
•When punching a cable tie slot, make
sure the label is well inserted and abutted
against the end of the slot. If the label is
not inserted to the end, tape jam may
occur.

Other Panduit Tools manuals

Panduit BT75SDT User manual

Panduit

Panduit BT75SDT User manual

Panduit PTS User manual

Panduit

Panduit PTS User manual

Panduit PPTEH User manual

Panduit

Panduit PPTEH User manual

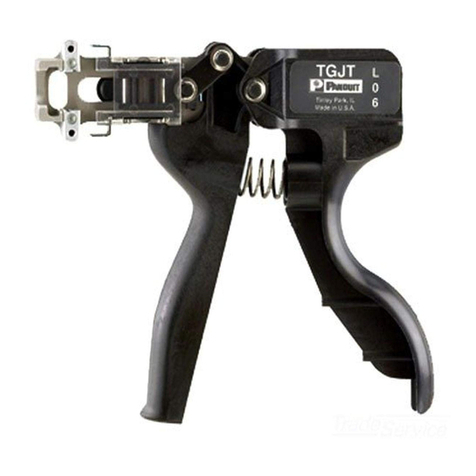
Panduit TGJT User manual

Panduit

Panduit TGJT User manual

Panduit PAT1M4.0 User manual

Panduit

Panduit PAT1M4.0 User manual

Panduit BlackFin CT-2600 Series User manual

Panduit

Panduit BlackFin CT-2600 Series User manual

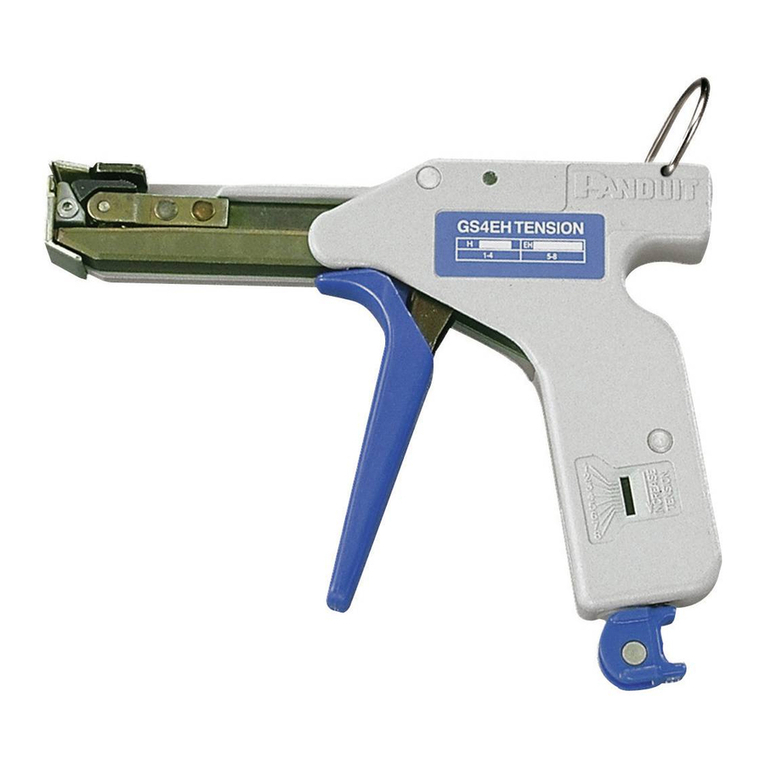
Panduit GS4EH User manual

Panduit

Panduit GS4EH User manual

Panduit BlackFin CT-2940/STBT User manual
Panduit

Panduit BlackFin CT-2940/STBT User manual

Panduit PAT1M User manual

Panduit

Panduit PAT1M User manual

Panduit CT-3001 User manual

Panduit

Panduit CT-3001 User manual

Panduit CT-1170 User manual

Panduit

Panduit CT-1170 User manual

Panduit CT-930 User manual

Panduit

Panduit CT-930 User manual

Panduit GS2B User manual

Panduit

Panduit GS2B User manual

Panduit CT-3001/CCP User manual

Panduit

Panduit CT-3001/CCP User manual

Panduit CT-1550 User manual

Panduit

Panduit CT-1550 User manual

Panduit ST2MT User manual

Panduit

Panduit ST2MT User manual

Panduit PPTMT User manual

Panduit

Panduit PPTMT User manual

Panduit CT-980 User manual

Panduit

Panduit CT-980 User manual

Panduit PATMBM4.0 User manual

Panduit

Panduit PATMBM4.0 User manual

Panduit GS4EH User manual

Panduit

Panduit GS4EH User manual

Panduit GTS User manual

Panduit

Panduit GTS User manual

Panduit GS4MT User manual

Panduit

Panduit GS4MT User manual

Popular Tools manuals by other brands

Schmidt 1R Operator's manual

Schmidt

Schmidt 1R Operator's manual

Sioux Tools SZER4003LV Series Instructions-parts list

Sioux Tools

Sioux Tools SZER4003LV Series Instructions-parts list

CLAS HU 1104 manual

CLAS

CLAS HU 1104 manual

Cembre HT-TC0851 Operation and maintenance manual

Cembre

Cembre HT-TC0851 Operation and maintenance manual

Perel EARC15 user manual

Perel

Perel EARC15 user manual

Samoa 363100 manual

Samoa

Samoa 363100 manual

Hainbuch MANOK installation manual

Hainbuch

Hainbuch MANOK installation manual

Ribimex RIBITECH PRDATR091 User and maintenance manual

Ribimex

Ribimex RIBITECH PRDATR091 User and maintenance manual

Ingersoll-Rand C225H Parts, operation and maintenance manual

Ingersoll-Rand

Ingersoll-Rand C225H Parts, operation and maintenance manual

Sealey SA314.V2 instructions

Sealey

Sealey SA314.V2 instructions

Makita HR002G instruction manual

Makita

Makita HR002G instruction manual

Pittsburgh 62601 Owner's manual & safety instructions

Pittsburgh

Pittsburgh 62601 Owner's manual & safety instructions

Robit S Sense Operator's manual

Robit

Robit S Sense Operator's manual

Rockler Indexing Dado instructions

Rockler

Rockler Indexing Dado instructions

Carlisle BINKS 84-346 Service manual

Carlisle

Carlisle BINKS 84-346 Service manual

SKF TLGU 10 Instructions for use

SKF

SKF TLGU 10 Instructions for use

Multipick ARTEMIS instruction manual

Multipick

Multipick ARTEMIS instruction manual

DeWalt SDS MAX D25832 instruction manual

DeWalt

DeWalt SDS MAX D25832 instruction manual

manuals.online logo
manuals.online logoBrands
  • About & Mission
  • Contact us
  • Privacy Policy
  • Terms and Conditions

Copyright 2025 Manuals.Online. All Rights Reserved.