Panthera AB, Gunnebogatan 26, SE-163 53 Spånga, Sweden, +46-8-761 50 40, www.panthera.se
Sid 3
ASSEMBLY INSTRUCTION
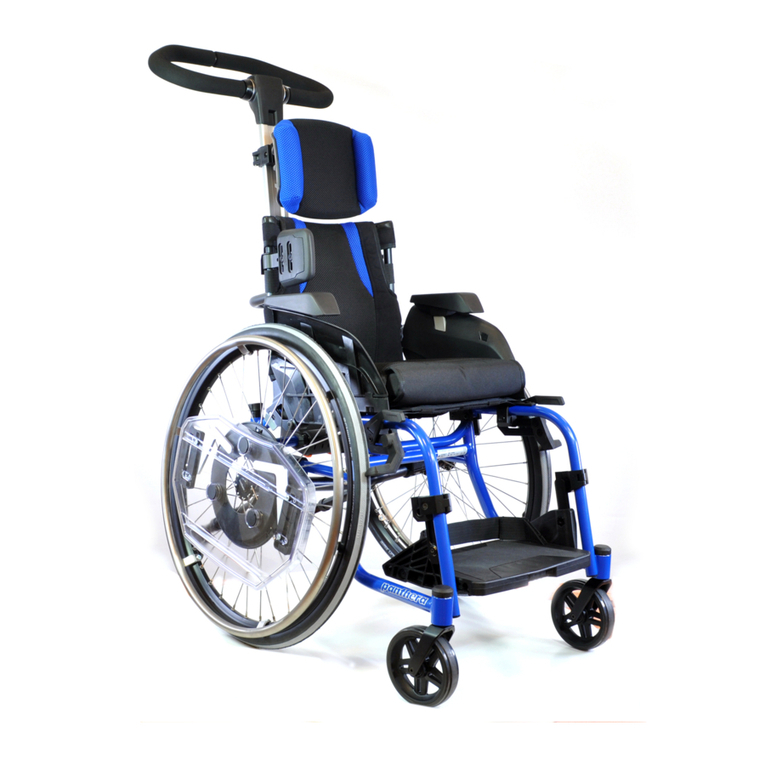
PUSHBAR BAMBINO 3
Assembly instructions for:
Pushbar Bambino 3
Art.nr. 4233000
Tools aquired:
Phillips screwdriver - small
Allen key 4 mm
1) Height adjustment of the upper clamp
If the back angle changes, the distance bet-
ween the lower and upper clamps changes. To
adjust this, you can change the position of the
upper clamp as follows:
1. Loosen the screw marked on the illustration
with a Phillips screwdriver until you can slide
the upper clamp up or down.
2. Adjust the height of the upper clamp so
that it ts on the backrest tube.
3. Tighten the screw again with 1 Nm torque.
2) Mounting of the push bar. Picture 2, 3, 4
1. Snap on the lower clamp (2) onto the rear
chassis tube (3)
3)Mounting of the push bar cont. Picture 2,
3, 4
1. Open clamps A and B and place A under
and around the back arch (5).
2. Bring clamp B (6) forward over the back
frame and hook the front edge of clamp B
over the front edge of clamp A.
3. Press down clamp B at the rear edge so
that it locks around the back arch with a click
5) Stabilize the lower push bar clamp Picture
5 and 6.
To stabilize the lower clamp against lateral
movement, these two tube clamps are moun-
ted on each side of the bracket on the rear
chassis tube.
6) Stabilize the lower arch clamp cont. Figu-
res 5 and 6
1. Mount the push bar
2. Attach the two tube clamps around the rear
chassis tube on each side of the lower clamp.
Use 4 mm Allen key.
4) Mounting of push bar cont. Picture 2, 3, 4
Make sure that the orange latch locks se-
curely over clamp B.
A click should be heard
123
45
6
Länk till svenska
Sid 1


