manuals.online logo
Brands
  1. Home
  2. •
  3. Brands
  4. •
  5. Parrot
  6. •
  7. Automobile Accessories
  8. •
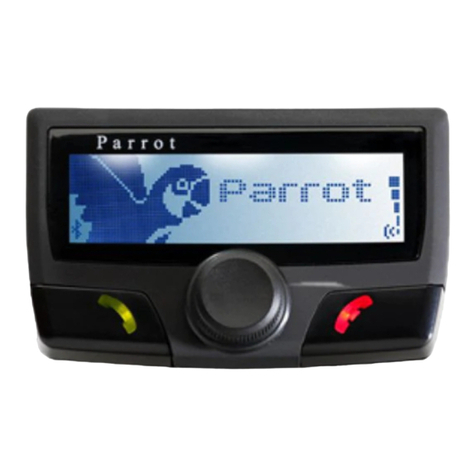
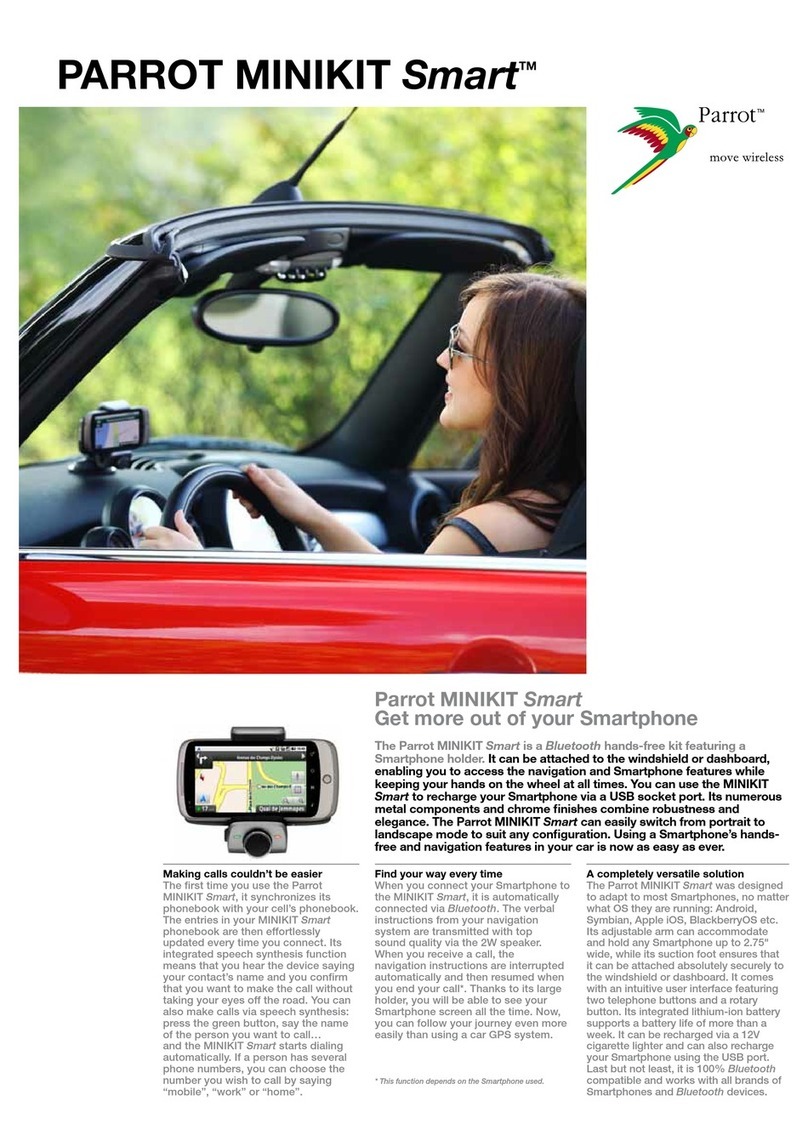
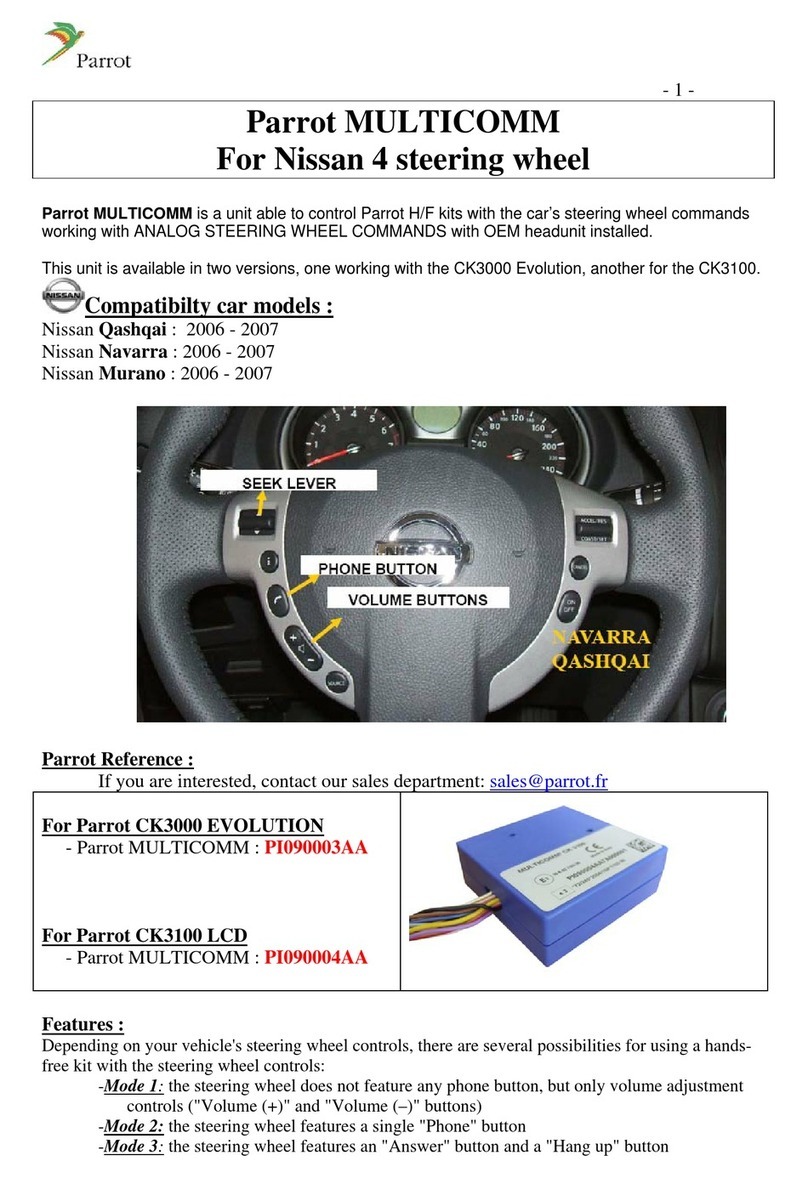
  9. Parrot CK3100 LCD User manual

Parrot CK3100 LCD User manual

SCIROCCO
The VOLKSWAGEN SCIROCCO marque and VOLKSWAGEN logo are the property of the VOLKSWAGEN France Group s.a or VOLKSWAGEN AG.
This document is only valid for the vehicle model SCIROCCO® year 2009, excluding all other models in the same range and excluding later
modifications made to the vehicle by the manufacturer.
The Parrot brand name and logos are the exclusive property of Parrot SA.
SCIROCCO
Installation manual:
Parrot MKi + Parrot
CK3100 range
The VOLKSWAGEN SCIROCCO marque and VOLKSWAGEN logo are the property of the VOLKSWAGEN France Group s.a or VOLKSWAGEN AG.
This document is only valid for the vehicle model SCIROCCO® year 2009, excluding all other models in the same range and excluding later
modifications made to the vehicle by the manufacturer.
The Parrot brand name and logos are the exclusive property of Parrot SA.
SCIROCCO
The VOLKSWAGEN SCIROCCO marque and VOLKSWAGEN logo are the property of the VOLKSWAGEN France Group s.a or VOLKSWAGEN AG.
This document is only valid for the vehicle model SCIROCCO® year 2009, excluding all other models in the same range and excluding later
modifications made to the vehicle by the manufacturer.
The Parrot brand name and logos are the exclusive property of Parrot SA.
Disassembly
30min
Mounting kit
30min
Reassembly
30min
Testing
15min
Total
1h45min
NO
+IGN
NO
ISO
YES
UNIKA
FRONT LOUDSPEAKER
TEL mode
ALL
MUSIC mode
Fitting time / Main features
Tools
-TORX screwdriver
- Cutting pliers
- Crimping pliers
- Multimeter or Test lamp
- Wire tie
- Electrical tape
- 1.5 mm flat terminal and round male terminal
Plastic trim removal tools
FACOM / BOJO
Accessories required
To get the most out of your hands-free kit we recommend that you update your
software regularly. The update procedure can be found at
http://www.parrot.com/usa/support/downloads
UpdatingUpdatingUpdating
"Please contact your retailer to purchase
accessories. List of retailers available at
www.certified.parrot.com"
Kram ref.
Dealer ref.
CK range
86 200
YY 138 CABL 2
MKi range
84 942
YY 138 CABL 2
Photos for illustration purposes
CK range MKi range
SCIROCCO
The VOLKSWAGEN SCIROCCO marque and VOLKSWAGEN logo are the property of the VOLKSWAGEN France Group s.a or VOLKSWAGEN AG.
This document is only valid for the vehicle model SCIROCCO® year 2009, excluding all other models in the same range and excluding later
modifications made to the vehicle by the manufacturer.
The Parrot brand name and logos are the exclusive property of Parrot SA.
Disassembly
SCIROCCO
The VOLKSWAGEN SCIROCCO marque and VOLKSWAGEN logo are the property of the VOLKSWAGEN France Group s.a or VOLKSWAGEN AG.
This document is only valid for the vehicle model SCIROCCO® year 2009, excluding all other models in the same range and excluding later
modifications made to the vehicle by the manufacturer.
The Parrot brand name and logos are the exclusive property of Parrot SA.
Disassembly 1 / 3
Release the panel by inserting the
plastic trim tools underneath. Remove screws 1 and 2.
Unclip the cabin light and
disconnect it.
Using the plastic trim tools,
unclip the courtesy light from the
left-hand side.
5 6
Using the plastic trim tools,
unclip the car stereo and air
conditioning surround. Unplug
the airbag indicator connector.
Remove screws 3, 4, 5 and 6
around the car stereo.
Disconnect the connector and
the aerial cables.
1 2
3
4
5
6
1
3
2
4
SCIROCCO
The VOLKSWAGEN SCIROCCO marque and VOLKSWAGEN logo are the property of the VOLKSWAGEN France Group s.a or VOLKSWAGEN AG.
This document is only valid for the vehicle model SCIROCCO® year 2009, excluding all other models in the same range and excluding later
modifications made to the vehicle by the manufacturer.
The Parrot brand name and logos are the exclusive property of Parrot SA.
Disassembly 2 / 3
Remove screws 7, 8, 9 and 10
around the air conditioning
control unit, then remove it
without disconnecting it.
Open the storage compartment
under the steering wheel.
Press down on the tabs inside to
release the box. Pull up to unclip it.
7
9
8
10
11 12
Using the plastic trim tools,
unclip the side panel of the
dashboard on the driver's side.
Unclip the cover plate running
up the side of the door.
7
8 9
10
SCIROCCO
The VOLKSWAGEN SCIROCCO marque and VOLKSWAGEN logo are the property of the VOLKSWAGEN France Group s.a or VOLKSWAGEN AG.
This document is only valid for the vehicle model SCIROCCO® year 2009, excluding all other models in the same range and excluding later
modifications made to the vehicle by the manufacturer.
The Parrot brand name and logos are the exclusive property of Parrot SA.
Disassembly 3 / 3
Remove the door seal.
13
9 10
SCIROCCO
The VOLKSWAGEN SCIROCCO marque and VOLKSWAGEN logo are the property of the VOLKSWAGEN France Group s.a or VOLKSWAGEN AG.
This document is only valid for the vehicle model SCIROCCO® year 2009, excluding all other models in the same range and excluding later
modifications made to the vehicle by the manufacturer.
The Parrot brand name and logos are the exclusive property of Parrot SA.
Finding an ACC wire
Using a guide, feed an electric
wire from under the steering
wheel to the air conditioning
control housing. Feed the wire to
the left into the fusebox housing.
Fit a 1.5 mm terminal and insert it
into one of the small fuse slots at
the top of the box (using a
multimeter, check that the +12V
supply is indeed controlled by the
ignition key).
Connect the +IGN wire using a
male round terminal to the blue
wire of the adapter in front of
the fuse holder.
1
3
2
SCIROCCO
The VOLKSWAGEN SCIROCCO marque and VOLKSWAGEN logo are the property of the VOLKSWAGEN France Group s.a or VOLKSWAGEN AG.
This document is only valid for the vehicle model SCIROCCO® year 2009, excluding all other models in the same range and excluding later
modifications made to the vehicle by the manufacturer.
The Parrot brand name and logos are the exclusive property of Parrot SA.
Wiring the microphone 1 / 2
Using a guide, feed the cable from
the windscreen to the cabin light.
Locate the microphone at the side
of the cabin light facing the user.
Using a guide, feed the cable
from the cabin light to the
courtesy light.
Using a guide, feed the cable
from the courtesy light to the
driver's side door.
4
5 6
Slide the cable along the driver's
door pillar while replacing the
door seal.
Pass the cable through the
fusebox.
1
3
2
SCIROCCO
The VOLKSWAGEN SCIROCCO marque and VOLKSWAGEN logo are the property of the VOLKSWAGEN France Group s.a or VOLKSWAGEN AG.
This document is only valid for the vehicle model SCIROCCO® year 2009, excluding all other models in the same range and excluding later
modifications made to the vehicle by the manufacturer.
The Parrot brand name and logos are the exclusive property of Parrot SA.
Wiring the microphone 2 / 2
Using a guide, feed the cable
under the steering wheel towards
the air conditioning unit control
housing.
7
SCIROCCO
The VOLKSWAGEN SCIROCCO marque and VOLKSWAGEN logo are the property of the VOLKSWAGEN France Group s.a or VOLKSWAGEN AG.
This document is only valid for the vehicle model SCIROCCO® year 2009, excluding all other models in the same range and excluding later
modifications made to the vehicle by the manufacturer.
The Parrot brand name and logos are the exclusive property of Parrot SA.
Feeding the accessory cable
Using a guide, feed the cable in
the top part of the glove
compartment through to the air
conditioning control unit housing.
Make sure that the cable is long
enough.
1 2
SCIROCCO
The VOLKSWAGEN SCIROCCO marque and VOLKSWAGEN logo are the property of the VOLKSWAGEN France Group s.a or VOLKSWAGEN AG.
This document is only valid for the vehicle model SCIROCCO® year 2009, excluding all other models in the same range and excluding later
modifications made to the vehicle by the manufacturer.
The Parrot brand name and logos are the exclusive property of Parrot SA.
Fitting the hands-free system 1 / 2
Connect the adaptor to the original connector
and connect all of the wires to the blue box as
shown in the diagram below. Test the assembly
before completing fitting and then slide
everything behind the air conditioning control
unit.
1
Direct adaptor cable
SCIROCCO
The VOLKSWAGEN SCIROCCO marque and VOLKSWAGEN logo are the property of the VOLKSWAGEN France Group s.a or VOLKSWAGEN AG.
This document is only valid for the vehicle model SCIROCCO® year 2009, excluding all other models in the same range and excluding later
modifications made to the vehicle by the manufacturer.
The Parrot brand name and logos are the exclusive property of Parrot SA.
Fitting the hands-free system 2 / 2
Slide the cable into the radio
housing
ATTENTION: When reassembling
take great care not to cut the wire
with the radio fixings.
After degreasing the left-hand side
of the radio surround, affix the
mounting (supplied).
2 3
12
SCIROCCO
The VOLKSWAGEN SCIROCCO marque and VOLKSWAGEN logo are the property of the VOLKSWAGEN France Group s.a or VOLKSWAGEN AG.
This document is only valid for the vehicle model SCIROCCO® year 2009, excluding all other models in the same range and excluding later
modifications made to the vehicle by the manufacturer.
The Parrot brand name and logos are the exclusive property of Parrot SA.
Testing
Before refitting the system, switch the kit on using the
ignition (or by starting the car). By pushing the central knob
of the remote control, check:
1 - that the menu is displayed on the screen (language or
iPod etc).
2 - that the radio system is muted when the kit is in use (click
in the blue box).
3 - that the sound through all speakers is properly muted.
4 - that there is sound through the front speakers for spoken
menus.
5 - then turn off the ignition, verify that the kit turns off and
that the message “goodbye” is displayed on the screen
(otherwise reverse the fuses on the kit power supply
harness).
6 - pair a telephone with the kit and make a call (check that
both the microphone and the kit are working).
SCIROCCO
The VOLKSWAGEN SCIROCCO marque and VOLKSWAGEN logo are the property of the VOLKSWAGEN France Group s.a or VOLKSWAGEN AG.
This document is only valid for the vehicle model SCIROCCO® year 2009, excluding all other models in the same range and excluding later
modifications made to the vehicle by the manufacturer.
The Parrot brand name and logos are the exclusive property of Parrot SA.
Reassembly
Refit the system using the following procedure:
1 - refit the panel next to the dashboard
2 - refit the panel on the left-hand side of the dashboard
3 - replace the fusebox cover
4 - reconnect and refit the cabin light (screws 1 and 2)
5 - refit the cabin light panel
6 - refit the courtesy light
7 - refit the 4 screws (7, 8, 9 and 10) for the air conditioning control unit
8 –reconnect the adaptor and the aerials behind the car stereo and slip them
inside the housing (make sure that you do not trap and cut any screen wires)
9 - refit the 4 screws (3, 4, 5 and 6) for the car stereo
10 - refit the radio and air conditioning surrounds
11 - retest to check that the system is working correctly

Other manuals for CK3100 LCD

22

Other Parrot Automobile Accessories manuals
Parrot 3400 LS-GPS Manual

Parrot

Parrot 3400 LS-GPS Manual

Parrot Minikit+ User manual

Parrot

Parrot Minikit+ User manual

Parrot CK3100 Series User manual

Parrot

Parrot CK3100 Series User manual

Parrot Parrot MKi + ParrotCK3100 range LOGAN User manual

Parrot

Parrot Parrot MKi + ParrotCK3100 range LOGAN User manual

Parrot MINIKIT SLIM User manual

Parrot

Parrot MINIKIT SLIM User manual

Parrot MKi9000 User manual

Parrot

Parrot MKi9000 User manual

Parrot CK3100 LCD User manual

Parrot

Parrot CK3100 LCD User manual

Parrot Multicomm User manual

Parrot

Parrot Multicomm User manual

Parrot CK3100 LCD User manual

Parrot

Parrot CK3100 LCD User manual

Parrot Minikit+ User manual

Parrot

Parrot Minikit+ User manual

Parrot MK6100 User manual

Parrot

Parrot MK6100 User manual

Parrot 3100 User manual

Parrot

Parrot 3100 User manual

Parrot MKi9000 User manual

Parrot

Parrot MKi9000 User manual

Parrot MKi9200 RU User manual

Parrot

Parrot MKi9200 RU User manual
Parrot CK3100 LCD User manual

Parrot

Parrot CK3100 LCD User manual

Parrot MINIKIT Smart User manual

Parrot

Parrot MINIKIT Smart User manual

Parrot CK3300 Operating and safety instructions

Parrot

Parrot CK3300 Operating and safety instructions

Parrot MKi9200 RU User manual

Parrot

Parrot MKi9200 RU User manual

Parrot CK3100 LCD User manual

Parrot

Parrot CK3100 LCD User manual

Parrot CK3300 Manual

Parrot

Parrot CK3300 Manual

Parrot EVOLUTION User manual

Parrot

Parrot EVOLUTION User manual

Parrot MKi9100 User manual

Parrot

Parrot MKi9100 User manual

Parrot MKi9000 User manual

Parrot

Parrot MKi9000 User manual

Parrot CK3100 Series User manual

Parrot

Parrot CK3100 Series User manual

Popular Automobile Accessories manuals by other brands

Dakota Digital BIM-16-1 manual

Dakota Digital

Dakota Digital BIM-16-1 manual

Dension WiRC user manual

Dension

Dension WiRC user manual

Truma Mover XT L operating instructions

Truma

Truma Mover XT L operating instructions

FH Group W-3 installation manual

FH Group

FH Group W-3 installation manual

Audi 4G0051435C quick start guide

Audi

Audi 4G0051435C quick start guide

Whelen Engineering Company SA315 installation guide

Whelen Engineering Company

Whelen Engineering Company SA315 installation guide

BOSSTOW S1035 quick start guide

BOSSTOW

BOSSTOW S1035 quick start guide

Ecco ED5101 Installation and operating instructions

Ecco

Ecco ED5101 Installation and operating instructions

Ranger design 3068-DL installation guide

Ranger design

Ranger design 3068-DL installation guide

PERFORMANCE ADVANTAGE COMPANY 1028 installation instructions

PERFORMANCE ADVANTAGE COMPANY

PERFORMANCE ADVANTAGE COMPANY 1028 installation instructions

Road Ranger ET 210207 Installation instruction

Road Ranger

Road Ranger ET 210207 Installation instruction

Feniex GEO Series instruction manual

Feniex

Feniex GEO Series instruction manual

Kuda 043230 Installation instruction

Kuda

Kuda 043230 Installation instruction

Fortin EVO-ALL Installation

Fortin

Fortin EVO-ALL Installation

Westfalia 303 174 Installation and operating instructions

Westfalia

Westfalia 303 174 Installation and operating instructions

TruXedo TRUXPORT Pro X15 Special instructions

TruXedo

TruXedo TRUXPORT Pro X15 Special instructions

HAUL MASTER 92626 Set up and operating instructions

HAUL MASTER

HAUL MASTER 92626 Set up and operating instructions

Yakima StrapThang quick start guide

Yakima

Yakima StrapThang quick start guide

manuals.online logo
manuals.online logoBrands
  • About & Mission
  • Contact us
  • Privacy Policy
  • Terms and Conditions

Copyright 2025 Manuals.Online. All Rights Reserved.