manuals.online logo
Brands
  1. Home
  2. •
  3. Brands
  4. •
  5. PASCO
  6. •
  7. Accessories
  8. •
  9. PASCO PS-3225 User manual

PASCO PS-3225 User manual

Other PASCO Accessories manuals

PASCO PasPort PS-2195 User manual

PASCO

PASCO PasPort PS-2195 User manual

PASCO PasPort PS-2102 User manual

PASCO

PASCO PasPort PS-2102 User manual

PASCO Physical Pendulum Accessory User manual

PASCO

PASCO Physical Pendulum Accessory User manual

PASCO PS-2102 User manual

PASCO

PASCO PS-2102 User manual

PASCO PS-3201 User manual

PASCO

PASCO PS-3201 User manual

PASCO PS-3219 User manual

PASCO

PASCO PS-3219 User manual

PASCO PASPort PS-2132 User manual

PASCO

PASCO PASPort PS-2132 User manual

PASCO PS-3221 User manual

PASCO

PASCO PS-3221 User manual

PASCO PS-3209 User manual

PASCO

PASCO PS-3209 User manual

PASCO CI-6555 User manual

PASCO

PASCO CI-6555 User manual

PASCO PS-2154A User manual

PASCO

PASCO PS-2154A User manual

PASCO CI-6561 User manual

PASCO

PASCO CI-6561 User manual

PASCO PASPort PS-2168 User manual

PASCO

PASCO PASPort PS-2168 User manual

PASCO PS-3215 User manual

PASCO

PASCO PS-3215 User manual

PASCO PS-3322 User manual

PASCO

PASCO PS-3322 User manual

PASCO Motion Sensor II User manual

PASCO

PASCO Motion Sensor II User manual

PASCO PASPORT PS-2177 User manual

PASCO

PASCO PASPORT PS-2177 User manual

PASCO PS-3216 User manual

PASCO

PASCO PS-3216 User manual

PASCO Pasport PS-2109 User manual

PASCO

PASCO Pasport PS-2109 User manual

PASCO PS-3227 Guide

PASCO

PASCO PS-3227 Guide

PASCO PASPORT PS-2104 User manual

PASCO

PASCO PASPORT PS-2104 User manual

PASCO ME-9838 User manual

PASCO

PASCO ME-9838 User manual

PASCO PS-3204 User manual

PASCO

PASCO PS-3204 User manual

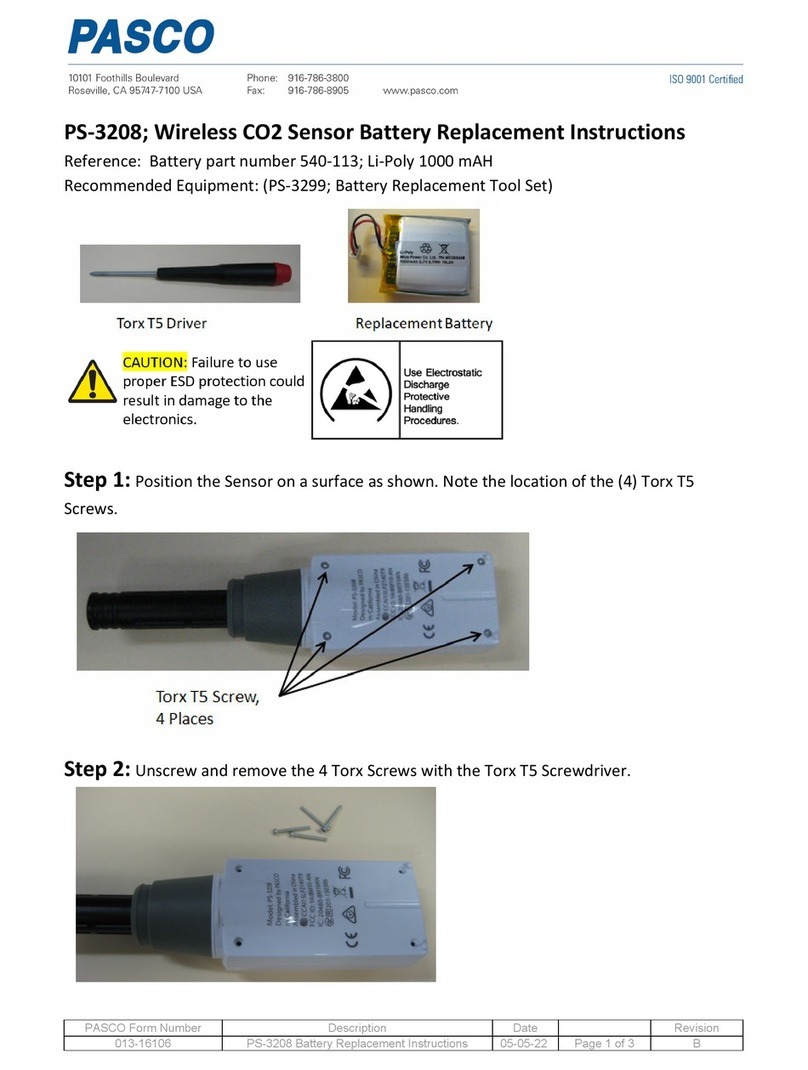
PASCO PS-3208 User manual

PASCO

PASCO PS-3208 User manual

Popular Accessories manuals by other brands

Quincy lab 140AE-1 operating manual

Quincy lab

Quincy lab 140AE-1 operating manual

HomePro ZIR000 user manual

HomePro

HomePro ZIR000 user manual

DOL 20SCR Technical user guide

DOL

DOL 20SCR Technical user guide

RAB Smart Task installation manual

RAB

RAB Smart Task installation manual

Kemppi KMS 300 quick guide

Kemppi

Kemppi KMS 300 quick guide

Stearns 57,500 Series Installation and service instructions

Stearns

Stearns 57,500 Series Installation and service instructions

iGuzzini TWILIGHT COPENAGHEN manual

iGuzzini

iGuzzini TWILIGHT COPENAGHEN manual

Adelaide Annexe & Canvas Avan Deluxe installation guide

Adelaide Annexe & Canvas

Adelaide Annexe & Canvas Avan Deluxe installation guide

OHAUS 5000 instruction manual

OHAUS

OHAUS 5000 instruction manual

HOME8 WLS1300 quick start guide

HOME8

HOME8 WLS1300 quick start guide

MAXBOTIX MaxSonar quick start guide

MAXBOTIX

MAXBOTIX MaxSonar quick start guide

ioSmart iSmart56 Installation and user guide

ioSmart

ioSmart iSmart56 Installation and user guide

Focusrite Scarlett 18i8 user guide

Focusrite

Focusrite Scarlett 18i8 user guide

Velleman ED38105 user manual

Velleman

Velleman ED38105 user manual

JumpSport SkyBounce user manual

JumpSport

JumpSport SkyBounce user manual

Prima-Temp PRIYA Instructions for use

Prima-Temp

Prima-Temp PRIYA Instructions for use

Tefcold BC85I-BC85I W user manual

Tefcold

Tefcold BC85I-BC85I W user manual

Vaisala WMS302 user guide

Vaisala

Vaisala WMS302 user guide

manuals.online logo
manuals.online logoBrands
  • About & Mission
  • Contact us
  • Privacy Policy
  • Terms and Conditions

Copyright 2025 Manuals.Online. All Rights Reserved.

012-16123A [email protected]| 1|
PASCO Wireless Smart Gate PS-3225 www.pasco.com - (800) 772-8700
Software: SPARKvue or PASCO Capstone — Power: Rechargeable Battery Connection: or USB
PASCO Wireless Smart Gate PS-3225 www.pasco.com - (800) 772-8700
Connection: or USB
012-16123A [email protected]| 1|
Software: SPARKvue or PASCO Capstone — Power: Rechargeable Battery
Initial Step: Connect and Charge It
Use the included micro USB cable to connect the sensor to a USB port or
a USB charger (such as PS-2575A). If connected to a USB port, the
Battery LED shines yellow to show the battery is charging. When battery
is charged, the Battery LED shines green. If connected to a USB charger,
the Battery LED shines yellow and the Bluetooth LED blinks red to
indicate that the sensor is ready to connect to a device (such as a
computer or tablet). Allow 3 hours for charging.
Collecting Data:
Follow the steps for your software program to connect the sensor
wirelessly to your computing device (e.g. computer or tablet).
SPARKvue
1. Press and hold the Power Button until the Bluetooth LED starts flashing
red. 2. Open SPARKvue and select Sensor Data. 3. Under Connected
Devices, select the sensor that matches your device ID. 4. Under
Templates, select Graph. 5. Select START to begin data collection.
PASCO Capstone
1. Press and hold the Power button until the Bluetooth LED starts flashing
red. 2. Open Capstone and In the Tools palette, click Hardware Setup to
open the panel. 3. Select the sensor that matches your device ID. 4. Click
Hardware Setup to close the panel. 5. In the Displays palette, select
Graph. 6. On the vertical axis of the graph, click Select Measurement,
then select a measurement (such as velocity). 7. Click Record to begin
data collection.
Micro USB Cable
LED indicates
blocked port(s)
Power
Button
Battery LED
Bluetooth LED
Device ID
Swivel
Rod
Clamp
Port 1
Emitters
Slot for
Photogate
Tape
USB Port
LED indicates
blocked port(s)
Port 3 for
Photogate
or similar
device
Port 1
Emitters
Port 4 for
laser beam
Slot or
Photogate
Tape
Port 1
Receptors
Tab for
mounting
Super Pulley
ME-9450A
Width = 7.2 cm
Allow 3 hours
for charging
Depth =
4.0 cm
Port 1
Receptors
Initial Step: Connect and Charge It
Use the included micro USB cable to connect the sensor to a USB port or
a USB charger (such as PS-2575A). If connected to a USB port, the
Battery LED shines yellow to show the battery is charging. When battery
is charged, the Battery LED shines green. If connected to a USB charger,
the Battery LED shines yellow and the Bluetooth LED blinks red to
indicate that the sensor is ready to connect to a device (such as a
computer or tablet). Allow 3 hours for charging.
Collecting Data:
Follow the steps for your software program to connect the sensor
wirelessly to your computing device (e.g. computer or tablet).
SPARKvue
1. Press and hold the Power Button until the Bluetooth LED starts flashing
red. 2. Open SPARKvue and select Sensor Data. 3. Under Connected
Devices, select the sensor that matches your device ID. 4. Under
Templates, select Graph. 5. Select START to begin data collection.
PASCO Capstone
1. Press and hold the Power button until the Bluetooth LED starts flashing
red. 2. Open Capstone and In the Tools palette, click Hardware Setup to
open the panel. 3. Select the sensor that matches your device ID. 4. Click
Hardware Setup to close the panel. 5. In the Displays palette, select
Graph. 6. On the vertical axis of the graph, click Select Measurement,
then select a measurement (such as, velocity). 7. Click Record to begin
data collection.
Micro USB Cable
LED indicates
blocked port(s)
Power
Button
Battery LED
Bluetooth LED
Device ID
Swivel
Rod
Clamp
Port 1
Emitters
Slot for
Photogate
Tape
USB Port
LED indicates
blocked port(s)
Port 3 for
Photogate
or similar
device
Port 1
Emitters
Port 4 for
laser beam
Slot for
Photogate
Tape
Port 1
Receptors
Tab for
mounting
Super Pulley
ME-9450A
Width = 7.2 cm
Allow 3 hours
for charging
Depth =
4.0 cm
Port 1
Receptors
012-16123A [email protected]| 2|
LED Information: The Bluetooth LED and the Battery LED operate as follows:
Logging Data: PASCO wireless sensors can either stream live data to a
compatible device or log data to the sensor’s memory. Logging capability supports
remote data collection while not connected to the device. Logged data can be uploaded to the device for display and analysis at a later
time.
Features: The Wireless Smart Gate measures the time for an object’s motion, such as a PASCO Cart. The Smart Gate has three
detector ports and one Auxiliary port. The space between the emitters for Port 1 and Port 2 is 1.5 cm. There is a slot for Photogate Tape
(ME-6663 or ME-6666) for Ports 1 and 2. Port 3 is the Auxiliary port for a PASCO Photogate or similar device. Port 4 is designed to work
with a laser beam to allow measurement of an object too large to pass through the Wireless Smart Gate.
Technical Support
FCC Statement: This digital device complies with part 15 of the FCC Rules. Operation is subject to the following two conditions: (1) This
device may not cause harmful interference, and (2) this device must accept any interference received, including interference that may
cause undesired operation.
Battery: If the Battery LED blinks red, connect the sensor to a USB port or charger with the micro USB cable.
Compatible Equipment: Photogate Stand (ME-9805), Picket Fence, Large (ME-9377A), Photogate Bracket, Track (ME-9806), Photogate
Bracket, Projectile Launcher (ME-6821A), Photogate Head (ME-9498A), Accessory Photogate (ME-9204B), Time-of-Flight Accessory
(ME-9810), Photogate Tape (ME-6663), Photogate Tape, High Resolution (ME-6666), Photogate Pendulum Set (ME-8752)
LED Bluetooth Status Battery Status
Red blink Sensor can be paired with a device Battery needs charging
Green blink Sensor is paired with a device N/A
Yellow blink Sensor is remotely logging data N/A
+1 916 462 8384
800-772-8700 (U.S.)
[email protected]
www.pasco.com/support
More Information: Wireless Smart Gate Reference
Guide: For more information about the PASCO
Wireless Smart Gate, go to the PASCO Web site at
www.pasco.com/manuals. Enter PS-3225 under
“Enter Product Number*” and select “Submit”. The
Reference Guide is a multi-page users manual to
download in PDF format. (Contact Technical
Support for a printed copy of the document.)