manuals.online logo
Brands
  1. Home
  2. •
  3. Brands
  4. •
  5. Patron
  6. •
  7. Stroller
  8. •
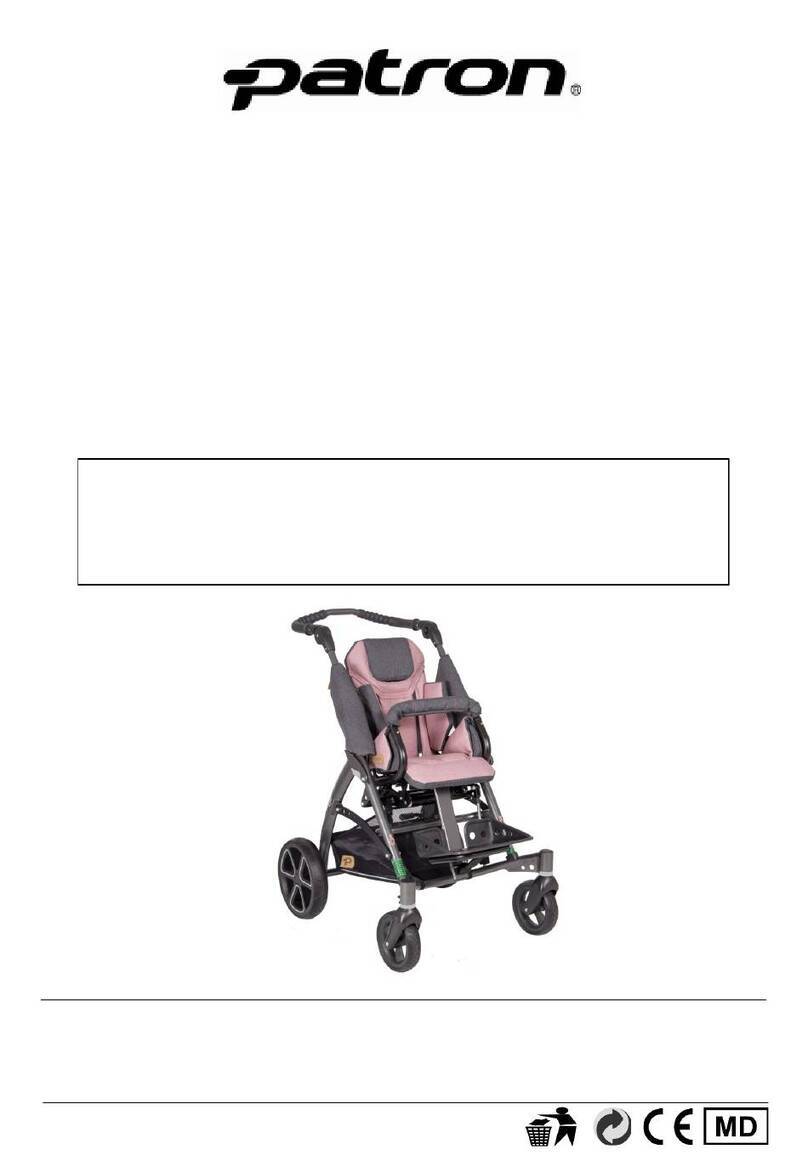
  9. Patron TOM 4 Xcountry MINI User manual

Patron TOM 4 Xcountry MINI User manual

WARRANTY SHEET
Final inspection:
Name:
Signature:
Warranty conditions:
1. The product can be used entirely for the purpose it is designed and the instructions in the user guide must
be followed.
2. The product has to be properly used, cleaned and stored in accordance to the user guide instructions.
3. The warranty does not cover: failures caused by overloading of the products, forced damage, unauthorized
changes made on the device and/or its accessories and natural wear and tear of parts, especially upholstery
dirt and damage, wear of plastic parts, brakes, tyre profile and tyre puncture.
4. The warranty claim has to be applied by the seller or authorised service agent of the device.
5. The properly filled warranty sheet and purchase confirmation must be declared by the warranty
application.
6. The claim procedure can be started when the device is delivered complete and in origin packing, carefully
packed and secured against damage. The owner is committed to deliver the device cleaned, washed and
hygienic unobjectionable according general hygienic requirements. The basic maintenance and washing
cannot be expected or even requested in the claim.
7. The warranty period does not stand for usage period, that means for the period when by correct use and
maintenance the device in accordance to its features, purpose and construction could be used.
8. Neither producer nor its agent will be liable for any loses and injuries caused by manipulation and usage
of the product in contradiction of the “User Guide” instructions.
9. The warranty is termined whenever the following conditions arise: the user fails to follow the instruction
mentioned in this user guide and manufacturer’s storage and maintenance suggested procedures, or
whenever the product is serviced by any other party except by the authorised service centres, or when the
identification label is not sticked on the stroller and also in the warranty sheet.
Purchase date (day, month, year): Name (type), phone number, stamp, signature of seller:
___.___.200__
The product is under warranty for period of
24 months after date of purchase.
The warranty covers faulty material and
processing defects.
Identification label:
USER GUIDE
TOM 4 Xcountry MINI
TOM 4 Xcountry Standard
TOM 4 Xcountry MAXI
TOM 4 Xcountry Super MAXI
PATRON Bohemia s.r.o., Ceskolipska 3419, 276 01 Melnik, Czech Republic
tel.: +420-315 630 135, 315 630 111 / fax: +420-315 630 199
http://www.patron-bohemia.cz / email: [email protected] 060421
Dear customers,
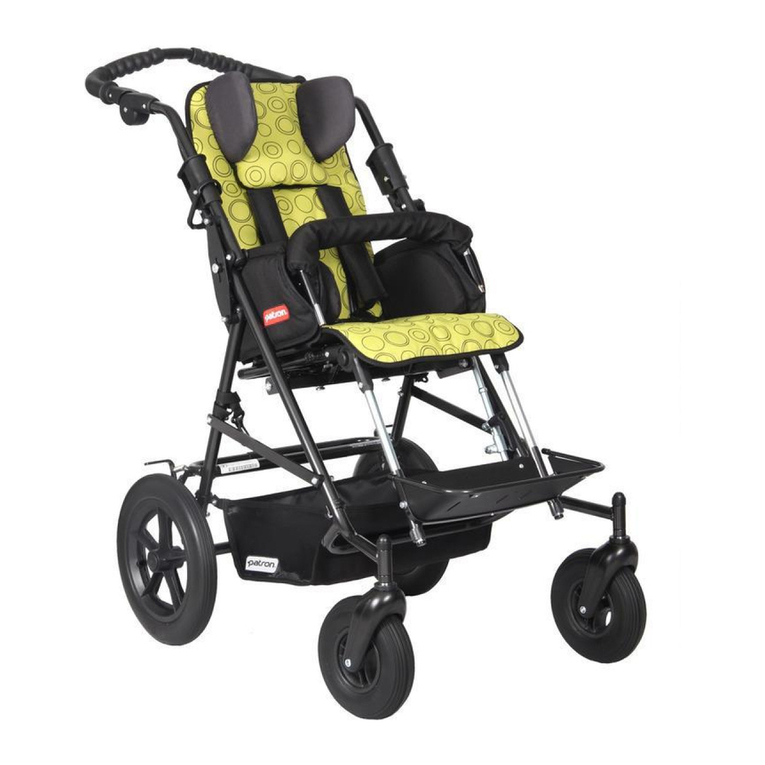
Multipurpose stroller for disabled children TOM 4 Xcountry is designed for both short and long term stay
of occupant. With its design and especially the construction of seat and frame is ranked among the best
from its category. TOM 4 Xcountry’s design of the features enables the user to apply enhanced range of
special fixing accessories. TOM 4 Xcountry is determined for occupants with a wide variety and levels of
disabilities. Prior the first usage of the stroller, please, read carefully the user guide. In case you are not
fully sure about the usage of the product after reading of the user guide, please contact your local official
dealer. Keep the user guide for future reference.
t
2
WARNING NOTES
1) BAGS ATTACHED TO THE HANDLE AFFECTS THE STABILITY OF THE STROLLER!
2) NEVER LEAVE YOUR CHILD UNATTENDED!
3) KEEP OUT THE FINGERS FROM THE TELESCOPE MECHANISM WHILE ADJUSTING!
SAFETY NOTES
− please read this instruction booklet fully prior to use
− for safety reason it is necessary to check prior using of stroller, that all locking devices (handle folding
release, seat lock and seat adjustments) are properly locked and seat and backrest reclining adjustment
are properly tightened and locked.
− professional medical advice regarding the suitability of this product must be sought before use
− the attendant should be familiar with the operation of the stroller - if in doubt, stop and read this
instruction booklet
− make sure, before the departure, the child is comfortable and that clothes and rugs etc. are tucked in, so
they do not catch in the wheels
− always apply the parking brakes when the stroller is stationary and when getting in and out the stroller
− never tip the stroller forward at a kerb
− the stroller MUST NOT be used as a seat for a child while travelling in motor vehicle or bus (when w/
o special accessories)
− the attendant must take precautions against the fire risk. In buildings, check the location of fire exits
and ensure procedures are understood.
− do not let children play with or hang on the stroller
− do not use your stroller in a manner for those is not designed
− ensure children are clear of moving parts before making adjustments
− PATRON Bohemia s. r. o. cannot accept responsibility for the use of accessories other than those
supplied by this company
− during the drive keep full attention, to avoid any dangerous situation or collision
− by backrest reclining and adjusting of the seat reclining act accordingly to avoid sudden, uncontrolled
movements
− change of the seat direction must be done without the occupant and with fully empty seat
− do not allow the child to climb unassisted into and out from the stroller
− always apply the parking brakes when getting in and out the stroller
− do not overload this stroller with additional children, goods or accessories other than those supplied by
PATRON Bohemia s. r. o.
− ensure the child always wears a correctly fitted and adjusted fixing accessories and the safety bar is
correctly fitted. The attendant must know how to fit, adjust and release the accessories.
− do not stand on the footrest
7
T4X
MINI T4X
Standard T4X
MAXI
Backrest height (mm) 440-610 510-650 560-670
Seat depth (mm) 240-310 270-350 320-400
Seat width (mm) 260/300 240/280/340 280/320/380
Seat to footrest (mm) 140-280 200-350 240-400
Backrest angle 0°-180° 0°-180° 0°-160°
Seat-base angle +/-27° +/-27° +/-25°
Total length (mm) 860 860 920
Total width (mm) 610 610 650
Total height / with handle (mm) 1010/1150 1010/1150 1030/1180
Total weight (kg) 17,5 18,5 kg 21
Maximum load (kg) 35 35 kg 50
Folded stroller length (mm) 930 930 960
Folded stroller width (mm) 610 610 650
Folded stroller height (mm) 550 550 630
Recomm.air pressure (kPa)-front / rear wheels 200 / 230 200 / 230 200 / 230
T4X
Super Maxi
570-670
320-430
340/380/420
240-400
0°-160°
+/-25°
1100
700
1030/1180
24
75
960
700
660
200 / 230
BASIC TECHNICAL DATA
PATRON Bohemia s. r. o. reserves the right to make design changes to any of their products without prior
notice as a part of their continuous development program.
SCHEMA
DESCRIPTION
1. handle
2. backrest
3. backrest height adjusting bolt
4. handle folding release
5. handle folding release safety clip
6. backrest reclining safety pin
7. backrest reclining adjustment
8. seat locking lever
9. seat depth adjusting nut
10. parking brake
11. rear wheel
12. front wheel
13. front wheel direction lock
14. backrest reclining adjustment
15. footrest
16. footrest position adjusting bolt
17. footrest height adjustment
18. safety bar press-pin release
19. safety bar
6
18
10
17
16
15
14
13
12
19
11
9
8
7
6
5
4
3
2
1
20. seat lock safety pin
21. seat interface side holder
22. seat interface front lock
8
20
22
21
9
OPERATING INSTRUCTION
Opening the undercarriage:
Place folded undercarriage on wheels. To open the undercarriage stay between the rear wheels and hold
tightly handle. Move handle up and backwards until the handle folding release is fully locked in its end
position. To check the locking position, move upwards the handle. The undercarriage must not start
folding. Care must be taken to avoid trapping fingers, when opening the undercarriage!
Fitting the seat in the driving direction:
Place the seat exactly into frame seat fittings. By pushing the seat down, rotate the right seat lock levers till
it locks in position, repeat the action with the left seat lock lever. Finally check the seat locking by slight
lifting of seat. Seat must not separate from the interface frame (see picture 1).
Fitting the seat against the driving direction:
Place the seat against the driving direction follow the same procedure like in previous chapter except of
turning the seat 180° to be facing back to front.
Seat reclining adjustment:
Hold the seat tightly. Loose seat reclining adjustment and set the position of the seat. Tighten properly the
adjustment to fix the position. Turn reclining adjustment handle vertically into the safest position by
pulling and rotating.
Seat and footrest set depth adjustment:
To adjust the dimensions of the seat and the footrest set position, the seat must be without an occupant and
empty. Loose both seat depth adjustments bolts as well as both adjusting nuts and footrest set depth
adjusting bolt. Set the depth of the seat by pulling or pushing . Tighten properly all adjusting bolts and
nuts.
Backrest height adjustment:
Loose and take off all the backrest height adjustment bolts. Set the height of the backrest by lifting or
pressing down. Assemble and tighten properly all adjustment bolts.
Backrest reclining:
Hold the seat backrest firmly. Loose backrest reclining adjustment and set the position of backrest. Tighten
the adjustment properly.
Footrest height adjustment:
Hold the footrest. Loose the footrest height adjusting bolts. Set the position of footrest and tighten properly
both adjusting bolts. Turn adjusting bolts small handles into the safest position by pulling it and rotating.
Footrest set reclining:
Press both press buttons on footrest hinge simultaneously and adjust the angle position of footrest. Free
both buttons and set the position of footrest to allow the hinges to be locked.
Operating the Parking Brake:
To brake the wheels press fully the brake connecting rod. To disengage the parking brake lift fully the
brake connecting rod. (see enclosed picture 2).
Safety Bar:
To fit the safety bar put both ends of safety bar in seat side tubes at once. To take out the safety bar, press
press-pin release and lift the safety bar up.
Getting into the stroller:
Ensure the parking brake is on, to easy getting into the stroller adjust footrest
position as far under the seat as it is possible and fold the footrest base (see
enclosed picture 2); if possible, place the back of the stroller against a wall or
immovable object (alternatively, another
helper may hold the stroller steady); place
child carefully into the stroller, fasten all
3
2 13
pic.1 pic.2 pic.3
immobilisation accessories and the safety bar, adjust the footrest into comfortable position. The child must
always feel comfortable in the stroller.
Getting out of the stroller:
Ensure the parking brake is on; to easy getting out of the stroller adjust footrest position as far under the
seat as it is possible and fold the footrest (see enclosed picture 2. ) ; if possible, place the back of the
stroller against a wall or immovable object (alternatively, another helper may hold the stroller steady);
unfasten all immobilisation accessories and the safety bar and lift the child carefully.
Negotiating the kerb or single step:
Down - take the front wheels to the edge of the kerb, hold the handles firmly and tip the stroller backwards
and balance on the rear wheels, take the rear wheels to the edge of the kerb, lower the stroller down the
kerb on its rear wheels. Never tip the stroller forward at a kerb.
Up - take the front wheels to the kerb. With a firm grip on the handles, tip the stroller backwards and place
the front wheels on top of the kerb. Position the rear wheels at the kerb bottom and lift to the upper level.
Negotiating Steps:
- make use of ramps and lifts when they are available
- where possible steps should not be avoided, if there is no alternative to negotiating steps then ensure at
least one helper is available to give assistance
- do not attempt to take the stroller up or down a flight of steps unless you and your helper are sure you
have control of the stroller and can take the weight of its occupant
- during this operation, the attendant and helper must be well balanced and have secure grip on the stroller
- the attendants hands must be inside the handle straps at all time
- take rests in regular intervals
- do not lift the stroller with safety bar or footrest
going down steps - position the stroller squarely with the front wheels on the top step, tilt the handle
backward and push the stroller forward until the rear wheels are at the top step; the helper stands in front,
steadies and lowers the stroller by gripping the front frame; take the weight and lower the rear wheels
down the step, continue step by step to the bottom. (see picture 3)
going up steps - position the stroller squarely with the rear wheels against the bottom step, tilt the stroller
backward and raise to the next step; the helper stands in front, steadies and lifts
the stroller by gripping the front frame; continue step by step to the top. (see
picture 4)
Folding the stroller:
Set the position of footrest horizontally, fold the footrest plate and take off the
safety bar. Pull backrest as far as possible forward towards the seat base. (We
recommend to take out the exceeding fixing accessories, to decrease the size of
folded stroller) Lift the handle folding release movable part, lift the handle
release safety clip and fold the handle forward towards the front wheels. (see
picture 5, 6). By folding parking brake must be released!
Taking off the seat:
To disassemble the seat, loosen both seat-locks and lift the seat. The seat must
be without an occupant and empty.
Folding the undercarriage:
Prior folding the undercarriage, take off the seat. Lift the handle folding
pic.7
pic.6
4
pic.4 pic.5 pic.7
pic.6
5
MAINTENANCE INSTRUCTION
Your stroller has been designed to a high standard and with correct use and maintenance will give many
years of trouble free service.
− regularly inspect handle folding release, safety bar fittings, locking devices, catches, footrest, joints
fixings and handle release safety clip to ensure they are secure and in full working order
− brakes, wheels, tyres are subjects to wear and should be replaced if necessary by a service centre
approved by the stroller supplier
− if the stroller is damaged or in need of any repair, only the approved repair centres are allowed
for this services. Alternatively, PATRON Bohemia s. r. o. customer department is available for
product information
− only PATRON Bohemia s. r. o. replacement parts should be used on this stroller
− should parts of your stroller become stiff or difficult to operate, ensure that dirt is not the cause, apply
a light application of a spray lubricant e. g. WD 40 (do not use oil or grease). Ensure that the lubricant
penetrates between the components but do not overspray as this may encourage the accumulation of
dirt. Wipe off any spray excess. Regular lubrication of moving parts will extend the life of your
stroller and make opening and folding easier.
− make sure that you are familiar with the operation of the stroller. It should always open and fold easily.
If it does not, do not force the mechanism - stop and read the instructions
− wheels, plastic and metal parts may be sponged clean with warm water and mild detergent.
− the seat fabric can be washed by hands in washing machine (max. 40°C)
− never clean with abrasive, ammonia based, bleach based or spirit type cleaners.
− after exposure to damp conditions, dry off with a soft cloth and leave fully open in warm
environment.
− store your stroller in a dry, safe place
− we recommend that the stroller is checked by an approved service centre every 12 month
release movable part, lift the handle release safety clip and fold the handle forward towards the front
wheels.
(see picture 5, 6). By folding parking brake must be released!
Seat upholstery attaching:
Seat upholstery is fully detachable and washable by lower temperature (max. 40°C.
Backrest cover - put on the cover top part over the upper edge of backrest, cover bottom end slip into the
gap between the backrest and seat base. Secure the lower end of fabric by velcro (dry zipper at the back of
the backrest).
Seat base cover - put on the sides one by one, precise the cover position and fix by dry zipper by pushing
Other Patron Stroller manuals

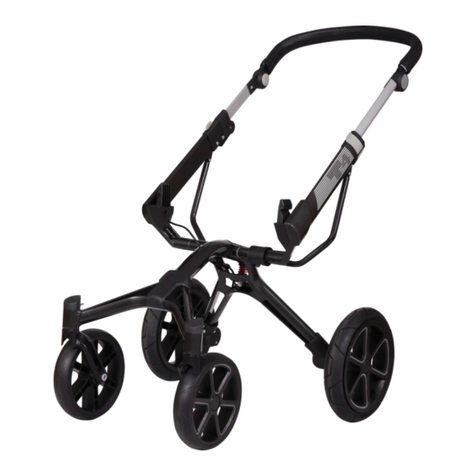
Patron FIGO User manual

Patron

Patron FIGO User manual

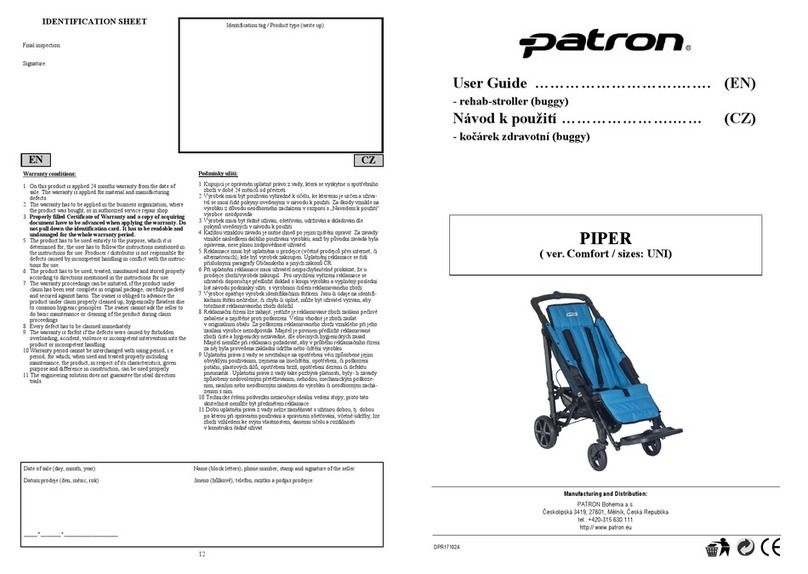
Patron PIPER User manual

Patron

Patron PIPER User manual

Patron MAARS User manual

Patron

Patron MAARS User manual

Patron JACKO Specification sheet

Patron

Patron JACKO Specification sheet

Patron LAMBDA 3R User manual

Patron

Patron LAMBDA 3R User manual

Patron CORZO Xcountry 30 User manual

Patron

Patron CORZO Xcountry 30 User manual

Patron TOM 5 Specification sheet

Patron

Patron TOM 5 Specification sheet

Patron Buggy User manual

Patron

Patron Buggy User manual

Patron CORZINO Basic User manual

Patron

Patron CORZINO Basic User manual

Patron TOM 5 Streeter User manual

Patron

Patron TOM 5 Streeter User manual

Patron TOM 5 Streeter User manual

Patron

Patron TOM 5 Streeter User manual

Popular Stroller manuals by other brands

Mamas & Papas Pixo product manual

Mamas & Papas

Mamas & Papas Pixo product manual

BabySafe LUCKY Instruction

BabySafe

BabySafe LUCKY Instruction

Brevi Crystal Instructions for use

Brevi

Brevi Crystal Instructions for use

Babify Go Baby manual

Babify

Babify Go Baby manual

asalvo boop COTTON owner's manual

asalvo

asalvo boop COTTON owner's manual

Mamas & Papas tempo 2 manual

Mamas & Papas

Mamas & Papas tempo 2 manual

Hamax OUTBACK user manual

Hamax

Hamax OUTBACK user manual

bebeduE NONNA manual

bebeduE

bebeduE NONNA manual

Joie litetrax 4 instruction manual

Joie

Joie litetrax 4 instruction manual

Cosatto Giggle Trail 3 in 1 i-Size manual

Cosatto

Cosatto Giggle Trail 3 in 1 i-Size manual

Convaid EZ Rider instructions

Convaid

Convaid EZ Rider instructions

Mountain Buggy Cosmopolitan instructions

Mountain Buggy

Mountain Buggy Cosmopolitan instructions

BOB Revolution owner's manual

BOB

BOB Revolution owner's manual

CBX ONIDA FLEX user guide

CBX

CBX ONIDA FLEX user guide

DOM 446 owner's manual

DOM

DOM 446 owner's manual

doona S1 user guide

doona

doona S1 user guide

Hartan Racer GT instructions

Hartan

Hartan Racer GT instructions

KIDDY SPORT N MOVE manual

KIDDY

KIDDY SPORT N MOVE manual

manuals.online logo
manuals.online logoBrands
  • About & Mission
  • Contact us
  • Privacy Policy
  • Terms and Conditions

Copyright 2025 Manuals.Online. All Rights Reserved.