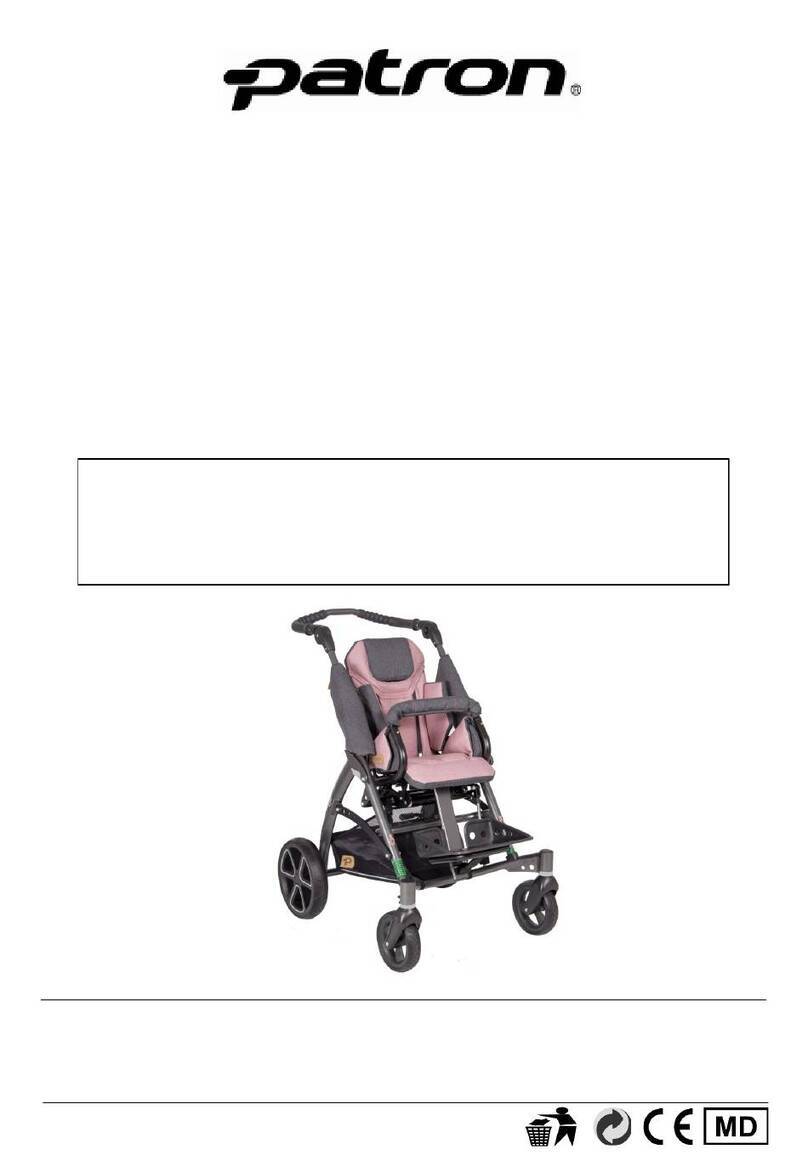
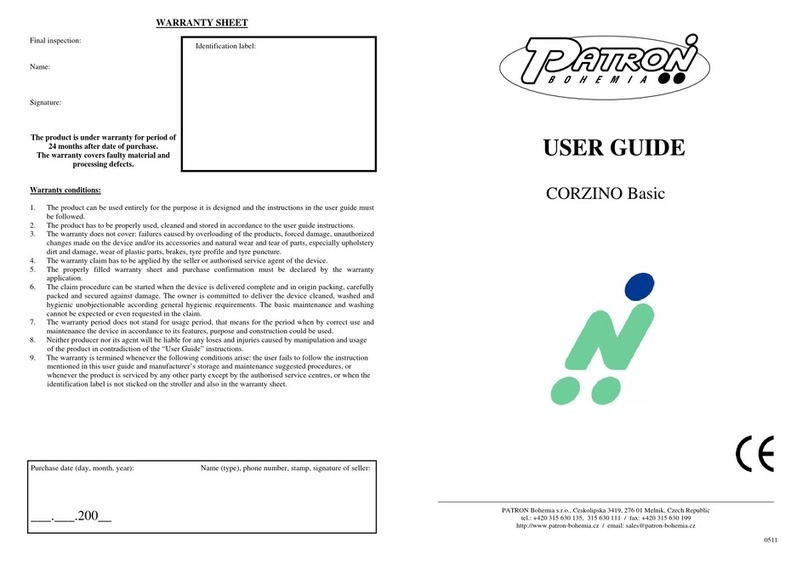
Patron TOM 5 Streeter User manual

WARRANTY SHEET
Final inspection:
Name:
Signature:
Warranty conditions:
1. The product can be used entirely for the purpose it is designed and the instructions in the user guide must
be followed.
2. The product has to be properly used, cleaned and stored in accordance to the user guide instructions.
3. The warranty does not cover: failures caused by overloading of the products, forced damage, unauthorized
changes made on the device and/or its accessories and natural wear and tear of parts, especially upholstery
dirt and damage, wear of plastic parts, brakes, tyre profile and tyre puncture.
4. The warranty claim has to be applied by the seller or authorised service agent of the device.
5. The properly filled warranty sheet and purchase confirmation must be declared by the warranty applica-
tion.
6. The claim procedure can be started when the device is delivered complete and in origin packing, carefully
packed and secured against damage. The owner is committed to deliver the device cleaned, washed and
hygienic unobjectionable according general hygienic requirements. The basic maintenance and washing
cannot be expected or even requested in the claim.
7. The warranty period does not stand for usage period, that means for the period when by correct use and
maintenance the device in accordance to its features, purpose and construction could be used.
8. Neither producer nor its agent will be liable for any loses and injuries caused by manipulation and usage
of the product in contradiction of the “User Guide”instructions.
9. The warranty is termined whenever the following conditions arise: the user fails to follow the instruction
mentioned in this user guide and manufacturer’s storage and maintenance suggested procedures, or when-
ever the product is serviced by any other party except by the authorised service centres, or when the iden-
tification label is not sticked on the stroller and also in the warranty sheet.
Purchase date (day, month, year): Name (type), phone number, stamp, signature of seller:
___.___.200__
The product is under warranty for period of
24 months after date of purchase.
The warranty covers faulty material and
processing defects.
USER GUIDE
OPTIONALACCESSORIES - REHAB STROLLERS
(except of rehab-buggies all types)
141124
Manufacturing and Distribution:
PATRON Bohemia a.s.
Českolipská 3419
CZ- 27601 Mělník, Česká Republika
tel.: +420-315 630 111
fax.: +420-315 630 199
http:// www.patron.eu

Hood
fit - remove the side paddings in the upper part of backrest and
the hood brackets put into both hood attachments on the
backrest frame, side parts of the hood upholstery fasten with
plastic clips to the chassis, or unzip and put into the net pocket.
The hood can adjust by pushing onto the hood frame.
remove - press the hood fittings releases and pull the hood out
of the hood attachments could be rolled out.
2
Abductor block
Seat the child into the stroller and find the appropriate place of the wedge.
Take the child out of the stroller. Find the relevant fitting hole on the seat base.
Place the wedge in the seat (the narrower part should aim to the backrest) and
secure the wedge by a nut.
Headwings
Sit the child into the stroller, to determine right height of headwings.
Take the child out of the stroller. Put headwings in determined
height onto the backrest, and secure it using straps with Velcro.
Headrest (pair)
Seat the child into the stroller and find an appropriate height of the
headrest. Take the child from the stroller. Adjust the backrest
height. Find the relevant fitting holes on the rear side of the
backrest base. Put the screws of the rest through the holes in the
upholstery and backrest base. Secure the headrest by nuts on the
backrest.
11
TOM4 BEN4 TOM5
Hood X X X
Abductor block X X X
Headrest (pair) X X X
Headwings with side fixation X N X
Headrest (pair) with neckrest X X X
Side trunkrest (pair) X X X
Hip rest (pair) X N X
Lumbar support (width 25cm, 35cm) X X X
Two points imm. belt X X X
Four points imm. belt X X X
Chest-belt addition to 4p-belt X X X
Crotch-belt addition X X N
Five point fixation belt X X X
Chest imm. belt X N N
Feet fixation X X X
H - style harness X X X
Imm. waistcoat X N X
Abduction belt X X X
Padded frame cover X X N
FlexiPads X N N
Rain cover X X N
Legsmuff - summer X X X
Legsmuff - winter X X X
Workboard X N X
Room base X N X
Bag X X X
Basket - fabric X X X
Mini footrest X N N
Extended side protection X N N
Knee block N N X
Pelvis fixation N N X
Calf rest with fixation N N X
Basket HD (steel) N N X
Tilt lock for spastic children N N X
Grab bar brackets cover N N X
Hood - summer N N X
Headrest adjustable COMFORT N N X
Headwings BASIC N X N

- if the accessories are damaged or in need of any repair, only the approved service centre is allowed for this
service. Alternatively, PATRON Bohemia a.s. customer department is available for products information.
- only PATRON Bohemia a.s. replacement parts should be used on these accessories.
- make sure you are familiar with the operation of the accessories.
- all accessories can be washed by hands; alternatively the headrest fabric, siderests fabric, hiprests fabric,
abductor block fabric, fixation waistcoat, H - style harness, abductor belt, chest fixation belt can be
washed in washing machine (max. 40°)
- never clean with ammonia based, bleach based or spirit type cleaners
- after exposure to damp conditions leave in warm environment
- store the accessories in a dry and safe place.
MAINTENANCE OF THE ACCESSORIES
10
In case of any repair on product needed or advise about particular functions, please contact below stated ap-
proved repair centre.
The repair centre is responsible as well for waste disposal of the device, accessory and packing.
Knee block
Loosen two hexagon-bolts placed on the rear side of footrest slider profile and take off the footplate. Put on the
knee block, set the position and fix the bolts into the assembly holes. Put on the footplate back into the right
position and properly tighten both hexagon-bolts.
Pelvis fixation
Unfasten the front narrower belts from the upholstery and put them through the aperture in the side plate and
upholstery of the seat. Attach the metal anchor by the nut which is fixing the position of the side plate. Unfas-
ten the back wider belts from the upholstery and put them through the aperture between the side plate and seat
base. Attach the metal anchor by the nut which is fixing the position of the side plate. Then fix the belts back to
the upholstery and tighten them according to the need.
Calf rest with fixation
Loosen two hexagon-bolts placed on the rear side of footrest slider profile and take off the footplate. Put on the
calf rest, set the position and fix the bolts into the assembly holes. Put on the footplate back into the right posi-
tion and properly tighten both hexagon-bolts.
Basket-HD (steel)
Screw the attachment adaptors for basket-HD to the back axle. Attach the basket to these adaptors by screws
with plastic rosace. Then attach the basket by belts with Velcro in front part of the stroller.
Tilt lock for spastic children
Unscrew backrest recline adjustment lever. Put tilt lock into the groove where the lever is moving and put the
second part of tilt lock onto the screw of the lever. Then screw on the lever back.
Grab bar brackets cover
Take off the grab bar and put on the plastic plug onto the grab bar bracket. Then put on the elastic cover and
fasten the rubber band onto the plastic nut placed on the bottom of the seat. Repeat the same procedure onto the
other side.
Basket - fabric
Clip the basket on the chassis frame tubes. Maximum load
capacity is 3 kg.
Side trunkrest
(pair)
Seat the child into the stroller and find an appropriate height
of the trunkrest. (The trunkrests should be in the occupant’s
arm pits.) Take the child from the stroller. Find the relevant
fitting holes on the rear side of the backrest base and ( Re-
garding strollers Tom 4 Country and Tom 5 Streeter open
zippers ) according to requested location cut the holes as big
as metal plates of the side trunkrest through the fabric cover
or artificial leather. Put the metal plates of trunkrests through
the holes you cut in the upholstery. Put the screws through the
holes in the backrest base and secure them by nuts. You can
adjust the desired width of side trunkrests by the help of hori-
zontal slots in the metal plates of side trunkrests.
Headrest (pair) with neckrest
Before fitting the headrest with neckrest adaptor study the instruc-
tions from previous chapter. For fitting the neckrest adaptor in an
appropriate height use the dry zipper. Regarding strollers Tom 4
Xcountry and Tom 5 Streeter , open the head cushion first , attach
the neckrest using Velcro and then close the cushion.
3
Hip rest (pair)
Seat the child into the stroller and find the appropriate height of the
rests. Take the child out of the stroller. Stick the dry zipper under
the backrest upholstery in the relevant height. Attach the rests with
the dry zipper to the stroller.
Lumbar support (w.25cm, 35cm)
Cut through leatherine vertical straps or fabric ( Regard-
ing Tom 4 Xcountry and Tom 5 Streeter open zippers
first ) in backrest in previously determined height, and 5
cm in width. Run Velcro through holes in backrest
(w.5cm, l.30cm), which is sewed on the lumbar support.
Lift the backrest upholstery on the sides, and glue second
part of Velcro on the metal plate - 2pcs.
Four point immobilisation belt
Mounting - run the lower straps between backrest and side cushions and
secure it using cam buckles at the rear side of the backrest. (it is necessa-
ry to turn the belt to half width).
Run upper straps through appropriate in backrest and fix them using
upper cam buckles at the rear of backrest. In case that there would be
two accessories fixed in the cam buckles, run straps through cam buckle-
sonly once, otherwise run them through the buckles backwards to fix
them.
Setting and manipulation - release all three fasteners of the belt, seat the
child into the stroller and fix the clamps. Set desired straps length using
plastic attachments, so that the belt would fixate, but not throttle the
child. Other manipulation with the belt is to be made using plastic
clamps.
Two points imm. belt
fit - fix the belt in the lowest attachments at the rear of backrest (it is
necessary to turn the belt to half width)
adjust - unbrace the fastener, seat the child into the stroller and
adjust the length of the belt. To adjust the belts length use the at-
tachments at the rear of backrest. The occupant must always feel
comfortable when using the belt.
4
Chest-belt addition to 4p-belt
The chest-belt addition put on the upper (thinner) straps of the four
point belt.
Wedge of backrest
Peel off the cover of the backrest (with Velcro). Stick
the wedge of backrest to the desired height with Velcro.
Stick the cover back.
detail
Room base
Before fitting the seat to the room base study the user guide of your stroller, chapter
“Fitting the seat in the ride direction”.
Distance between front (1) and rear - adjustable (2) wheels of the base must be
sufficient for avoiding tipping the room base while using with the seat. The
footrest of the stroller must be above the front wheels of the base.
9
Extended side protection
Mounting - the extended side protection slip-over the backrest and put it on the tubes of the handle from both
sides with the aid of four plastic loops. Upper pair of loops put on between plastic girdle on the handle and the
handle knob. The lapels of the extended side protection
secure with velcro lock. Lower part of the extended side
protection secure with strings.
Seating position - in seating position it is important that
extended side protection is crossed from behind behind
the backrest and secured with strap with velcro lock, this
strap run in by plastic triangel near the upper loop and
secure with velcro lock..
Half-seating position - extended side protection secure
with the strap with velcro-lock that is run in by plastic
triangel and buttoned up with velcro-lock in the back
part.
Lying position - leave the extended side protection
freely.In case you also buy the item hood, side hood
upholstery button up the way that the hood upholstery
would be between sides of the stroller and extended side
protection.
TOM4 TOM5

8
Workboard
Take off the safety bar. Place the work board attachments
into the holes instead of the safety bar.
Depth adjustment - release the screws underneath the board,
adjust the depth and secure the screws properly.
Legsmuff - summer
Slip the muff over the footrest and attach it by the dry zipper
bands to the handle tube.
Bag
Attach the bag to the handle by its studs. Maximum load
capacity 1 kg. Bags and rucksacks attached to the push
handle affect the stability of the stroller.
Legsmuff - winter
Attach the muff by a rubber over the backrest (take off
the hood when needed) and lash its middle part to the
undercarriage. The band from artificial leather sewed in
the muff allows use of the abductor block, 4-point imm.
belt, 2-point imm. belt, abductor belt and H-style har-
ness..
Chest imm. belt
fit - seat the child into the stroller and find the appropriate height of
the belt. Take the child from the stroller. Fit the belt on backrest by
belts, fasteners and velcro.
usage - undo the front velcro, seat the child into the stroller and
fasten the velcro in order the belt positions the child. The occupant
must always feel comfortable when using the belt.
Feet fixation
The belt is attached on the footrest with the dry zipper
straps. The occupant’s feet are immobilized by the dry zip-
per. The occupant must always feel comfortable by using the
belt.
5
Five point fixation belt
Mounting
Run lower straps between backrest and side cushions and run them through lower
cam buckles and secure them. In case that there would be two accessories fixed in
the cam buckles, run straps through cam bucklesonly once.
Run upper (thin) straps through made holes and holes in the backrest panel, and
run them through upper cam buckles, and secure them. In case that there would be
two accessories fixed in the cam buckles, run straps through cam bucklesonly once
(reversing - adjust according to your needs).
Setting and manipulation
Unlock the cam buckles and sit the child int o the stroller. Determine where the
crotch belt will be. Set length of straps using cam buckles, so that the belt would
fixate, but not throttle the child. Take the child out of the stroller. Find appropriate
holding hole on the seat metal plate for crotch belt placement, and cut through
leatherine strip on seat accordingly. Run through this hole the hook with strip
(without screw and nut). Put the screw onto the hook and hole in the metal plate,
and secure it with nut on the bottom of the seat metal plate (in case you have abductor block, you do not have to
run hook with strip through the upholstery, but you can fix it under the abductor block).

H-style harness
Mounting - Run lower straps between backrest and side
cushions and run them through lower cam bucklesplaced
on the back plate of the backrest, in case that there would
be two accessories fixed in the cam buckles, run straps
through cam bucklesonly once, otherwise run them
through the buckles backwards to fix them.
Run upper straps through these holes and run them
through upper cam buckles placed on the back plate of the
backrest. In case that there would be two accessories fixed
in the cam buckles, run straps through cam buckles only
once, otherwise run them through the buckles backwards
to fix them.
Setting and manipulation - Open the buckles, fold up the
fixation. Sit the child into the stroller, put the fixation on
and secure the child using buckles. Adjust the length of the
straps with plastic clip, so that the abduction belt would
fixate, but not throttle the child. Other manipulation is to
be made using buckles.
Setting and manipulation - Open the clips, fold up the fixation. Sit the child into the stroller,
put the fixation on and secure the child using clips. Adjust the length of the strips with plastic
clip, so that the abduction belt would fixate, but not throttle the child. Other manipulation is to
be made using clips.
6
Immobilisation waistcoat
Mounting - Run side straps between backrest and side cushions. Run lower side straps through lower cam buc-
kles which are positioned on the rear plate of the backrest, in case that there would be two accessories fixed in
the cam buckles, run straps through cam bucklesonly once, otherwise run them through the buckles backwards
to fix them.
Remove, remove slider buckles from upper straps and run straps through holes in uphostery and backrest plate.
Put the buckles back on.
Setting and manipulation - Unzip the waiscoat, unlock buckles on higher straps. Sit the child into the stroller,
zip the waistcoat and lock the buckles. Adjust the length
of the straps with plastic clip, so that the abduction belt
would fixate, but not throttle the child. Other manipula-
tion is to be made using buckles
Setting and manipulation - Unzip the waiscoat, unlock
clips on higher strips. Sit the child into the stroller, zip
the waistcoat and lock the clips. Adjust the length of the
strips with plastic clip, so that the abduction belt would
fixate, but not throttle the child. Other manipulation is
to be made using clips.
detail
detail
Rain cover
The rain cover should be pulled over the stroller, so the hood and also
the footrest would be covered. Store clean and dry.
Abduction belt
Mounting - Run the straps with velcro through these holes
(TOM: run straps with velcro through the gap between the bac-
krest upholstery and seat). Lace the straps behind the back tube
of the seat and secure using velcro.
Run upper thinner straps between backrest and side cushions
and secure with upper cam buckles placed on the back plate of
the backrest. In case that there would be two accessories fixed in
the cam buckles, run straps through cam bucklesonly once,
otherwise run them through the buckles backwards to fix them.
Setting and manipulation - Open the buckles and sit the baby
into the stroller. Fasten the buckles. Adjust the length of the
straps with plastic clip, so that the abduction belt would fixate,
but not throttle the child. Other manipulation is to be made only
using plastic buckles.
7
Padded frame cover
Attach the cover over the handle tube and over the handle fold-
ing release with the dry zipper.
FlexiPads
The set of six different cush-
ions enable the seat width
adjustments according the
occupant’s needs.
Other manuals for TOM 5 Streeter
1
This manual suits for next models
2
Other Patron Stroller manuals

Patron
Patron JACKO Specification sheet

Patron
Patron TOM 5 Specification sheet

Patron
Patron TOM 5 Streeter User manual

Patron
Patron Buggy User manual

Patron
Patron TOM 4 Xcountry MINI User manual

Patron
Patron MAARS User manual

Patron
Patron LAMBDA 3R User manual

Patron
Patron CORZINO Basic User manual

Patron
Patron FIGO User manual

Patron
Patron CORZO Xcountry 30 User manual