manuals.online logo
Brands
  1. Home
  2. •
  3. Brands
  4. •
  5. Pelican
  6. •
  7. Headlamp
  8. •
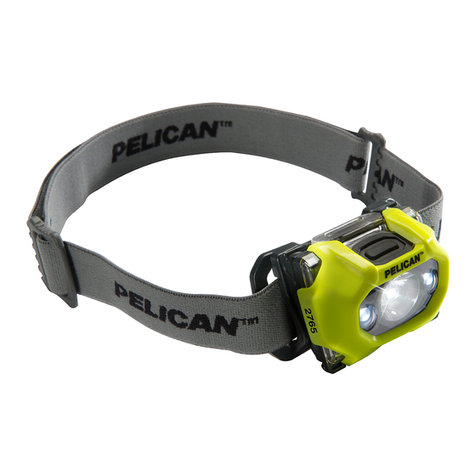
  9. Pelican 2755 LED User manual

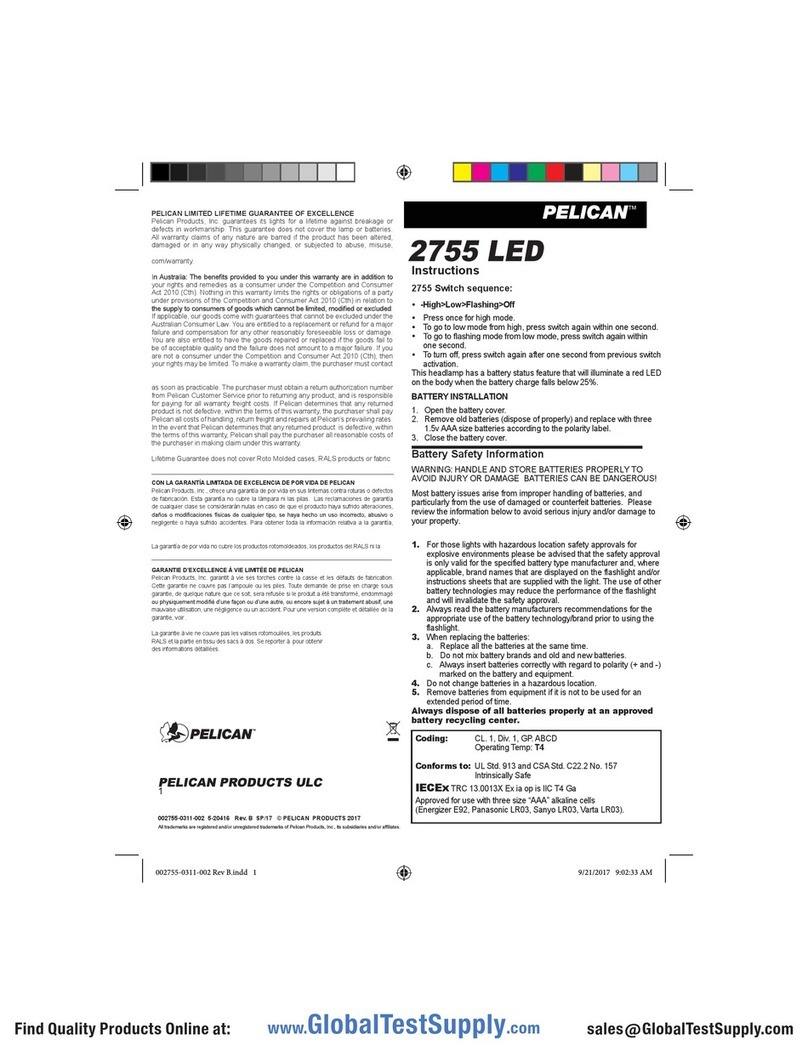
Pelican 2755 LED User manual

Instructions
2755 Switch sequence:
• -High>Low>Flashing>Off
• Press once for high mode.
• To go to low mode from high, press switch again within one second.
• To go to ashing mode from low mode, press switch again within
one second.
• To turn off, press switch again after one second from previous switch
activation.
This headlamp has a battery status feature that will illuminate a red LED
on the body when the battery charge falls below 25%.
BATTERY INSTALLATION
1. Open the battery cover.
2. Remove old batteries (dispose of properly) and replace with three
1.5v AAA size batteries according to the polarity label.
3. Close the battery cover.
Battery Safety Information
WARNING: HANDLE AND STORE BATTERIES PROPERLY TO
AVOID INJURY OR DAMAGE BATTERIES CAN BE DANGEROUS!
Most battery issues arise from improper handling of batteries, and
particularly from the use of damaged or counterfeit batteries. Please
review the information below to avoid serious injury and/or damage to
your property.
1. For those lights with hazardous location safety approvals for
explosive environments please be advised that the safety approval
is only valid for the specified battery type manufacturer and, where
applicable, brand names that are displayed on the flashlight and/or
instructions sheets that are supplied with the light. The use of other
battery technologies may reduce the performance of the flashlight
and will invalidate the safety approval.
2. Always read the battery manufacturers recommendations for the
appropriate use of the battery technology/brand prior to using the
flashlight.
3. When replacing the batteries:
a. Replace all the batteries at the same time.
b. Do not mix battery brands and old and new batteries.
c. Always insert batteries correctly with regard to polarity (+ and -)
marked on the battery and equipment.
4. Do not change batteries in a hazardous location.
5. Remove batteries from equipment if it is not to be used for an
extended period of time.
Always dispose of all batteries properly at an approved
battery recycling center.
23215 Early Ave. • Torrance, CA 90505 USA
Tel (310) 326-4700 • FAX (310) 326-3311
www.pelican.com
PELICAN LIMITED LIFETIME GUARANTEE OF EXCELLENCE
Pelican Products, Inc. guarantees its lights for a lifetime against breakage or
defects in workmanship. This guarantee does not cover the lamp or batteries.
All warranty claims of any nature are barred if the product has been altered,
damaged or in any way physically changed, or subjected to abuse, misuse,
negligence or accident. For complete warranty details, see http://www.pelican.
com/warranty.
In Australia: The benets provided to you under this warranty are in addition to
your rights and remedies as a consumer under the Competition and Consumer
Act 2010 (Cth). Nothing in this warranty limits the rights or obligations of a party
under provisions of the Competition and Consumer Act 2010 (Cth) in relation to
the supply to consumers of goods which cannot be limited, modied or excluded.
If applicable, our goods come with guarantees that cannot be excluded under the
Australian Consumer Law. You are entitled to a replacement or refund for a major
failure and compensation for any other reasonably foreseeable loss or damage.
You are also entitled to have the goods repaired or replaced if the goods fail to
be of acceptable quality and the failure does not amount to a major failure. If you
are not a consumer under the Competition and Consumer Act 2010 (Cth), then
your rights may be limited. To make a warranty claim, the purchaser must contact
Pelican Products Australia, Suite 2.33, West Wing, Platinum Bldg., Erina NSW
2250, Tel: +612 4367 7022. Any warranty claims shall be made by the purchaser
as soon as practicable. The purchaser must obtain a return authorization number
from Pelican Customer Service prior to returning any product, and is responsible
for paying for all warranty freight costs. If Pelican determines that any returned
product is not defective, within the terms of this warranty, the purchaser shall pay
Pelican all costs of handling, return freight and repairs at Pelican’s prevailing rates.
In the event that Pelican determines that any returned product is defective, within
the terms of this warranty, Pelican shall pay the purchaser all reasonable costs of
the purchaser in making claim under this warranty.
Lifetime Guarantee does not cover Roto Molded cases, RALS products or fabric
portion of backpacks. Refer to www.pelican.com/warranty for full details.
CON LA GARANTÍA LIMITADA DE EXCELENCIA DE POR VIDA DE PELICAN
Pelican Products, Inc., ofrece una garantía de por vida en sus linternas contra roturas o defectos
de fabricación. Esta garantía no cubre la lámpara ni las pilas. Las reclamaciones de garantía
de cualquier clase se considerarán nulas en caso de que el producto haya sufrido alteraciones,
daños o modicaciones físicas de cualquier tipo, se haya hecho un uso incorrecto, abusivo o
negligente o haya sufrido accidentes. Para obtener toda la información relativa a la garantía,
véase http://www.pelican.com/warranty.
La garantía de por vida no cubre los productos rotomoldeados, los productos del RALS ni la
parte de tejido de las mochilas. Más información en www.pelican.com/warranty.
GARANTIE D’EXCELLENCE À VIE LIMITÉE DE PELICAN
Pelican Products, Inc. garantit à vie ses torches contre la casse et les défauts de fabrication.
Cette garantie ne couvre pas l’ampoule ou les piles. Toute demande de prise en charge sous
garantie, de quelque nature que ce soit, sera refusée si le produit a été transformé, endommagé
ou physiquement modié d’une façon ou d’une autre, ou encore sujet à un traitement abusif, une
mauvaise utilisation, une négligence ou un accident. Pour une version complète et détaillée de la
garantie, voir http://www.pelican.com/warranty.
La garantie à vie ne couvre pas les valises rotomoulées, les produits
RALS et la partie en tissu des sacs à dos. Se reporter à www.pelican.com/warranty pour obtenir
des informations détaillées.
002755-0311-002 5-20416 Rev. B SP/17 © PELICAN PRODUCTS 2017
All trademarks are registered and/or unregistered trademarks of Pelican Products, Inc., its subsidiaries and/or afliates.
Coding: CL. 1, Div. 1, GP. ABCD
Operating Temp: T4
Conforms to: UL Std. 913 and CSA Std. C22.2 No. 157
Intrinsically Safe
IECEx TRC 13.0013X Ex ia op is IIC T4 Ga
Approved for use with three size “AAA” alkaline cells
(Energizer E92, Panasonic LR03, Sanyo LR03, Varta LR03).
2755 LED
PELICAN PRODUCTS ULC
10221-184th St. • Edmonton, Alberta T5S 2J4 Canada
Tel 780.481.6076 • FAX 780.481.9586 • www.pelican.ca
002755-0311-002 Rev B.indd 1 9/21/2017 9:02:33 AM
Instrucciones
Secuencia de funcionamiento del interruptor
del modelo 2755
•Alta potencia>Baja potencia>Intermitente>Apagado
•Pulsar una vez para activar el modo de alta potencia.
•Para pasar a baja potencia desde el modo de alta potencia, pulsar
de nuevo el interruptor antes de un segundo.
•Para pasar a luz intermitente desde el modo de baja potencia,
pulsar el interruptor de nuevo antes de un segundo.
• Para apagar la linterna pulsar de nuevo el interruptor un segundo
después de la última activación.
Esta linterna tiene una función que indica el estado de la batería,
la cual iluminará una LED de color rojo situada en el cuerpo de la
linterna cuando la carga de esta se encuentre por debajo del 25 %.
Sustitución de las baterías
1. Presione hacia abajo el cierre de la tapa del compartimento de las
pilas situada en la parte superior central del cuerpo de la linterna.
2. Abra la tapa del compartimento de las pilas.
3. Extraiga las pilas agotadas (deséchelas adecuadamente) y
sustitúyalas por tres pilas AAA de 1,5 V respetando las marcas
de polaridad.
4. Cierre la tapa del compartimento de las pilas.
IInformación sobre seguridad de las pilas
AVISO: MANIPULAR Y GUARDAR LAS PILAS CON
PRECAUCIÓN PARA EVITAR DAÑOSLAS PILAS PUEDEN SER
PELIGROSAS.
La mayoría de los problemas relacionados con las pilas surgen al
utilizarlas incorrectamente y, sobre todo, al emplear pilas falsas
o en mal estado. Consultar la información siguiente para evitar
daños personales o en el producto.
1. Los certificados de seguridad para zonas peligrosas en
entornos explosivos que ofrecen ciertas linternas solo se aplican
al fabricante de pilas especificado y, si procede, a las marcas
que aparecen en la linterna o en las hojas de instrucciones
que la acompañan. El uso de cualquier otro tipo de pilas puede
afectar al rendimiento de la linterna y anula el certificado de
seguridad.
2. Consultar siempre las recomendaciones de uso del fabricante
de las pilas antes de utilizar la linterna.
3. Para cambiar las pilas:
a. Sustituir todas las pilas a la vez.
b. No mezclar pilas de distinta marca ni pilas usadas con
nuevas.
c. Introducir las pilas correctamente siguiendo la polaridad
(+ y -) indicada en la pila y en el producto.
4. No cambiar las pilas en zonas peligrosas.
5. Sacar las pilas si el producto no va a utilizarse durante mucho
tiempo.
Desechar las pilas en un centro de reciclado homologado.
Instructions
Séquence interrupteur 2755 :
•- Haut>Bas>Clignotant>Éteint
• Appuyez une fois pour le mode Haut.
•Pour passer de Haut à Bas, appuyez de nouveau sur l’interrupteur
dans la seconde qui suit.
• Pour passer de Bas à Clignotant, appuyez de nouveau sur
l’interrupteur dans la seconde qui suit.
•Pour éteindre, appuyez de nouveau sur l’interrupteur une seconde
après la dernière action.
Cette lampe-torche possède une fonction d’état des piles qui éclaire
une LED rouge sur le boîtier de la lampe-torche lorsque la charge des
piles descend en dessous de 25 %.
Remplacement des piles
1. Exercer une pression sur la fermeture du couvercle de la batterie au
centre de la partie supérieure du corps de la lampe.
2. Ouvrir le couvercle de la batterie.
3. Retirer les anciennes piles (les éliminer commeil se doit) et les
remplacer par trois piles 1,5 V AAA en respectant la polarité.
4. Refermer le couvercle de la batterie.
Informations relatives à la sécurité des piles
AVERTISSEMENT : MANIPULER ET RANGER CORRECTEMENT
LES PILES, AFIN D’ÉVITER TOUT RISQUE DE LÉSION
CORPORELLE OU DE DOMMAGE MATÉRIEL LES PILES
PEUVENT ÊTRE DANGEREUSES!
La plupart des problèmes liés aux piles sont dus à une manipulation
incorrecte, en particulier à l’utilisation de piles endommagées ou
contrefaites. Lire attentivement les informations ci-dessous, afin
d’éviter tout risque de lésion corporelle et/ou de dommage matériel de
vos produits.
1. Noter que les agréments de sécurité de sites dangereux pour les
environnements explosifs reçus par les éclairages sont valables
uniquement pour le fabricant du type de batterie indiqué et, le cas
échéant, les noms de marques mentionnés sur la torche et/ou les
fiches d’instructions jointes au système d’éclairage. L’utilisation
d’autres technologies de piles risque de réduire les performances
de la torche et d’invalider l’agrément de sécurité.
2. Toujours lire les recommandations des fabricants de piles pour
l’utilisation appropriée de la technologie/marque de pile avant
d’utiliser les piles dans la torche.
3. Remplacement des piles :
a. Remplacer toutes les piles en même temps.
b. Ne pas mélanger les marques de pile, ni d’anciennes piles
avec des neuves.
c. Toujours insérer les piles dans le sens correct en respectant
la polarité (+ et -) indiquée sur les piles et l’appareil.
4. Ne pas changer les piles dans un site dangereux.
5. Retirer les piles de l’appareil en cas de non-utilisation pendant
une période prolongée.
Toujours mettre au rebut toutes les piles correctement dans un
centre de recyclage des piles agréé.
Código: CL. I Div. 1 GP. ABCD
Temperatura de
funcionamiento: T4
Conforme a: norma UL 913 y norma CSA C22.2 n.º 157
Seguridad intrínseca
IECEx TRC 13.0013X Ex ia op is IIC T4 Ga
Funciona con tres pilas alcalinas AAA
(Energizer E92, Panasonic LR03, Sanyo LR03, Varta LR03).
Code: CL. I Div. 1 GP. ABCD
Temp. de service: T4
Conforme à : la norme UL 913 et la norme CSA C22.2 n° 157
Intrinsèquement sûr
IECEx TRC 13.0013X Ex ia op is IIC T4 Ga
Approuvé pour une utilisation avec trois piles alcalines AAA
(Energizer E92, Panasonic LR03, Sanyo LR03, Varta LR03).
002755-0311-002 Rev B.indd 2 9/21/2017 9:02:33 AM

Other Pelican Headlamp manuals

Pelican HeadsUp Lite 2610 User manual

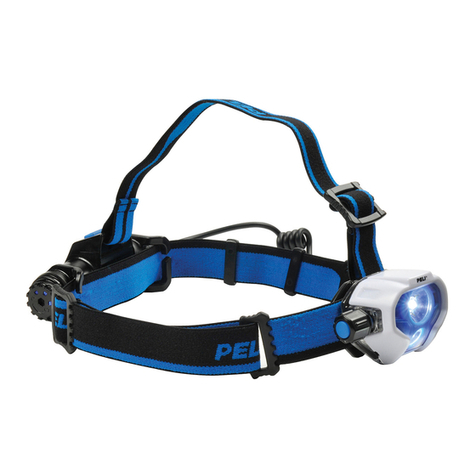
Pelican

Pelican HeadsUp Lite 2610 User manual

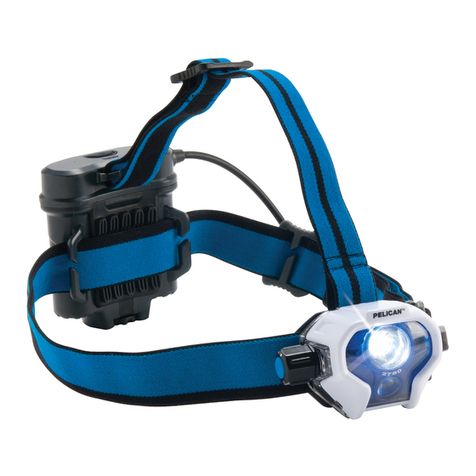
Pelican HeadsUp Lite 2690 LED User manual

Pelican

Pelican HeadsUp Lite 2690 LED User manual

Pelican 2740 LED User manual

Pelican

Pelican 2740 LED User manual

Pelican 2750 LED User manual

Pelican

Pelican 2750 LED User manual

Pelican HeadsUp Lite 2610 LED User manual

Pelican

Pelican HeadsUp Lite 2610 LED User manual

Pelican 2755 LED User manual

Pelican

Pelican 2755 LED User manual

Pelican 2780R User manual

Pelican

Pelican 2780R User manual

Pelican 2745 LED User manual

Pelican

Pelican 2745 LED User manual

Pelican 2755 User manual

Pelican

Pelican 2755 User manual

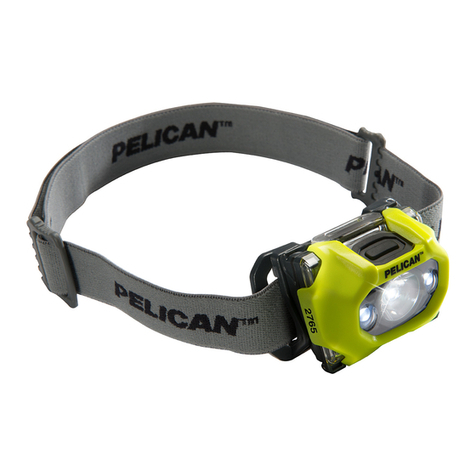
Pelican 2765 LED User manual

Pelican

Pelican 2765 LED User manual

Pelican 2745 LED User manual

Pelican

Pelican 2745 LED User manual

Pelican 2740 LED User manual

Pelican

Pelican 2740 LED User manual

Pelican 2765 LED User manual

Pelican

Pelican 2765 LED User manual

Pelican 2765 User manual

Pelican

Pelican 2765 User manual

Pelican HeadsUp Lite 2690 User manual

Pelican

Pelican HeadsUp Lite 2690 User manual

Pelican 2780 User manual

Pelican

Pelican 2780 User manual

Pelican 2760 LED User manual

Pelican

Pelican 2760 LED User manual

Pelican HeadsUp Lite 2680 User manual

Pelican

Pelican HeadsUp Lite 2680 User manual

Pelican HeadsUp Lite 2690 LED User manual

Pelican

Pelican HeadsUp Lite 2690 LED User manual

Pelican HeadsUp Lite 2600 User manual

Pelican

Pelican HeadsUp Lite 2600 User manual

Popular Headlamp manuals by other brands

Gear Light S1000 Operation guide

Gear Light

Gear Light S1000 Operation guide

Night Stick XPP-5456 operating instructions

Night Stick

Night Stick XPP-5456 operating instructions

Night Stick XPP-5450G instruction manual

Night Stick

Night Stick XPP-5450G instruction manual

WolfVision VZ-8neo quick start guide

WolfVision

WolfVision VZ-8neo quick start guide

Riester 6090 instructions

Riester

Riester 6090 instructions

WolfVision VZ-C6 installation manual

WolfVision

WolfVision VZ-C6 installation manual

AVer AVerVision F17+ quick start guide

AVer

AVer AVerVision F17+ quick start guide

Dukane 220S Specification sheet

Dukane

Dukane 220S Specification sheet

Silva SCOUT 2 Full version manual

Silva

Silva SCOUT 2 Full version manual

Razr PT800 user manual

Razr

Razr PT800 user manual

Silva 478 user guide

Silva

Silva 478 user guide

Police Security MORF B250 Faqs

Police Security

Police Security MORF B250 Faqs

Klein Tools 56034 instructions

Klein Tools

Klein Tools 56034 instructions

Steren LAM-230 manual

Steren

Steren LAM-230 manual

TECH LIGHT ST-3467 manual

TECH LIGHT

TECH LIGHT ST-3467 manual

Silva MR400 Full version manual

Silva

Silva MR400 Full version manual

Silva TRAIL RUNNER FREE 2 ULTRA manual

Silva

Silva TRAIL RUNNER FREE 2 ULTRA manual

Silva PRO LINE LR1030 Product information

Silva

Silva PRO LINE LR1030 Product information

manuals.online logo
manuals.online logoBrands
  • About & Mission
  • Contact us
  • Privacy Policy
  • Terms and Conditions

Copyright 2025 Manuals.Online. All Rights Reserved.