INTERIOR FINISHING
If products cannot be finished immediately, cover with clear plastic to protect from dirt, damage
and moisture. Remove any construction residue before finishing. Sand all wood surfaces lightly
with 180 grit or finer sandpaper. DO NOT use steel wool. BE CAREFUL NOT TO SCRATCH
THE GLASS. Remove sanding dust.
Pella products must be finished per the below instructions; failure to follow these instructions
voids the Limited Warranty.
• On casement and awnings, it is optional to paint, stain or finish the vertical and horizontal
sash edges.
• On single-hung and double-hung, do not paint, stain or finish the vertical sash edges, any finish
on the vertical sash edges may cause the sash to stick; it is optional to paint, stain or finish the
horizontal sash edges.
• On patio doors, it is optional to paint, stain or finish the vertical and horizontal panel edges.
Note: To maintain proper product performance do not paint, finish or remove the weather-
stripping, mohair dust pads, gaskets or vinyl parts. Air and water leakage will result if these
parts are removed. After finishing, allow venting windows and doors to dry completely before
closing them.
Pella Corporation is not responsible for interior paint and stain finish imperfections for any
product that is not factory-applied by Pella Corporation. Use of inappropriate finishes, solvents,
brickwash, or cleaning chemicals will cause adverse reactions with window and door materials and
voids the Limited Warranty.
For additional information on finishing see the Pella Owner's Manual or go to www.pella.com.
EXTERIOR FINISH
The exterior frame and sash are protected by aluminum cladding with our tough EnduraClad®
or EnduraClad Plus baked-on factory finish that needs no painting. Clean this surface with mild
soap and water. Stubborn stains and deposits may be removed with mineral spirits. DO NOT use
abrasives. DO NOT scrape or use tools that might damage the surface.
Use of inappropriate finishes, solvents, brickwash or cleaning chemicals will cause adverse
reactions with window and door materials and voids the Limited Warranty.
CARE AND MAINTENANCE
Care and maintenance information is available in the Pella Owner’s Manual. You can obtain an
owner’s manual by contacting your local Pella retailer. This information is also available on
www.pella.com.
IMpORTANT NOTICE
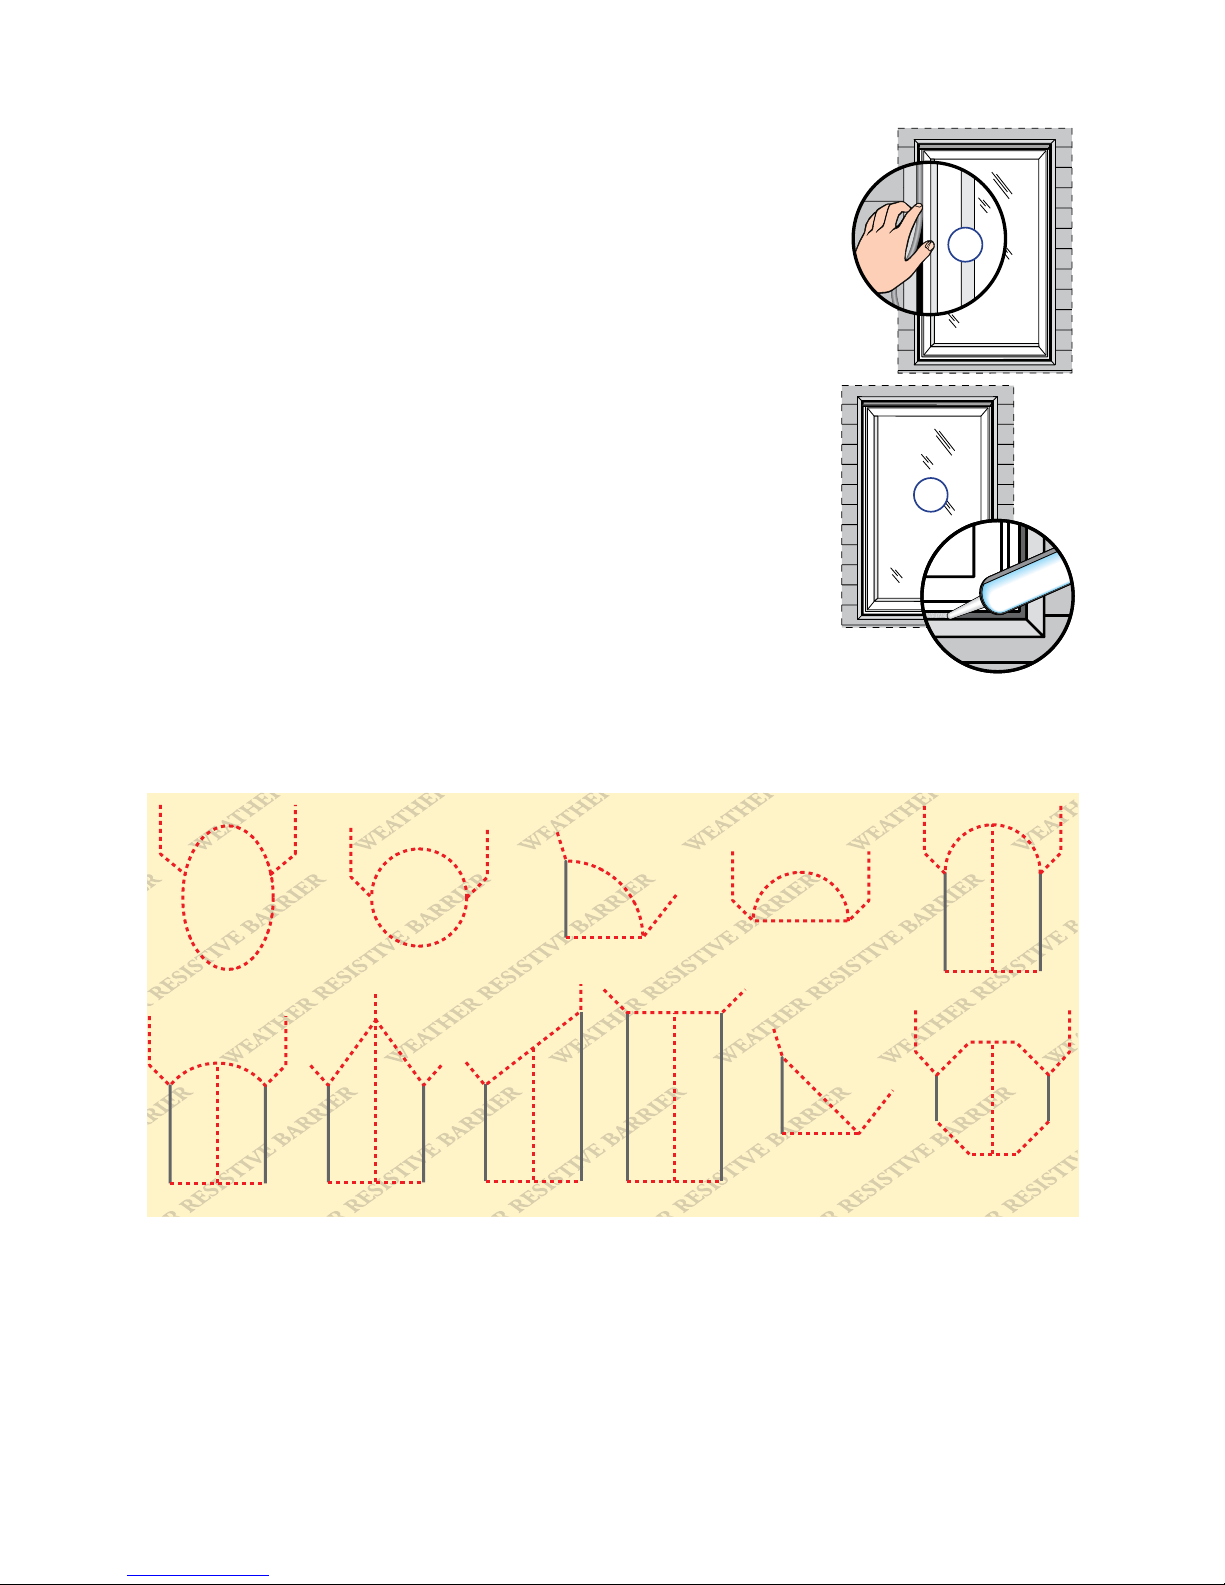
Because all construction must anticipate some water infiltration, it is important that the wall
system be designed and constructed to properly manage moisture. Pella Corporation is not
responsible for claims or damages caused by anticipated and unanticipated water infiltration;
deficiencies in building design, construction and maintenance; failure to install Pella products in
accordance with Pella’s installation instructions; or the use of Pella products in wall systems which
do not allow for proper management of moisture within the wall systems. The determination of
the suitability of all building components, including the use of Pella products, as well as the design
and installation of flashing and sealing systems are the responsibility of the Buyer or User, the
architect, contractor, installer, or other construction professional and are not the responsibility
of Pella.
Pella products should not be used in barrier wall systems which do not allow for proper
management of moisture within the wall systems, such as barrier Exterior Insulation and Finish
Systems, (EIFS) (also known as synthetic stucco) or other non-water managed systems. Except
in the states of California, New Mexico, Arizona, Nevada, Utah, and Colorado, Pella makes no
warranty of any kind on and assumes no responsibility for Pella windows and doors installed
in barrier wall systems. In the states listed above, the installation of Pella Products in barrier
wall or similar systems must be in accordance with Pella’s installation instructions.
Product modifications that are not approved by Pella Corporation will void the Limited Warranty.