manuals.online logo
Brands
  1. Home
  2. •
  3. Brands
  4. •
  5. PETKIT
  6. •
  7. Pet Care Product
  8. •
  9. PETKIT YUMSHARE SOLO WITH CAMERA SMART PET FEEDER User manual

PETKIT YUMSHARE SOLO WITH CAMERA SMART PET FEEDER User manual

USER MANUAL
V1.0-2023.11
Please read the User Manual carefully before using
the product and keep it properly.
PETKIT YUMSHARE SOLO WITH CAMERA
SMART PET FEEDER
TABLE OF CONTENTS
PRODUCT LIST
PRODUCT DESCRIPTION
PRODUCT INSTALLATION
HOW TO USE
DESCRIPTION OF APP FUNCTIONS
CLEANING AND MAINTENANCE
VIDEO GUIDE
BASIC SPECIFICATIONS
A MESSAGE TO OUR VALUED CUSTOMERS
USER SAFETY GUIDE
3
4
5
7
12
25
27
27
28
28
PRODUCT LIST
01
-3-
RETURN TO
CONTENTS
*Please confirm that the following accessories are complete before installation and use.
(Batteries or screwdrivers are not equipped and need to be purchased separately)
Desiccant
DESICCANT
User Manual
Food Bowl Hopper
Main Unit
USER MANUAL
Adapter
1
*Note: in order to provide a better user experience, we will be implementing periodic product enhancements.
Product images shown for illustration purpose only. Actual product may vary from the image shown on the
box. For any discrepancies, please refer to the actual product.
-4-
RETURN TO
CONTENTS
PRODUCT DESCRIPTION
02
Indicator Light
Wi-Fi Setting Button
PUSH Button
Main Unit
Notch
Feeding Button
Lid Release Button
Hopper
Lid
Camera
Non-detachable
Dispensing
Module
Food Bowl
Microphone
Food Bowl
Holder
Desiccant
Compartment
Food Dispensing
Vanes
Power Input
Speaker
Back of the
main unit
Interior of
the lid
PRODUCT INSTALLATION
03
-5-
RETURN TO
CONTENTS
3.1 Instaling the Main Unit
①Place the main unit on the level ground or desk.
②Li the hopper, align the notches on both sides with the PUSH button on the main unit,
and place it vertically downwards.
③Press and hold the PUSH buttons until they are fully stuck into the notches.
④Place the food bowl in the food bowl holder.
3.2 Connecting the Power Supply
Take out the power adapter cord and attach it to the power input on the back.
3.3 Installing the Backup Batteries
①Take out the screw and remove the battery cover.
②Take 5 AAA batteries and place them in the battery compartment.(Pay attention to the
orientation of the positive and negative ends)
③Put the battery cover back on and tighten down the screw. Choose whether to install
batteries based on personal actual usage needs. (Batteries need to be purchased separately,
and only alkaline batteries can be used)
-6-
RETURN TO
CONTENTS
*Note: When the battery is low, please replace the batteries in time. Check and replace the
batteries before leaving the device unattended for an extended period of time.
DESICCANT
②Open the desiccant compartment, put
the desiccant in it, and close the desiccant
compartment.
3.4 Installing the Desiccant
①Press the lid release button to the right
as shown in the picture, and li it up to
remove the lid.
AAA alkaline
batteries *5
Bottom of the
main unit
HOW TO USE
04
-7-
RETURN TO
CONTENTS
4.1 Adding Pet Food
① Open the lid to add pet food, and do not exceed the MAX line.
* Recommended kibble size of dry food ≤12mm (0.47in)
Recommended kibble size of freeze-dried food ≤9mm (0.35in)
②Cover the lid: Insert the rear side of the lid into the two holes above the hopper.
-8-
RETURN TO
CONTENTS
4.3 Manual Feeding
Hold the feeding button to dispense food. Release the button to stop dispensing food.
Indicator
light
Status
Device is not connected to
Wi-Fi
White light is
flashing slowly
White light is
flashing quickly
White light is
constantly on
Device is connecting to
Wi-Fi
Device is connected to Wi-Fi
(Camera is not working)
Green light is
constantly on
Device is connected to Wi-Fi
(Camera is working)
4.2 Indicator Light
The indicator light can be turned on/o in the app.
The indicator light is not on in battery mode.
Indicator light
-9-
RETURN TO
CONTENTS
4.4 App Binding and Activation
①Download and install PETKIT App:
②Add a device
Open the PETKIT App and enter its homepage; click “+” on the top right corner of the page
to select and add the “PETKIT YUMSHARE SOLO WITH CAMERA ”.
Download the PETKIT App in an App Store
or Android Stores
Available on
Android stores
TM
Download on the
App Store
*Note: To provide the best possible user experience and
functional optimization, the product firmware will be
irregularly upgraded. Please refer to actual situations
and promptly upgrade the firmware via PETKIT App.
Device
电量:100%
0h 8h 16h 24h
小佩智能猫牌
进食次数
5
下次出粮时间:19:30
智能双子星喂食
器
0h 8h 16h 24h
9:41
Hello, PETKIT
-10-
RETURN TO
CONTENTS
③Start connection
In the startup state, long press the Wi-Fi setup button for 5 seconds until the indicator light
on the device flashes rapidly; click Next to configure Wi-Fi and the App will start to connect
to the device. Please wait until the App displays configuration succeeds.
*This product supports 2.4GHz Wi-Fi, but not 5GHz. Please make sure you have turned on
the 2.4 band when connecting the device to the Internet.
*Note: To provide the best possible user experience and
functional optimization, the product firmware will be
irregularly upgraded. Please refer to actual situations
and promptly upgrade the firmware via PETKIT App.
-11-
RETURN TO
CONTENTS
④Read usage guidelines
Aer the device successfully connects to the PETKIT App for the first time, to ensure pet
safety and proper use of the product, please carefully read the usage guidelines and
appropriately use the product according to the instructions.
*Note: To provide the best possible user experience and
functional optimization, the product firmware will be
irregularly upgraded. Please refer to actual situations
and promptly upgrade the firmware via PETKIT App.
DESCRIPTION OF APP
FUNCTIONS
05
-12-
RETURN TO
CONTENTS
5.1 Device Homepage
①Real-time video
View your pet's status in real-time.
②VLOG
Click , and the system will
automatically generate vlogs of your pet.
This section displays up to the last 7 days
of video.
③YUMSHARE today (Timeline)
Clips captured are categorized as visit, eat
and feed through AI algorithm. You can click
any of them for more details.
*Only pictures can be viewed when PETKIT
Care+ Cloud Service is not subscribed. Please
subscribe the Service if you want such
functions as playing back full clips, moments
and speedup playback. For specific rules,
please refer to PETKIT Care+ Service
Agreement.
*Note: To provide the best possible user experience and
functional optimization, the product firmware will be
irregularly upgraded. Please refer to actual situations
and promptly upgrade the firmware via PETKIT App.
④Function keys
Go
-13-
RETURN TO
CONTENTS
④Description of function keys
*Note: To provide the best possible user experience and
functional optimization, the product firmware will be
irregularly upgraded. Please refer to actual situations
and promptly upgrade the firmware via PETKIT App.
Click it to dispense food for your pets instantly.
(Remote control is supported.)
Extra feeding
Long press “Intercom”, and the feeder will
broadcast what you said simultaneously,
so as to have dialogues with your pets in
real time.
Intercom
Your voice is only heard when playing
back videos. (You need to turn on the
microphone first via the App.)
-14-
RETURN TO
CONTENTS
*Note: To provide the best possible user experience and
functional optimization, the product firmware will be
irregularly upgraded. Please refer to actual situations
and promptly upgrade the firmware via PETKIT App.
Set up the feeding time and portions to
make sure your pet is feed on time.
Feeding plans
-15-
RETURN TO
CONTENTS
*Note: To provide the best possible user experience and
functional optimization, the product firmware will be
irregularly upgraded. Please refer to actual situations
and promptly upgrade the firmware via PETKIT App.
5.2 Three Ways to Play Videos
①Highlight playback
You can preview 4-second videos that are sped up by clicking them in the Timeline.
Aer subscribing the PETKIT Care+ Cloud Service, click the Timeline on the homepage of
the device to play back full clips, highlight with speedup options.
-16-
RETURN TO
CONTENTS
*Note: To provide the best possible user experience and
functional optimization, the product firmware will be
irregularly upgraded. Please refer to actual situations
and promptly upgrade the firmware via PETKIT App.
②Full clips playback
Switch the tag to “Playback” to watch complete video clips.
-17-
RETURN TO
CONTENTS
*Note: To provide the best possible user experience and
functional optimization, the product firmware will be
irregularly upgraded. Please refer to actual situations
and promptly upgrade the firmware via PETKIT App.
③Speedup playback
When playing full video clips, click “ . . . ” on the top right corner to choose the speed as
needed, or long press the center of video frame to directly switch to 2x play.
-18-
RETURN TO
CONTENTS
*Note: To provide the best possible user experience and
functional optimization, the product firmware will be
irregularly upgraded. Please refer to actual situations
and promptly upgrade the firmware via PETKIT App.
5.3 Delete Video Clips
①Method 1: Delete videos in the Timeline; ②Method 2: Delete videos in VLOG. Click
the video you want to remove, turn its play
tag to “Full” and click the “ . . . ” on the top
right corner to delete the video.
You are entitled to delete any video.
-19-
RETURN TO
CONTENTS
5.4 Privacy Protection
①Camera permissions: You are entitled to turn the camera on or o as needed.
*Note: To provide the best possible user experience and
functional optimization, the product firmware will be
irregularly upgraded. Please refer to actual situations
and promptly upgrade the firmware via PETKIT App.
If it is turned o, any video footage fails to be captured.
C
amera Switch
If you turn off the camera,live steaming and
playback will not be available,but feeding
plan(s) still work.
-20-
RETURN TO
CONTENTS
*Note: To provide the best possible user experience and
functional optimization, the product firmware will be
irregularly upgraded. Please refer to actual situations
and promptly upgrade the firmware via PETKIT App.
(1) Customize the detection time periods of the camera
You can personalize the time slots to turn on the camera, and beyond those, the camera is
turned o automatically.
Working Period The Entire Day
C
amera is turned on during set time.
C
ustom Period
C
amera is turned on during set time.
Add Camera Working Period

Other PETKIT Pet Care Product manuals

PETKIT FRESH ELEMENT User manual

PETKIT

PETKIT FRESH ELEMENT User manual

PETKIT Fresh Element 3 NEW User manual

PETKIT

PETKIT Fresh Element 3 NEW User manual

PETKIT Fresh Element Gemini User manual

PETKIT

PETKIT Fresh Element Gemini User manual

PETKIT PURA MAX User manual

PETKIT

PETKIT PURA MAX User manual

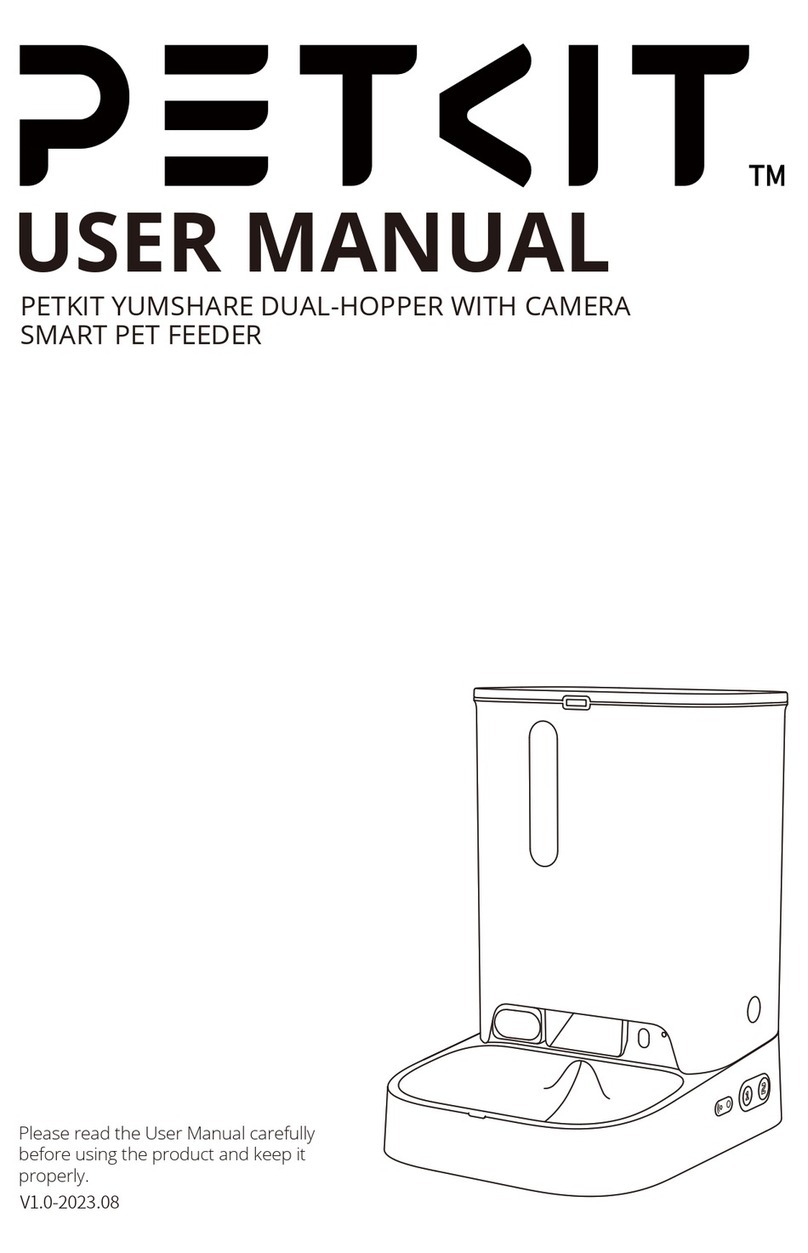
PETKIT YUMSHARE DUAL-HOPPER WITH CAMERA SMART PET... User manual

PETKIT

PETKIT YUMSHARE DUAL-HOPPER WITH CAMERA SMART PET... User manual

PETKIT SUS304 User manual

PETKIT

PETKIT SUS304 User manual

PETKIT AIRSALON MAX User manual

PETKIT

PETKIT AIRSALON MAX User manual

PETKIT 490SPCIGY User manual

PETKIT

PETKIT 490SPCIGY User manual

PETKIT T3 User manual

PETKIT

PETKIT T3 User manual

PETKIT W2S User manual

PETKIT

PETKIT W2S User manual

PETKIT Eversweet Solo User manual

PETKIT

PETKIT Eversweet Solo User manual

PETKIT Fresh Element Solo User manual

PETKIT

PETKIT Fresh Element Solo User manual
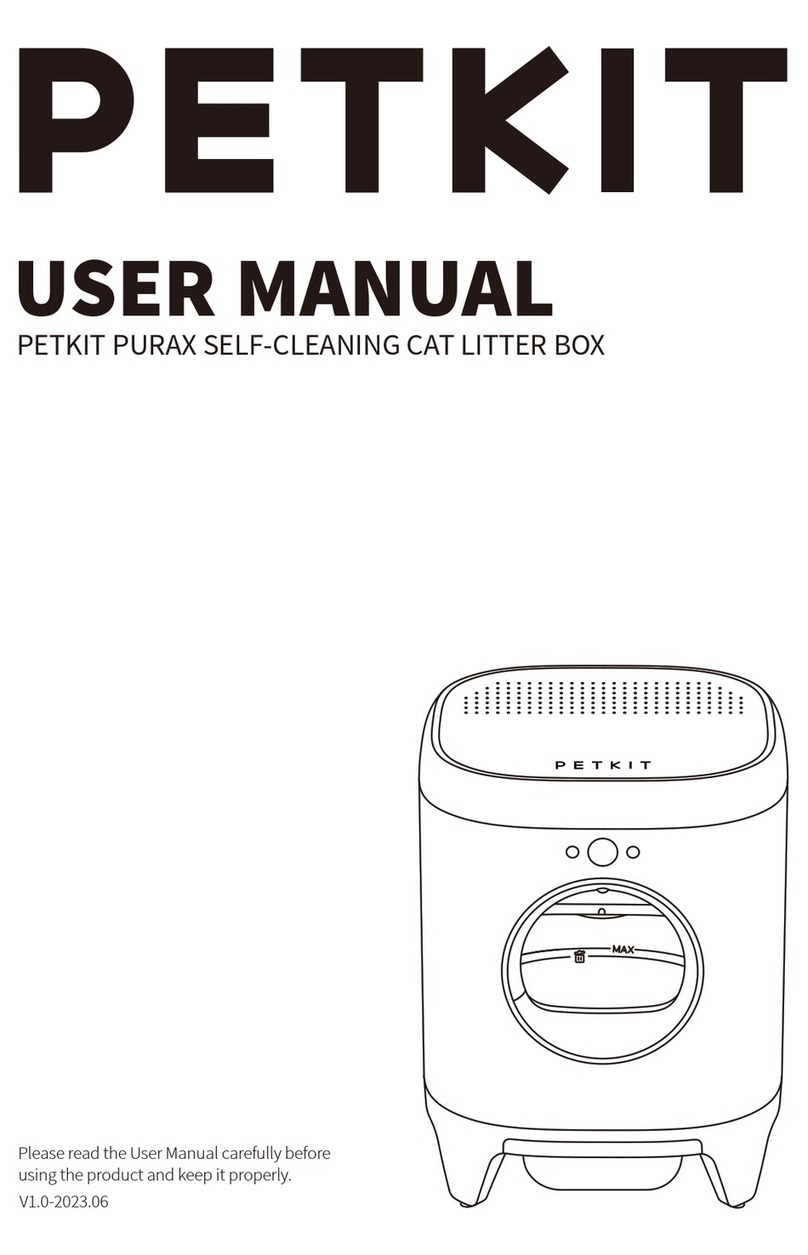
PETKIT PURA MAX User manual

PETKIT

PETKIT PURA MAX User manual

PETKIT Fresh Element Solo User manual

PETKIT

PETKIT Fresh Element Solo User manual

PETKIT T4 User manual

PETKIT

PETKIT T4 User manual

PETKIT F1 User manual

PETKIT

PETKIT F1 User manual

PETKIT VACUBE User manual

PETKIT

PETKIT VACUBE User manual

PETKIT Fresh Element Mini Pro User manual

PETKIT

PETKIT Fresh Element Mini Pro User manual

PETKIT Eversweet Solo 2 User manual

PETKIT

PETKIT Eversweet Solo 2 User manual

PETKIT PURA X User manual

PETKIT

PETKIT PURA X User manual
Popular Pet Care Product manuals by other brands

Spot-on Virtual Fence user manual

Spot-on

Spot-on Virtual Fence user manual

SureFlap Microchip Pet Door instruction manual

SureFlap

SureFlap Microchip Pet Door instruction manual

Pet Gear EASY STEP 1 instruction manual

Pet Gear

Pet Gear EASY STEP 1 instruction manual

Catit Pixi user manual

Catit

Catit Pixi user manual

Brilliant Pad BrilliantPad instruction manual

Brilliant Pad

Brilliant Pad BrilliantPad instruction manual

Dog Care TC01-C1 user manual

Dog Care

Dog Care TC01-C1 user manual

GlucoRx Vet TD-4268 manual

GlucoRx

GlucoRx Vet TD-4268 manual

Midwest Hen Haven 62COOP Assembly instructions

Midwest

Midwest Hen Haven 62COOP Assembly instructions

Aqua One 1250-R instruction manual

Aqua One

Aqua One 1250-R instruction manual

Arf Pets APCLBS user guide

Arf Pets

Arf Pets APCLBS user guide

Num'axes Canicom 5.201 instruction manual

Num'axes

Num'axes Canicom 5.201 instruction manual

Num'axes AUTOMATIC LASER user guide

Num'axes

Num'axes AUTOMATIC LASER user guide

Pet Gear PG8140NZGAU instruction manual

Pet Gear

Pet Gear PG8140NZGAU instruction manual

DTSystems H20 1810 PLUS owner's manual

DTSystems

DTSystems H20 1810 PLUS owner's manual

Pet Gear PG9816DBG instruction manual

Pet Gear

Pet Gear PG9816DBG instruction manual

Aqua Medic Turboflotor 5000 Baby Turboflotor 5000 Twin Operation manual

Aqua Medic

Aqua Medic Turboflotor 5000 Baby Turboflotor 5000 Twin Operation manual

Aqua One ProSkim G216 manual

Aqua One

Aqua One ProSkim G216 manual

Petmate Cat Mate C50 Instructions for use

Petmate

Petmate Cat Mate C50 Instructions for use

manuals.online logo
manuals.online logoBrands
  • About & Mission
  • Contact us
  • Privacy Policy
  • Terms and Conditions

Copyright 2025 Manuals.Online. All Rights Reserved.