1/5
I'D EVAC 2019
RIG 2018
I'D S 2019
I'D L 2019
PPE INSPECTION - Inspection procedure - I’D S, I’D L I’D EVAC and RIG (160519)
I’D S, I’D L, I’D EVAC and RIG
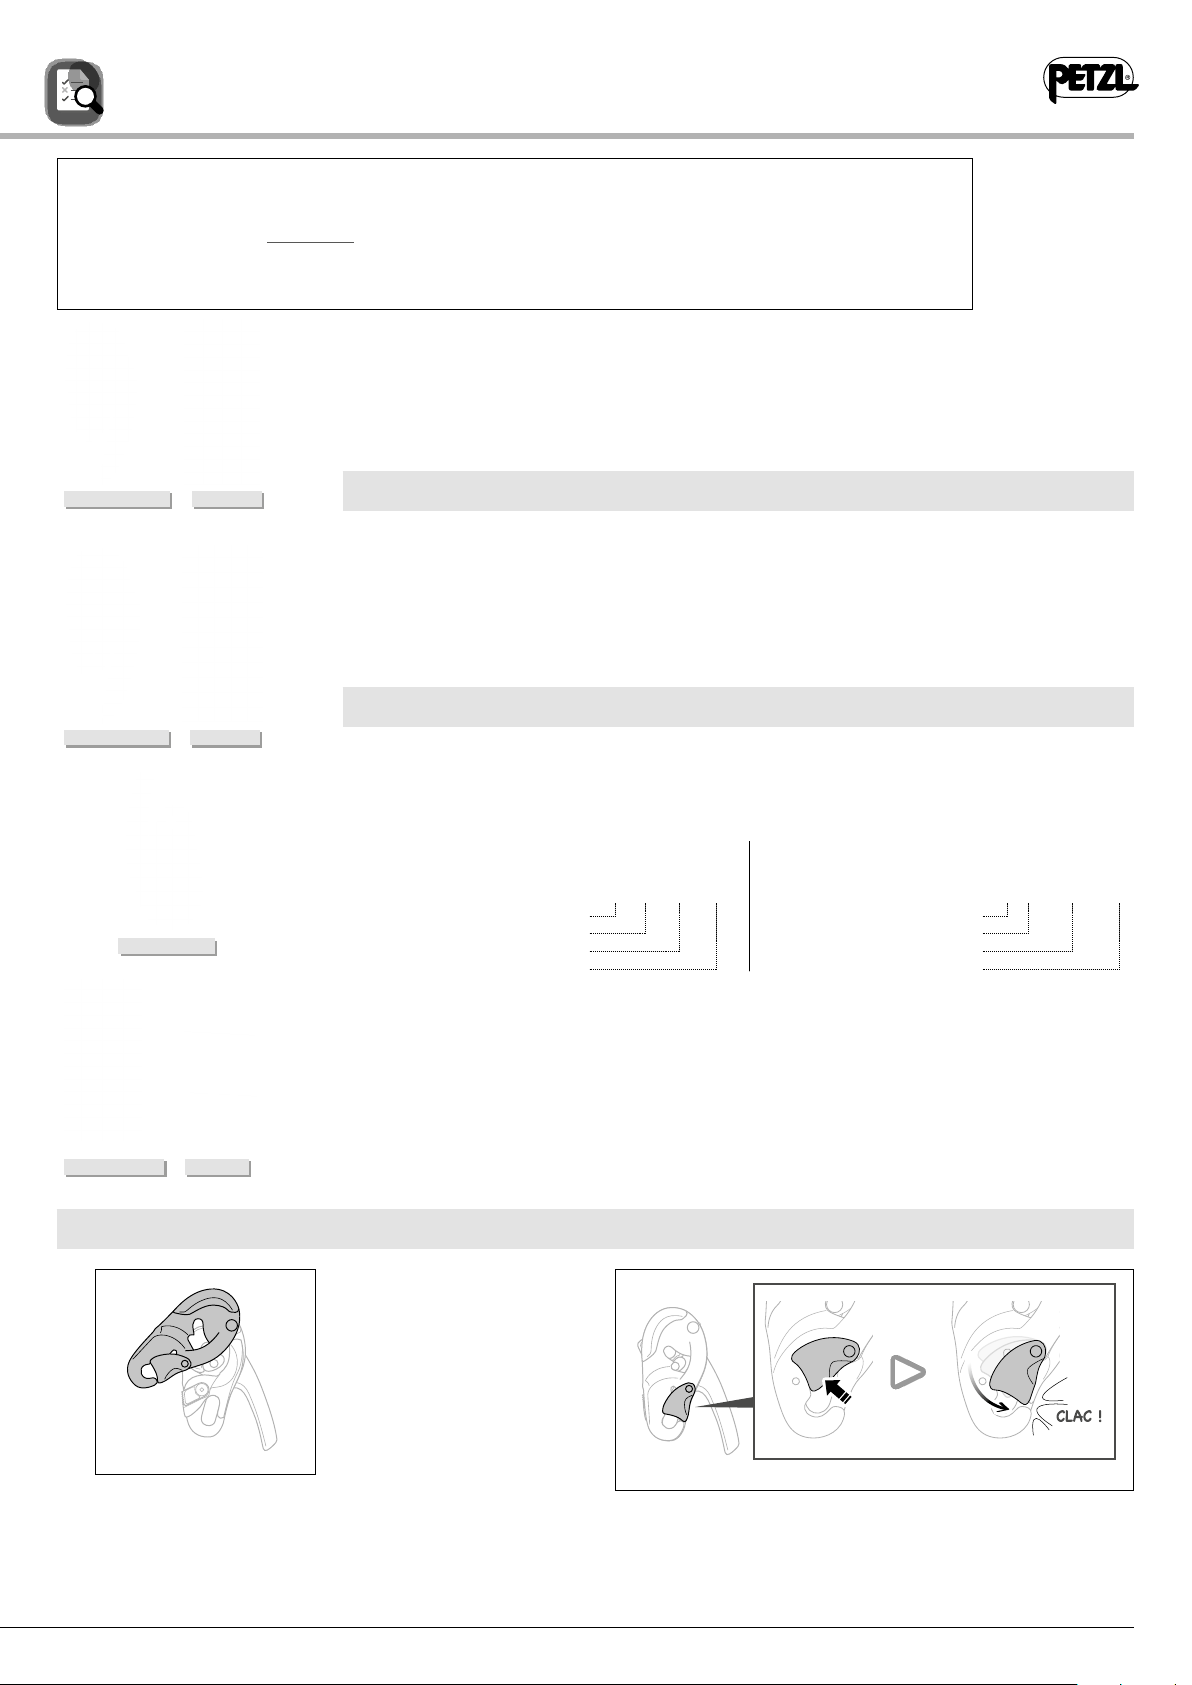
• Check the condition of the safety gate and the effectiveness of the spring.
• Check the condition
of the moving side plate
(marks, deformation, dirt,
cracks, wear...).
3. Checking the moving side plate
1. Known product history
Any PPE showing unexpected degradation should be quarantined, pending a detailed inspection.
The user should:
- Provide precise information on the usage conditions.
- Report any exceptional event regarding his/her PPE.
(Examples: fall or fall arrest, use or storage at extreme temperatures, modification outside manufacturer's
facilities...)
2. Preliminary observations
Verify the presence and legibility of the serial number and the CE mark.
Note: the serial number code on our products is evolving. Two types of code will coexist.
See below for details on each serial number code.
Code A: Code B:
00 000 AA 0000 00 A 0000000 000
Year of manufacture Year of manufacture
Day of manufacture Month of manufacture
Name of Inspector Batch number
Incrementation Incrementation
Verify that the product lifetime has not been exceeded.
Compare with a new product to verify there are no modifications or missing parts.
• In addition to routine checks for each use, PPE should regularly undergo a detailed inspection by a competent
person. Petzl recommends an inspection every 12 months and after any exceptional event in the life of the product.
• PPE inspection should be conducted with the manufacturer's Instructions for Use.
Download the instructions at PETZL.COM.
PPE Inspection
Inspection procedure
I’D S, I’D L, I’D EVAC and RIG
• Check the condition of the safety gate and the effectiveness of the spring.
• Check the condition
of the moving side plate
(marks, deformation, dirt,
cracks, wear...).
3. Checking the moving side plate
1. Known product history
Any PPE showing unexpected degradation should be quarantined, pending a detailed inspection.
The user should:
- Provide precise information on the usage conditions.
- Report any exceptional event regarding his/her PPE.
(Examples: fall or fall arrest, use or storage at extreme temperatures, modification outside manufacturer's
facilities...)
2. Preliminary observations
Verify the presence and legibility of the serial number and the CE mark.
Note: the serial number code on our products is evolving. Two types of code will coexist.
See below for details on each serial number code.
Code A: Code B:
00 000 AA 0000 00 A 0000000 000
Year of manufacture Year of manufacture
Day of manufacture Month of manufacture
Name of Inspector Batch number
Incrementation Incrementation
Verify that the product lifetime has not been exceeded.
Compare with a new product to verify there are no modifications or missing parts.
• In addition to routine checks for each use, PPE should regularly undergo a detailed inspection by a competent
person. Petzl recommends an inspection every 12 months and after any exceptional event in the life of the product.
• PPE inspection should be conducted with the manufacturer's Instructions for Use.
Download the instructions at PETZL.COM.
PPE Inspection
Inspection procedure
Pre-2019 I’D S
Pre-2019 I’D L
Pre-2018 RIG


