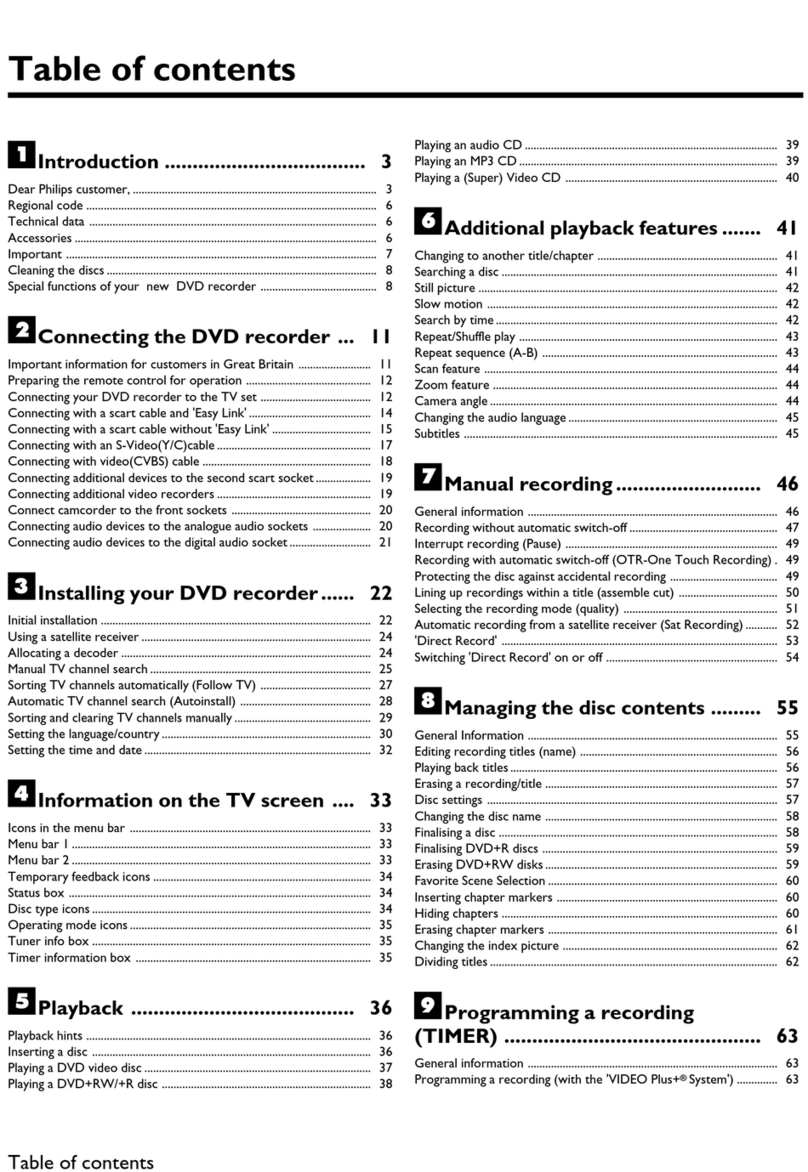
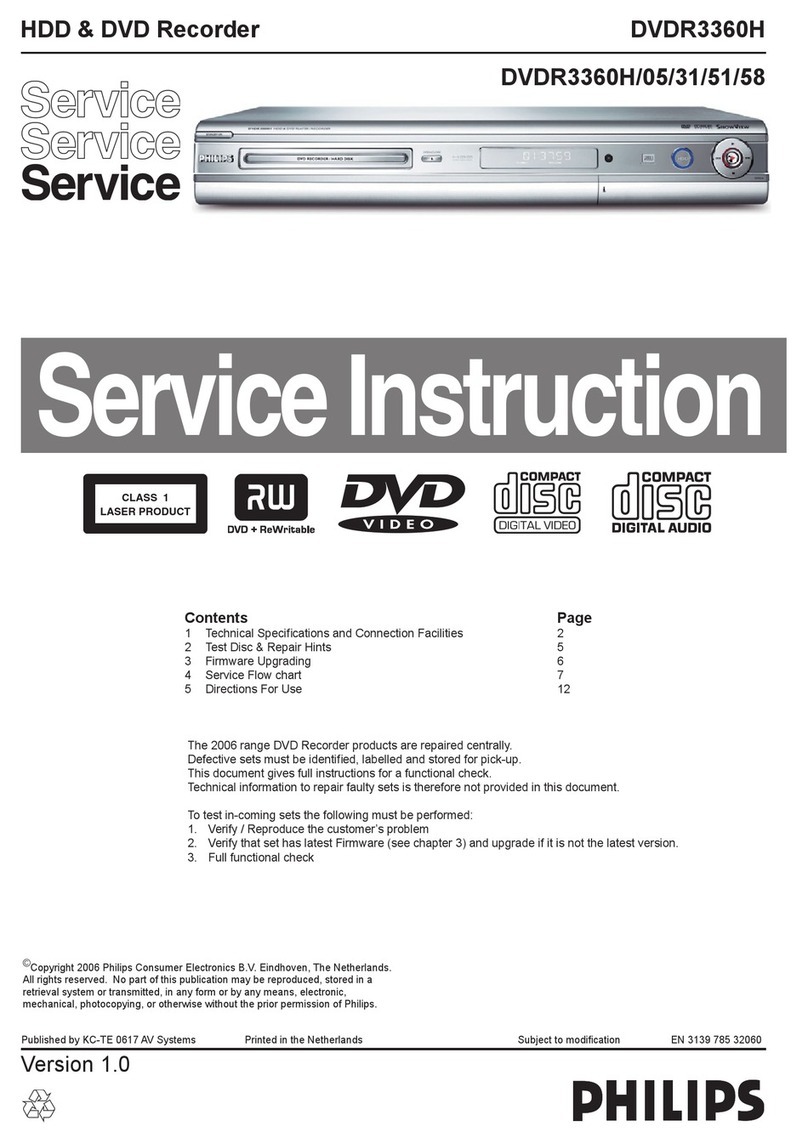
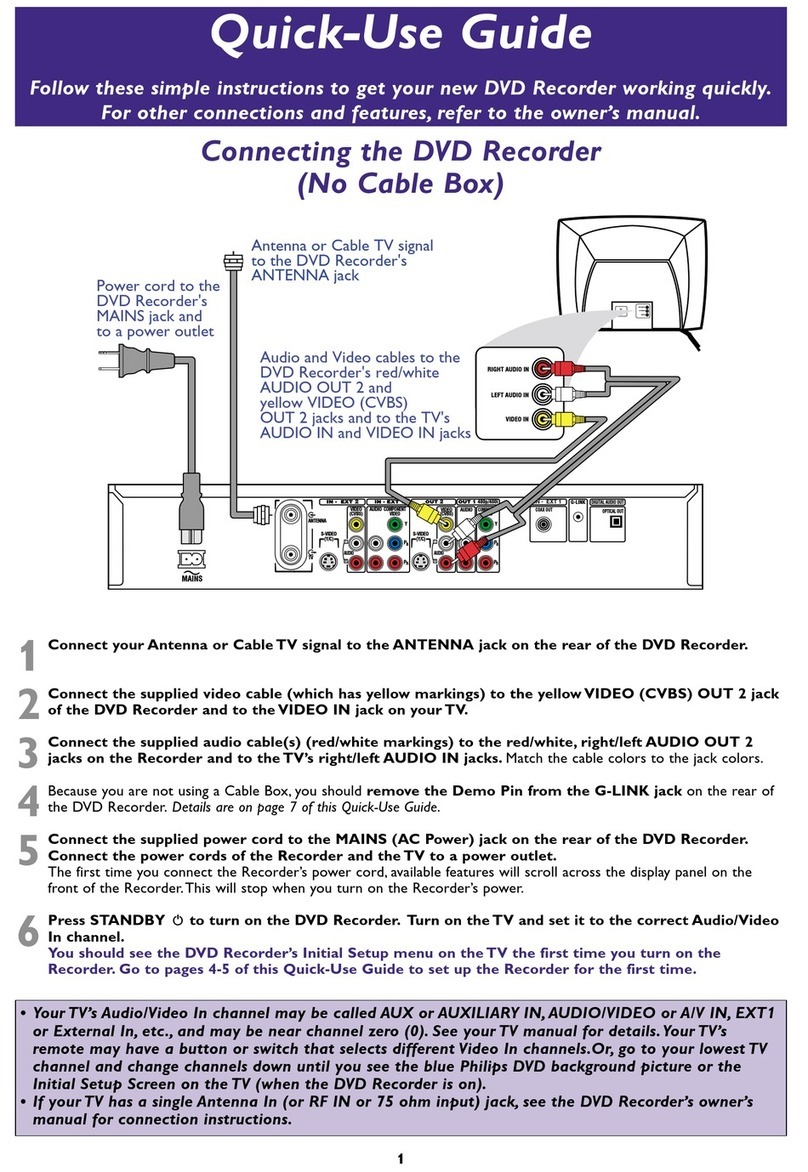
manuals.online logo
Brands
  1. Home
  2. •
  3. Brands
  4. •
  5. Philips
  6. •
  7. DVD Recorder
  8. •
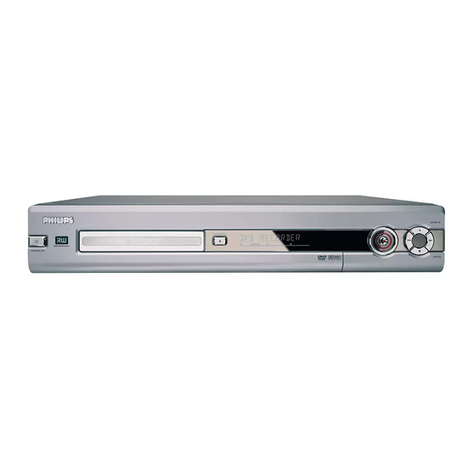
  9. Philips HDRW 720/00-02 User manual

Philips HDRW 720/00-02 User manual

Other manuals for HDRW 720/00-02

1

Other Philips DVD Recorder manuals

Philips DVDR3475 User manual

Philips

Philips DVDR3475 User manual

Philips VideoPlus DVDR75 Operating manual

Philips

Philips VideoPlus DVDR75 Operating manual

Philips DVDR3400/31 User manual

Philips

Philips DVDR3400/31 User manual

Philips DVDR75/051 User manual

Philips

Philips DVDR75/051 User manual

Philips DVDR3480/05B User manual

Philips

Philips DVDR3480/05B User manual

Philips DVDR615/05 User manual

Philips

Philips DVDR615/05 User manual

Philips DVDR3505/37 User manual

Philips

Philips DVDR3505/37 User manual

Philips DVDR615/37B Operating manual

Philips

Philips DVDR615/37B Operating manual

Philips DVP3880 User manual

Philips

Philips DVP3880 User manual

Philips DVDR1000 MkII User manual

Philips

Philips DVDR1000 MkII User manual

Philips DVDR1000/001 User manual

Philips

Philips DVDR1000/001 User manual

Philips DVDR3588H User manual

Philips

Philips DVDR3588H User manual

Philips MRV640 User manual

Philips

Philips MRV640 User manual

Philips DVDR7250H/05 User manual

Philips

Philips DVDR7250H/05 User manual

Philips DVDR3570H User manual

Philips

Philips DVDR3570H User manual

Philips DVDR3575H/37 User manual

Philips

Philips DVDR3575H/37 User manual

Philips ShowView DVDR3465H User manual

Philips

Philips ShowView DVDR3465H User manual

Philips DVDR3595H User manual

Philips

Philips DVDR3595H User manual

Philips VideoPlus DVDR75 User manual

Philips

Philips VideoPlus DVDR75 User manual

Philips DVDR615 User manual

Philips

Philips DVDR615 User manual

Philips DVDR630VR User manual

Philips

Philips DVDR630VR User manual

Philips DVDR3570H User manual

Philips

Philips DVDR3570H User manual

Philips DVDR1000/051 User manual

Philips

Philips DVDR1000/051 User manual

Philips HDR3800/31 User manual

Philips

Philips HDR3800/31 User manual

Popular DVD Recorder manuals by other brands

Sony DRX-840U user manual

Sony

Sony DRX-840U user manual

JVC DR-MH300BEK instructions

JVC

JVC DR-MH300BEK instructions

Panasonic Diga DMR-EX80S operating instructions

Panasonic

Panasonic Diga DMR-EX80S operating instructions

LG LRM-519 Warranty

LG

LG LRM-519 Warranty

Samsung DVD-R130/XAA Service manual

Samsung

Samsung DVD-R130/XAA Service manual

Pioneer DVR-65H-S Training guide

Pioneer

Pioneer DVR-65H-S Training guide

Daewoo DHD-4000D owner's manual

Daewoo

Daewoo DHD-4000D owner's manual

Medion MD 40570 user manual

Medion

Medion MD 40570 user manual

FUNAI HD-B2735 owner's manual

FUNAI

FUNAI HD-B2735 owner's manual

Sony RDR-GX355 - Tunerless DVD Recorder operating instructions

Sony

Sony RDR-GX355 - Tunerless DVD Recorder operating instructions

Panasonic DMR-EH54DEG Service manual

Panasonic

Panasonic DMR-EH54DEG Service manual

Sony DVDirect VRD-MC3 quick start guide

Sony

Sony DVDirect VRD-MC3 quick start guide

Pioneer PRV-LX1 System update

Pioneer

Pioneer PRV-LX1 System update

JVC DR-M10 instructions

JVC

JVC DR-M10 instructions

Samsung SV-DVD40 user manual

Samsung

Samsung SV-DVD40 user manual

Sony RDR-VX525 - DVDr/ VCR Combo Quick setup guide

Sony

Sony RDR-VX525 - DVDr/ VCR Combo Quick setup guide

FUNAI FDR-90E Service manual

FUNAI

FUNAI FDR-90E Service manual

LG RC298 owner's manual

LG

LG RC298 owner's manual

manuals.online logo
manuals.online logoBrands
  • About & Mission
  • Contact us
  • Privacy Policy
  • Terms and Conditions

Copyright 2025 Manuals.Online. All Rights Reserved.

Overview f functi ns 1.........................
Functioning of the device 1................................................................................
The remote control 2.........................................................................................
Additional TV functions 4..................................................................................
Front of the device 5..........................................................................................
Back of the device 6............................................................................................
Intr ducti n 7.........................................
Discs you can use 7.............................................................................................
Recording and playback 7..................................................................................
Playback only 7.....................................................................................................
Regional code 8....................................................................................................
Technical data 8...................................................................................................
Accessories 8........................................................................................................
Important 8...........................................................................................................
Important instructions for the HDD 9...........................................................
Symbols used in these operating instructions 9............................................
Cleaning the discs 9.............................................................................................
Special functions of your DVD recorder 10..................................................
C nnecting the DVD rec rder 13.........
Preparing the remote control for operation 13...........................................
Using your DVD-Recorder remote control with your TV set 13............
Connecting to the aerial 14...............................................................................
Connecting to the TV 14...................................................................................
Connection with scart cable 14........................................................................
Connection with an S-Video(Y/C)cable 15....................................................
Connection with video (CVBS) cable 15........................................................
Connection with the aerial cable only 15.......................................................
Connecting to the mains 16..............................................................................
C nnecting additi nal devices 17..........
Connecting additional devices to the second scart socket 17...................
Connecting a video recorder, DVD player. 17.............................................
Connecting an external receiver 17................................................................
Connecting additional devices only via aerial cable 18................................
Connect camcorder to the front sockets 18................................................
Connecting audio devices to the analogue audio sockets 19....................
Connecting audio devices to the digital audio sockets 19..........................
Installati n 20..........................................
Initial installation 20.............................................................................................
Using a satellite receiver 22...............................................................................
Additi nal installati n features 23........
Allocating a decoder 23......................................................................................
Manual TV channel search 23............................................................................
Sorting TV channels automatically (Follow TV) 24......................................
Automatic TV channel search 25.....................................................................
Sorting and deleting TV channels manually 26..............................................
Setting the language 26.......................................................................................
Setting the time 27...............................................................................................
Connection using a component video (Y Pb Pr/YUV) cable (no
progressive scan) 27............................................................................................
The GUIDE Plus+®System 29................
General information 29......................................................................................
Setting up the GUIDE Plus+®System 29........................................................
'Setup' 30................................................................................................................
Installation of the 'External receiver 1' 30......................................................
Finalise set-up 32..................................................................................................
Using the GUIDE Plus+ ®System 33...............................................................
General 33.............................................................................................................
The 'Grid' screen 34............................................................................................
The 'Search' screen 35........................................................................................
The 'Schedule' screen 35....................................................................................
The 'Info' screen 36.............................................................................................
The 'Editor' screen 36.........................................................................................
The 'Setup' screen 36..........................................................................................
Rec rding n the HDD 37.....................
General 37.............................................................................................................
The Time shift Buffer 37.....................................................................................
Symbols in the 'Time Shift Buffer' 38...............................................................
Navigation in the time shift buffer 38..............................................................
Mark TV shows for recording 38.....................................................................
Manual recordings 39..........................................................................................
OTR recordings 39..............................................................................................
Direct Record 40.................................................................................................
Switching 'Direct Record' on or off 40...........................................................
Automatic recording from a satellite receiver (sat recording) 40............
Recording from a video recorder/DVD player 41.......................................
Recording from a camera connected to the front sockets 41..................
Pr gramming a rec rding (TIMER) 43.
General 43.............................................................................................................
Programming recordings with the GUIDE Plus+®System 43....................
Programming recordings with the ShowView®System 44.........................
Programming recordings without the ShowView®System 45...................
How to change or delete a programmed recording (TIMER) 46.............
Cancel a programmed recording in progress 47..........................................
Playback fr m the HDD 48....................
General 48.............................................................................................................
Additional playback features 48........................................................................
Search by time 48.................................................................................................
Repeat 48...............................................................................................................
Zoom feature 49..................................................................................................
The media browser 49.......................................................................................
Symbols in the 'Media Browser' 49..................................................................
Change order for the media browser 50.......................................................
Change title settings 50......................................................................................
Edit title 51............................................................................................................
'Video edit' 51.......................................................................................................
Editing recorded titles (name) 52.....................................................................
Divide title 52.......................................................................................................
Delete titles/recordings from the HDD 53...................................................
Insert/remove chapter markers 53..................................................................
Hide chapters (sections) 54...............................................................................
Rec rding n a DVD+RW/+R 55...........
Archiving (storing) titles on a DVD+RW/+R 55..........................................
Protect disc against accidental recordings 55................................................
Playback fr m a disc 56..........................
General notes on playback 56...........................................................................
Switch over to the actual TV channel during playback 56..........................
Inserting a disc 56................................................................................................
Table f c ntents

Playing a DVD video disc 56..............................................................................
Playing a DVD+RW/ +R disc 57.......................................................................
Playing an audio CD 57.......................................................................................
Playing an MP3 CD 57.........................................................................................
Playing a (Super) Video CD 58.........................................................................
Addit nal playback features 59.............
General 59.............................................................................................................
Searching a disc 59...............................................................................................
Still picture 59.......................................................................................................
Slow motion 59....................................................................................................
Search by time 60.................................................................................................
Repeat/Shuffle play 60.........................................................................................
Repeating a passage (A-B) 60............................................................................
Scan feature 60.....................................................................................................
Camera angle 61...................................................................................................
Zoom feature 61..................................................................................................
Select the audio language 61..............................................................................
Subtitles 61............................................................................................................
Managing the disc c ntents 62..............
General 62.............................................................................................................
Favorite Scene Selection 62...............................................................................
Insert chapter markers 62.................................................................................
Hiding chapters 63...............................................................................................
Deleting chapter markers 63.............................................................................
Changing the index picture 64..........................................................................
Dividing titles 64...................................................................................................
Editing recording titles (name) 65....................................................................
Playing the entire title 65...................................................................................
Erasing recordings/titles 66................................................................................
Disc settings 66....................................................................................................
Changing the disc name 66................................................................................
Finishing editing 67...............................................................................................
Finalising DVD+R discs 67.................................................................................
Erasing DVD+RW Disc's 67..............................................................................
Disc Manager (DM) 68............................
General information 68......................................................................................
Adding a disc to the Disc Manager 68.............................................................
Removing discs from the Disc Manager 69....................................................
Searching for a title in the Disc Manager 69..................................................
Searching discs 69................................................................................................
User preferences f r the HDD 70.........
General 70.............................................................................................................
Toolbar 70.............................................................................................................
Options 70.............................................................................................................
'Audio' 70...............................................................................................................
'Zoom' 70...............................................................................................................
'Time search' 70...................................................................................................
'Subpictures' 70.....................................................................................................
Preferences 71......................................................................................................
Recording 71.........................................................................................................
'Record mode' 71.................................................................................................
'Camera mode' 71................................................................................................
'Chapters' 71.........................................................................................................
'HDD buffer' 71....................................................................................................
'Language' 71.........................................................................................................
'Sat record' 71.......................................................................................................
'Direct rec.' 72......................................................................................................
'Filter' 72................................................................................................................
'Safety Slot' 72.......................................................................................................
'Set up' 72..............................................................................................................
'System' 72.............................................................................................................
'Auto delete' 72....................................................................................................
'Jump forward' 72.................................................................................................
'Jump back' 72.......................................................................................................
'Installation' 73......................................................................................................
'Flush Buffer' 73....................................................................................................
Additi nal user preferences 74.............
General 74.............................................................................................................
Picture settings 74................................................................................................
Sound settings 75.................................................................................................
Language settings 76............................................................................................
Additional settings 76..........................................................................................
Disk feature menu 77..........................................................................................
Access c ntr l (Child L ck) 78.............
Child lock (DVD and VCD) 78.........................................................................
Activating/deactivating child lock 78................................................................
Authorising a disc 78...........................................................................................
Locking unlocked discs 78..................................................................................
Parental level control (DVD video only) 79..................................................
Activating/deactivating parental level control 79..........................................
Changing the country 79....................................................................................
Changing the PIN code 80.................................................................................
Inf rmati n n the screen f y ur TV81
Symbols in the menu bar 81..............................................................................
Menu bar 1 81.......................................................................................................
Menu bar 2 81.......................................................................................................
Field for temporary messages 81.....................................................................
Status field 81........................................................................................................
Disc type symbols 81..........................................................................................
Operating mode symbols 81.............................................................................
The symbols on your DVD recorder display 82..........................................
Messages in the DVD recorder display 82.....................................................
Bef re y u call an engineer 84..............
Gl ssar 89................................................
Rem te c ntr l c des 90.......................
Table f c ntents
1
Functi ning f the device
Your Philips DVD/HDD recorder mainly consists of the following components:
HDD rec rder
F r rec rding in a temp rary st rage n the HDD (Time shift Buffer)
As soon as you turn on the DVD/HDD recorder, it automatically records the current TV channel selected on the DVD/HDD recorder in this
temporary storage. As a result, you can 'rewind' to a scene ( D) or watch a still picture ( PAUSE 9), while the current TV show is still being
recorded.
Recordings in the time shift buffer are only temporarily available (factory settings: 3 hours).
F r st ring rec rdings n the HDD
You can mark recordings in the time shift buffer for storage on the HDD using REC/OTR n.
These recordings will be transferred to the HDD when you switch off the device using STANDBY mor when the time periode of the time shift
buffer ( e.g. 3 hours) expires.
DVD Rec rder
F r archiving (c pying) HDD rec rdings n a DVD+RW/+R
Recordings on the HDD can be selected in a title overview screen (Media Browser) and then copied (archived) on a DVD+RW/+R.
TV tuner
F r rec rdings independently fr m y ur TV set
You can use your DVD/HDD recorder as a TV tuner, allowing you the comfort of pausing a running TV show and continue watching it later. You
can make recordings on the HDD without having to turn on the TV set.
DVD/CD/MP3 player
F r playing back rec rded DVDs, CDs , CDRW/Rs
You can use this device to play back DVD+R/RWs, DVD-R/RWs, (S)Video CDs(CD-RW/R), Audio CDs(CD-RW/R), MP3 CDs(CD-RW/R) of the
respective standard.
Overview f functi ns
2
The rem te c ntr l
REC/OTR nRecord the current TV show on the HDD, mark recordings in the time
shift buffer to be stored on HDD.
Hold button down to start the recording from now. (Mark the
recording from the beginning of the actual position in the Time Shift
Buffer).
STANDBY mTo switch set on or off, interrupt menu function.
A programmed recording (TIMER) or an archiving process will be
continued until the end, and the device will then be switched off.
CAM Switch to 'Camera mode' (recording directly on the HDD and not
through time shift buffer), switch to input sockets (' S-VIDEO
(CAM1) /VIDEO (CAM1) ', ' DV IN (CAM2) ').
TV/HDD Switches scart socket EXT2 AUX-I/O of the DVD recorder directly to
the TV set. This lets you watch the picture from any unit connected to
this scart socket (set-top box, video recorder or satellite receiver) and
at the same time record from another source.
If you have not connected a device to the EXT2 AUX-I/O socket or
the device is switched off, you can use this button to switch between
TV reception and the signal of the DVD recorder.
This, however, functions only if you have connected your TV set to the
DVD recorder using a scart cable (socket EXT1 TO TV-I/O ) and your
TV set reacts to the switching.
RETURN Return to previous menu on a video CD (VCD). This also works with
some DVD discs.
Moreover, you can jump back to the previous scene of the time shift
buffer or to playback from the HDD. You can switch to the picture of
the actual running TV show with the TUNER buttoen.
EDIT Call up/Cancel the edit menu.
Call up/Cancel the menu for editing titles during playback.
TIMER sTo make a TIMER programming with/without ShowView®system or to
alter/clear programmed recordings.
SELECT Select function/value.
You can mark several titles in the media browser.
Switch on repeat play during playback from a disc.
TUNER This button lets you switch to the picture of the internal tuner (TV
channel).
During play back from the Time Shift Buffer, you can jump to the actual
TV show (live) of the selected TV channel.
SYSTEM MENU Call up/Cancel the system menu.
Depending on the operating mode from which you press this button:
•) DVD system menu: Press DISC MENU first.
•) HDD system menu: Press TUNER first.
DISC MENU For displaying the DVD menu or the index screen overview.
INFO For displaying additional information on the screen or the time shift
buffer during playback/recording on the HDD ( TUNER /BROWSER
HDD button).
Call up additional information in the GUIDE Plus+®system.
RED Red function button, in some screens the function of a 'clear' button.
GREEN Green function button
YELLOW Yellow function button
BLUE Blue function button
Overview f functi ns
3
BROWSER HDD Call up/cancel the overview of HDD recordings (media browser).
GUIDE/TV Call up/Cancel the GUIDE Plus+®System
AB Cursor buttons up, down in the menus.
Previous or next position in the time shift buffer during playback from
HDD.
DC Cursor buttons left, right in the menus.
Previous or next position during playback of a title from the HDD
(media browser or time shift buffer). If you hold down this button you
can faster brwose trough the recordings. The speed will increase
automatically.
OK Confirming of functions
Starting the playback from the beginning in the 'Media Browser'.
STOP hStop playback
Hold down the button to open and close the disc tray.
PAUSE 9If this button is pressed during playback, the DVD recorder switches to
pause. You will see a still picture. If this button is pressed during
recording in the 'Camera mode', the DVD recorder switches to pause
and inserts a chapter marker.
PLAY GPlay back a recorded disc.
In the GUIDE Plus+®system: OK button.
CHANNEL qNext programme number
CHANNEL rPrevious programme number
JUMP BACK To jump back a certain time period that can be changed in the settings
of the HDD.
NBriefly press the button during playback: Previous chapter or previous
title
Hold down the button: Search backwards
Hold down the button during the still picture: slow motion backwards
OBriefly press the button during playback: Next chapter or next title
Hold down the button: Search forwards
Hold down the button during the still picture: slow motion forward
JUMP FWD To jump forward by a certain time period that can be changed in the
settings of the HDD.
0 9 For entering numbers or characters at the corresponding entry fields.
T/C Switching between title and chapter for selection using N,O.
If 'INFO' appears in the display, the index menu from a recorded disc
will be shown or an introductory film will be played. In this case, this
function is not available.
DISC MANAGER Call up/Cancel the disc manager (DM).
ENGLISH
Overview f functi ns
4
Additi nal TV functi ns
With the enclosed multicode remote control you can control the main functions of your TV set.
To do this, you must first enter a code number that corresponds to the make of your TV set.
You will find a summary of all available remote control commands on the last page of this manual.
How to enter this code number you will read in the chapter ' Using your DVD-Recorder remote
control with your TV set'.
TV VOLUME qIncrease TV volume
TV VOLUME rReduce TV volume
For the following functions you need to hold down the •TVbutton (on the left side) and then
select the function you need with the appropriate button.
STANDBY mSwitch on/off TV set
0 9 Number buttons 0 - 9
CHANNEL qTo select a higher programme number
CHANNEL rTo select a lower programme number
Additional TV functions for Philips TV-sets if supported from the TV. You need to hold down the •
TV button (on the left side).
T/C switch Teletext (TXT) on/off
TIMER sClock display on the screen on/off
RETURN To return to the previous selected TV program/ previous menu step
SYSTEM MENU Call up the System Menu from the TV
B,AIn the menus cursor up/down
D,CIn the menus cursor left/right
OK Confirm functions or settings
C l ur butt ns Colour buttons for special functions
TUNER Switching the TV from the external sockets to the internal tuner.
Overview f functi ns
5
Fr nt f the device
STANDBY-ON m: To switch device off / on, interrupt a function.
TRAY LED : Red light around the disc tray indicates recording on a
DVD+RW/+R.
OPEN/CLOSE J: Open/close disc tray.
GUIDE : Call up/Cancel the GUIDE Plus+®System When GUIDE
Plus+®is active, this button lights up white.
OK : To confirm the entry/function.
HDD : Call up the media browser (overview of recordings on the
HDD).
During a recording on the HDD this button lights up blue.
UP DOWN : Cursor buttons up, down in the menus.
Moves cursor up/down in the GUIDE Plus+®system
Previous or next title in the time shift buffer during playback from
HDD.
LEFT RIGHT : Cursor buttons left, right in the menus.
Previous or next position during playback of a title from the HDD
(media browser or time shift buffer).
n: Stores the current TV show on the HDD, mark recordings in the
time shift buffer to be stored on HDD.
Red light around the nbutton indicates:
•) a recording on a DVD+RW/+R (archiving of titles)
•) storing of a recording(s) on the HDD.
G: Play back a recorded disc or a title on the HDD
N: : select previous title/search backwards
O: : select next title/search forwards
h: Interrupt playback/recording (Cameramode)
Behind the flap at the righthand c rner n the fr nt
Switching between the sockets VIDEO (CAM1) ,S-VIDEO
(CAM1) is done automatically. If a signal is available at both sockets at
the same time, the signal at the S-VIDEO (CAM1) socket has priority.
If you change the socket (unplug), you must re-select the socket.
(Button CHANNEL rand then CHANNEL q)
S-VIDEO (CAM1) : Connection of SVHS/Hi8 camcorders or
SVHS/Hi8 video recorders (programme number 'CAM1')
Yell w s cket
VIDEO (CAM1) :Vide input s cket: Connection of
camcorders or video recorders (programme number 'CAM1')
White/red s cket
L AUDIO R (CAM1) :Audi input s cket left/right :
Connection of camcorders or video recorders (programme
number 'CAM1')
DV IN (CAM2) : digital video input (DV format only), IEEE 1394,
FireWire to connecting a digital camcorder or other suitable
device (programme number 'CAM2').
ENGLISH
Overview f functi ns
6
Back f the device
4MAINS Connection to the mains supply (230V/50Hz)
ANTENNA IN Connection of the aerial
TV OUT Connection of the aerial cable to the TV set
EXT2 AUX-I/O Connection of an additional device (satellite receiver,
set-top box, video recorder, camcorder, ...). Input for RGB,
S-video signals, input/output for CVBS (video) signals
EXT1 TO TV-I/O Connection of a TV set. Input for RGB, S-video
signals, input/output for CVBS (video) signals
Output s ckets (AUDIO/VIDEO OUT)
S-VIDEO OUT (Y/C) Connection of an S-Video compatible TV set
VIDEO OUT (CVBS) Yellow cinch socket for the connection of a
TV set with video input (CVBS, Composite Video).
AUDIO OUT L/R White/red cinch socket for the connection of a TV
set with audio input sockets or an additional device.
COMPONENT VIDEO OUT
Red/blue/green cinch sockets for the connection of an additional
device with Component Video input (interlaced, no progressive
scan).
Output s ckets (DIGITAL AUDIO OUT)
COAX OUT
For the connection of a digital audio device using a coaxial
cable(cinch cable).
OPTICAL OUT
For the connection of a digital audio device using an optical cable
(Toslink).
Output s cket (GLINK™)
G-LINK Connection of the supplied G-LINK™ transmitter (remote
control) for an external receiver such as satellite receiver, set-top
box, cable TV box.
Overview f functi ns
7
Welcome to the growing family of owners of PHILIPS equipment.
Thank you for buying a HDRW 720/00-02 .
Time-shift TV viewing is possible with the hard disk drive (HDD) in
your DVD-Recorder./Hard Disk By storing the recording in a time shift
buffer, you can 'rewind' to a scene you missed while the current TV
show is still being recorded.
Recordings in the time shift buffer will be automatically deleted e.g.
after 3 hours if the period of the time shift buffer is set to 3 hours
(factory setting).
Moreover, you can play back a DVD disc or a recorded title from the
HDD while the current TV channel is being recorded in the
background.
You can store recordings from the time shift buffer on the built-in
HDD and transfer (archive) them later on a DVD+RW/+R disc.
Furthermore your Philips DVD Recorder /Hard Disk is a device for
recording on DVD+RW/+R Discs and for playing digital video discs see
next chapter. In the rest of the user manual the DVD Recorder/Hard
Disk will be mentioned as DVD-Recorder.
Please take the time to read this operating manual before using your
DVD Recorder. It contains important information on how to set up
and operate the device.
We hope you will enjoy your new DVD Recorder / Hard Disk,
your Philips team!
If you have any problems operating the device, please read the section
entitled 'Before you call an engineer'. If this doesn't help you to
resolve the problem, please call the cust mer supp rt service for
your country.
The telephone numbers and e-mail addresses can be found at the end
of this instruction manual.
You can also visit the website 'http://www.p4c.philips.c m' .
Discs y u can use
The following discs can be used in your DVD recorder for playback
and recording:
Rec rding and playback
DVD+RW (Digital Versatile Disc + rewriteable)
uses phase change media, the same technology on which
rewritable CDs are based. A high-performance laser is
used to change the reflective properties of the recording
layer; this process can be repeated more than a thousand
times.
DVD+R (Digital Versatile Disc + recordable)
Unlike a DVD+RW disc, this disc can only be written to
once. If it is not finalised after a recording, further
recordings can be added to it. Old recordings can be later
deleted but they can no longer be overwritten. The
deleted recordings (titles) are marked 'Delete title'.
Before this disc can be played in a DVD player, it must be
finalised in the DVD recorder. Once this process is
complete, no further recordings can be added.
Playback nly
DVD Video (Digital Versatile Disc)
is a storage medium that combines the convenience of
the compact disc with the latest digital video technology.
DVD video uses modern MPEG2 data compression
technology that enables an entire feature film to be
stored on a single five-inch disc.
DVD-R(DVD-Recordable)
These discs can only be played back if the recording was
made in video mode and the recording was finalised.
DVD-RW (DVD-Rewritable)
These discs can only be played back if the recording was
made in video mode and the recording was finalised.
Audio CD (Compact Disc Digital Audio)
Super Audio CD
(plays only the CD layer of a hybrid SACD disc)
Video CD (Format 1.0, 1.1, 2.0)
ENGLISH
Intr ducti n
8
Super Video CD
CD-R (CD-Recordable) with Audio/MP3 content
CD-RW (CD-Rewritable) with Audio/MP3 content
Regi nal c de
DVDs must be marked 'ALL' for all regions or '2' for
region 2 to work in this device. Regional code 2 includes:
Europe, Japan, South Africa, Middle East (incl. Egypt).
Technical data
You will find more technical data on the last cover page.
V ltage: 220-240V/50Hz
P wer c nsumpti n: 38W
P wer c nsumpti n (standby): less than 3W (clock display off)
P wer utage/n p wer: Channel and timer information remain
saved for approx. 1 year, the time is saved for approx. 12 hours.
If there is power outage during a recording on the HDD (time shift
buffer) at most the last 5 minutes before the power outage will be
lost.
Operating p siti n: maximum 10 degree inclination in all directions
Ambient temperature: 15 °C - 35 °C
Humidity: 25% - 75%
Access ries
Operating instructions
Guarantee booklet
Remote control and batteries
Aerial cable
Mains cable
Scart cable (AV-Euro cable)
G-LINK transmitter
Imp rtant
ACauti n! Visible and invisible laser radiati n. If the c ver is
pen, d n t l k at the beam.
Because f the risk f eye injuries, nly qualified service
engineers sh uld pen the device and carry ut
maintenance r repair w rk.
ALASER
Typ: Semiconductor lasers InGaAlP (DVD), AlGaAs(CD)
Wavelength: 660nm (DVD), 780nm (CD)
Output power (outside the lens): 20mW (DVD+RW write),
0.8mW (DVD read), 0.3mW (CD read).
Beam divergence: 82 degrees (DVD), 54 degrees (CD)
ADanger. High v ltage! D n t pen.
D n t insert bjects int the ventilati n sl ts and fan
penings!
Y u run the risk f getting an electric sh ck.
AThe device does not contain any user-serviceable parts. Please
leave all maintenance work to qualified personnel.
AThere are some components in the DVD recorder that keep
running as long as the recorder is connected to the power supply.
To switch off the DVD recorder completely, you must unplug it
from the power supply.
AIf you disconnect the DVD recorder from the mains, make sure to
take the plug out of the wall socket and not just remove the
connector from the 4MAINS socket at the back of the unit.
Children playing near the device could suffer injuries at the free
end of the cable.
AMake sure that air can circulate freely through the ventilation slots
on the side and the fan opening at the back of the device to avoid
overheating. The device should be placed on a firm surface.
ADo not insert any objects into the openings or ventilation slots of
the device.
CThese operating instructions have been printed on non-polluting
paper.
CPlease dispose of old batteries safely.
CPlease take the packaging to your local recycling centre.
CThis electronic equipment contains several materials that can be
recycled. If you are disposing of an old device, please take it to a
recycling centre.
BDo not switch on the device immediately after transp rt from
a cold to a warm room or vice versa, or under conditions of
extreme humidity.
Wait at least three h urs after transporting the device. The DVD
Intr ducti n