6 7
Connecting a local ash on a bracket
(The Atlas will trigger a local ash on a bracket
and a remote manual ash/strobe equipped
with a Phottix Atlas)
1.Turn o the camera, ash/strobe and the Phottix Atlas
transceiver.
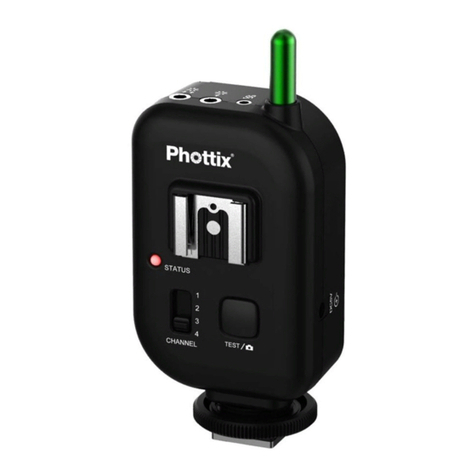
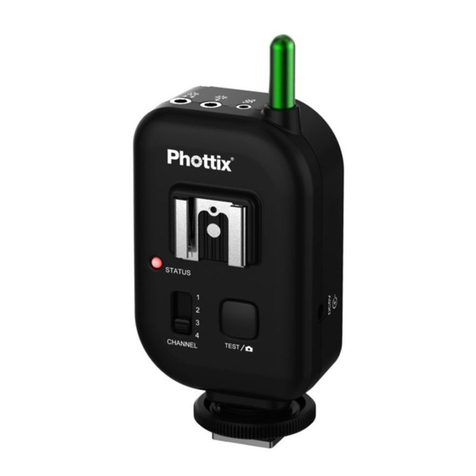
2.Mount a Phottix Atlas in the camera’s hot shoe port.
3.Connect a compatible cable to the Phottix
Atlas Flash in/out port or Flash out port.
4.Connect the opposite end of the cable to the ash’s PC
Sync port.
5.Turn on the ash and Phottix Atlas.
6.Set the camera and ash to Manual mode.
* It is not unusual for the ash to discharge once after turning
on the Phottix Atlas.
Connecting two ashes / studio lights
One Phottix Atlas can be used to trigger two studio strobes
or two ashes. Both ashes or studio strobes must be of the
same brand, model, and voltage. DO NOT USE DIFFERENT
FLASHES! Flashes have dierent trigger voltages – use the
same make and model. Phottix is not responsible for dam-
age resulting from improper use.
1.Turn o the camera, ash, and the Phottix Atlas transceiver.
2.Connect compatible cables to the Atlas Flash in/out port
and Flash out port.
3.Connect the cables to two ashes or strobes.
4.Turn on the ashes/strobes, camera, and Phottix Atlas.
5.Set the camera and ash (if used) to Manual mode.
* It is not unusual for the ash to discharge once after turning
on the Phottix Atlas.
Connecting to the camera PC Sync Port* (A
ash on the camera hot shoe, the Atlas con-
nected to the camera PC Sync port)
1.Turn o the camera, ash, and the Phottix Atlas transceiver.
2.Connect a compatible cable to the Phottix Atlas Flash
in/out port.
3.Connect the opposite end of the cable to the camera’s PC
Sync port.
4.Releasing the camera shutter will re the hot shoe mount-
ed ash, simultaneously transmitting a signal from the
camera to the PC Sync attached Phottix Atlas. The Atlas will
trigger any remote ashes or strobes connected to Phottix
Atlas transceivers on the same channel.
*on compatible cameras
Using the Atlas as a wireless remote*
1.Turn o the camera and the Phottix Atlas transceiver.
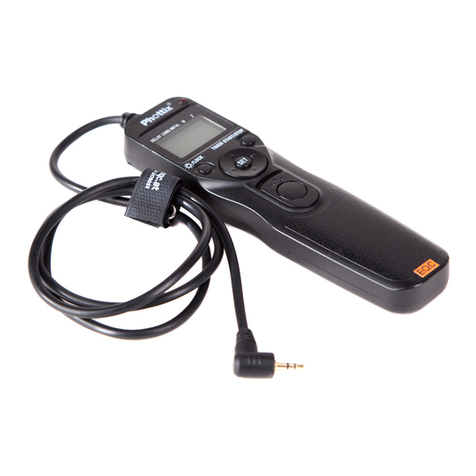
2.Attach the correct Phottix Atlas Shutter Release Cable for
your camera make and model to the Flash In/Out Port on
the transceiver.
3.Attach the other end of the cable to the camera’s remote port.
4.Turn on the camera and Phottix Atlas transceiver.
5.Consult your camera manual for specic settings for re-
mote use.
6.Using a second Phottix Atlas transceiver will allow for re-
mote wireless shutter release functions. The Atlas test but-
ton will work as a single-stage shutter button – one press
will autofocus the camera and take a photo.
* On compatible cameras
Using the Atlas as a wireless remote in WRS
Mode*
WRS Mode – Wireless Remote Sync Mode – allows you to
use the Atlas as a wireless shutter release and re remote
ashes – in sync. Using this function requires a minimum of
three Atlas transceivers – one on the camera, one to be used
as a wireless remote, and one
(or more) to trigger remote ashes and strobes.
1.Turn o the camera and the Phottix Atlas transceiver.
2.Slide the Atlas transceiver into the camera hot shoe.
3.Attach the correct Phottix Atlas Shutter Release Cable for
your camera make and model to the Flash In/Out
Port on the transceiver.
4.Attach the other end of the cable to the camera’s
En INSTRUCTION MANUAL
