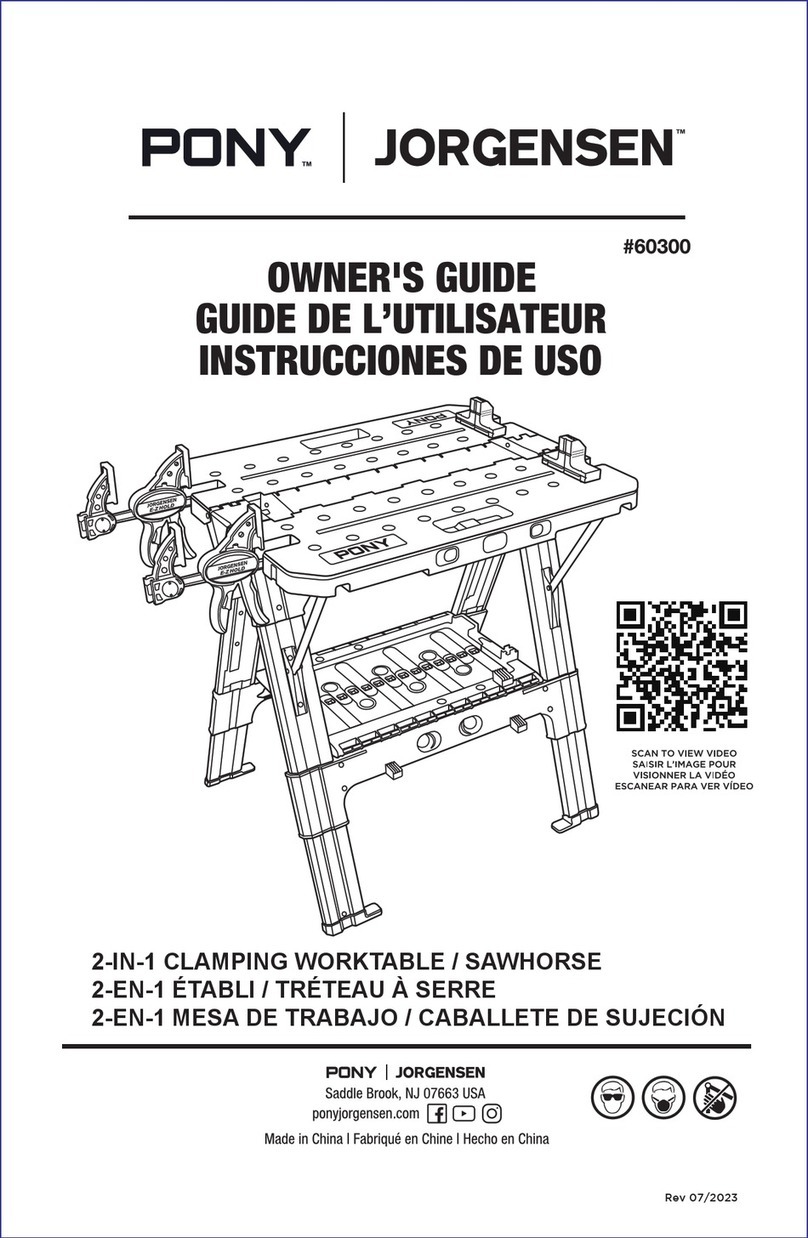
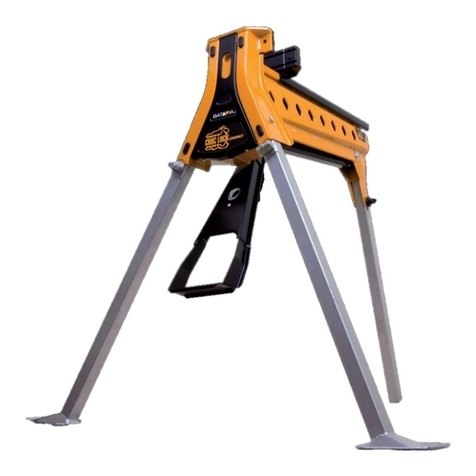
Pony JORGENSEN 60400 User manual

Made in China | Fabriqué en Chine | Hecho en China
ponyjorgensen.com
271 Mayhill Street Saddle Brook, NJ 07663 USA
OWNER'S GUIDE
GUIDE DE L’UTILISATEUR
INSTRUCCIONES DE USO
CLAMPING SAWHORSES
TRÉTEAUX À MÂCHOIRES
CABALLETES DE SUJECIÓN
#60400
SCAN TO VIEW VIDEO
SAISIR L’IMAGE POUR
VISIONNER LA VIDÉO
ESCANEAR PARA VER VÍDEO
Rev 08/2022
PUSH PUSH
PUSH
PUSH PUSH
PUSH

EN
Please read the instructions in this booklet thoroughly before use. Understanding how this
sawhorse works and setting it correctly is fundamental to obtaining a satisfactory result.
Read all safety warnings and all instructions. Failure to follow the warnings and instructions
may cause injury and misuse. Save all warnings and instructions for future reference.
WARNING: Pinch points
When unpacking, make sure that the product is intact and undamaged. If any parts are missing or
IMPORTANT
WARNING
INCLUDED
A
B
C
D
Sawhorse (2 pieces)
E-Z HOLD Clamp (2 pieces) Model # 33612
Bench Dogs (2 pieces) Model # 60401
Angle Clamp Adapter Model # 60402
x2
x2
x2
1
B
A
D
C
A
PUSH PUSH

EN
1. Do not load with more than 600 lbs. (272 kgs) on one piece sawhorse and 1200 lbs. (545 kgs) on
two sawhorses. Do not leave heavy loads on work surface for extended periods of time.
2. Ensure Sawhorse is set up on firm, level ground. Check for stability before each use.
3. Do not apply an unbalanced load which could cause the Sawhorse to tip over.
4. Do not use the Sawhorse as a stepladder or standing platform. Do not use the lower tool tray as a
stepping stool.
5. Be sure that the legs are fully opened.
6. Avoid applying excessive force when clamping with the supplied clamps.
7. Safety attire guidelines:
- Do not wear loose clothing or jewelry, which can be caught in moving parts.
- Non-skid footwear is recommended when working outdoors.
- Secure long hair or wear protective hair covering to avoid it getting caught and potential injury.
8. Recommended personal protective equipment:
- Use safety glasses.
- Use face or dust mask when working operations that create or involve dust.
9. Do not cut or drill into the Sawhorse as it may weaken supports and/or damage the product.
10. Caution required when using high temperature tools (heat guns, torch, solder iron, etc.) may
damage Sawhorse and/or reduce clamping capability.
11. Do not store flammable liquids on the Sawhorse.
12. When not in use, tools should be stored in a secure, dry place, out of the reach of children and
unauthorized usage.
Check ponyjorgensen.com for product or distributor information.
IMPORTANT SAFETY INSTRUCTIONS
SPECIFICATIONS
Scan to view introduction video
Weight Capacity for Single Sawhorse
Weight Capacity for a Pair of Sawhorse
Max Weight Capacity for Tool Tray
Max Clamping Span
Working Size
Folded Size
Weight
600 lbs
1200 lbs
20 lbs
26"
32" x 30.75" x 48"
34" x 30.75" x 5"
26 lbs
2
EN
The portable clamping Sawhorses are packaged completely folded.
To open:
1. Place the Sawhorse upright on the floor.
2. Open the legs fully until the tool tray is flat. The Sawhorse legs
and tool tray should create an “A” shape. (Figure 1)
OPERATION: OPENING THE SAWHORSE
3
Figure 2
Figure 1
Take down the trigger clamp
from the sawhorse. Remember
to take the clamp from the right
side first and then the whole
clamp can be pulled out easily.
(Figure 2)
ADJUSTABLE CLAMPS
PUSH PUSH
PUSH PUSH
A
PUSH PUSH
2
1

EN
Press the button closest to the side you are using and align the trigger clamps with the slot and
insert it fully as shown. Once the clamps are inserted, release the button. (Figure 4)
Push the bench dogs into the desired holes on the sawhorse. (Figure 5)
Adjust the trigger clamp according to your needs. (Figure 3)
4
Figure 3
Figure 4
Figure 5
13
2
Remove the stationary jaw from the
clamp by pushing the press button.
Sliding the moveable jaw along the
bar of the clamp to the other end.
Insert the trigger clamp to the slot on
the sides of the sawhorse.
PUSH
2
PUSH PUSH
1
1
PUSH PUSH

EN
PUSH
PUSH
Bench dogs and quick clamps can be used for multiple clamping options.(Figure 6)
12" E-Z HOLD Trigger Clamps can be used independently if desired.
Figure 6
5
PUSH
A
B
1 2
3
4
2
C
SPREADING
D
EXPANDING
ONE-HAND
CLAMPING
QUICK RELEASE LEVER
1
A
PUSH PUSH
PUSH PUSH
1
2

EN
Using standard off the shelf lumber, a premade project panel for the tabletop, you can
build yourself a solid wood sawhorse desk.(Figure 7)
Figure 7
6
Use the built-in tool tray for hardware and other parts storage. (Figure 8)
Figure 8
A
PUSH PUSH
A
PUSH PUSH
A
PUSH PUSH

EN
PUSH
PUSH
The Sawhorse comes with an angle clamp adapter which is perfect for joining corners when using
with the Pony angle clamp. (Figure 9)
ANGLE CLAMP ADAPTER APPLICATION
Figure 9
7
1. Lift the tool tray in the center to allow the legs to fold. (Figure 10)
2. The fold flat Sawhorse for easy transport and storage. (Figure 11)
WARNING: Keep fingers away from moving joints to avoid pinching.
*Angle Clamp sold Separately -
Model #9180
Check ponyjorgensen.com for product
or distributor information.
OPERATION: CLOSING THE SAWHORSE
Figure 10 Figure 11
A
PUSH PUSH
PUSH

EN
ponyjorgensen.com
271 Mayhill Street Saddle Brook, NJ 07663 USA
8
MAINTENANCE
Use mild soap and a damp cloth to clean the tool. Never let any liquid get inside the product;
never immerse any part of the product into a liquid.
WARRANTY
3 YEAR LIMITED WARRANTY: This product is warranted to the original purchaser to be free
from defects in material and workmanship for three years from the date of purchase.
Pony | Jorgensen will repair or replace, FREE OF CHARGE, during the warranty period, any
product that proves to be defective in material or workmanship under normal use. If repair is
not practical, Pony | Jorgensen may elect to replace the product or refund the purchase price in
exchange for return of the defective product. Please contact Pony | Jorgensen by calling
PATENTS PENDING
WARNING: Cancer and Reproductive Harm - www.P65Warnings.ca.gov.
Table of contents
Other Pony Tools Storage manuals
Popular Tools Storage manuals by other brands

Seville Classics
Seville Classics UltraHD 20108 Assembly instructions

ramia
ramia Flexible Friend Assembly instructions

Dura-Max
Dura-Max 68003 quick start guide

GAVI
GAVI Folding Workbench installation instructions

Westward
Westward 52CL54 Operating instructions & parts manual

Gearwrench
Gearwrench GSX user manual