Cayman(982)
99152 ENU 42/16 InstallationandConversionInstructions
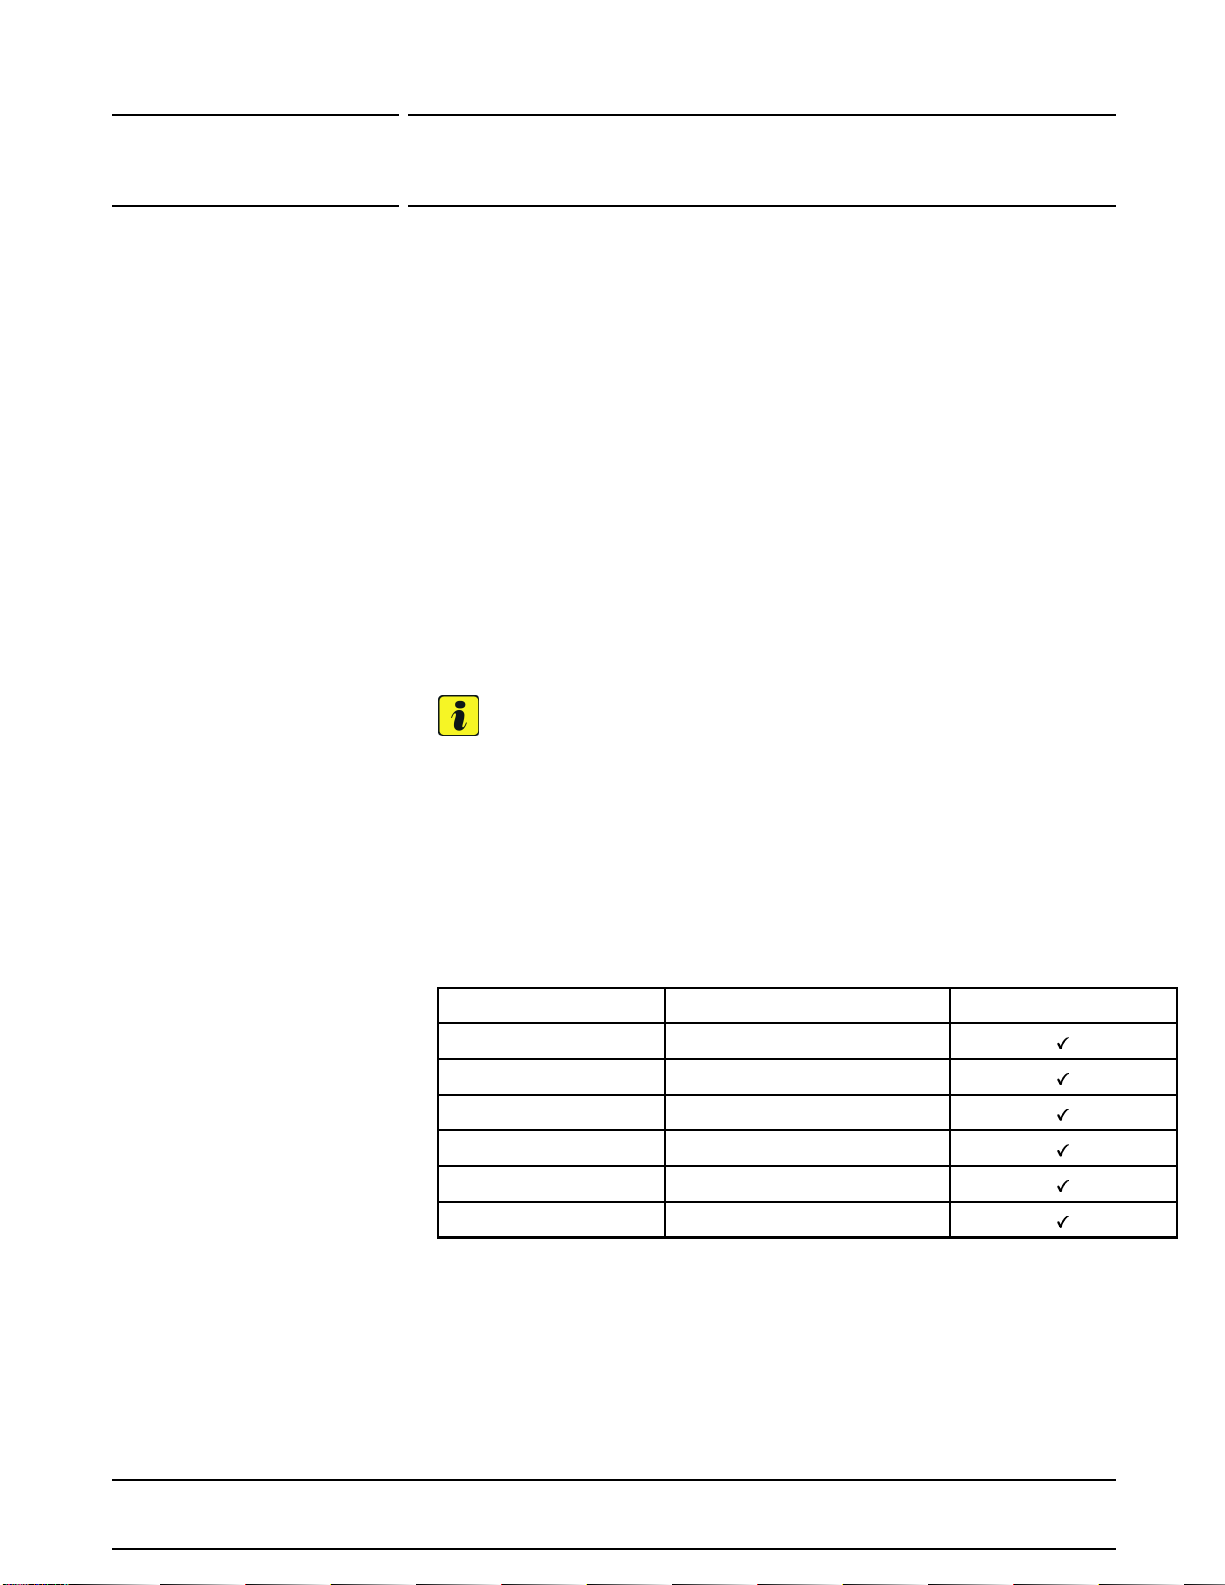
Figure 14
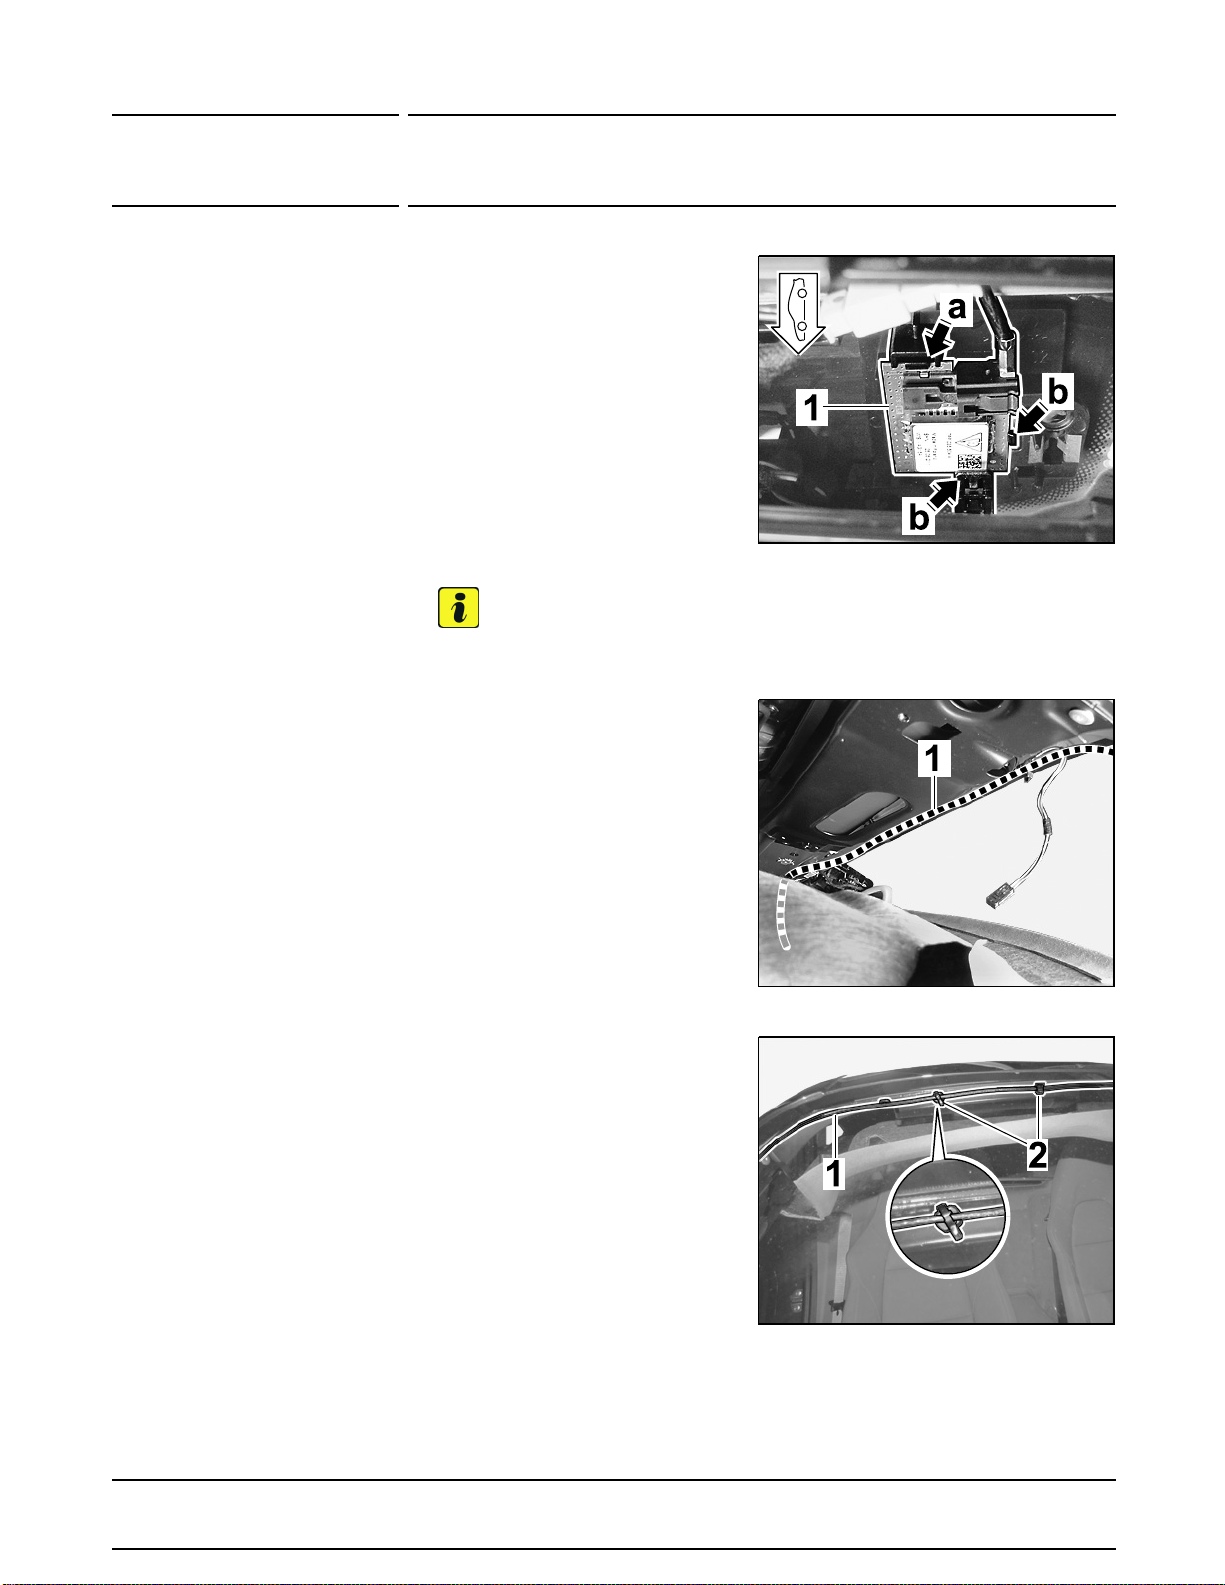
2.3.5 Clipthreeclip-ontie-wraps
Figure
14 -2- intotheA-pillar.
PullGPS antenna line
Figure 14
-1- backand fold itto form a loop
closeto theA-pillar. SecureGPS
antennaline withthetwoupper
tie-wraps.
2.4 Concludingwork
2.4.1 Screwinfasteningscrewsin the
roofconsole area.
2.4.2 InstallA-pillar trim panel at the right.
Workshop Manual '705719 Removing and installing A-pillar trim panel'
2.4.3 Installfrontrooftrim panel.
Workshop Manual '708319 Removing and installing
front roof trim panel'
2.4.4 Installrightsunvisors.
Workshop Manual '682319 Removing and installing sun
visor'
2.4.5 Installsun visorholderatthe left and right.
2.4.6 Installglove compartment.
Workshop Manual '681519 Removing and installing
glove compartment'
2.4.7 InstallPCM.
Workshop Manual '911019 Removing and installing PCM display
and operator control unit'
3Only forvehicles without Voicecontrol(I-no. OH1) or Mirrorlink/GAL(9WT):
Replacesteering-column switch.
3.1 Remove steeringwheel.
Workshop Manual '481019 Removing and installing steering
wheel'
3.2 Loosentrimpanel(onsteering-columnswitch).
Workshop Manual '481319 Removing and
installing trim panel on steering-column switch'
3.3 Convert steering-columnswitch.
3.3.1 Remove steering-columnswitch.
Workshop Manual '945019 Removing and
installing steering-column switch'
3.3.2 Removesteeringwheelelectronicscontrolunit fromthe steering-column switch
andfititonthe new steering-columnswitch.
Workshop Manual '916219
Removing and installing control unit for steering wheel electronics'
3.3.3 Installsteering-column switch.
Workshop Manual '945019 Removing and
installing steering-column switch'
3.4 Securetrimpanel (on steering-column switch).
Workshop Manual '481319 Removing and
installing trim panel on steering-column switch'
May15,2017
Page8of11 Tequipment 2017©PorscheCarsNorthAmerica, Inc.