manuals.online logo
Brands
  1. Home
  2. •
  3. Brands
  4. •
  5. PotteryBarn
  6. •
  7. Indoor Furnishing
  8. •
  9. PotteryBarn APOTHECARY SINK User manual

PotteryBarn APOTHECARY SINK User manual

Page 1 of 11


APOTHECARY SINK
ASSEMBLY INSTRUCTIONS
Date: 2013-4-3
Rev:2013-4-3 www.potterybarn.com
Page 2 of 11


Important Safety Instructions:
Always carry natural stone product vertically on its long edge.
Carrying natural stone flat WILL cause them to crack or break.
Place top as close as possible to the final desired location.
NOTE: Avoid moving the top after it has been set into place.
Keep natural stone materials in its packaging until installation and store on its edge.
When removing natural stone product from its package, always ensure it is removed vertically
on its long edge.
CAUTION:
Page 3 of 11


PROFESSIONAL INSTALLATION REQUIRED - Contractor and Plumber needed for Installation.
Please read all instructions carefully before assembling.
For your safety, assembly by two or more adults is strongly recommended.
Keep instructions for future use.
Use only vendor supplied hardware to assemble. Using unauthorized hardware could jeopardize the structural
integrity of the item.
The mounting hardware included with this item is meant for dry wall/stud mounting only. If your walls are made
from something other than drywall or wood such as concrete, brick or plaster, please consult your local
hardware store for assistance in selecting the appropriate hardware. This item is secured to the wall using either
expanding anchors and screws for drywall or just the screws if a mounting hole happens to align with a wall
stud.
Pre-assembly:
Remove all parts and hardware from the box and lay out on a clear carpeted or scratch-free work surface, as
this will avoid damaging parts during assembly. The shipping box provides an ideal work surface.
Do not dispose of any packaging or contents of the shipping carton until assembly is completed to avoid
accidentally discarding small parts or hardware.
Use the parts and hardware lists below to identify and separate each of the pieces included.
The illustrations provided allow for easier assembly when used in conjunction with the assembly instructions.
The use of power tools to aid in assembly is not recommended. Power tools can damage hardware and split
wood.
Keep all parts out of the reach of children.
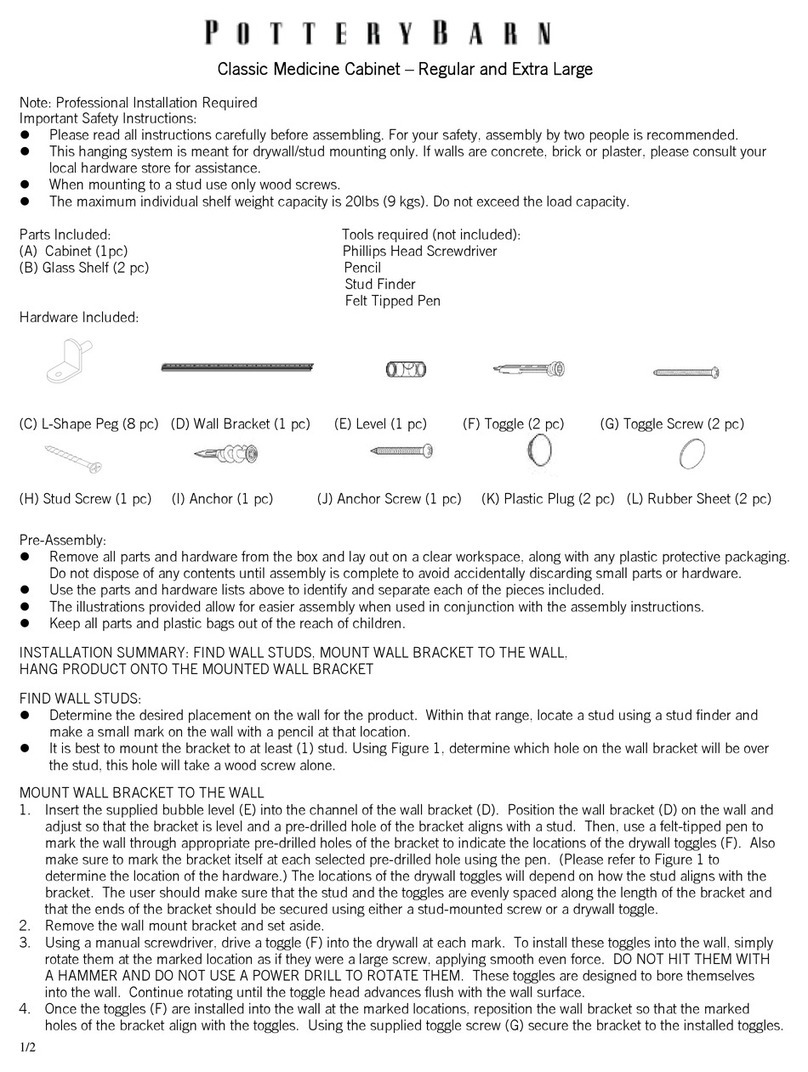
A standard 8” spread faucet should be used with this Marble top console.
Note: The Marble top is fragile. In order to preserve its integrity, it is important to limit the amount of handling it gets.
Due to the nature of this natural material, slight chipping or cracking may result with excessive handling or if placed
on a hard surface.
The Marble top, even when it is still packed, should never lie flat, except for when it is placed on top of the console or
during unpacking. Please note that arrows on the package indicate the side to be placed up while storing.
Marble should be unpacked with extreme care. Once unpacked, the marble top should be placed directly on top of
the console. If placing down, marble top should only be placed on its end and on a very soft, cushioned surface such
as a rug or thick toweling.
Note: Consoles usually need to be leveled and mounted to both wall and floor. Some hardware items needed for
proper assembly and installation are not included: ex. shim, spacer, high quality silicone or acrylic based bath
sealant, etc. DO NOT USE PLUMBERS PUTTY OR ANY OIL BASED SEALANT AS THIS WILL STAIN THE
MARBLE.
Note: Some cutting and drilling may be necessary to mount console base to wall or to shape shelves for under-sink
hardware or plumbing.
Page 4 of 11


Parts Included (Box 1 of 3):
Parts Included (Box 2 of 3):
Parts Included (Box 3 of 3):
Hardware Included (Box 2 of 3):
(L)
Anchor
(M)
L Shape Bracket
(N)
Toggle
(O)
Toggle Screw
Dia. 4 x 38mm
4x 4x 2x 2x
(P)
Bracket
(Q)
Bolt
Dia. 1/4 x 1/2”
(R)
Spring Washer
Dia. 1/4”
(S)
Flat Washer
Dia. 1/4”
(T)
Rust Proof Dowel
Dia. 6 x 30mm
2x 2x 2x 2x 6x
(A) Top Post 4x
(B) Rail 1x
(C) Mid Post 4x
(D) Knuckles 8x
(E) Bottom Post 4x
(F) Left Side Splash 1x
(G) Right Side Splash 1x
(H) Back Splash 1x
(I) Marble Countertop 1x
(J) Marble Shelf 1x
(K) Basin 1x
I
F
G
H
J
K
A
4x
B
1x
C
4x
D
8x
E
4x
Page5of11


Tools Required (Included):
(U)
Allen Wrench
Tools Required (Not Included):
Open Wrench Flat Head Screwdriver Philips Head Screwdriver
Assembly Instruction Steps:
1. Screw the bottom post (E) through the Knuckles (D) and marble shelf (K) into the hole of mid post (C) as shown.
Repeat the step to other 3 sets.
2. Carefully stand assembly upright. Attach rail (B) to the base assembly. Screw the top post (A) through the rail
(B) to mid post (C) as shown. Repeat the step to other 3 sets.
A
B
C
C
D
D
E
K
Note: The smooth side of knuckles
towards the marble, the countersunk
side towards the post.
Caution: To avoid damage in next
steps, make sure all the metal tubes are
tightened strongly.

Page6of11


3. Carefully position the marble countertop (I) upside down on foam or soft padding to protect the surface. Attach
brackets (P) to marble countertop (I) using bolts (Q), spring washers (R) and flat washers (S) as shown. Tighten
by hand at first. Securely tighten the bolts withAllen wrench (U).
4. Position the basin (K) by placing over the marble top cutout. Remove top washer and nut from anchor (L).
Carefully set the threadless anchor end into the predrilled holes at backside of countertop.
Holdflatheadscrewdriver
stationarywithmoderate
downwardforce.
Thisnutisusedtoprevent
damagingthebolt.After
installation,removenut
andfollowstep5.
Useopenwrenchtotighten
nuttosetanchorinplace.
MarbleTop
K
I
L
Q
R
S
P
I
U
Page7of11


5. Basin installation:
1) Place the L shape brackets (M), top washer and nut in succession through the other end of anchor. Secure by
tightening the nut with a wrench.
Note: position the basin (K) squarely under the cutout before fixing L shape brackets tightly, don’t tighten the
brackets at this stage.
2) Apply a continuous bead of high quality silicone or acrylic based bath sealant to the basin rim where it will
contact the countertop. DO NOT USE PLUMBERS PUTTY OR ANY OIL BASED SEALANT AS THIS WILL
STAIN THE MARBLE. Note: Don’t use adhesives or adhesive sealants.
Draw the basin rim up to the countertop until it is snug.
CAUTION: TO AVOID BREAKAGE, DON’T OVER-TIGHTEN WITH WRENCH.
Immediately wipe away any excessive sealant.
6. Leveler adjustment:
Note: Before installing marble top onto console base; console needs to be properly leveled, shimmed (if
necessary), and secured to floor and wall as required.
Levelers are pre-installed on the corner of bottom console and adjust as needed to make sure the console is
level. Turn counter-clockwise to increase height, clockwise to decrease height.
K
M
Page8of11


7. Place the base near desired location. Use a dry cloth to wipe off any dirt or dust from the top edge of console,
apply high quality silicone or acrylic based bath sealant to top edge of console. DO NOT USE PLUMBERS
PUTTY OR ANY OIL BASED SEALANT AS THIS WILL STAIN THE MARBLE.
Carefully lift up the marble countertop (I) with basin attached to place it onto the console base.
8. Mount APOTHECARY SINK to the wall:
1) NOTE: Adjust the APOTHECARY SINK position to make sure drain holes are right on top of the cutout
for drainpipe on the shelf.
Place a level on the APOTHECARY SINK and with the help of another person, position the
APOTHECARY SINK against the wall at a desired location. Adjust the APOTHECARY SINK so that it is
level and then use a pencil to mark the wall through hole located in the bracket (P). These marks are the
insertion marks for the provided hardware.
Set the APOTHECARY SINK aside so you have access to its rear surface.
2) The provided toggles (N) are needed for drywall applications, but cannot penetrate into wall studs (wood).
Therefore, we recommend that you use a stud finder to determine if any of the insertion marks align with a
wall stud. If so, only a screw will be used at that mark. If not, then both a toggle and a screw will be used.
3) For marks that do not align with a wall-stud, use a screwdriver to engage a toggle (N) and position the
toggle tip against the wall at one of the insertion marks. Gently push the toggle into the wall as you rotate
the toggle clockwise. Continue rotating until the large flange of the toggle is flush with the wall. Repeat this
step withthe other anchors and non-stud marks.
ICaution: For safe handling, 2-3 people are
recommended.
Note: Always carry any natural stone vertically.
Carrying stone products flat may cause cracking
or breakage.

Caution: For safe handling, always handle the
metal tube when removing the apothecary sink!

N
N
Wall
Page9of11


4) Once the toggles (N) are installed into the wall at the marked locations, reposition theAPOTHECARY
SINK so that the holes of brackets (P) are aligning with the toggles.
5) Use a screwdriver to secure a provided Toggle Screw (O) into each hole of the bracket (P) and into either
an awaiting installed toggle, or directly into the wall if the hole aligns with a wall stud. Rotate each Toggle
Screw (O) clockwise until tight.
9. Slight adjust the position of base, and then secure the basin tightly.
10. There are pre-drilled holes on the marble countertop (I), side splash (F&G). Use high quality silicone or acrylic
based bath sealant to install side splash (F&G), back splash (H) by rust proof dowel (T) orderly, clean up any
excess immediately with a clean damp rag. DO NOT USE PLUMBERS PUTTY OR ANY OIL BASED
SEALANT AS THIS WILL STAIN THE MARBLE. Wipe off any excess wax or residue that may have
accumulated around sink area.
Avoid moving the top after it has been set into place. Allow the top to dry a minimum of 24 hours to allow for
proper adhesion to the console.
Caution: For safe handling, always handle the
metal tube carefully when removing the
apothecary sink!

O
Marble
Countertop
Wall
Caution: Do not allow
children to stand on
lower shelf.

I
H
F
G
T
T
T
T
Thankyouforyourpurchase
Stores|catalog|www.potterybarn.comPage 10 of 11


Care Instructions:
Console Care:
Wipe cabinet with a soft, dry cloth. To protect the finish, avoid the use of all chemical and household cleaners
and abrasives as they may damage finish.
Marble Care:
Marble is a natural material, the amount of veining and coloration will vary which is part of its inherent beauty.
Marble is sensitive to acid, as it’s kind of natural stone, and consists mainly of calcium carbonate; please
remove wine or fruit juice immediately from the surface of marble top. We strongly advise to avoid using
acidic cleaners.
To maintain the marble top:
Consult with a professional at your local home supply store regarding sealer. Re-apply sealer every two
years.
Clean frequently with a clean soft damp cloth. Use a mild liquid detergent and warm water.
Avoid all types of abrasive cleaners and rough cleaning pads. Do not use any products that contain acids on
the marble as this can cause the finish to dull.
Liquid spills should be cleaned up promptly.
Placing protective pads on the bottom of any heavy objects will help prevent scratching of the marble surface.
Do not place extremely heavy items on the marble top.
Page 11 of 11


APOTHECARY SINK
254 mm= from side of marble top to side of basin
457 mm= from side of marble top to basin drain hole
334 mm= from front of marble top to basin drain hole
91 mm= from front of marble top to front of basin
225 mm= from center of basin drain hole to back of marble top

Other PotteryBarn Indoor Furnishing manuals

PotteryBarn Hudson Q User manual

PotteryBarn

PotteryBarn Hudson Q User manual

PotteryBarn hampton ladder User manual

PotteryBarn

PotteryBarn hampton ladder User manual

PotteryBarn MADERA DAYBED WITH CANOPY User manual

PotteryBarn

PotteryBarn MADERA DAYBED WITH CANOPY User manual

PotteryBarn Cynthia Wardrobe User manual

PotteryBarn

PotteryBarn Cynthia Wardrobe User manual

PotteryBarn 4ft smart speaker shelf User manual

PotteryBarn

PotteryBarn 4ft smart speaker shelf User manual

PotteryBarn LIVINGSTON CORNER DESK User manual

PotteryBarn

PotteryBarn LIVINGSTON CORNER DESK User manual

PotteryBarn CLASSIC LADDER SHELF User manual

PotteryBarn

PotteryBarn CLASSIC LADDER SHELF User manual

PotteryBarn Jenner Wall Shelf User manual

PotteryBarn

PotteryBarn Jenner Wall Shelf User manual

PotteryBarn Marble and Metal Floor Storage User manual

PotteryBarn

PotteryBarn Marble and Metal Floor Storage User manual

PotteryBarn WHITE BATH LADDER User manual

PotteryBarn

PotteryBarn WHITE BATH LADDER User manual

PotteryBarn Benchwright Single Sink Console User manual

PotteryBarn

PotteryBarn Benchwright Single Sink Console User manual

PotteryBarn Printers Writing Desk User manual

PotteryBarn

PotteryBarn Printers Writing Desk User manual

PotteryBarn Carved Wood Triptych User manual

PotteryBarn

PotteryBarn Carved Wood Triptych User manual

PotteryBarn CLASSIC WIDE SINGLE CONSOLE User manual

PotteryBarn

PotteryBarn CLASSIC WIDE SINGLE CONSOLE User manual

PotteryBarn Hudson Daybed User manual

PotteryBarn

PotteryBarn Hudson Daybed User manual

PotteryBarn Double Cabinet Wall Art User manual

PotteryBarn

PotteryBarn Double Cabinet Wall Art User manual

PotteryBarn Mason Medicine Cabinet User manual

PotteryBarn

PotteryBarn Mason Medicine Cabinet User manual

PotteryBarn SEVILLE COUNTERSTOOL User manual

PotteryBarn

PotteryBarn SEVILLE COUNTERSTOOL User manual

PotteryBarn LOGAN HUTCH WITH SHELVES 24 inch User manual

PotteryBarn

PotteryBarn LOGAN HUTCH WITH SHELVES 24 inch User manual

PotteryBarn Hotel Medicine Cabinet Recessed Extra Large User manual

PotteryBarn

PotteryBarn Hotel Medicine Cabinet Recessed Extra Large User manual

PotteryBarn MAXFIELD HANDLE User manual

PotteryBarn

PotteryBarn MAXFIELD HANDLE User manual

PotteryBarn Wall Mounted Wedding Shadow Box User guide
PotteryBarn

PotteryBarn Wall Mounted Wedding Shadow Box User guide

PotteryBarn LOGAN HUTCH WITH SHELVES 36 inch User manual

PotteryBarn

PotteryBarn LOGAN HUTCH WITH SHELVES 36 inch User manual

PotteryBarn CHLOE BED User manual

PotteryBarn

PotteryBarn CHLOE BED User manual

Popular Indoor Furnishing manuals by other brands

Kangaroo K9605EL Assembly instructions

Kangaroo

Kangaroo K9605EL Assembly instructions

iCube NIGHTSTAND Assembly instructions

iCube

iCube NIGHTSTAND Assembly instructions

Rodler ONIX Assembly instructions

Rodler

Rodler ONIX Assembly instructions

SIHOO M76A user manual

SIHOO

SIHOO M76A user manual

Metro DataVac M400LS quick start guide

Metro DataVac

Metro DataVac M400LS quick start guide

ofichairs Birmington manual

ofichairs

ofichairs Birmington manual

MANTO MOVEIS 4312 Assembly lnstructions

MANTO MOVEIS

MANTO MOVEIS 4312 Assembly lnstructions

BRW KENT ESZF 4d2s Assembly manual

BRW

BRW KENT ESZF 4d2s Assembly manual

Techni Mobili RTA-8050 Assembly instructions

Techni Mobili

Techni Mobili RTA-8050 Assembly instructions

Forte OGXK0112 Assembling Instruction

Forte

Forte OGXK0112 Assembling Instruction

BodyBilt Aircelli instructions

BodyBilt

BodyBilt Aircelli instructions

Forte RONDINO RDIT131 Assembling Instruction

Forte

Forte RONDINO RDIT131 Assembling Instruction

Safco Squarefecta 2981 Assembly instructions

Safco

Safco Squarefecta 2981 Assembly instructions

Argos 149113 Assembly instructions

Argos

Argos 149113 Assembly instructions

HiMirror Slide quick start guide

HiMirror

HiMirror Slide quick start guide

Fleetwood Illusions 2.0 instructions

Fleetwood

Fleetwood Illusions 2.0 instructions

Argos 600/6486 Assembly instructions

Argos

Argos 600/6486 Assembly instructions

Thomasville SPLS-LA48D-TV quick start guide

Thomasville

Thomasville SPLS-LA48D-TV quick start guide

manuals.online logo
manuals.online logoBrands
  • About & Mission
  • Contact us
  • Privacy Policy
  • Terms and Conditions

Copyright 2025 Manuals.Online. All Rights Reserved.