manuals.online logo
Brands
  1. Home
  2. •
  3. Brands
  4. •
  5. Power Tec
  6. •
  7. Tools Storage
  8. •
  9. Power Tec 17002 User manual

Power Tec 17002 User manual

MODEL NO. 17002
INSTRUCTION SHEET
Workbench Casters with
Quick-Release Plates, 4 Sets
QUESTION...
1•847•780•6120
This kit contains four Workbench Quick-Release
Plates and one Powertec 17001 Workbench
Caster Kit.
NOTE: The quick-release plates can be
used with multiple sets of the Powertec
17001 Workbench Caster Kit or other
compatible brands.
PACKAGING CONTENTS
4 - Quick-Release Plates
4 - Locking Pins
8 - Bolt 1/4"-20 x 2 (50.8 mm) long
8 - Washers
8 - Nuts
1 - 17001 Workbench Caster Kit
4 - Pedal Bracket Assembly
4 - Casters
4 - Nuts
4 - Lock Washers
16 - Wood Screws
ASSEMBLE THE QUICK-RELEASE
PLATES AND WORKBENCH
CASTERS
• Make sure the stand is sitting on a flat stable
surface.
• Measure and mark 2-1/2" (65.3 mm) from
the floor to the center of the workbench leg.
(Figure 1)
• Place the caster plate onto the workbench
leg and align the bottom hole with the 2-1/2"
(65.3 mm) mark. Mark the top hole [4"
(101.6 mm)]. Remove caster plate and drill
holes into workbench leg. Repeat on each leg.
NOTE: If assembling several quick-release
plates, a template can be created.
• Mount the caster plate to workbench leg with
supplied hardware (bolt, washer, nut). Repeat
on each leg. NOTE: If the workbench leg is
larger than 1-1/2" (38.1 mm), longer bolts (not
included) will be needed.
Figure 1
Workbench
Leg
2-1/2"
(63.5 mm)
Quick-
Release
Plate
4"
(101.6 mm)
1-1/2"
(38.1 mm)
Floor
Screws
Washer
Nuts
Washer
• Attach Caster to Pedal Bracket Assembly
using Nut and Lock Washer provided.
(Figure 2)
Pedal Bracket
Assembly
Caster
Caster Plate
Nut
Lock Washer
Figure 2
• With caster in the "up" position align to caster
plate and slide into place, lock in place with
locking pin. (Figure 3)
Locking Pin Caster
in "up"
position
Figure 3
Southern Technologies, LLC
Waukegan, IL 60087
Put these instructions and the original sales
invoice in a safe, dry place for future reference.
Visit us on the web at powertecproducts.com
Figure 4
Figure 5
Figure 7
Workbench Leg
Pedal Bracket
Assembly
Wood Screw
4-3/4"
2"
Workbench Leg
Pedal Bracket
Assembly
Wood Screw
4-3/4"
2"
Pedal Bracket
Assembly
Caster
Caster Plate
Nut
Lock Washer
Washer
Nut
Metal
Stand
TO USE
PINCH HAZARD! Always use feet to
step on the caster levers.
• Step on the caster lever and the caster
assembly will extend and lift the legs off the
ground allowing the stand to be moved.
• To retract, use your foot to raise the caster
lever and the caster assembly will "snap" up,
lowering the leg.
ALTERNATE ASSEMBLY
To Assemble POWERTEC 17001
Workbench Caster Kit Without Using the
Quick-Release Plates
1. If using two screw assembly shown in
Figure 4.
a. Mark your drill points on the workbench
leg at 2" (51 mm) and 4-3/4" (120 mm)
from the bottom of the leg.
b. Drill two pilot holes on each
workbench leg.
2. If using four screw assembly shown in
Figure 5.
a. Mark your drill points on the
workbench leg at 2" (51 mm) and
4-3/4" (120 mm) from the bottom of
the leg.
b. Drill four pilot holes on each
workbench leg.
3. Install Pedal Bracket Assembly to the
workbench leg with Wood Screws provided.
(Figure 4 and 5)
4. Attach Caster to Pedal Bracket Assembly
using Nut and Lock Washer provided.
(Figure 6)
NOTE: You may need to remove the caster from
the Caster Plate to attach and secure the Pedal
Bracket Assembly to the workbench leg.
Other Installations
The workbench casters can be used on
many different tables or stands other than
workbenches. This includes router table stands,
lathe stands or anywhere in your shop where
you need mobility for a larger item. To install the
casters on a metal stand, follow the instructions
under To Assemble POWERTEC 17001
Workbench Caster Kit Without Using the
Quick-Release Plates and replace the Wood
Screws (provided) in step 2 with nuts, bolts and
washers (not provided) to properly secure the
Pedal Bracket Assembly as showing in Figure 7.
Figure 6
18-0709
Other Power Tec Tools Storage manuals

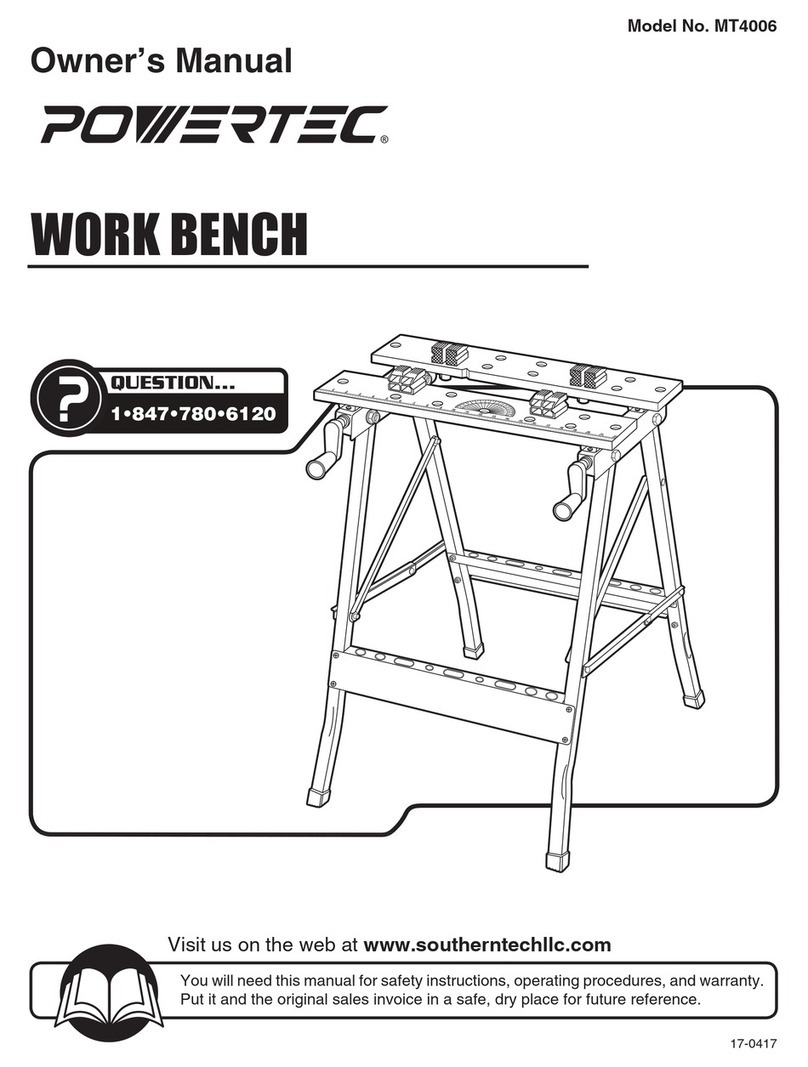
Power Tec MT4006 User manual

Power Tec

Power Tec MT4006 User manual

Power Tec WB-MS14 User manual

Power Tec

Power Tec WB-MS14 User manual

Power Tec WB-RS13 User manual

Power Tec

Power Tec WB-RS13 User manual

Power Tec WB-MP13 User manual

Power Tec

Power Tec WB-MP13 User manual

Power Tec WB-MS16 User manual

Power Tec

Power Tec WB-MS16 User manual

Power Tec WB-LS14 User manual

Power Tec

Power Tec WB-LS14 User manual

Power Tec WB-OB11 User manual

Power Tec

Power Tec WB-OB11 User manual

Power Tec WB-LS11 User manual

Power Tec

Power Tec WB-LS11 User manual

Popular Tools Storage manuals by other brands

Craftsman Professional Series Chests and Roller... Operator's manual

Craftsman

Craftsman Professional Series Chests and Roller... Operator's manual

WilTec 50796 Operation manual

WilTec

WilTec 50796 Operation manual

Cocraft 40-6962 instruction manual

Cocraft

Cocraft 40-6962 instruction manual

Rubbermaid 7888 Easy Assembly Instructions

Rubbermaid

Rubbermaid 7888 Easy Assembly Instructions

Clarke CHB1500 Assembly instructions

Clarke

Clarke CHB1500 Assembly instructions

Holzstar TKS 315 Pro instruction manual

Holzstar

Holzstar TKS 315 Pro instruction manual

TradeQuip 1014T owner's manual

TradeQuip

TradeQuip 1014T owner's manual

U-Line H-7562 Assembly instructions

U-Line

U-Line H-7562 Assembly instructions

GÜDE 94899 Translation of the original instructions

GÜDE

GÜDE 94899 Translation of the original instructions

Tennsco INDUSTRIAL WORKBENCH With Steel Top Assembly Instructions/Parts Manual

Tennsco

Tennsco INDUSTRIAL WORKBENCH With Steel Top Assembly Instructions/Parts Manual

Westward 52CL54 Operating instructions & parts manual

Westward

Westward 52CL54 Operating instructions & parts manual

DURA DURABENCH DURA4IN1 instruction manual

DURA

DURA DURABENCH DURA4IN1 instruction manual

Promet Master Series Assembling instructions

Promet

Promet Master Series Assembling instructions

Husky HMT406B Use and care guide

Husky

Husky HMT406B Use and care guide

Sealey AP165WB instructions

Sealey

Sealey AP165WB instructions

kupper 12030 Assembly instruction

kupper

kupper 12030 Assembly instruction

Eastwood 31654 instructions

Eastwood

Eastwood 31654 instructions

Sealey PCT2 quick start guide

Sealey

Sealey PCT2 quick start guide

manuals.online logo
manuals.online logoBrands
  • About & Mission
  • Contact us
  • Privacy Policy
  • Terms and Conditions

Copyright 2025 Manuals.Online. All Rights Reserved.