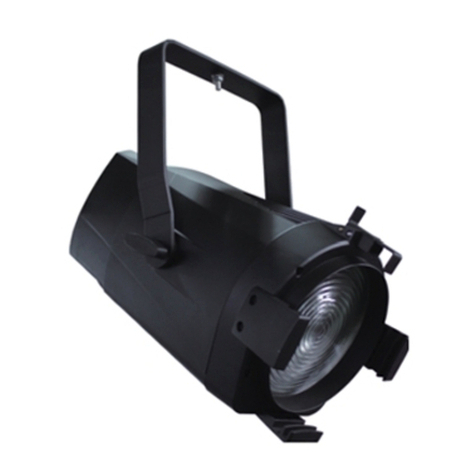
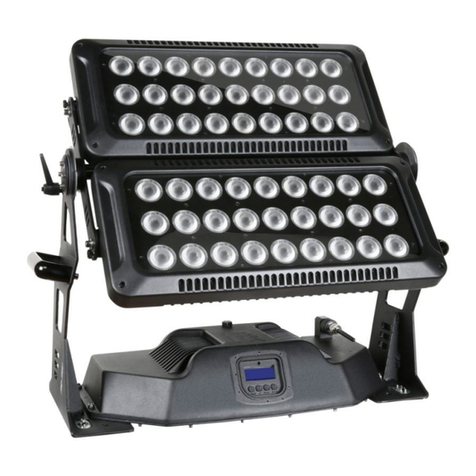
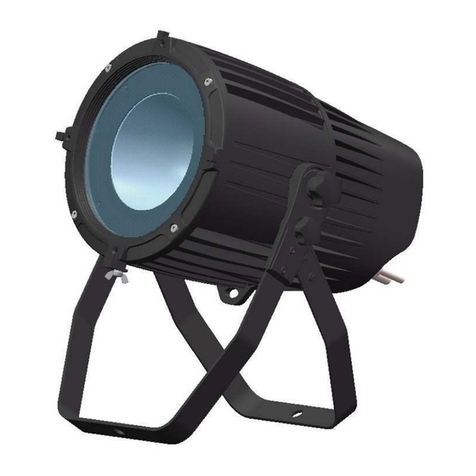
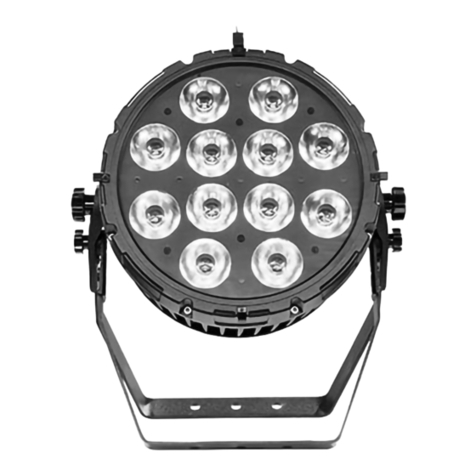
Use the plug provided to connect the
mains power to the projector paying
attention to the voltage and
frequency marked on the panel of
the projector. It is recommended that
each projector is supplied separately
so that they may be individually
switched on and off.
OPERATION
POWER SUPPLY - MAINS
The projector may be operated in Stand-Alone automatic mode, Master/Slave synchro mode or be
controlled via standard DMX512 by a controller. With the touch-switches and the digital display screen,
DMX start address can be easily set and the various setup options may be configured.
The display shows the DMX start address after the projector is switched on (if you have already set
the DMX start address and saved it, the screen will display the last setting).
TO SET THE DMX START ADDRESS
Press the UP or DOWN buttons and the display will
show the DMX start address.
Confirm your choice by pressing the ENTER button, this
will save and set the DMX start address.
The display will show the latest setting each time the
projector is powered up.
To control the projector with a DMX controller the DMX
start address must be set.
Ensure that none of the Stand-Alone options are set or
they will interfere with correct DMX operation.
SETUP OPTIONS - PROJECTOR CONFIGURATION
To browse through the various Setup Options, press the FUNC button consecutively. There are 6
Option codes (1~6), and each code has a specific function. The functions provided are listed in the
following table. SETUP OPTIONS
CODE CHOICE FUNCTION
Y Tilt inversion enable-Tilt is inverted
1 N Tilt inversion disable-Tilt is normal
Y Pan inversion enable-Pan is inverted
2 N Pan inversion disable-Pan is normal
3 / Reserved
Y Automatic programmes (effect 1) enable5
5 N Automatic programmes (effect 1) disable
4
5 Y
Y Automatic programmes (effect 2) enable
4
5 N
Y or N Automatic programmes (effect 2) disable
Y 16bit Pan/Tilt movement resolution enable
6 N 16bit Pan/Tilt movement resolution disable
Y Movement of Master is different from slaves
7 N Movement of Master is the same with slaves
Once you have selected the desired operation code, press the key UP or DOWN to select “y” (means
ON) or “no “ (means OFF). N = NO, Y = YES.
Press the key ENTER to save the selected function and configuration. If the display is showing “y”,
then the setting has been enabled. In the same way, if it was showing “n” when you pressed ENTER
the option has been disabled. The Red LED will flash during this operation.
pilot 300 manual.doc
5/14
