Pro's Kit MT-4618 User manual


This manual suits for next models
1
Other Pro's Kit Measuring Instrument manuals

Pro's Kit
Pro's Kit MT-3209 User manual

Pro's Kit
Pro's Kit MT-7601 User manual
Pro's Kit
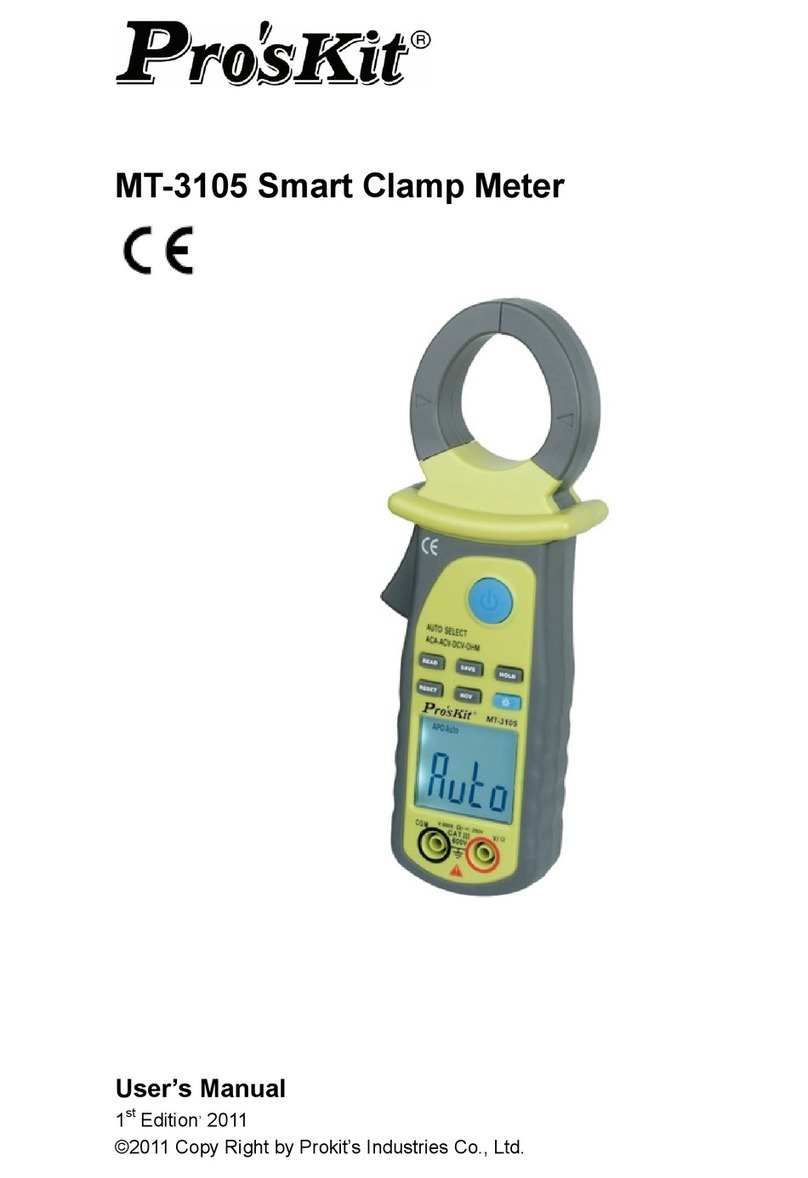
Pro's Kit MT-3105 User manual
Pro's Kit
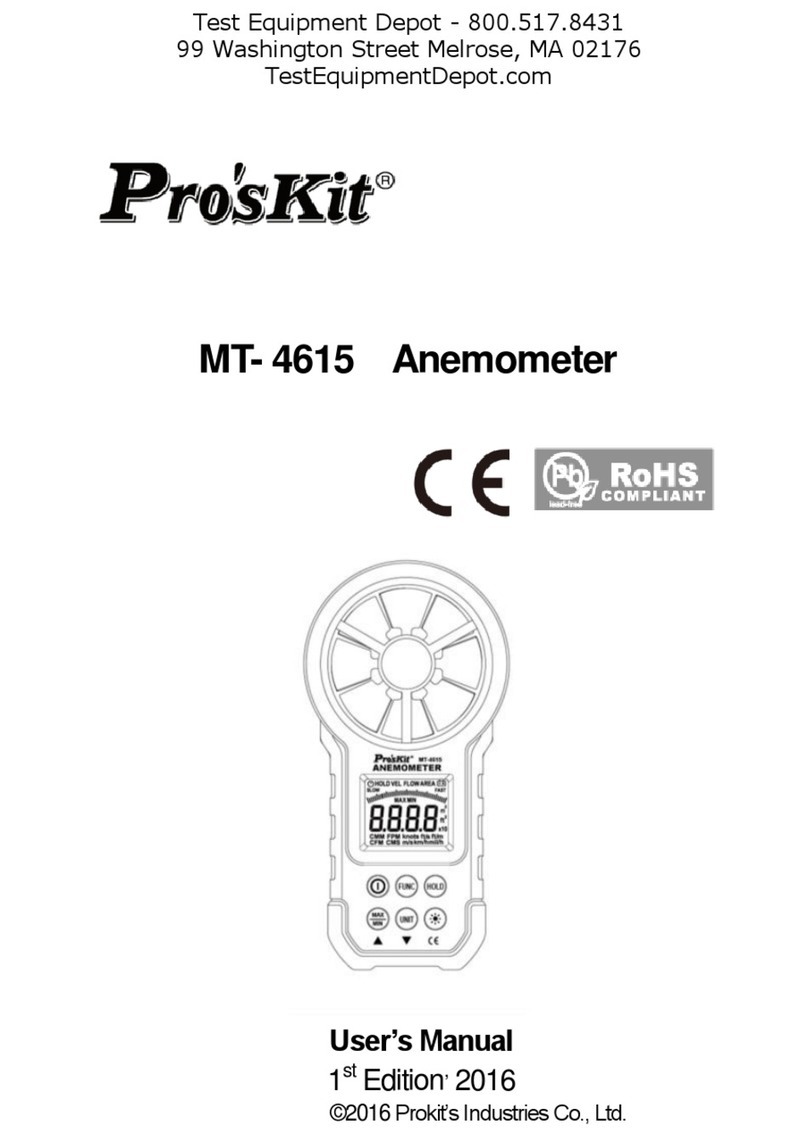
Pro's Kit MT- 4615 User manual

Pro's Kit
Pro's Kit MT-3202 User manual
Pro's Kit
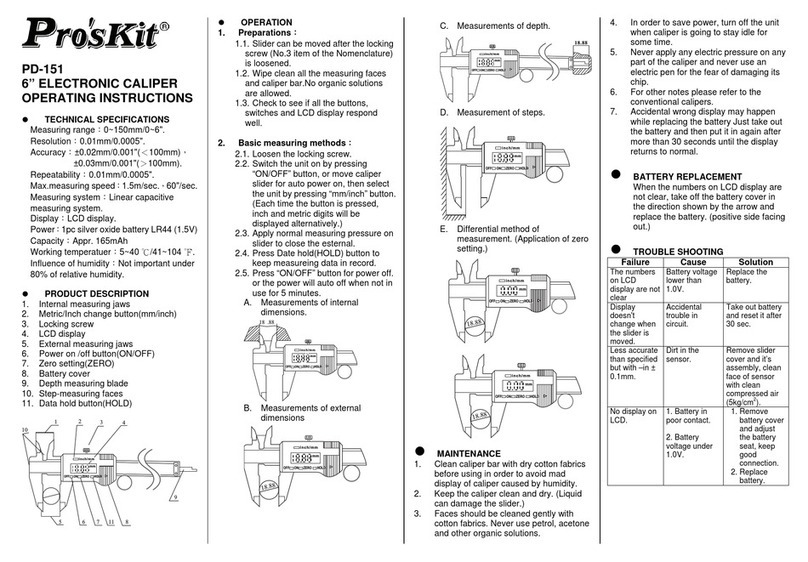
Pro's Kit PD-151 User manual
Pro's Kit
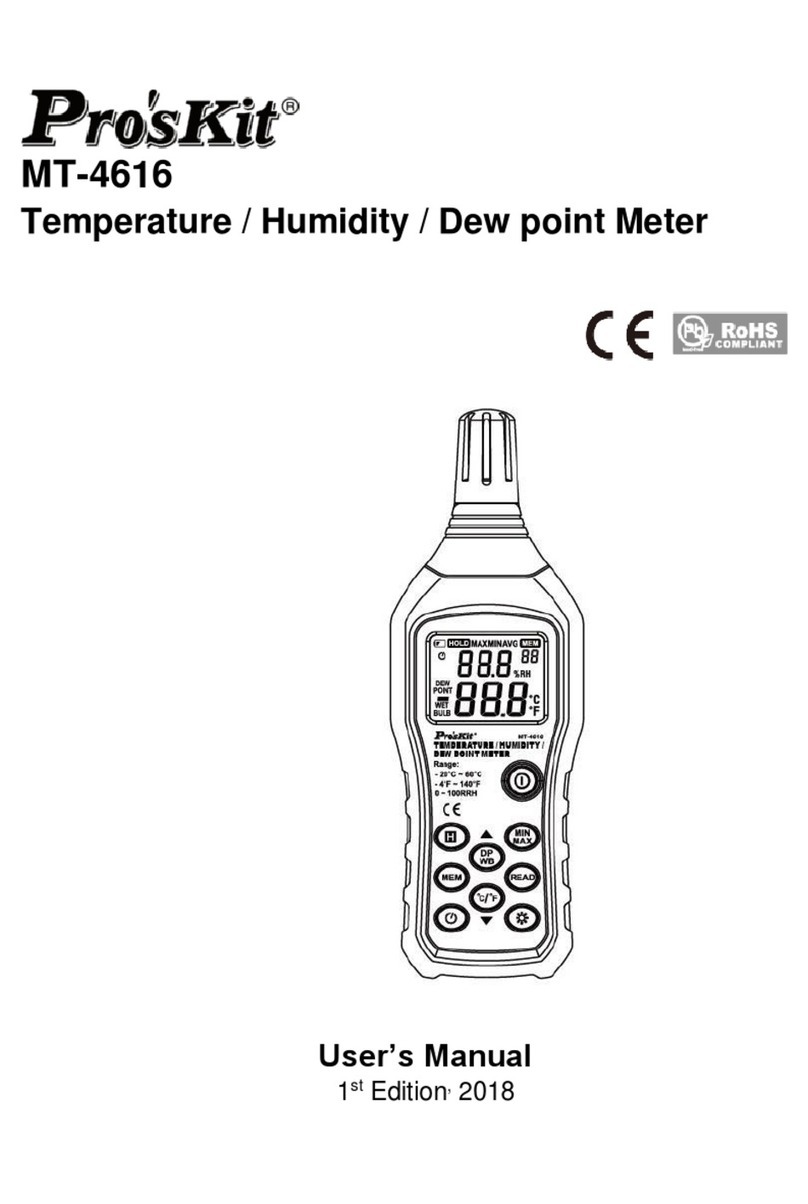
Pro's Kit MT-4616 User manual
Pro's Kit
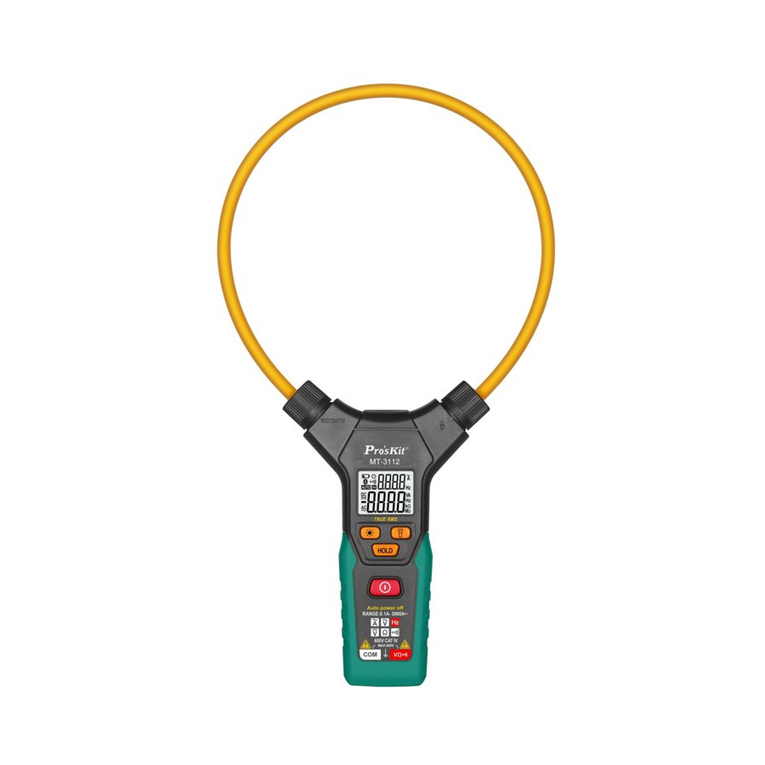
Pro's Kit MT-3112 User manual
Pro's Kit
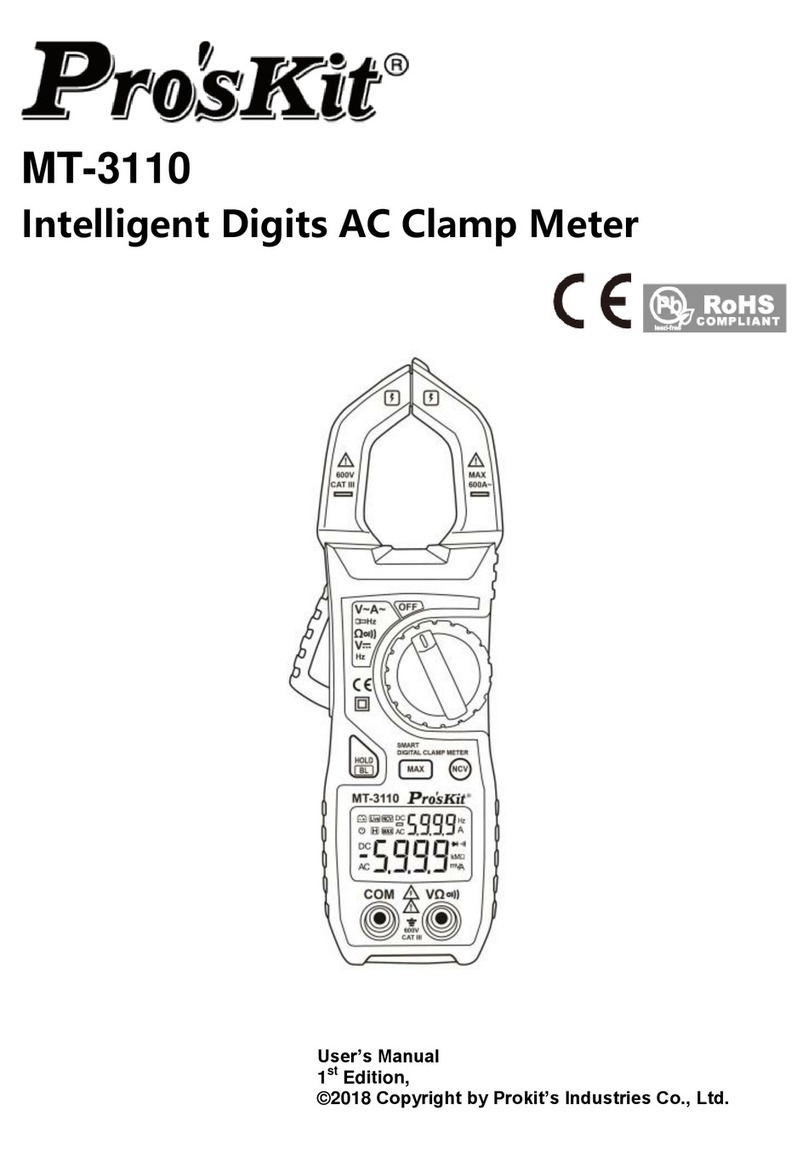
Pro's Kit MT-3110 User manual
Pro's Kit
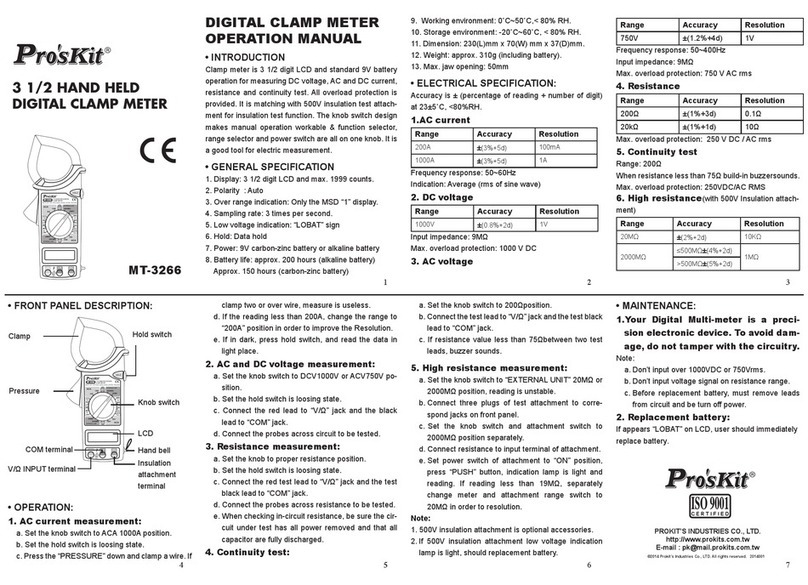
Pro's Kit MT-3266 User manual
Pro's Kit
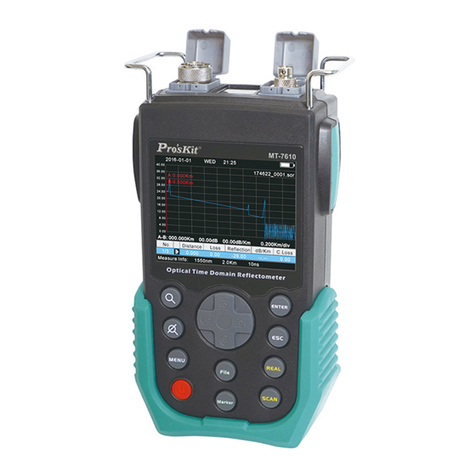
Pro's Kit MT-7610 Series User manual
Pro's Kit
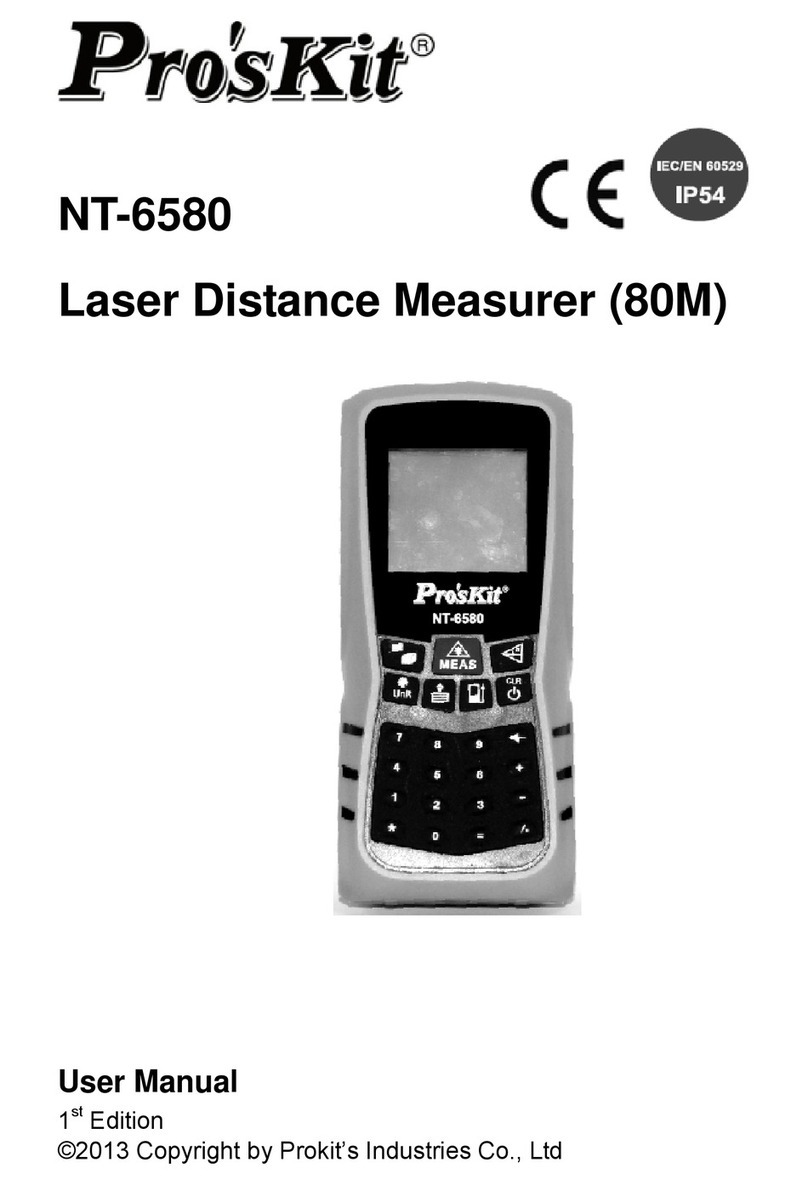
Pro's Kit NT-6580 User manual
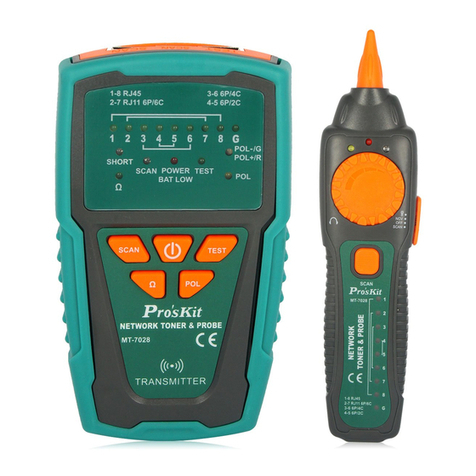
Pro's Kit
Pro's Kit MT-7028 User manual
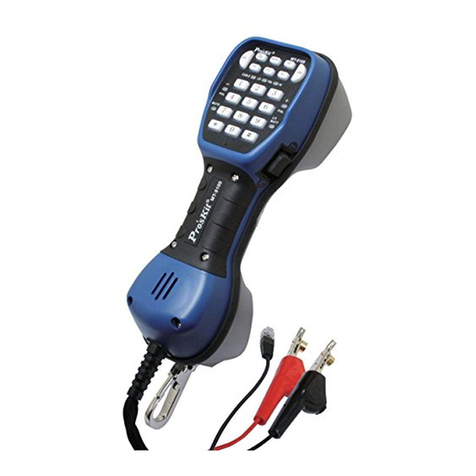
Pro's Kit
Pro's Kit MT-8100 User manual
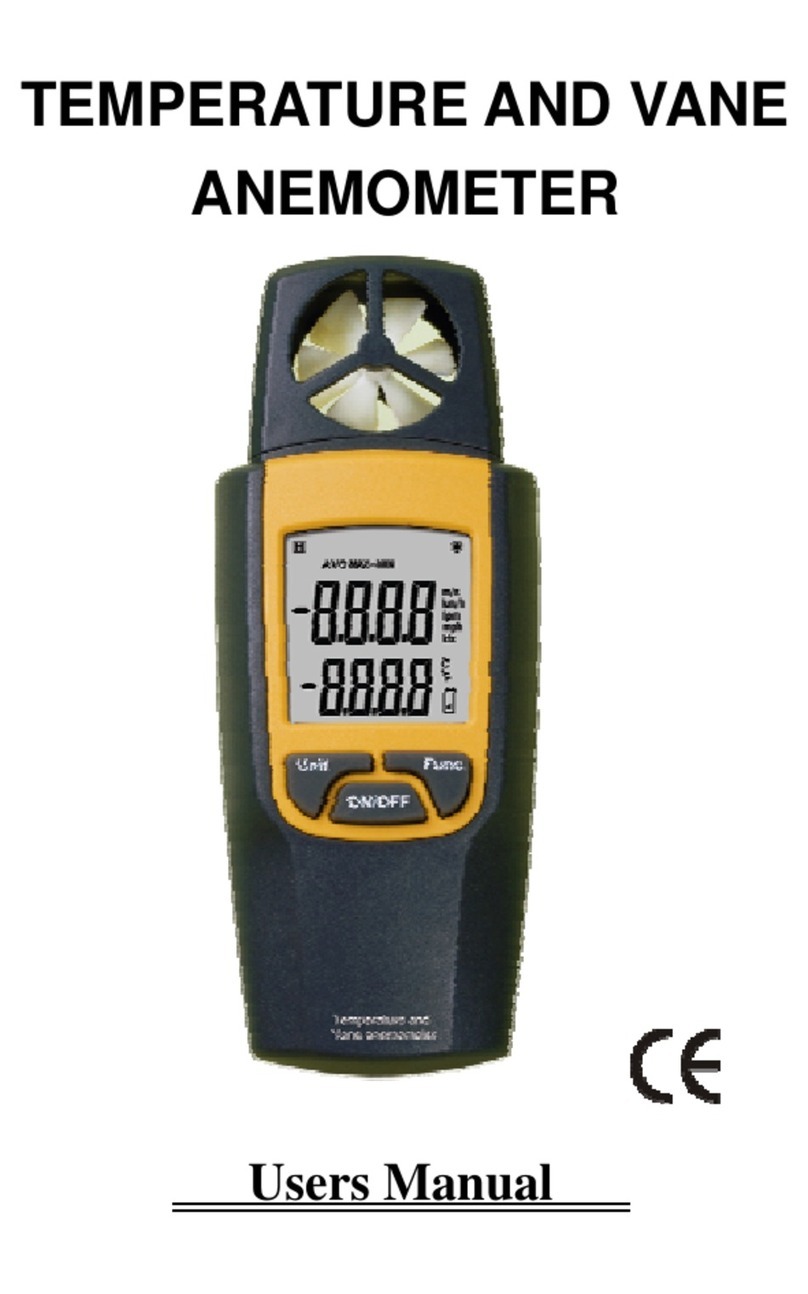
Pro's Kit
Pro's Kit MT-4015 User manual
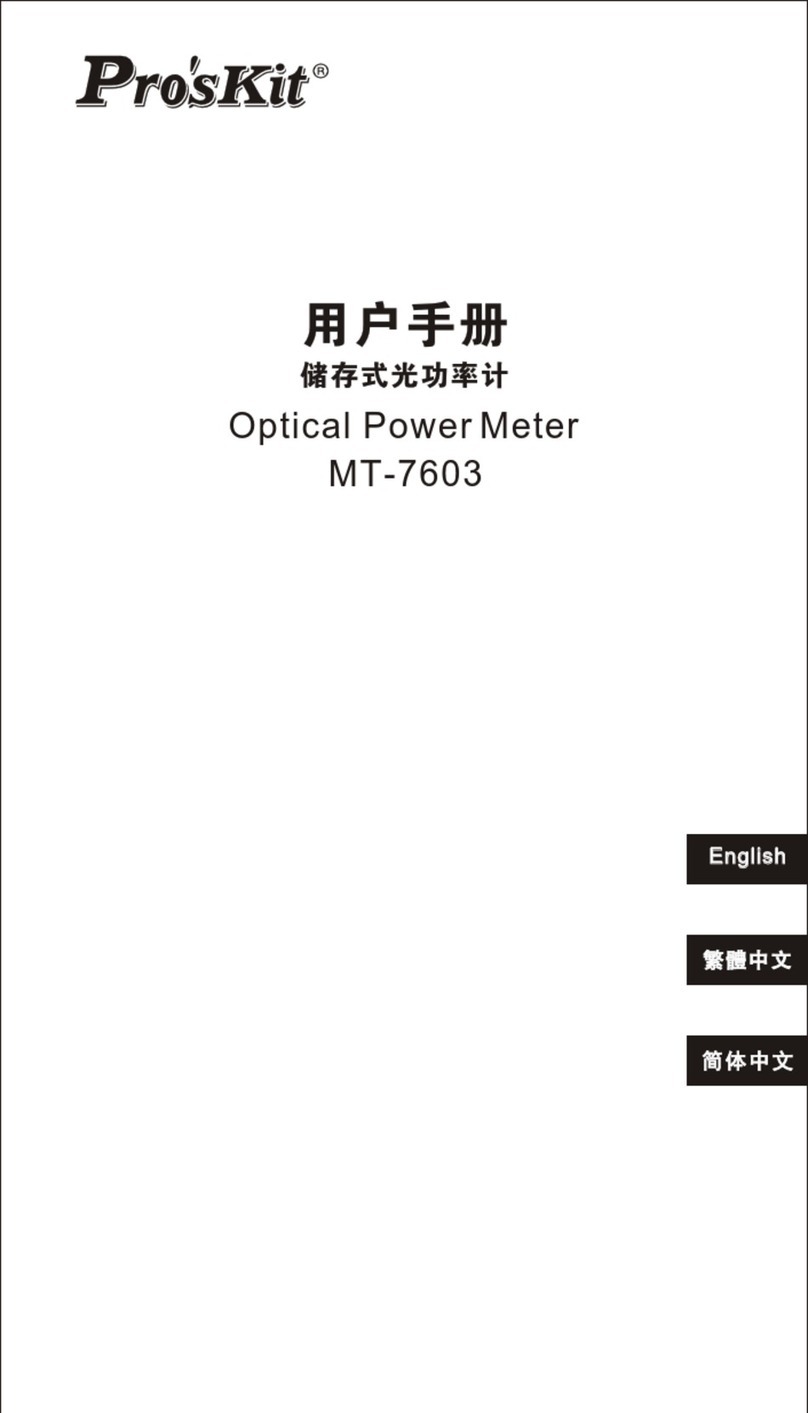
Pro's Kit
Pro's Kit MT-7603 User manual
Pro's Kit
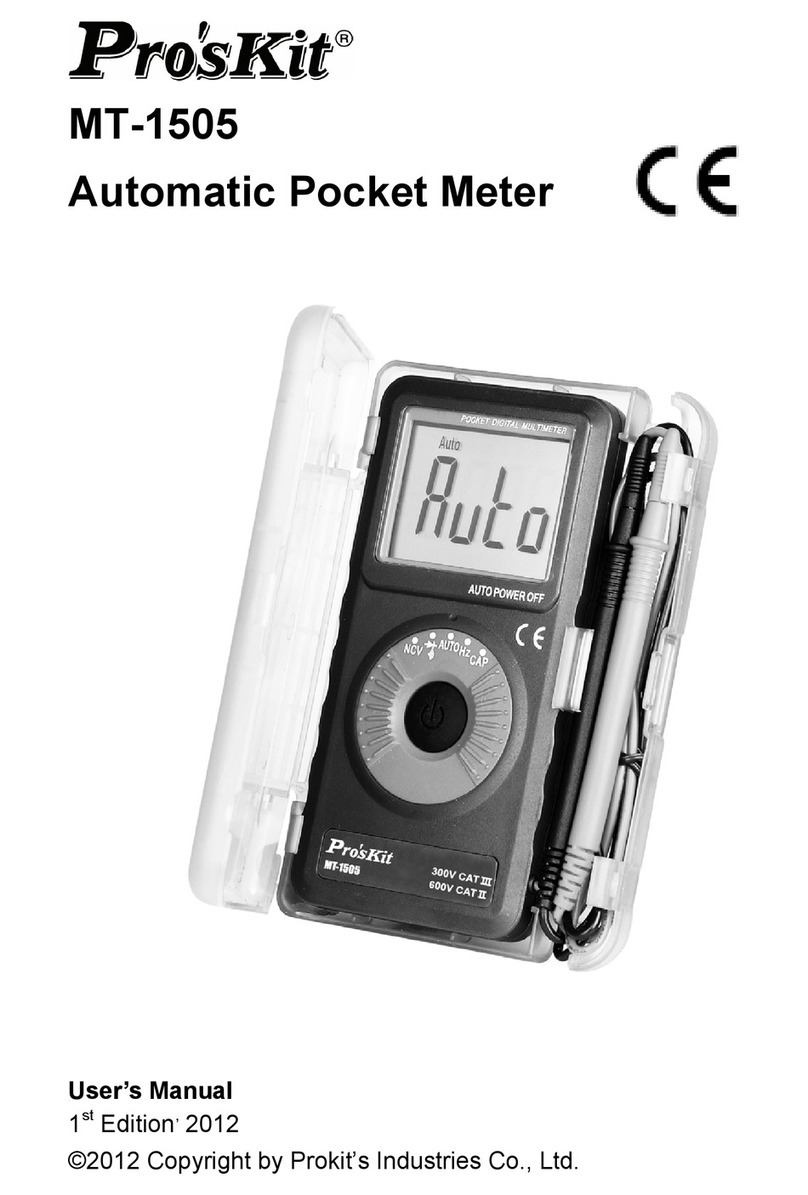
Pro's Kit MT-1505 User manual
Pro's Kit
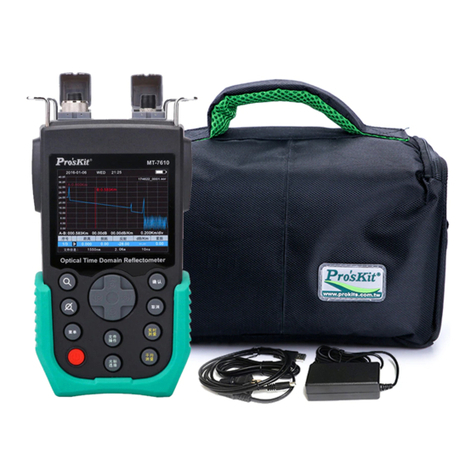
Pro's Kit MT-7610 Series User manual
Pro's Kit
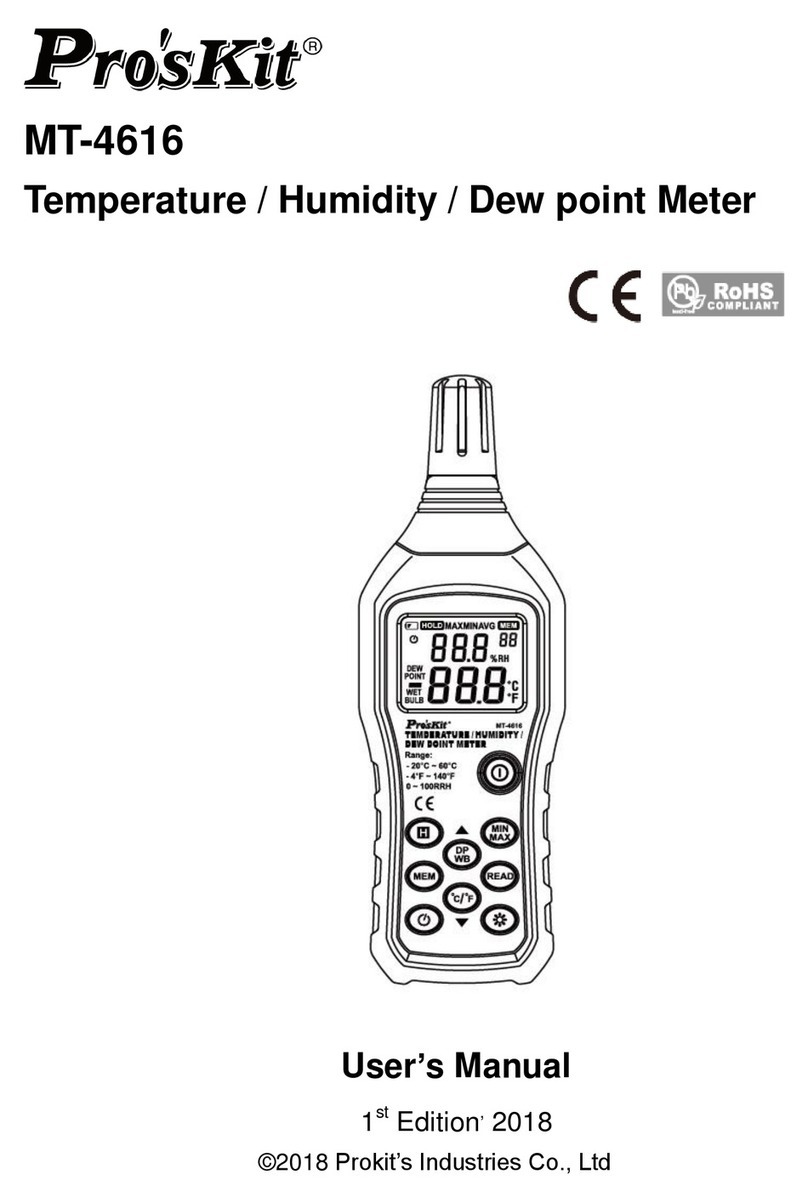
Pro's Kit MT-4616 User manual

Pro's Kit
Pro's Kit NT-311 User manual
Popular Measuring Instrument manuals by other brands
Polatrak
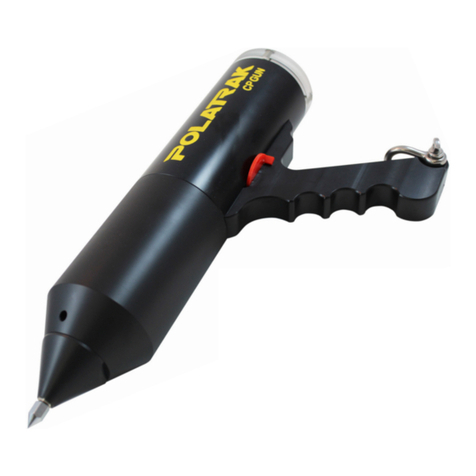
Polatrak CP-Gun Operation manual
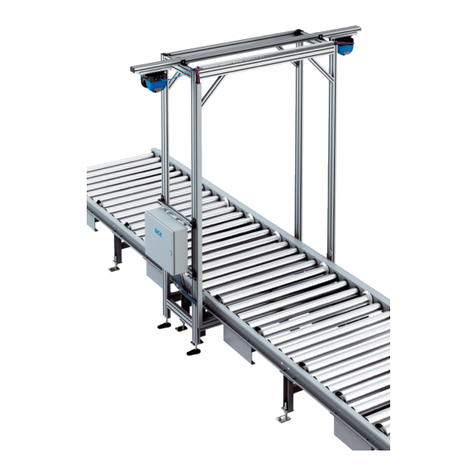
SICK
SICK VMS6200 operating instructions
Extech Instruments
Extech Instruments LT40 user manual
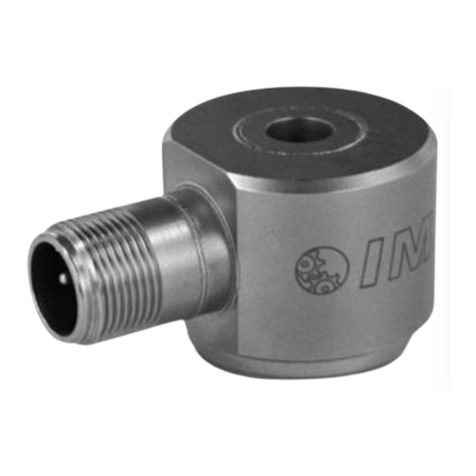
PCB Piezotronics
PCB Piezotronics IMI SENSORS M625B00 Installation and operating manual
Magnescale
Magnescale PL101 Series instruction manual
Diaglobal
Diaglobal DP 300 operating manual

