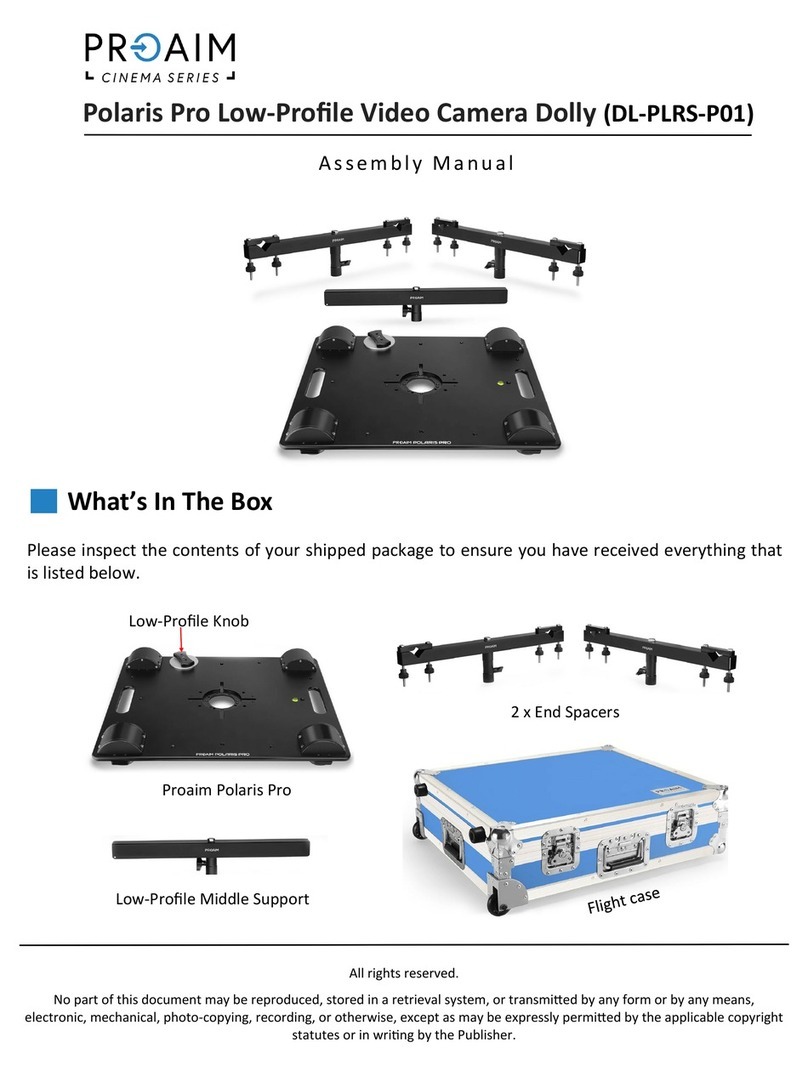
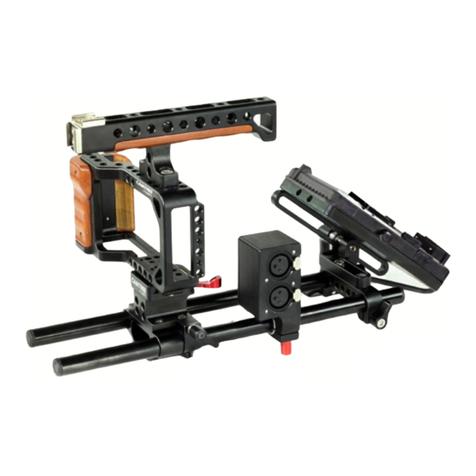
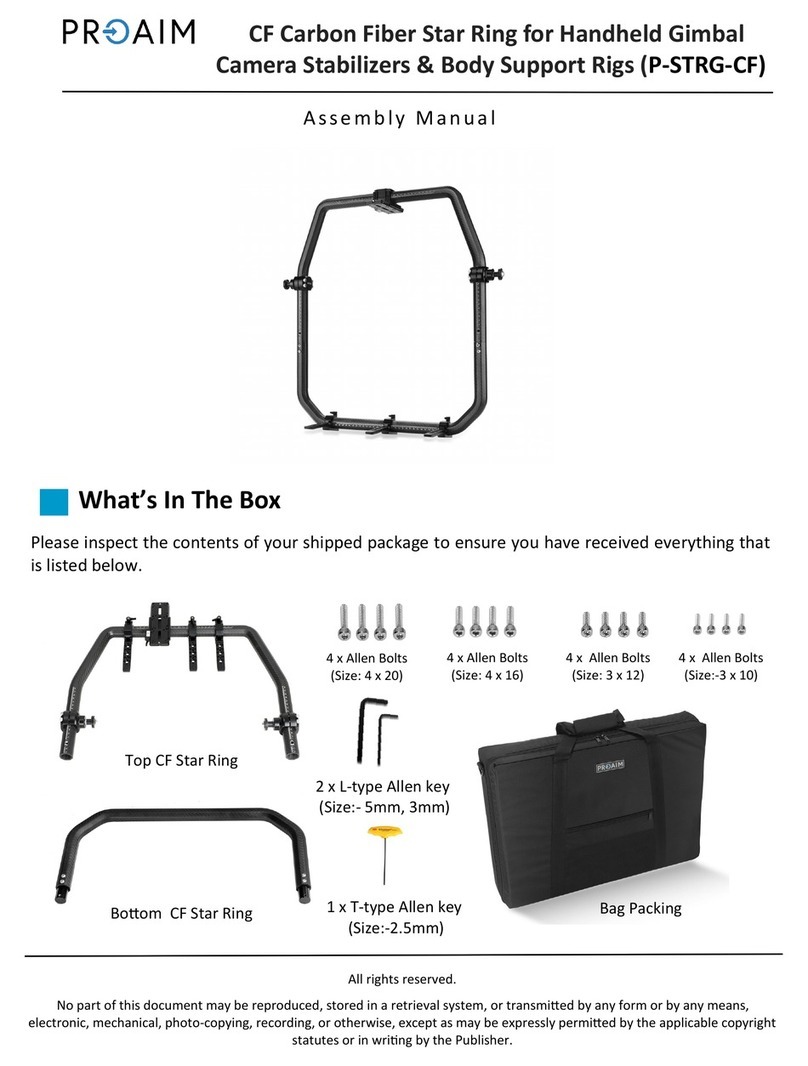
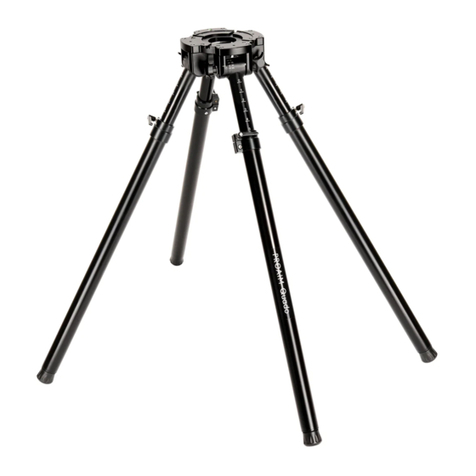
PROAIM CINEMA Series User manual
Other PROAIM Camera Accessories manuals

PROAIM
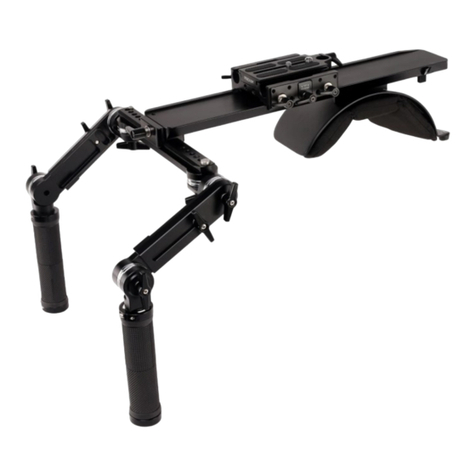
PROAIM VI-SPCM-01 User manual
PROAIM
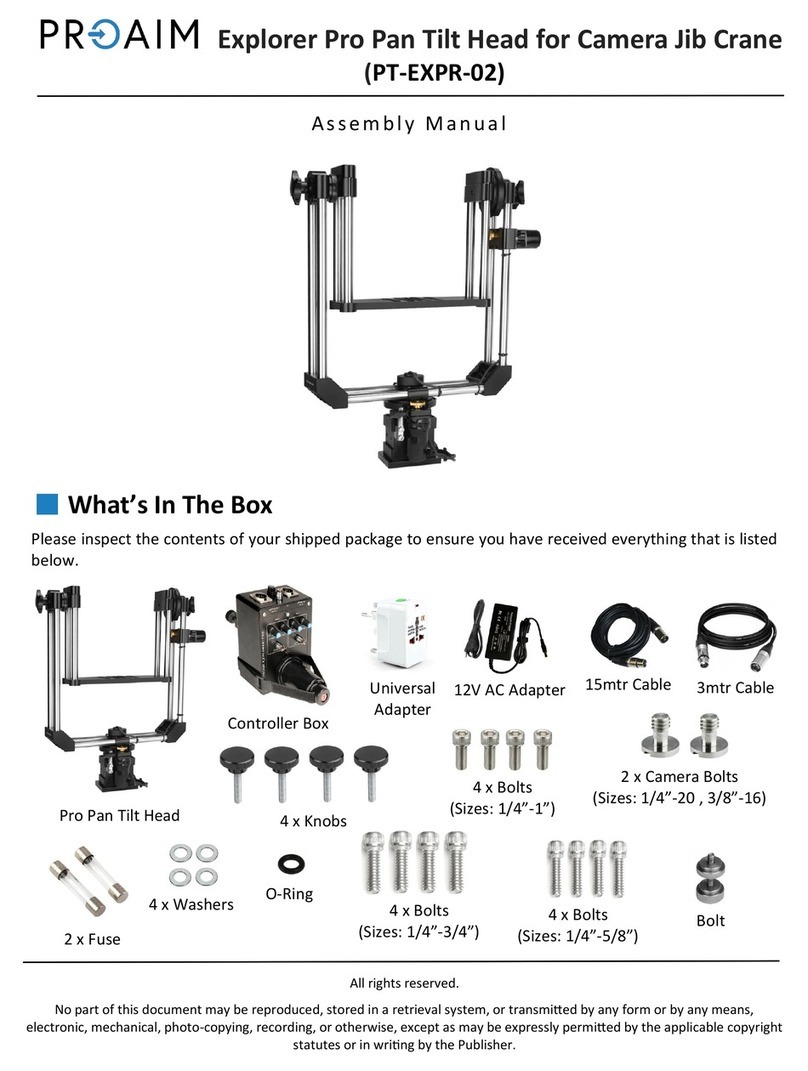
PROAIM Discovery SR-10 User manual
PROAIM
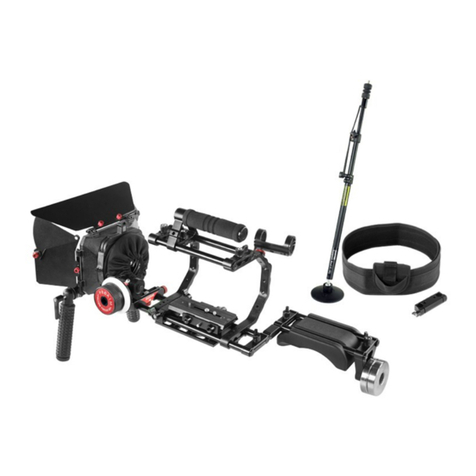
PROAIM Explorer Pro PT-EXPR-02 User manual
PROAIM
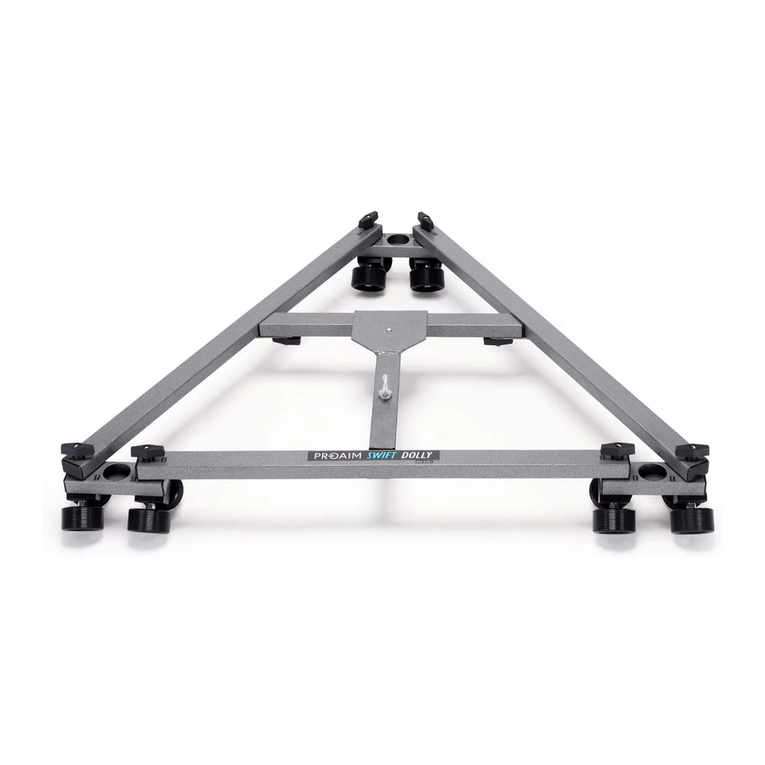
PROAIM Kit-6-CF User manual
PROAIM
PROAIM CINEMA Series User manual
PROAIM
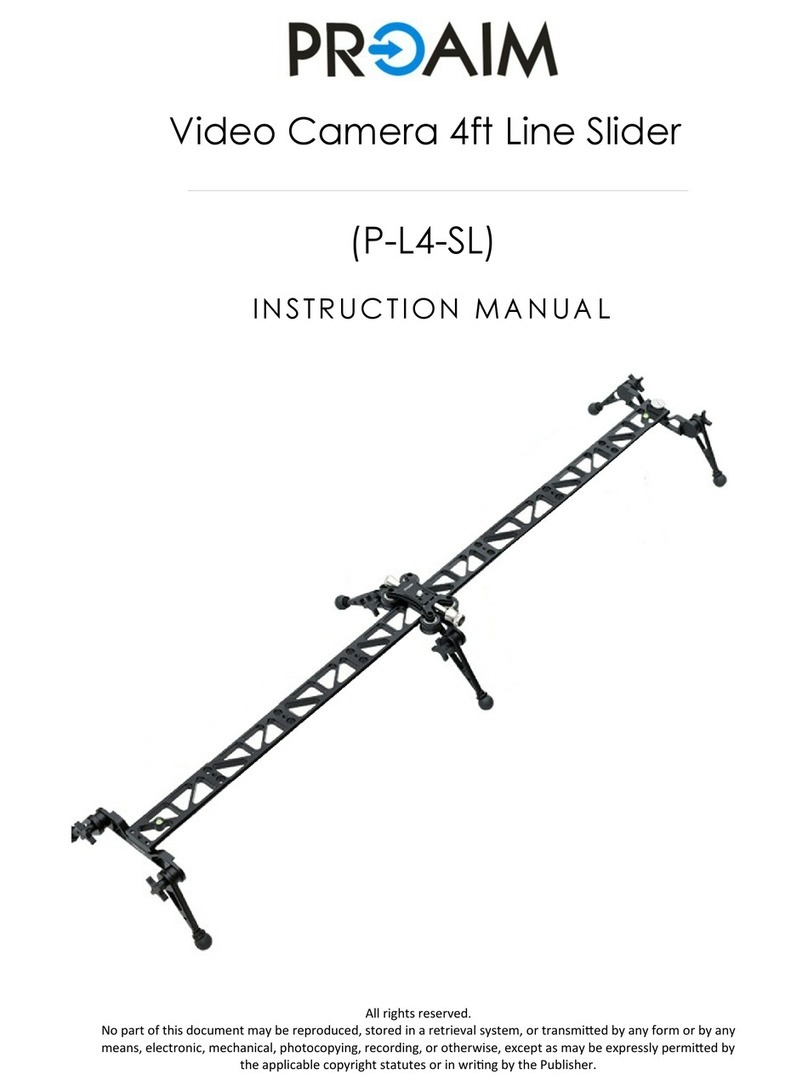
PROAIM P-L4-SL User manual
PROAIM
PROAIM VI-CYRS-01 User manual

PROAIM
PROAIM Cinema MA-293-00 User manual
PROAIM
PROAIM RS-1 User manual
PROAIM
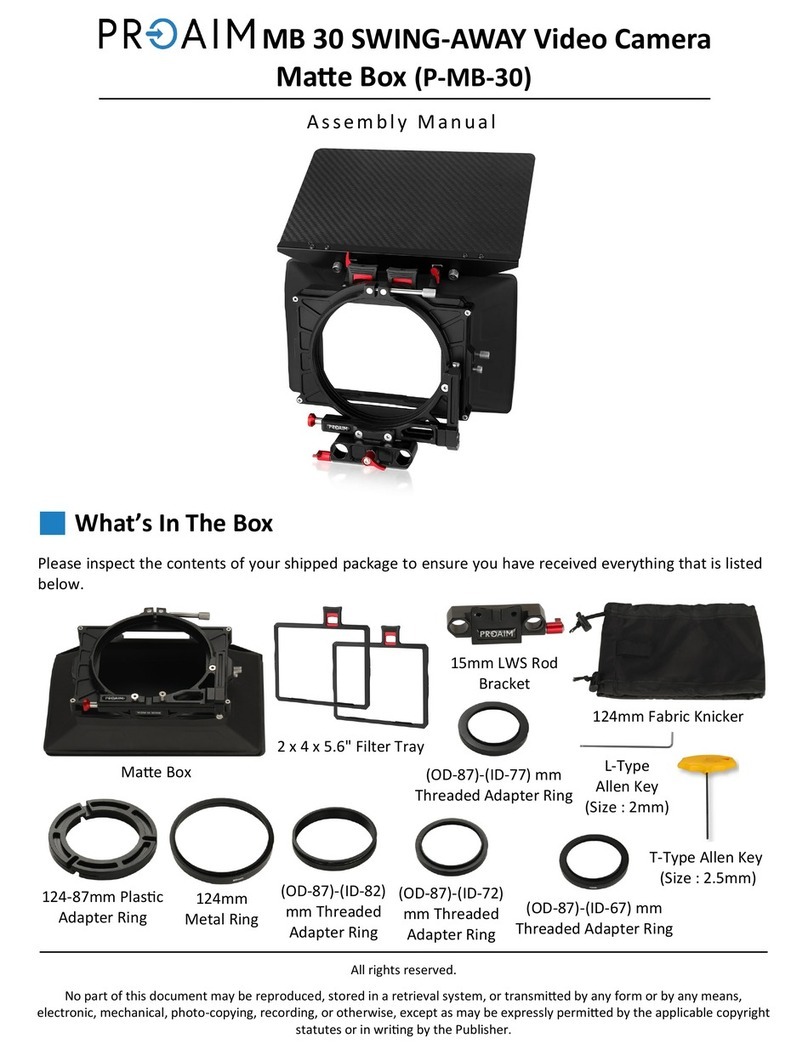
PROAIM MB 30 User manual
PROAIM
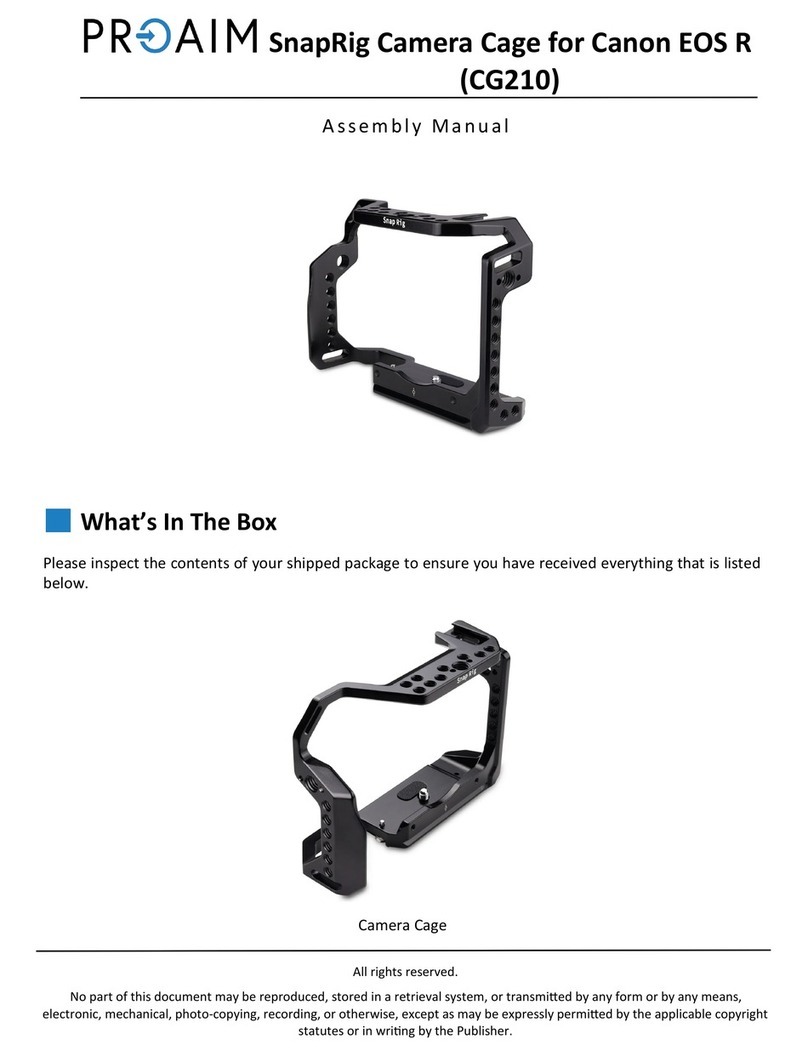
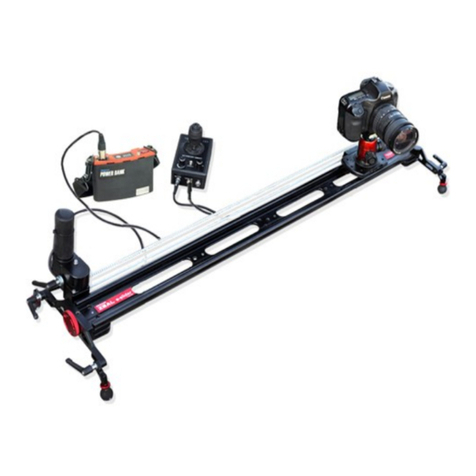
PROAIM SnapRig CG210 User manual
PROAIM
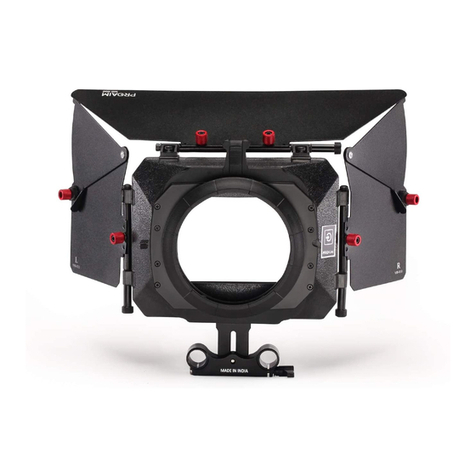
PROAIM P-ZL-S3 User manual

PROAIM
PROAIM CINEMA Series User manual

PROAIM
PROAIM CINEMA Series User manual
PROAIM
PROAIM P-MB-600 User manual
PROAIM
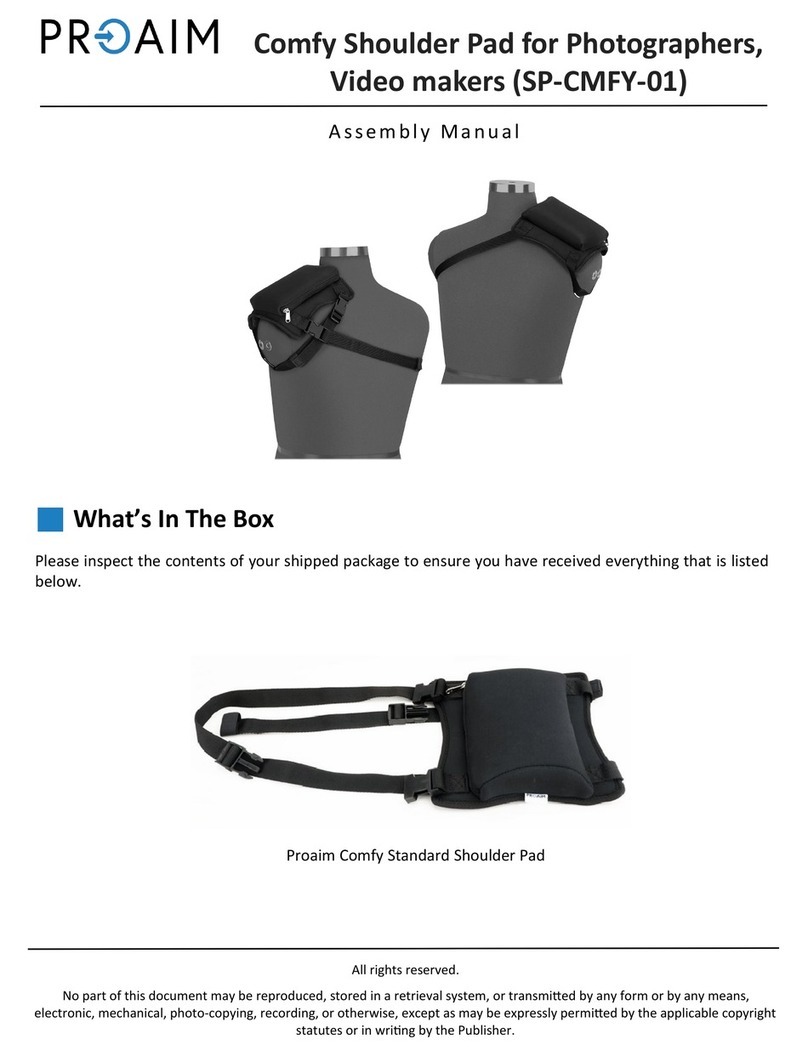
PROAIM SP-CMFY-01 User manual

PROAIM
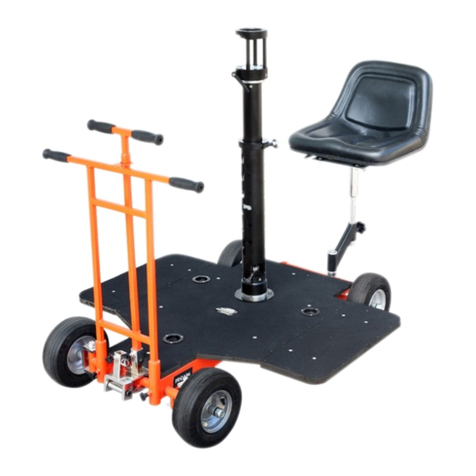
PROAIM CINEMA Series User manual
PROAIM
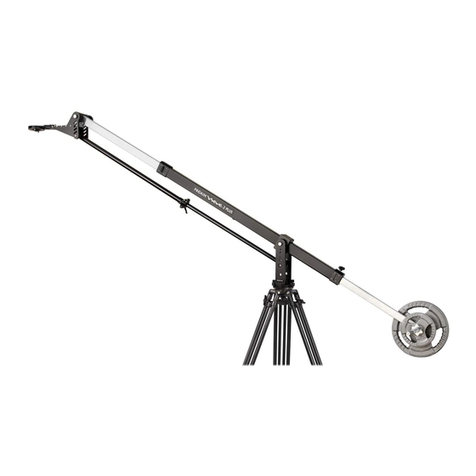
PROAIM Quad Bazooka User manual
PROAIM
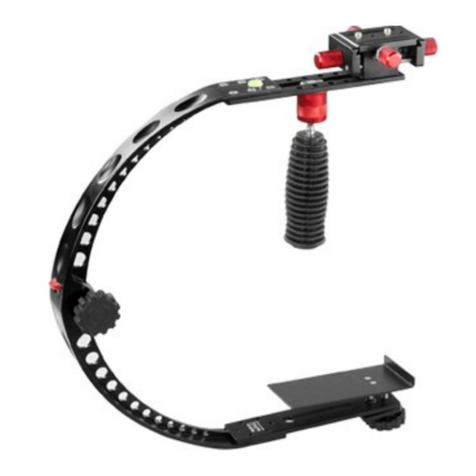
PROAIM Wave-2 Plus User manual
PROAIM
PROAIM P-WNG Manual instruction
Popular Camera Accessories manuals by other brands

Trojan
Trojan GC2 48V quick start guide

Calumet
Calumet 7100 Series CK7114 operating instructions

Ropox
Ropox 4Single Series User manual and installation instructions

Cambo
Cambo Wide DS Digital Series Main operating instructions

Samsung
Samsung SHG-120 Specification sheet

Ryobi
Ryobi BPL-1820 Owner's operating manual
